We keep a fully loaded Operating system drive for the test rig on a shelf in its original package, it fully loaded with OS, all the benchmarking software, virus scanner, chart maker, word processor and spreadsheets as well as games. Every product gets a fresh clone of that drive and we run a RWB setup. That’s Real World Benchmarking setup in that the drives are tested with the OS and all programs installed on them. As far as we will go is turn off the virus scanner when testing. You don’t buy a high-end drive to leave it blank and run benchmarks all day, you buy it to run an Operating system so we test with operating system in place. No we did run some external enclosure tests with the drive bare, that’s a different case, external drives seldom run an OS.
We are the exception to the rule “Backup or lose your programs and data”. We have the original drive, two 240 GB SSD’s and a platter storage drive with copies of the OS. So counting the Savage drive we have 5 copies of the Testing rig drive.
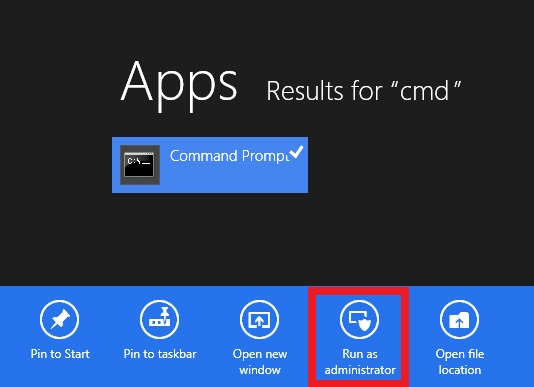
If you should run into trouble cloning your OS drive chances are it’s got some minor corruption and can be easily fixed. For normal Operating systems click “Start” and in the run box type “CMD” and hit enter. For the freakishly un-thought out Windows 8 and 8.1 shove your mouse up to the right hand side until like a fishing angler you have fished out the search magnifying glass, click it and search “CMD” when you find CMD right-click it and below click “run as administrator”
Once you’ve gotten this far you should see a command prompt box like below.
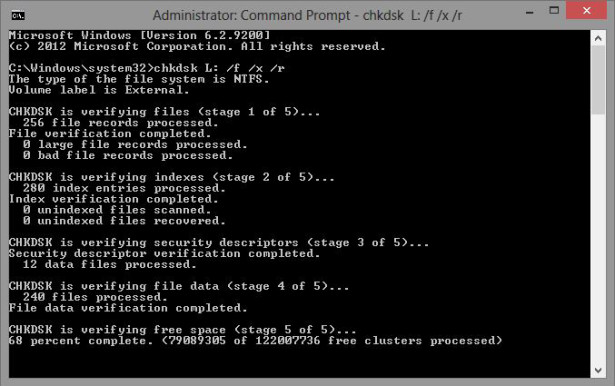 Type “CHKDSK C: /f /x /r” where C: is your drive to clone from. The system will probably want to reboot to complete the operation let it do so. When the operation is finished the machine may shut down, if it does just start it up like normal. If it doesn’t shut down then it will boot back into windows and your ready to get revenge on the clone (may the Acronis force be with you)
We have a full-blown purchased Acronis installed, we uninstalled it and installed from the coupon provided in the kit so if you are having troubles follow along with the images below.
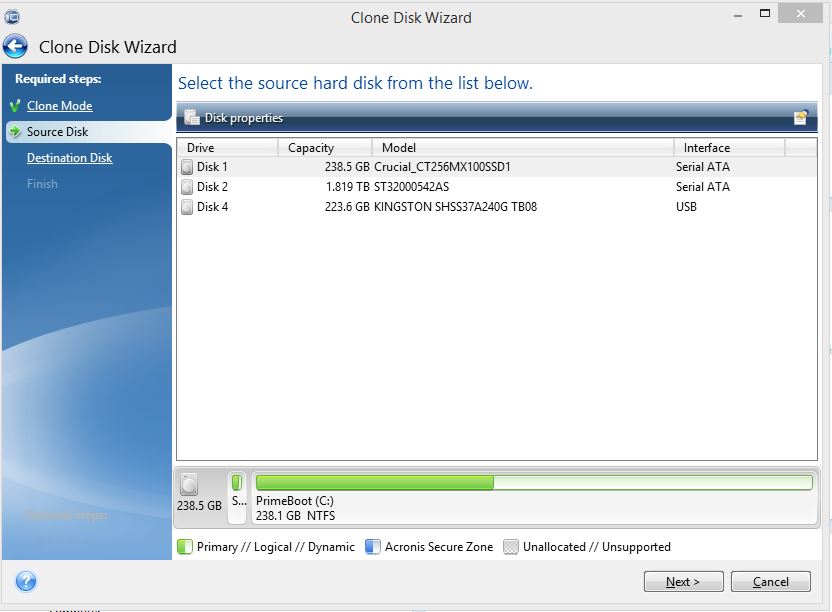
Of course select the Clone disk Wizard under tools and when presented with the “Select Source Disk” screen select your operating system drive and click next.
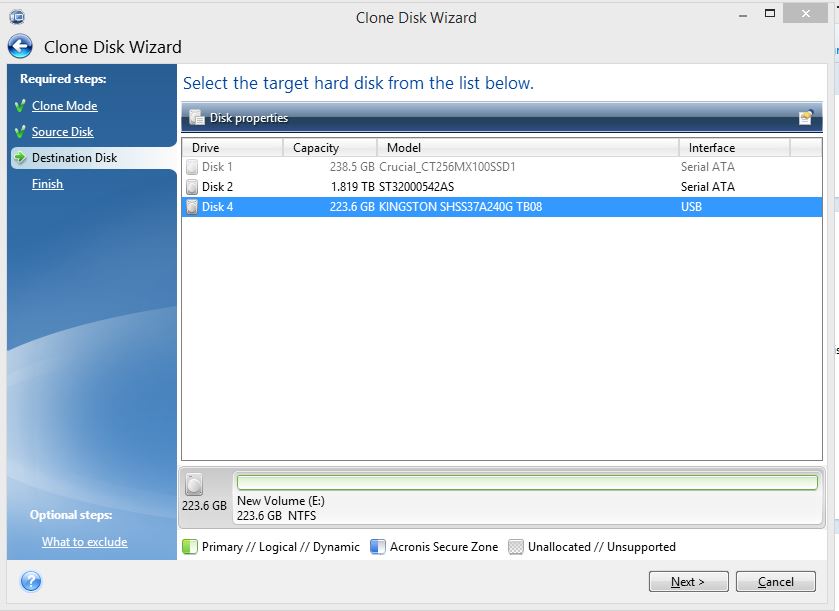
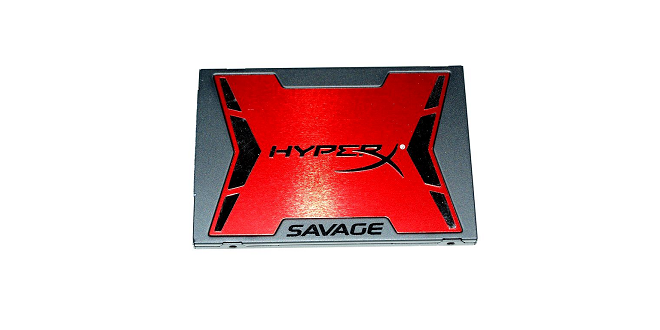
On the “Select Target Screen” you select the Kingston Savage SSD and click next.
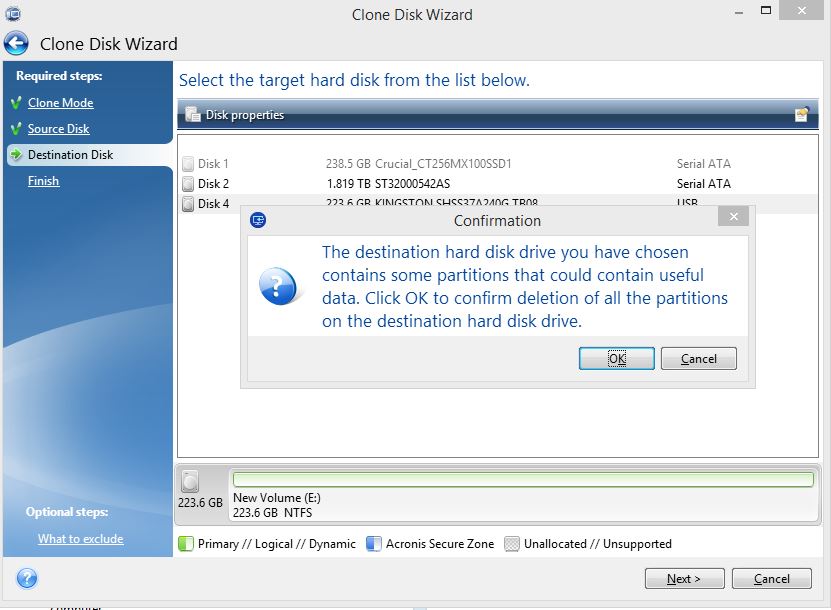
If your disk is still blank Acronis might skip this screen but by now we had run USB tests. If it skips this screen no worries you will get the next screen,
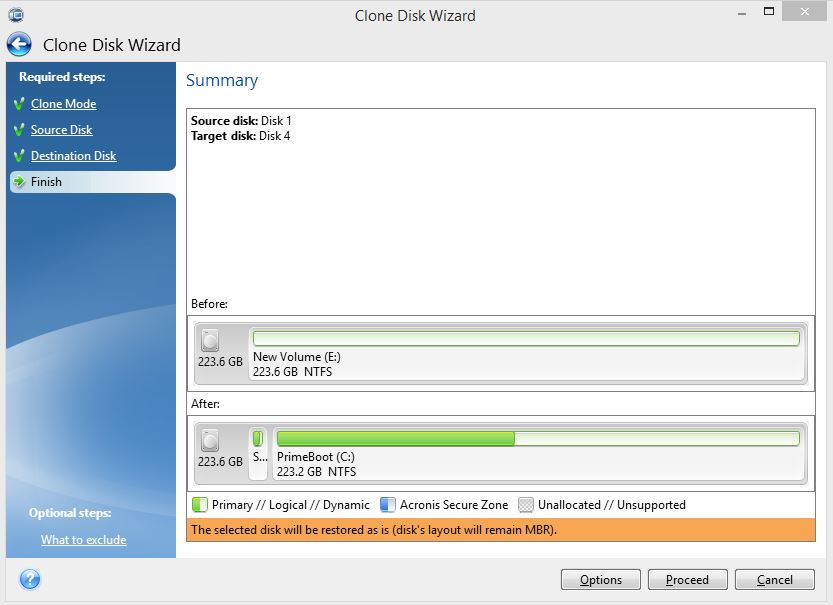
What you see here is the Pre-clone Savage and what it will look like after the clone. After the clone you will have two drives with the same name. In our case we will have two “PrimeBoot” drives and what we do is let the system boot back to the original boot drive and rename the fresh clone (in this case) to Savage. This avoids any confusion if you leave both drives in the system.

Now just rename your Savage by right clicking and clicking rename then get to swapping it into the chassis from the external enclosure provided by Kingston. That is one reason we love this kit, you can clone a Desktop or Laptop and everything you need is covered by the kit. Laptops tend to hinder high-end drive performance so we cloned from the Desktop to the External enclosure like you would for a laptop. Desktop if you choose you can go ahead and physically install the drive and do the clone a little faster.
Our clone went without a hitch just by following the instructions on Kingston.com/clone.