Gigabyte X99 SOC Champion Software
Over the past months Gigabyte has upgraded its BIOS and software, I’ve covered the BIOS but its time to jump into the software Suite. In general Gigabyte uses the same software Suite with all it’s boards and it merely evolves the software and includes it with all its boards. There may be exception to that on a board by board basis but I don’t know of any.
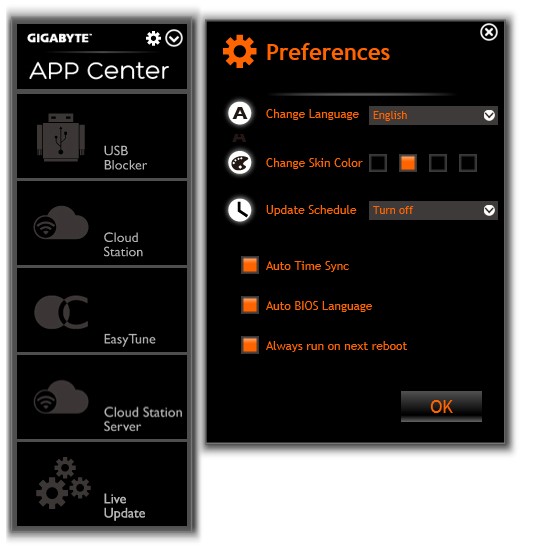
The root menu is named the “App Center” and shows the available apps in the left hand pane, since Gigabyte has them nicely arranged I’ll handle them in the menu order to avoid confusion.
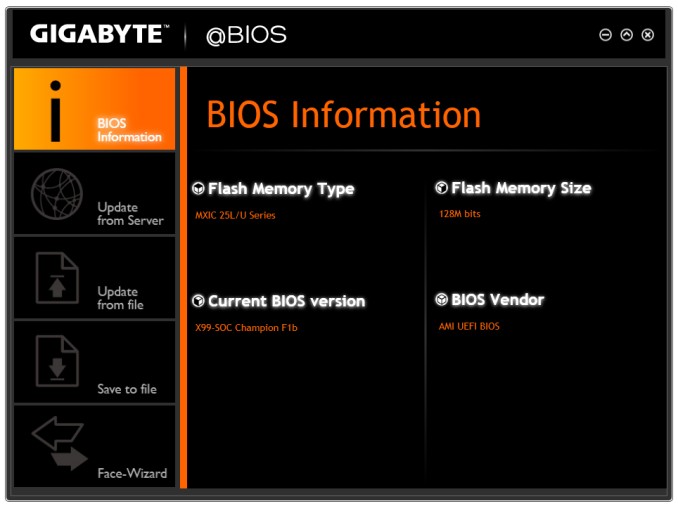
The @BIOS information screen shows us information on the Current BIOS size, revision and who wrote the BIOS (AMI).
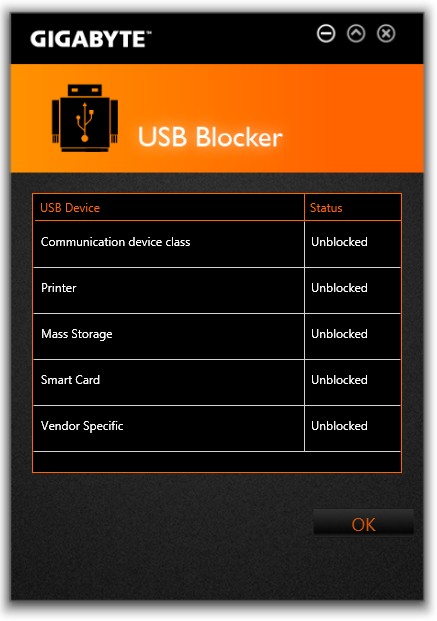
At first the USB blocker kind of threw me, a USB blocker bundled with an Overclocker board, but then both the price of the X99-SOC Champion and the fact that this same software suite will be bundled with other
Gigabyte Motherboards kicked in. Someone might purchase the board for a “Bosses” motherboard or even put it on all the desks at a workplace but in general less expensive non overclocker boards are used to save
money. Since the USB locker is on all the Boards going forward network administrators or bosses can lock the USB ports and workers can’t 007 any information out on USB mass storage devices.
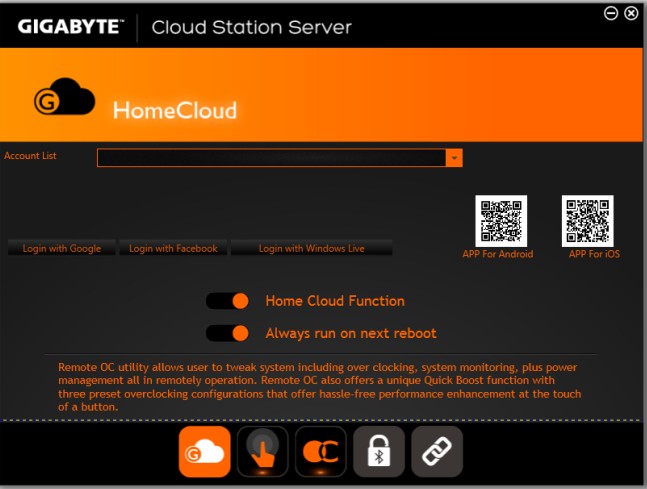
Cloud Station Server is a new guest in the Gigabyte suite and handles Overclocking remote control, WiFi hot spot functionality and Bluetooth connectivity based on the distance from a paired device. If a Paired Bluetooth device is greater than say 11 Meters from the computer the system can hibernate, that way it provides an extra level of security. Walk away for a cup of coffee and your phone is paired the system can hibernate, enable “Password required on return from hibernation” and bam prying eyes are locked out.
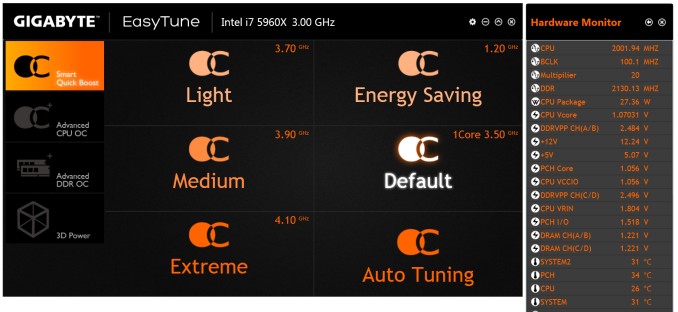
Slowly motherboard manufacturers are taking the casual overclocker out of the equation. I played with an I7 5960X (3GHz base speed) and Extreme Auto Tuning quickly set up a 4.1 base speed and with a couple
more runs stayed at 4.1 GHz. So EasyTune lives on inside this software suite and gave me a blazing 1.1 GHz overclock. Just be sure you have adequate cooling, these Intel chips have thermal shutdown and if they get to hot will shut down saving damage but it will give you a proper fright when it shuts down.
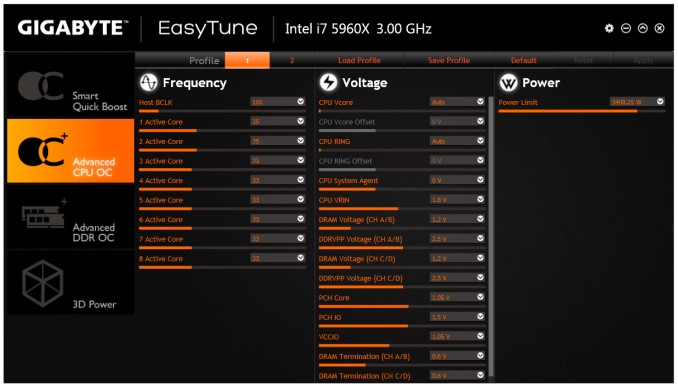
EasyTune also makes manual overclocking available and the offsets missing from BIOS are available here. Manually overclocking by software is still something I am trying to get used to but inevitably I find myself checking the BIOS parameters on reboot to make sure they are actually recorded and imprinted on BIOS. Remember you’re not paranoid if BIOS doesn’t record your change.You can also control your DDR OC from Advanced DDR OC and from 3D Power you can tinker with Load Line Calibration and adjust Phase Control.
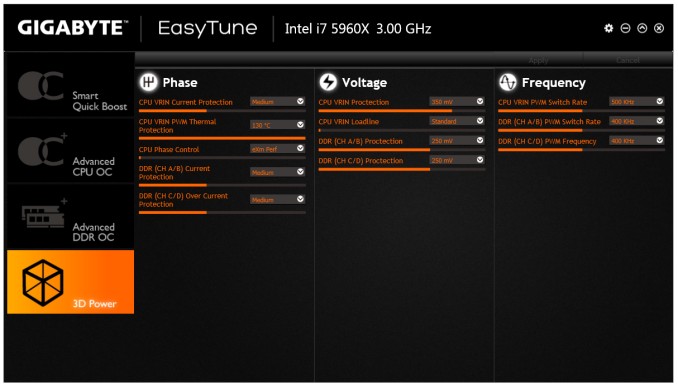
Here’s a shot of the Load Line Calibration and phase control screen. Once again I wish Gigabyte had placed all the OCing features in one place and given today’s OCing a minor tutorial on how to get started OCing.
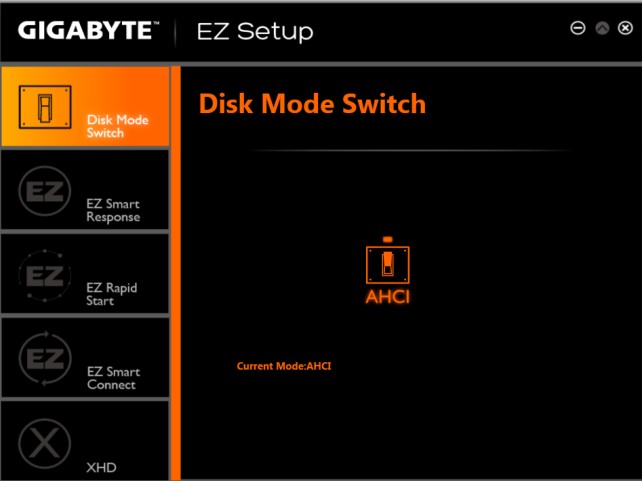
I don’t have much use for the Disk Mode Switch screen, since it doesn’t show me available devices and what port they are using if you switch modes here you are flying blind. I would hope and encourage Gigabyte to
expand the functionality of this screen.
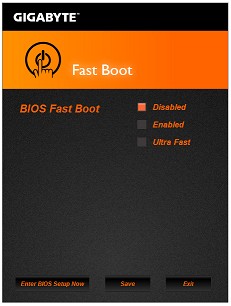
The Fast boot option was Disabled, Fast Boot and Ultra Fast boot options; you can also access BIOS directly from here. Fast Boot and Ultra Fast boot bypass some boot tests to get you to the OS faster. I generally leave Fast Boot disabled it’s just a few seconds to boot and the diagnostics may save some damage if they halt the system.
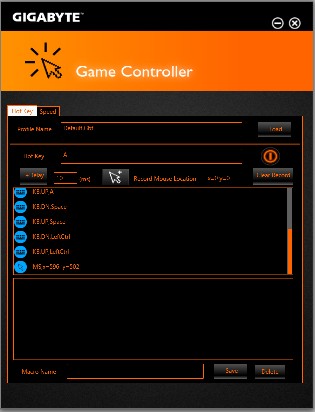
The Game Controller will allow you to generate Macros and has a Sniper mode that will increase mouse accuracy. The downside to the Game controller is one mistake on the macro and you have to completely redo
the macro as there is no option to go back and correct or move something. There is no tutorial for the Macro creator so I generally don’t use it and prefer a 3rd party Macro Creator with move by move Macro generation by simply moving through the action I want to record.
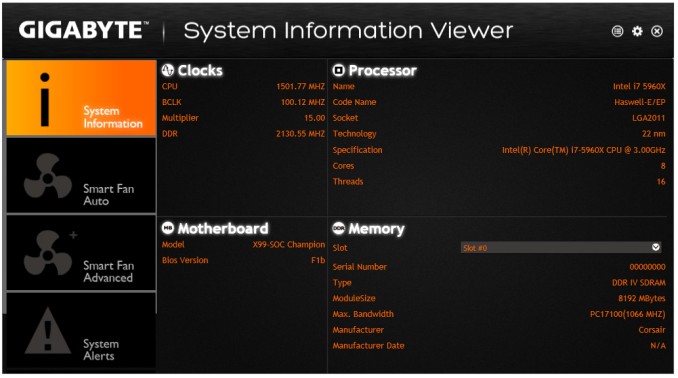
System Information Viewer shows you System Information, it also provides fan control. You can set fan profiles so that a fan or fans increase performance as heat rises. It’s a good idea to spend some time in the Smart Fan Advanced screen and set conditions for full fan speed. Kicking the fans to full speed during Ocing will help move heat out of the chassis.
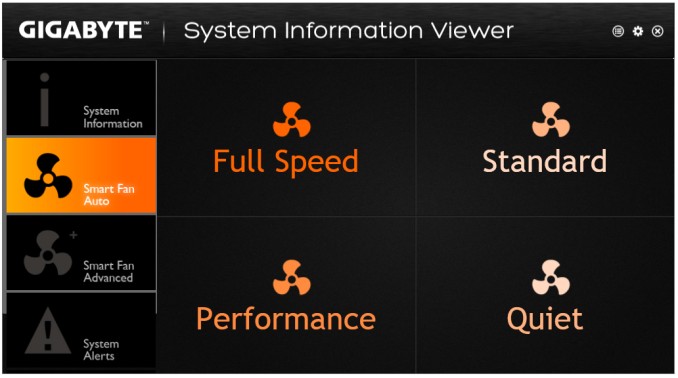
The Fan Tab under System Information viewer has the presets and I found them handy during overclocking. I prefer a whisper quiet machine for minute to minute normal operation but the moment I start overclocking I
want full fan speed (We need more power to the shields Scotty).
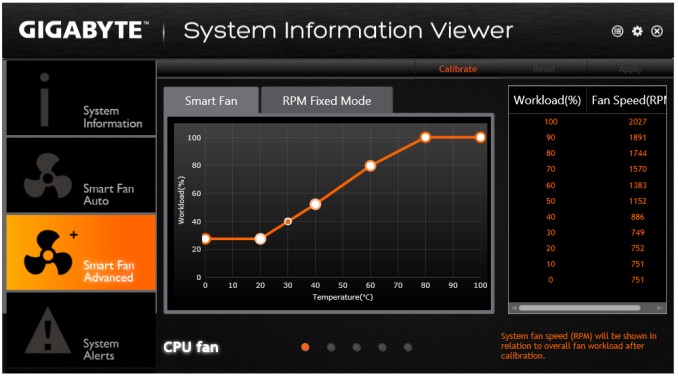
The Smart Fan Advanced page has a calibration option that will test and report on every fan in the system. If desired the end user can adjust the points on the graph using the reported test data. Gigabyte should probably invest some time here and automate the process, offer a snapshot of fan performance vs heat and let us adjust both manually and an automatic function by fan and aggregate.
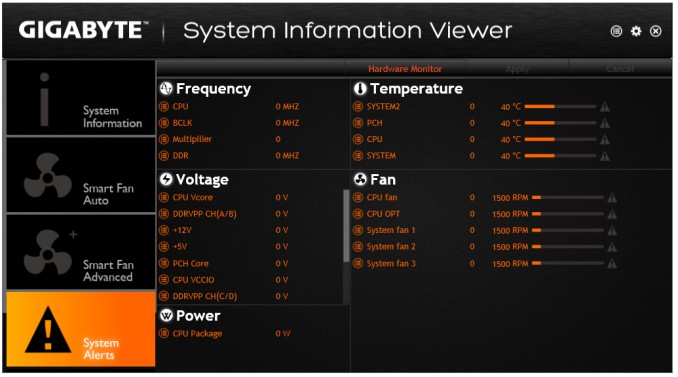
In the system Alerts tab you can set alarms to go off when certain temperatures are hit/exceeded or the Fans hit max speed. I set the thermal alarm to trigger at 80ºC and it worked quite well during OCing.
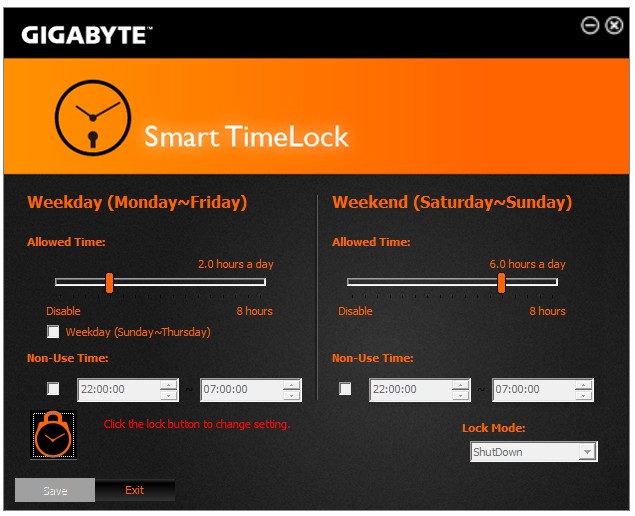
Smart TimeLock lets you set limits on when the computer can be used, handy for Employers to lock down machines during non-work hours and parents to frustrate the midnight children (husband) gamers.
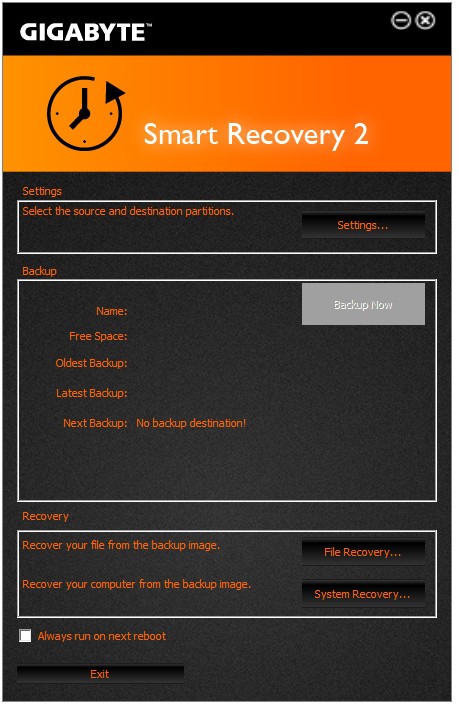
Smart Recovery Two will make a drive image and restore from that image in case of catastrophic hard drive failure or corruption. Gigabyte needs to look into this feature as well; the software has to be installed to restore the image, so to mount the image you have to re-install Windows and then the Gigabyte software to mount the image. That’s not what I call an elegant solution, might as well use Acronis which will boot and mount an image saving a large amount of time.
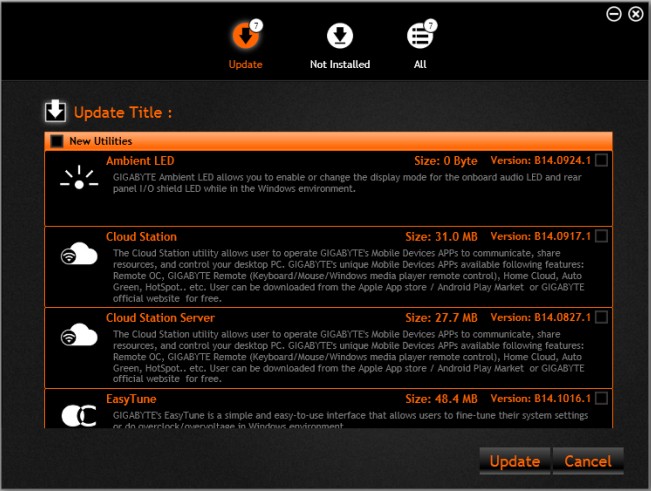
The Update App will find software updates for your Gigabyte Apps and install them for you. I tend to prefer installing them manually, let the system handle too many automated downloads and you get a crash you don’t know what was installed that caused the crash.
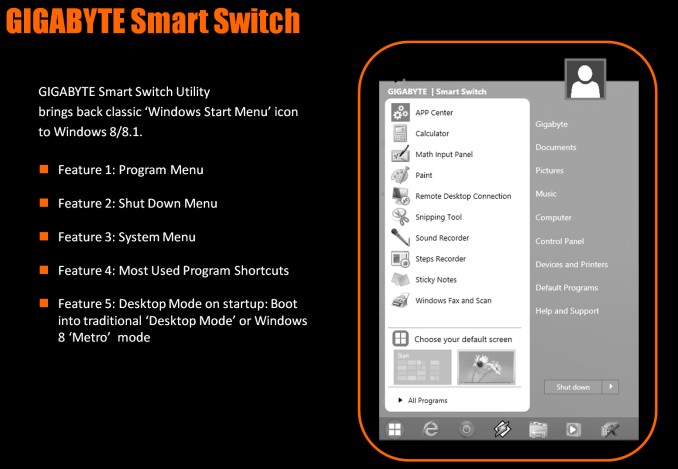
Lastly the Gigabyte smart switch will bring a Classic Windows Start Menu to Windows 8 and 8.1, a little late because other options for a Windows 8 start button exist but another option to the fiasco Microsoft created with the lack of a Start button in Windows 8.
 Bjorn3D.com Bjorn3d.com – Satisfying Your Daily Tech Cravings Since 1996

