ASRock Fatality X99X UEFI BIOS
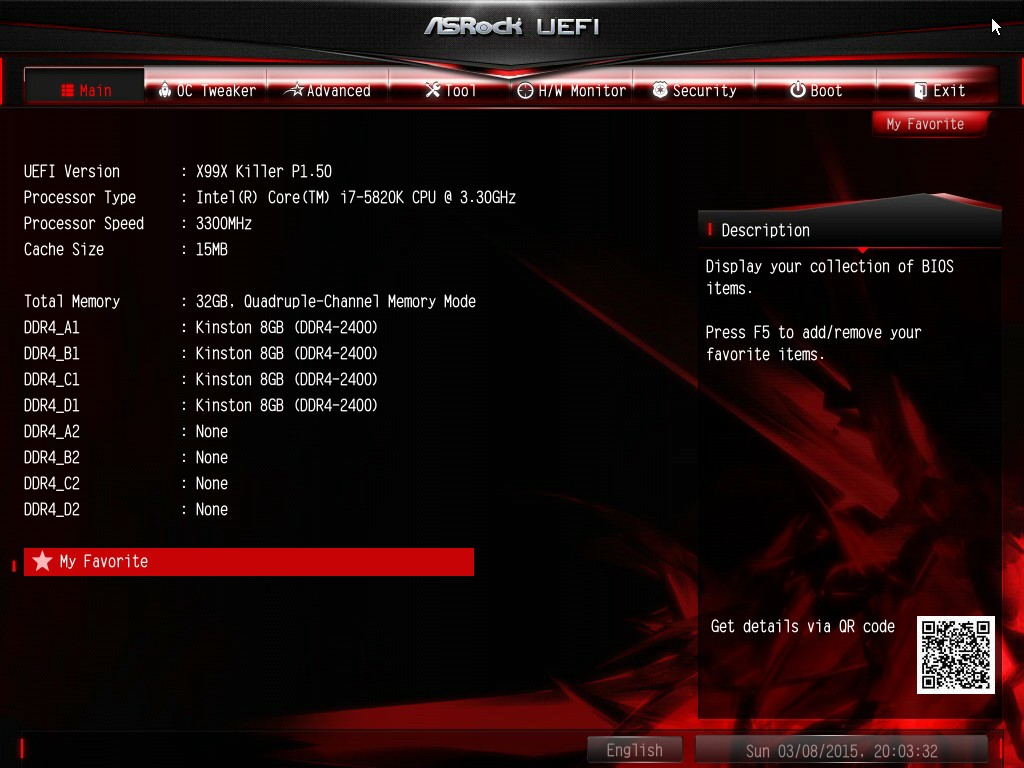
BIOS Main Screen – Shows some general information about your systems components. You can also initiate setting up a custom BIOS screen with your favorites so any whining you may have heard about not having an all-inclusive overclocking screen are null and void. You can create the custom overclocking screen of your dreams with a few mouse clicks.

Overclock Tweaker – This page is mainly a gateway page to the overclocking features however there is an option to load (in this case) 4GHz OC profile and XMP OC profile.

This is the CPU Config page under Overclock Tweaker you can set all cores to take the same setting or single out cores you want to OC if your going for single threaded world records. In this shot you can see the CPU ratio is set to 42 (42 X BCLK 100 = 4.2GHz) and is the result of a one click auto overclock that has been stable for 3 days.
r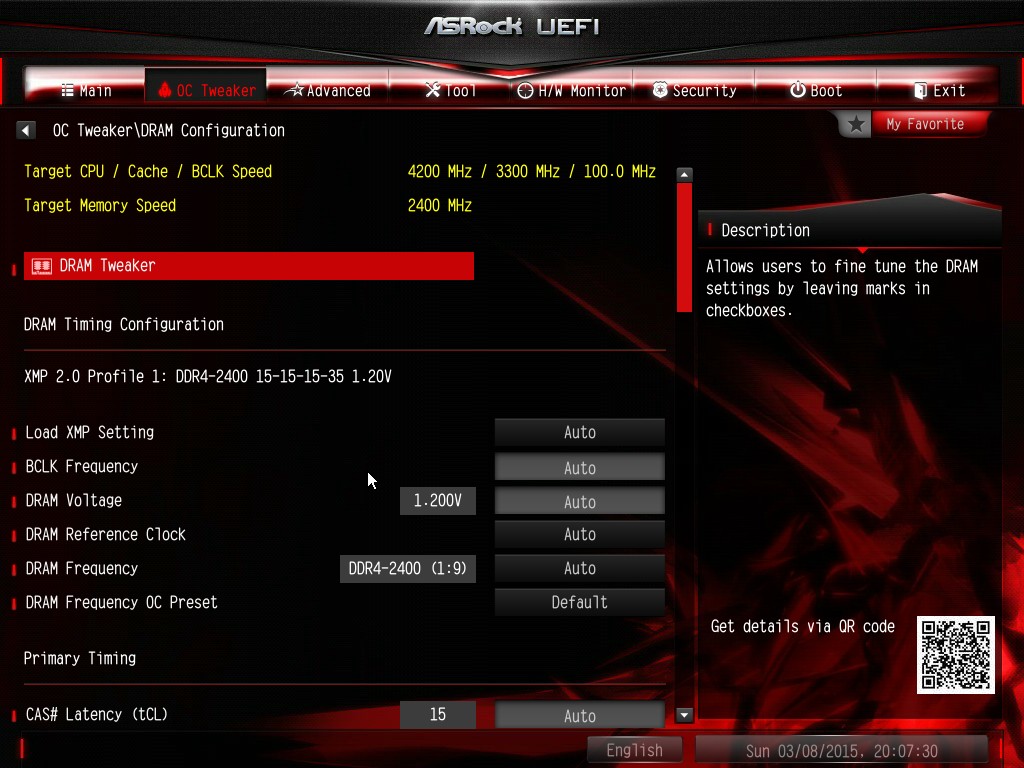
This is the OC Tweaker Dram Config sub-page where you can tweak out your ram or manually set the timings with the current excellent state of DRAM and it’s speeds I generally let XMP handle the ram settings.
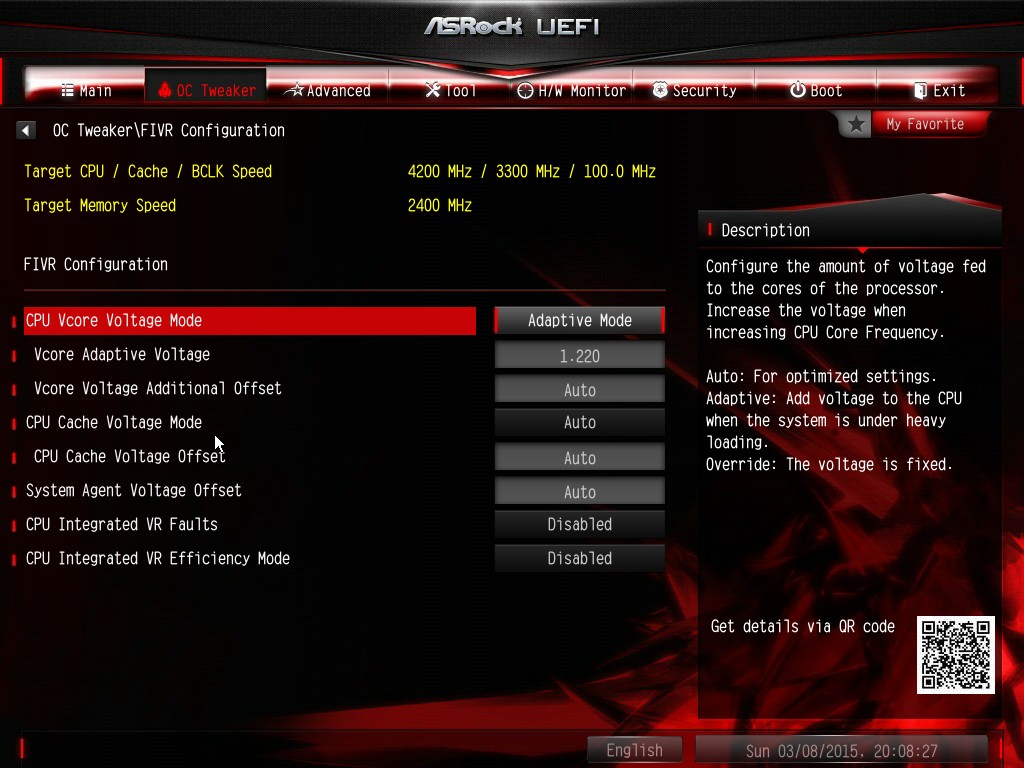
Overclock Tweaker/Fiver Config – Adjust the voltage to the CPU and dictate how it’s handled, adaptive or fixed, VCORE offset and cache voltage offset. I just went through the screens and created my own OCing command center,

This is the OC Tweaker Voltage control screen – Mostly dealing with the Dram Voltage and showing how a few other features are set.

This is the Advanced screen – Gateway to sub-screens for CPU Config, Storage config, USB settings it’s a pretty nice setup with sub-menus laid out in a logical manner but at times a little confusing to navigate due to the complexity and richness of the UEFI BIOS.
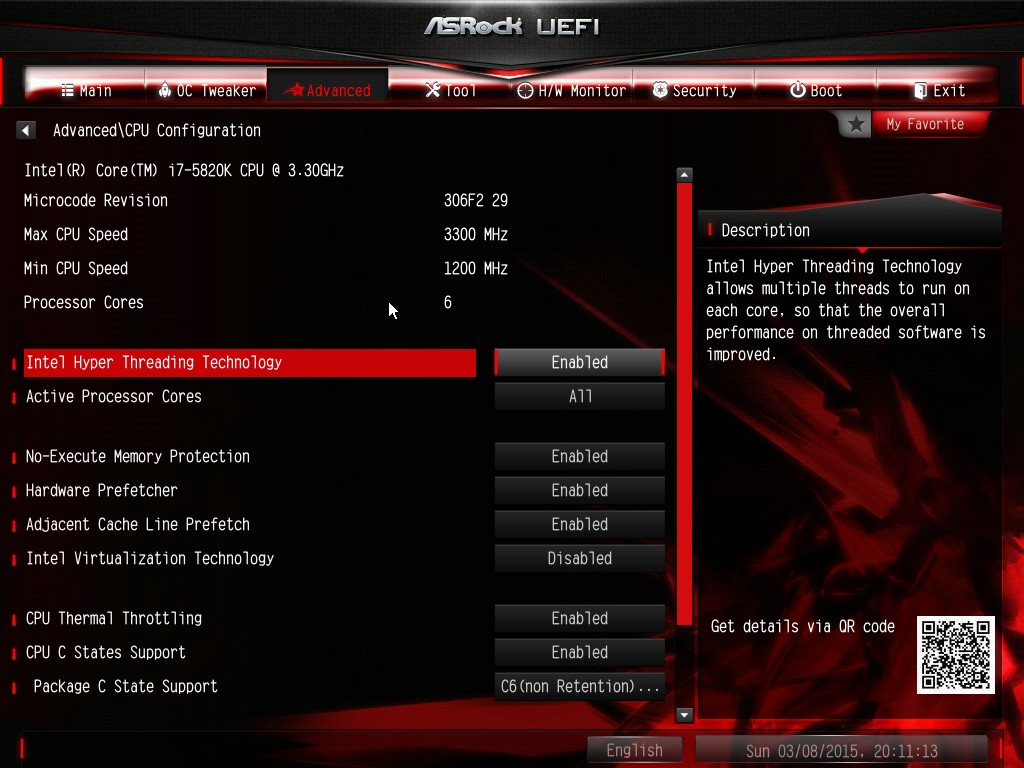
Advanced CPU Config – I’m sure you can see what I mean about confusing at times, so far I’ve seen CPU and advanced CPU settings on 3 separate pages. It would be handy to put a Star beside repeated or redundant settings. Overclocking sessions can run into long hours and with long hours come tired eyes and repeating all the settings on multiple screens can cause brain death errors. (Did I set that? Well let me set it just in case). fortunately on the MAIN screen there’s a bevy of profile save slots a feature I use religiously.
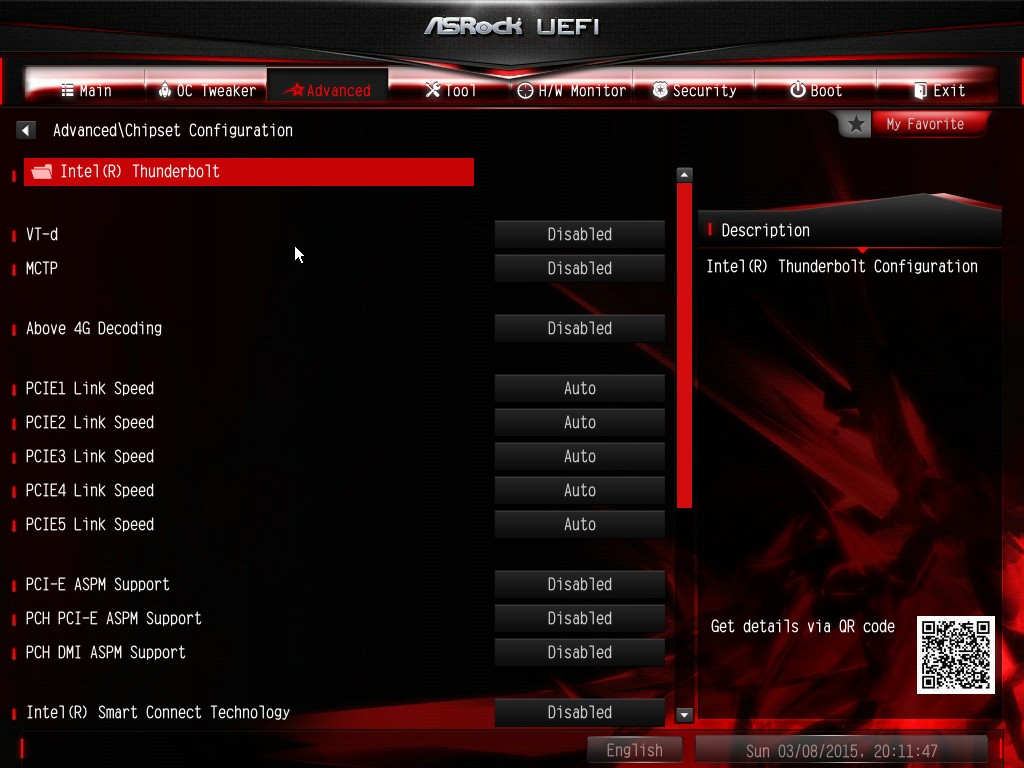
Advanced Chipset Config sub-menu – Mainly PCIe link speed, Intel Thunderbolt and Intel Quick Connect Technology.

Advanced/Storage Config – Various storage settings and where you initiate RAID arrays. Pay attention to where you plug in any drives you want in a RAID array and ensure they are plugged into the SATA ports and not the S_Sata ports. On the board itself facing the SATA ports that would be the left hand side. If the RAID array setup fails you may need to move the drive to another machine with an OS and completely remove all partitions from the drive. I had a happy little OCing accident and lost my SSD Raid Array and spent a couple of hours figuring out why the machine saw the drives in BIOS but not on windows setup. Moving the drives to a handy external enclosure and deleting all partitions solved the problem nicely.
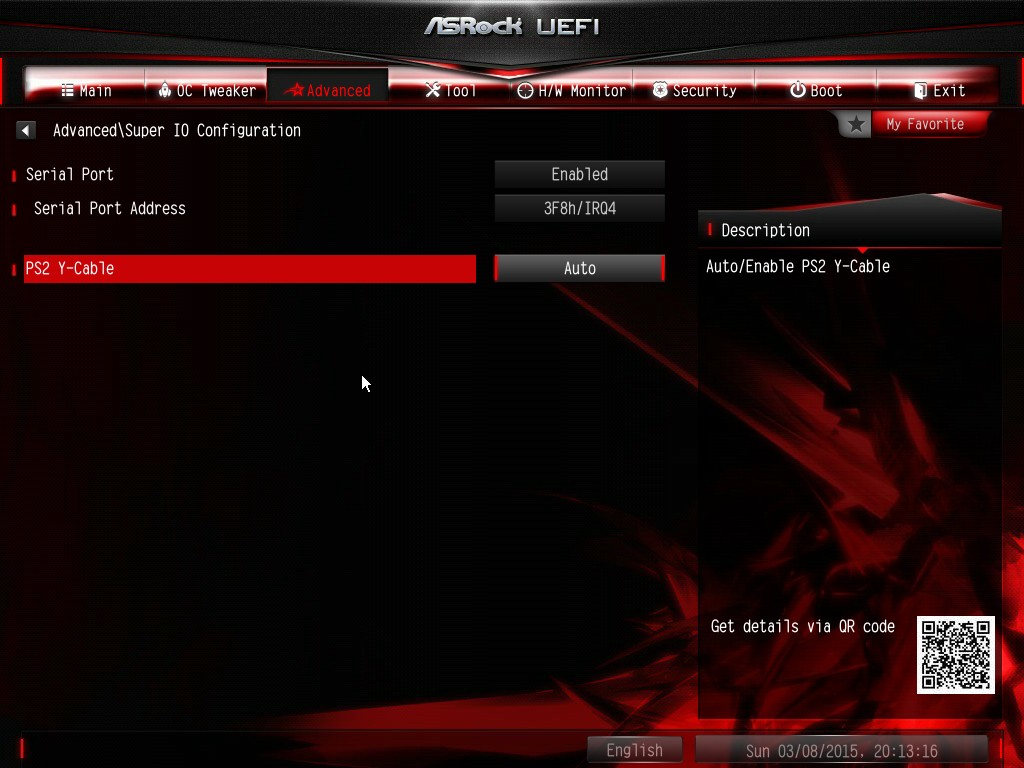
Advanced IO Config – Legacy serial port still used by some manufactures partners for testing various modules. It’s an internal header and not actually a serial port on the rear I/O panel.
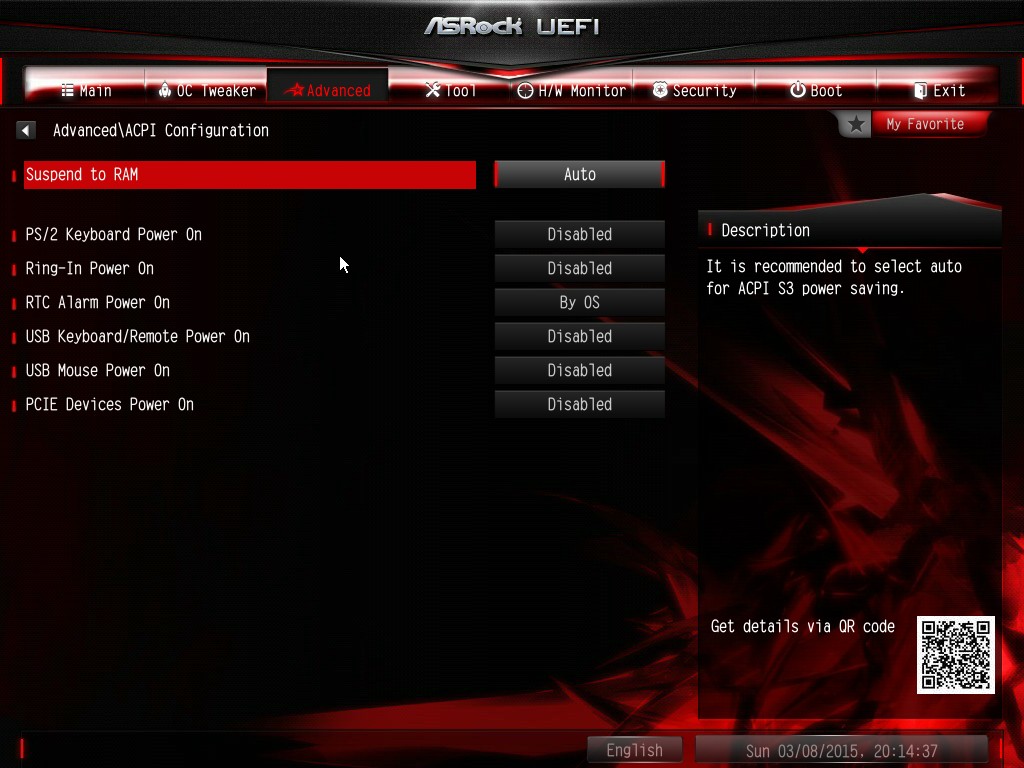
Advanced ACPI Sub-menu – set things like power on states, power on keyboard or mouse etc.

ADV USB Config – You can turn off USB completely here or tell the USB ports how to function as in allow legacy USB versions. Often set to off for office machines and turned off for overclocking to minimize hardware clutter during overclocking.
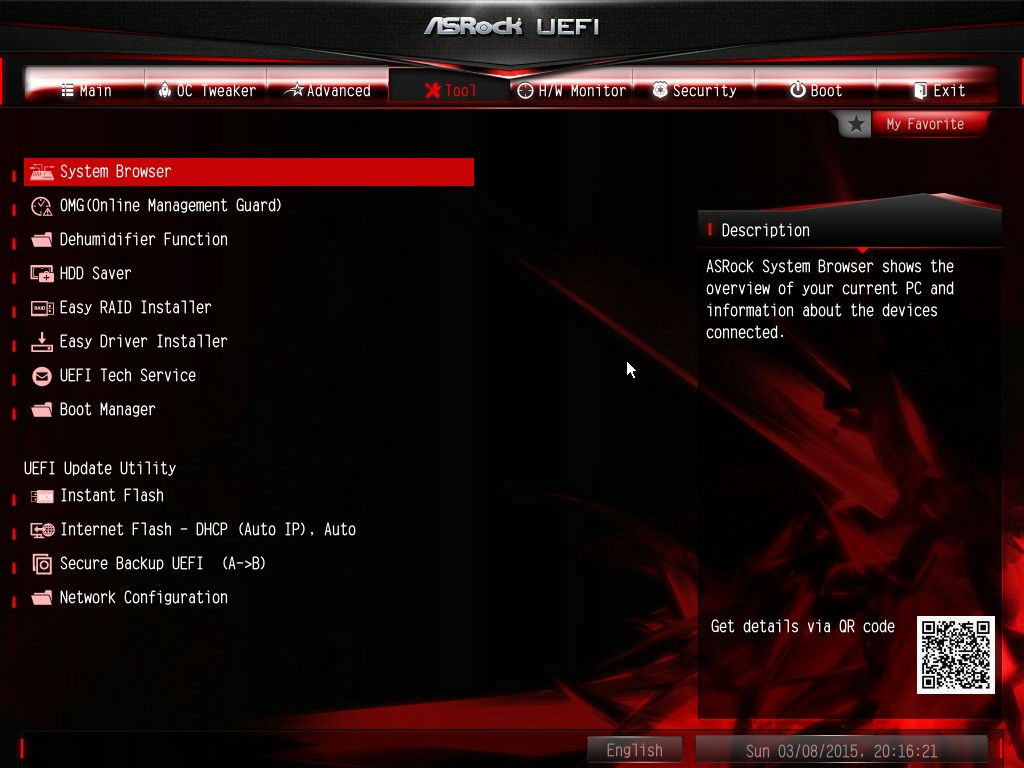
Tool menu tab – This one is a kind of catch-all for a bunch of functions so I’m just going to list them here.
- System Browser
- Online Management Guard
- Dehumidifier
- HDD Saver
- Easy Raid Installer
- Easy Driver Installer
- UEFI Tech Service
- Boot Manager
- Instant Flash
- Internet Flash
- Secure Backup UEFI (Bios A to Bios B)
- Network Configuration
Quite the mish mash collection of tools, the HHD saver function can enable or disable the HHD Saver feature on the motherboard, Instant Flash you need to have your BIOS on a flash drive inserted, Internet flash WiFi won’t cut it you need a wire direct to the router. The dehumidifier is interesting and much appreciated here in the Phoenix desert valley. The Easy RAID Installer you insert the support disk and it puts the RAID drivers on the Flash drive for you. Most interesting you can send a support request from here good idea but usually if I need support the machine isn’t loading at all and I need a sledge-hammer more than support.
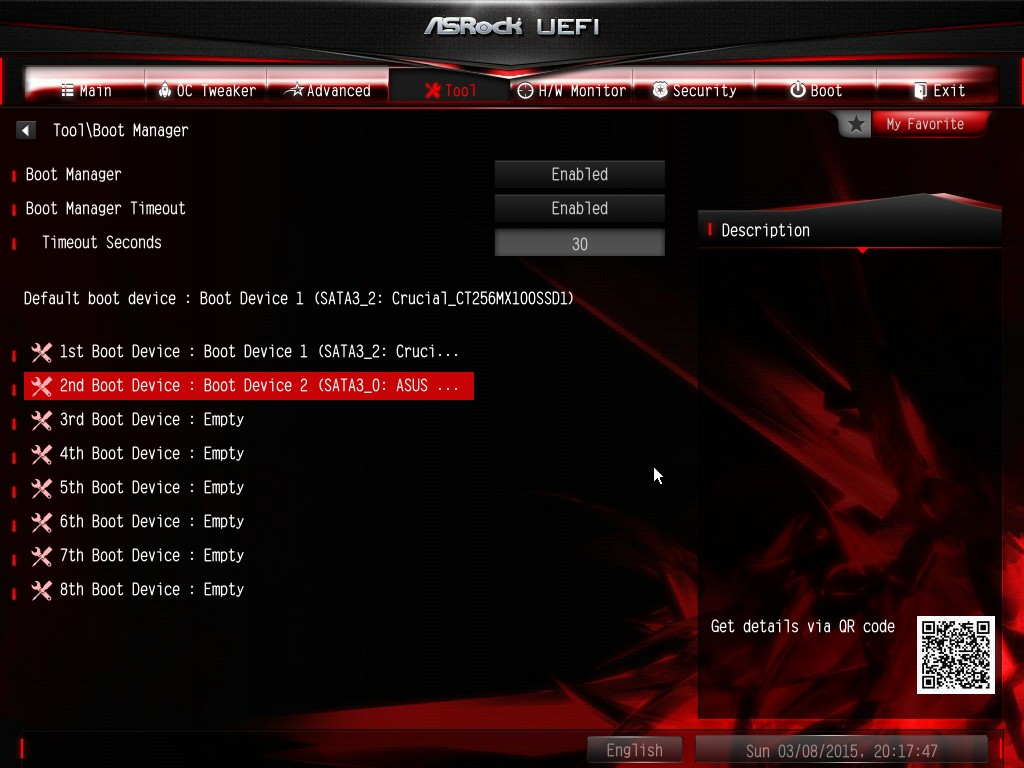
Tool Boot Manager Sub-Menu – Again a little confusing because there’s a “Boot” tab so this screen seems a little redundant. I didn’t try setting one to boot to the optical and one to the SSD but that would be an interesting test.
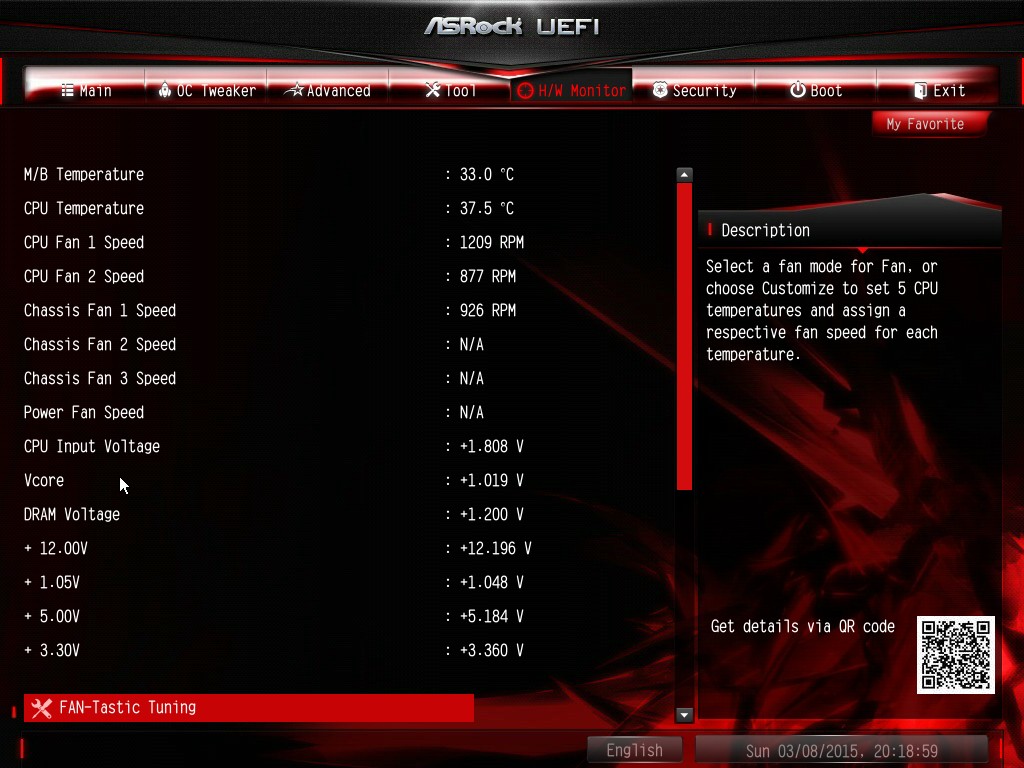
The hardware monitor is a great place to check and see if fans and such are running correctly. Oddly enough the Thermaltake Water 2.0 I’m using and have plugged into the CPU fan header doesn’t show up at all. I’m looking into that and may update this later. System temperatures are also stored here and some accessible through the F-Stream Easy OC software. There will be OCing screenshots later but with CPU-Z loaded, Real Temp, OCCT and F-Stream Easy OC I had all the information and overclocking controls I needed at my fingertips. I normally don’t like software overclocking and prefer to do it old school in BIOS but I felt entirely comfortable doing it from F-Stream Easy OC with the indicated additional software I loaded.
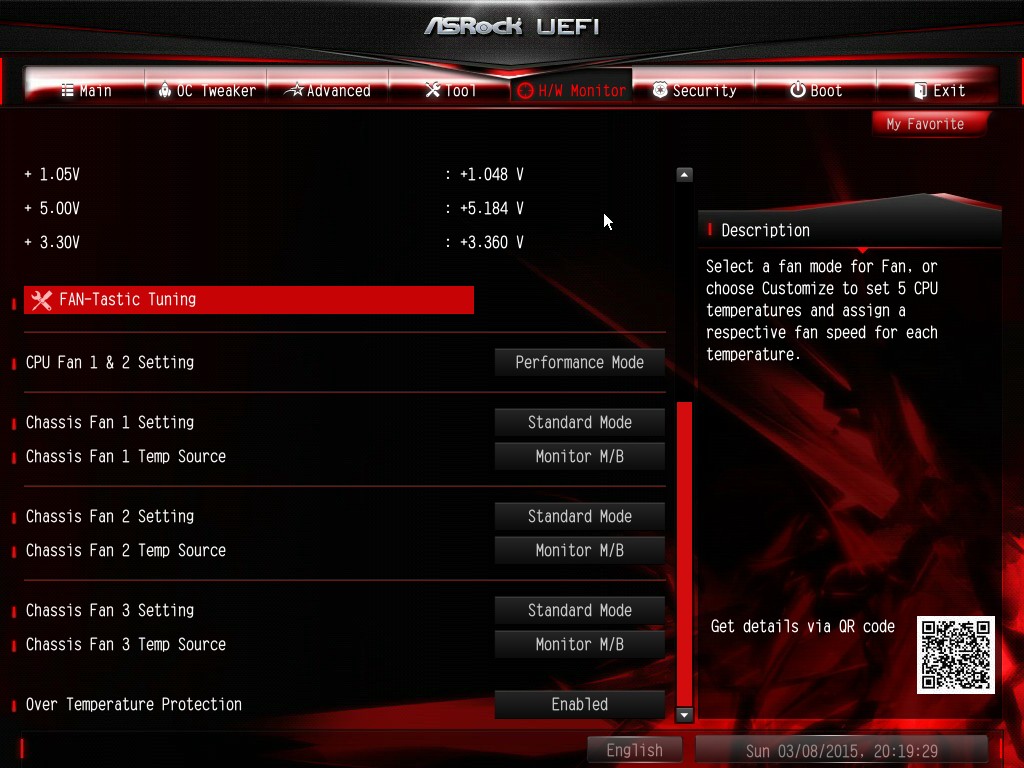
Just the bottom of the HW Monitor screens with a few things the first screenie couldn’t capture.
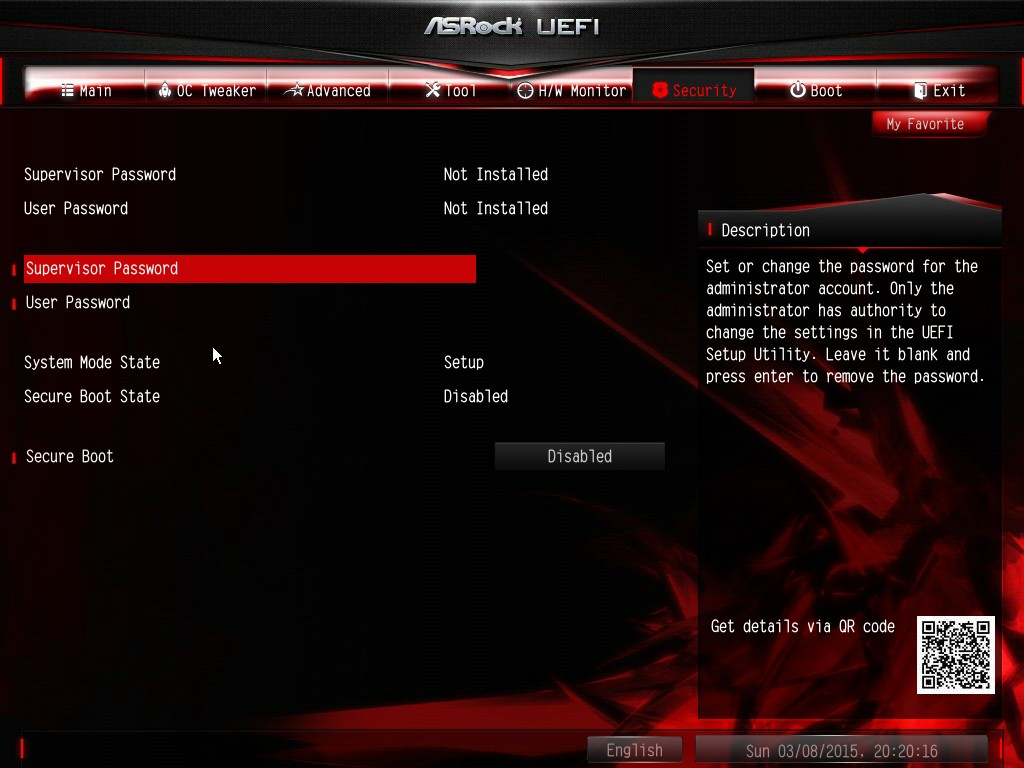
Security Tab – Just what it says system security and passwords.Just a little hint here, if you set a system password in BIOS don’t forget it. I suggest using a zipping utility with security encryption and storing your passwords in one self extracting zipped up file. That way as long as you know the password to your password file you won’t get locked out of your machine.
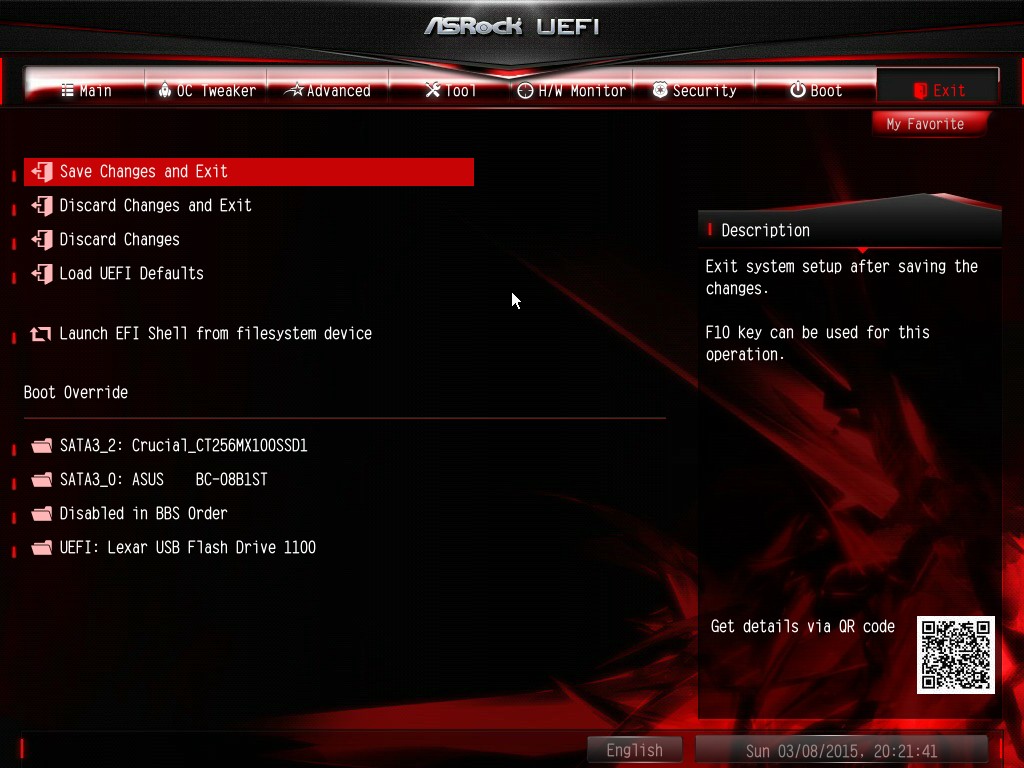
Standard save and exit kind of screen. Save and exit, discard changes and exit ect.