Closer Look – Outside
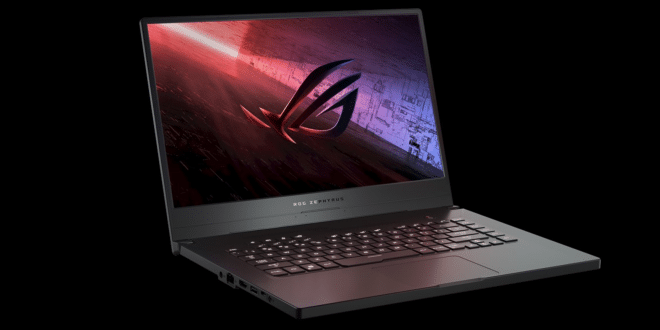
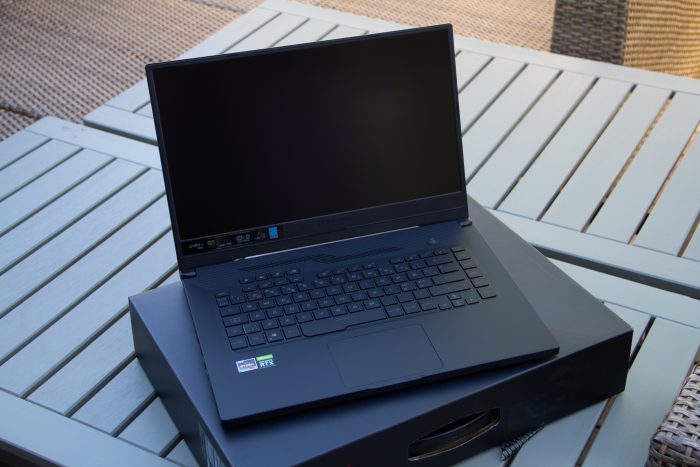
The ASUS ROG Zephyrus G15 is pretty slim laptop. It is not as slim as the ASUS ROG Zephyrus G14 but I still think it is pretty slim for a gaming laptop. The height is just under 2 cm. The screen has a larger bezel at the bottom but otherwise thin bezels all around.
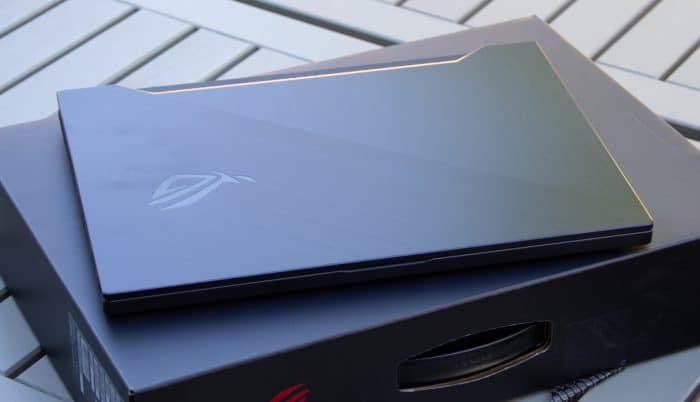
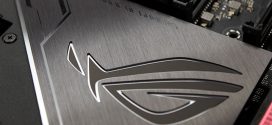
The laptop is made of a plastic material and not metal like the Zephyrus G14. I don’t have any against this as it still feels nice but it really does attract oily finger prints. I had to clean them off several times per day. The ROG-logo on the top of the laptop does not light up and is pretty unobtrusive for a ROG-product. No flashy RGB on this laptop which I personally do not miss.
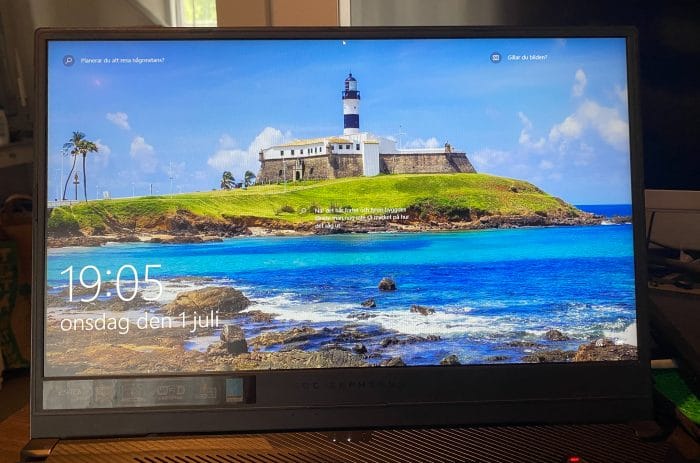
It is of course hard to take a photo that shows off the screen. I found the screen very good. It is bright (up to 300 nits, I set it to 40% as I do prefer a less bright screen when working/gaming) and has very good colours. Unfortunately I did not have my colorimeter with me but other reviews have shown that it does indeed have close to 100% sRGB-coverage. There is a larger bezel at the bottom but the bezel on the sides and at the top is pretty thin. In comparison the bezels of my Surface Laptop 3 are almost double the size.
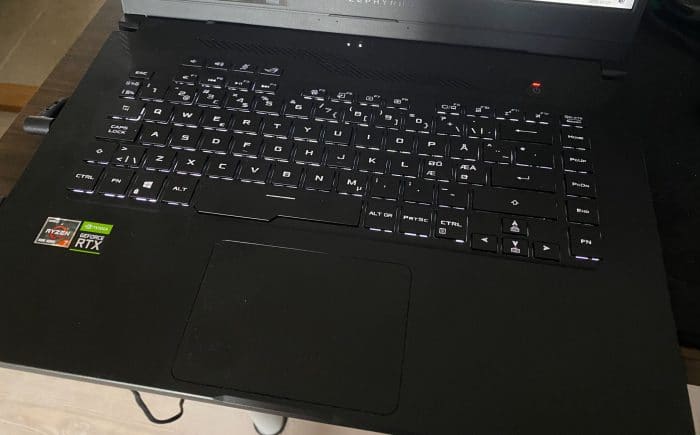
The keyboard is pretty shallow but ok to type on. I’ve used it for a few weeks and after some time to get used to it I had no issues coding with it or writing longer pieces (like this review).
The keys have a white back light that lights up the characters on the keys as well as have a bit of light bleed around the keys, the latter being a bit annoying if you look at the keyboard from an angle. Two things I am not completely happy with is that the space-bar is a bit moved to the left and that the enter-key is of the smaller type.
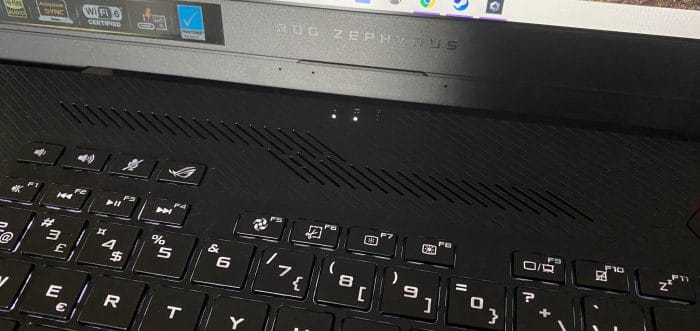
There is a lot of extra functionality of the F-keys as well as a few other keys when combining them with the FN-key. You can change the screen brightness, the brightness of the keyboard-back light, change the setting for the cooling and much more.
The track pad is pretty big and works well. It supports various gestures and multi-finger taps. I prefer using a mouse but found using the track pad working well enough when I needed to.
Above the keyboard you find one of the outlets for warm air. I will check the temperature there later when running the machine at full load. There are three tiny led’s here that show if the laptop is on, if it is charging and when the storage is accessed. In this image you also can see a few of the etra features that you get with the F-keys as well as some of the extra keys that exist.
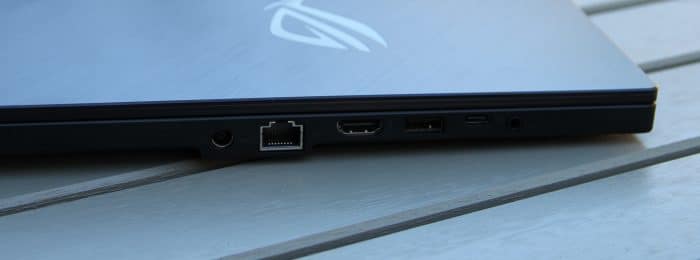
Moving to the left of the laptop we find the first connectors. Here are the power-connector, gigabit ethernet, HDMI 2.0b, one USB 3.2 Gen 2 Type-C with DisplayPort™ 1.4 and Power Delivery, one USB 3.2 Gen 1 Type-A-port and a 3.5mm headphone and microphone combo jack.
The USB-C-connector actually can charge the laptop although much slower than the regular power brick. Since Thunderbolt 3 is Intel-technology we do not get it here. The USB-C-connector still can be used with a screen.
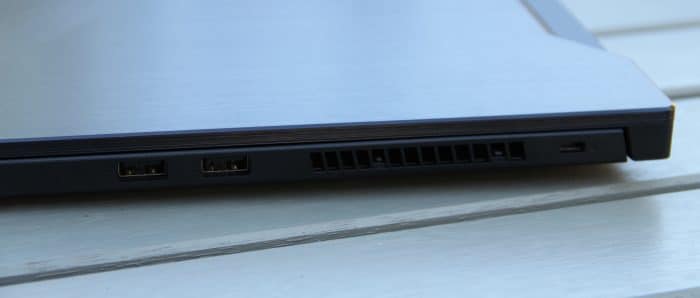
Moving to the right side we see a large vent where hot air is being pushed out. In addition to this went is the hole for a Kensington lock as well as two more USB 3.2 Gen 1 Type-A-ports. I’m a bit disappointed that we only get one USB-C-port. Missing is also a card-reader which would have been nice.
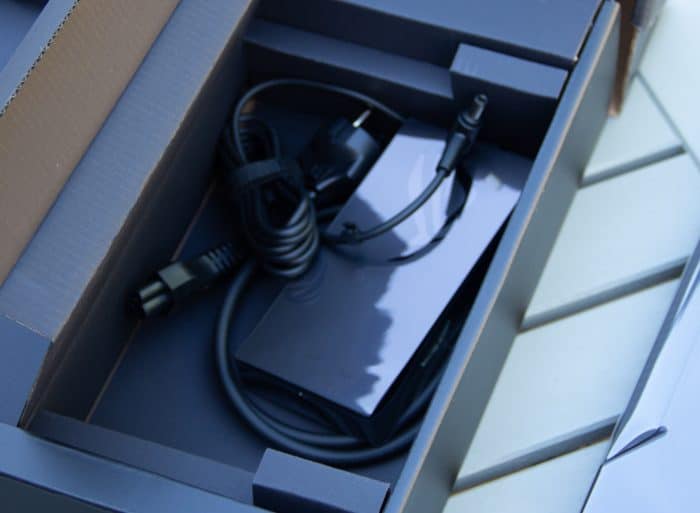
While you can charge the laptop with USB-C the main way to power it is with the 180 W power brick that is included. if you want to game at full performance this power brick is needed.
 Bjorn3D.com Bjorn3d.com – Satisfying Your Daily Tech Cravings Since 1996
