Test Rig & Overclocking
Our testing has changed a bit with Windows 10, as we disable automatic updates so that the machine isn’t downloading updates while we test. We clear the cache and prefetch before test runs, and disable the firewall and virus scanner. Windows 10 is updated as much as possible and we manually go on and select updates applying all patches and updates prior to beginning the testing. We run a single SSD or multiple SSD’s so there’s no drive indexing going on. We shut down the Internet to insure no background task is checking for updated virus vefinitions. All non-mandatory system-tray icons are closed.
The Windows install is done fresh for every review, and we install all the latest drivers and utilities for the motherboard. We leave the system at the normal overclock (in this case 4600MHz) but the RAM is left at factory speed for benchmarks. We do run a picture of the stock speed benchmark on one benchmark, then run an overclocked benchmark to show the boost you get from the overclocking.
| Test Rig “Quadzilla” |
|
| Case Type | |
| CPU | |
| Motherboard | |
| RAM | |
| CPU Cooler | |
| Hard Drives | |
| Optical | Liteon DVD Burner |
| GPU | |
| Case Fans | 1 x 180mm Mosfet / CPU / RAM cooling fan 1 x 120mm PCI-E Cooling Fan |
| Docking Stations | None |
| Testing PSU | |
| Legacy | None |
| Mouse | |
| Keyboard | |
| Any Attempt Copy This System Configuration May Lead to Bankruptcy | |
Overclocking

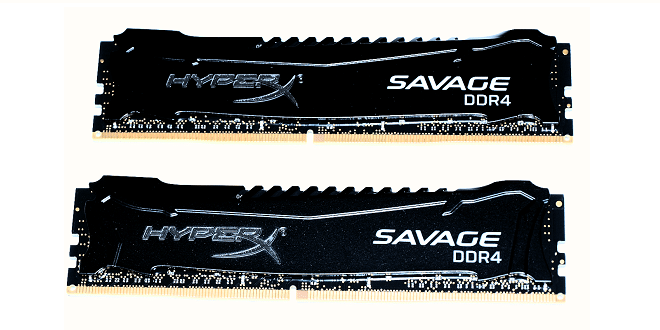
To be honest, we don’t really expect much OC out of the Kingston HyperX Savage 16GB kit. The Savage kit is already pretty tightly wound at 3000MHz 15-16-16 and without loosening the timings we probably won’t get that much OC. We are already running 3000MHz so any OC we do get is just nice little bonus to these blazing fast sticks.
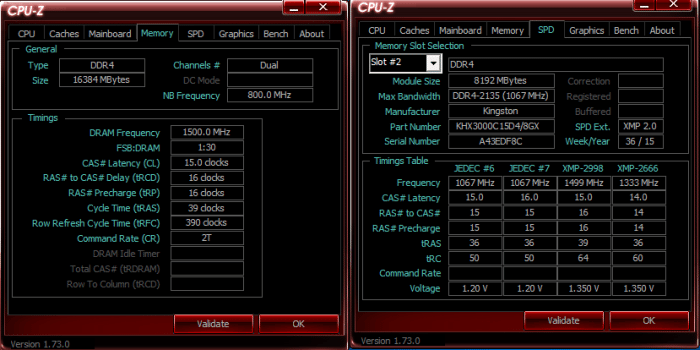
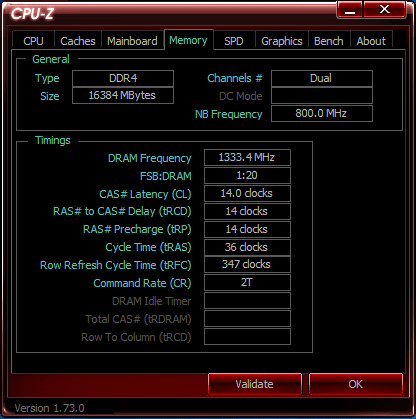
Here we are with the stock shot of CPU-Z showing the kit booted into 3000MHz 15-16-16-39 and 2T. We saved our OC on the motherboard to a profile and reset CMOS. Once CMOS was reset we installed the Kingston Savage 3000MHz dual-channel kit, set the BIOS to XMP 1 and it booted right into Windows just as stable as could be. It was a simple matter to put back the same settings we had to get back to our 4.6GHz day-to-day OC. Just to be safe, we upped the VCCIO and System Agent to 1.5v and bumped up the PCH the same 1.5v and everything ran smooth as glass at 4.6GHz.
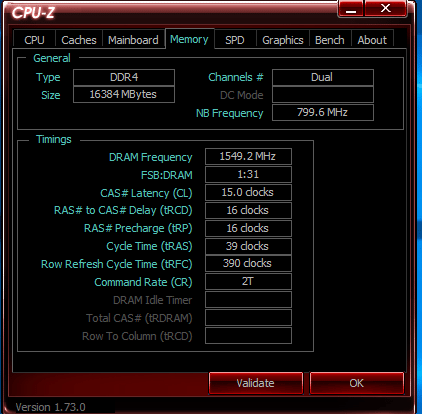
We set the divider for 3100MHz and we got a failed boot, so we upped the RAM voltage to 1.4v and booted into Windows 10 nice and stable. We tried for 3130MHz at this voltage and got a no go, and 1.4v was all we were willing to go to on the kit so we called it good. Over-volting RAM for any sustained period will degrade the longevity and potentially kill your RAM, be it a fast or slow death, and this kit is just fast enough without needing to squeeze more out of it.
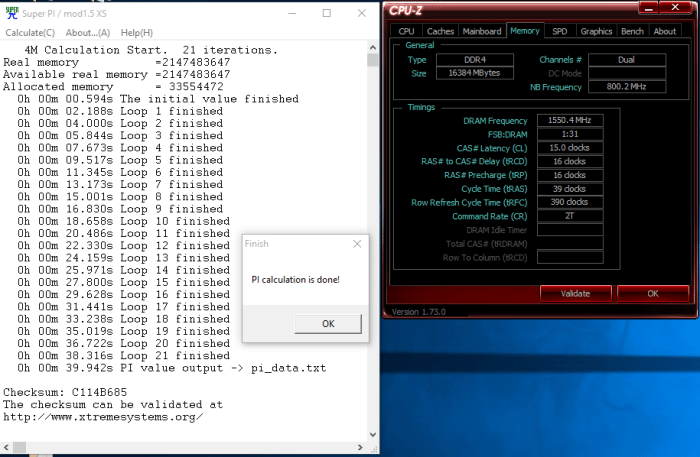
We ran a bunch of tests at 3100MHz and all were stable; here’s a shot of SuperPi running a 4MB test. We ran a 32MB test as well, and it ran stable as did Wprime, Realbench, and every other benchmark we threw at it. What did we do after benching it at 3100? We reset it to 3000MHz at 1.35v because that’s just fast enough; no need to over-volt an already blazing fast kit, except for glory runs and benchmarks.
The memory controller on Slylake CPUs (so far the 6700K and 6600K) is built into the CPU itself, so different CPU’s will be able to run memory faster than others. If you should get unlucky and get a CPU that doesn’t like uber-fast RAM, or you don’t have time to tune it right now, Kingston included a really nice 2666MHz 14-14-14-36 XMP profile. We like the 2666MHz 14-14-14-36, as well as we do the 3000MHz 15-16-16-39, but we digress. In case your CPU is a little finicky, there’s a preset profile for a really tightly timed kit of 2666 at 14-14-14 at 1.35v there for your convenience.
 Bjorn3D.com Bjorn3d.com – Satisfying Your Daily Tech Cravings Since 1996
