Storage Manager and Backup Station
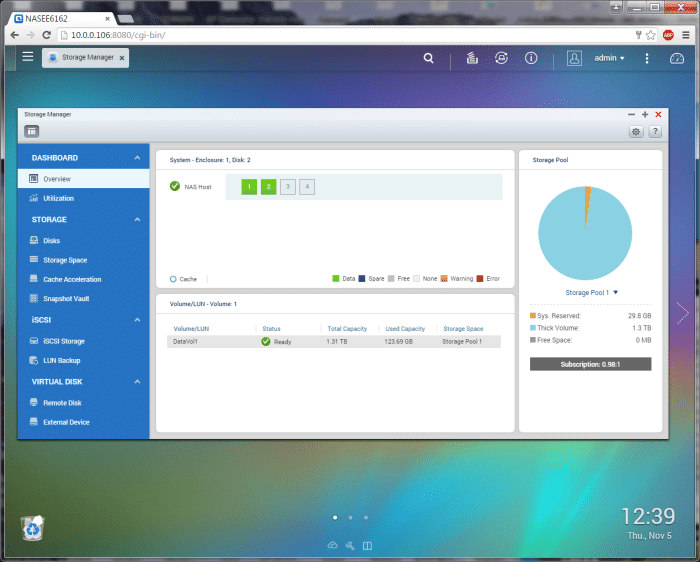
Visually, the Storage Manager has not changed much, but it has gained quite a few features. The 4.2 version of Storage Manager has added the ability to monitor HDD allocation status for RAID groups, in addition to individual HDD information. The QTS 4.2 Storage Manager displays all available storage pools, volumes, and iSCSI LUNs on the same screen for easy setup and management of storage configurations. The current pools and volumes can be expanded and removed and the threshold can be adjusted without interruption of services. Both thin and thick provisioning are supported. With the 4.2 firmware, data migration is also improved with JBOD expansion enclosures requiring no network connectivity. Versioning control and snapshot are added so that you can roll back data incrementally.
We tried to configure the Storage Pool with a 120GB SSD and encountered an issue where the minimum storage space required is 144GB. So if you plan to use SSDs as your primary storage pool, be sure to verify that there is plenty of space for it. During the setup process, we have the option to configure the snapshot reserved space from 5% to 20% in 5% increments. The default 20% is selected.
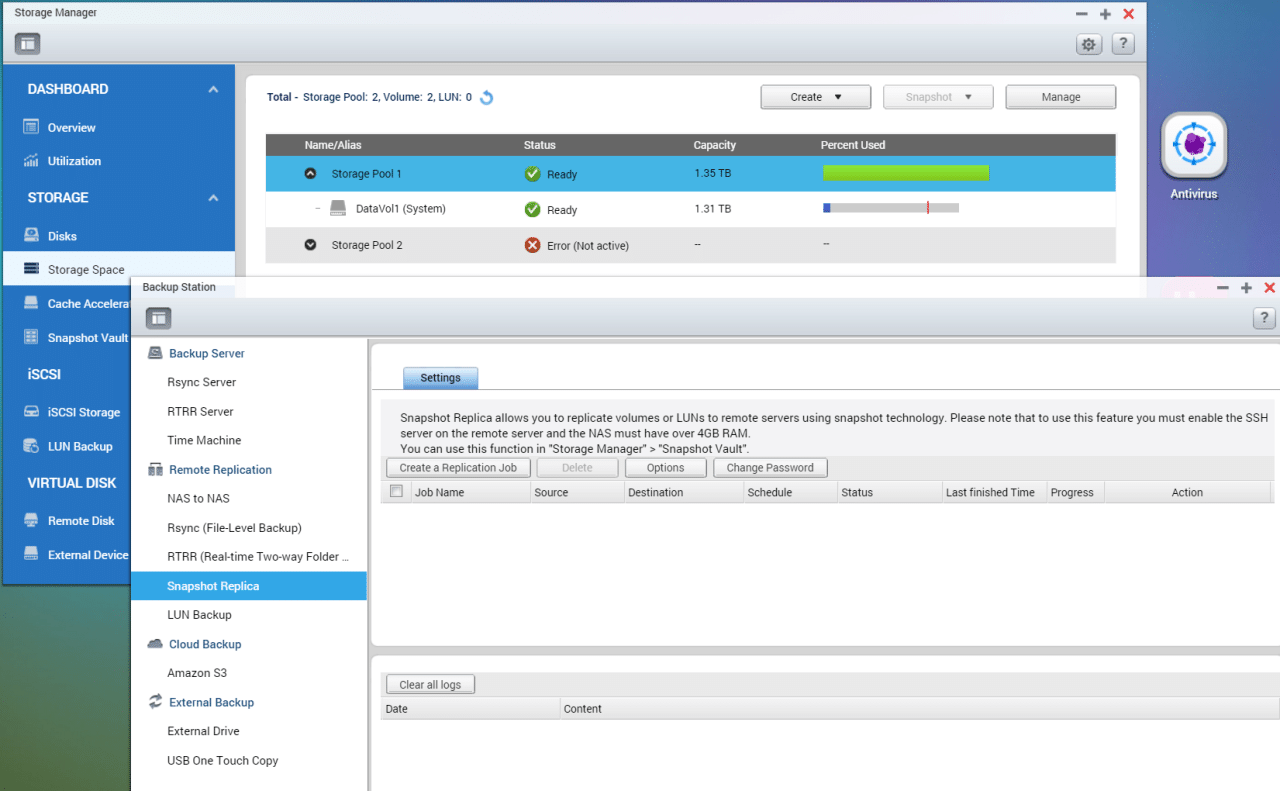
The Storage and Backup functionality are intertwined under Storage Manager, and we have some options for the snapshot and LUN backup controls, but if we are looking for more options, we would want to use the Backup Station. Having the option on both Stations can be a bit confusing at first, as if you navigate to the Snapshot Vault under the Storage Station, it directs you to to the Snapshot Replica under the Backup Station for setting up the backup of the snapshot. Basically, the options under the Storage Manager let you keep copies of your data on the NAS, while the options under the Backup Station let you duplicate data on the NAS to another destination.
SNAPSHOT
The Snapshot feature has finally made it to the NAS where we can quickly return to a particular state in the event of the data loss. Unfortunately, if you are coming from 4.1 firmware or older, then you must rebuild the volume in order to take advantage of this feature. While we don’t think this is going to be an issue for most users, as the majority of users would probably be buying their first NAS and setting the device up for the first time with the latest firmware. However, for existing NAS users, it is a major pain to have to go through the process of rebuilding the volume; something that we wish QNAP would offer a much simpler way to migrate the data without the time-consuming task of rebuilding. Still, we think it’s a great feature where it is definitely worth your time and effort to take advantage of this feature.
Taking a snapshot is a breeze where we just navigate to the Storage Manager’s Storage Space and we are able to take a snapshot manually or schedule an automatic snapshot. Here, we just give a name to the snapshot and set the expiration period for automatic deletion to free up the storage space. We do also get the option to set it to never expire.
Once a snapshot is created, we can mange it by going to the Snapshot Manager where we have greater control over the snapshot. We can schedule a periodic snapshot so the NAS will automatically backup data at a given interval. Currently, you can take up to 1024 snapshots for each volume and 256 snapshots for each storage pool. If you opt for the manual snapshot then the entire storage volume would be duplicated instead of incremental backup, so it can be rather time consuming and takes up quite a lot of space on the NAS. However,the scheduled snapshot does provides the “smart snapshot” where it will only create a snapshot if there are changes that have been made to conserve some space. The NAS will automatically delete older snapshots when it reaches the limit.
The snapshots are placed under the root folder of the storage volume, but are hidden at default settings, which users have the ability to enable. Once enabled, the last 10 snapshots will be mounted and files can be seen under File Station or using CIFS/SMB/AFP services in read-only mode. To recover data, we have the option to clone the entire snapshot so we can do a full recovery. Additionally, we have the option to recover certain files if we select a particular snapshot point. When selected, we are presented with a file manager where we can select the files or folders that we wish to restore.
While QNAP does not offer the option to save a snapshot to a different volume or drives, it does offer a few ways to backup the snapshot. With the Backup Station application, we have the ability to replicate the snapshots to a remote server or to another NAS devices. To use this feature, the NAS would need to have 4GB of RAM which most modern units from the company will either come with or can be upgrade to. Though, if you have older NAS that uses an ARM SoC or 32-bit x86 CPU, then you may not able to have more than 2GB of RAM. Though, we envision that most mid-range NAS units from QNAP over the last few years should not have issues at all.
Backing Up and DATA Sync
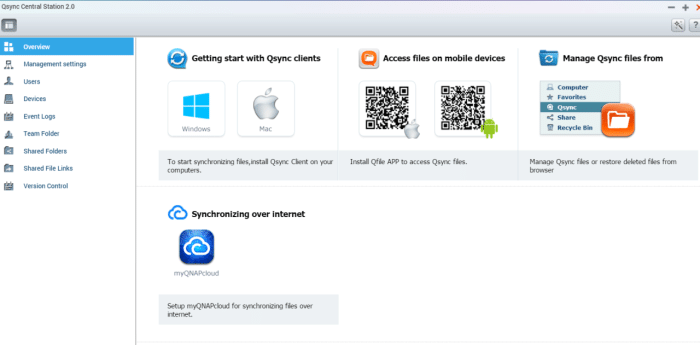
Speaking of backing up, the latest firmware adds support for versioning control, in addition to the snapshot function. The versioning control works with the QSync app to backup data. The app works with Windows, Mac, Android, and iOS devices and works in conjunction with the revamped Qsync Central Station to let you control the devices and users. In the QSync Central Station, we have the ability to create team folders, shared files and folders for others.Up to 64 versions of a given file can be saved. Instead of keeping each file to confuse you, QNAP only shows the latest version of a file under the File Station. In order to view or restore older versions, you would have to select the file, go to properties, and then you would able to see the version history.
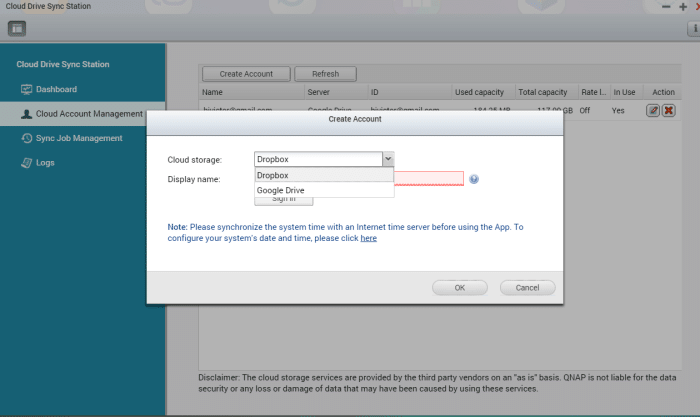
Besides versioning control, the latest firmware also adds greater support for Cloud Storage. As cloud storage has become quite popular, we see almost all NAS devices now can sync data between the NAS and the cloud. QNAP’s Hybrid Cloud features Cloud Drive sync that offers the ability to sync data to and from Dropbox, Google Drive, OneDrive, and hubiC. While the supported Cloud Storage is a bit limited, we envision that it will add other services in the future. The Cloud Drive Sync let us manage the files right on the NAS via the File Station where data saved on the NAS will automatically sync to the cloud and vice versa so the files will always be up to date locally as well as in the cloud so you can access it anywhere. Additionally, the NAS also supports Cloud Backup where data can be saved to the Cloud Storage by using Glacier, Azure Storage, OpenStack and WebDAV apps. The NAS currently supports Amazon® S3, Amazon® Glacier, Microsoft® Azure, Google Cloud Storage, IBM SoftLayer, HP Cloud, Rackspace, and ElephantDrive.
In order to manage the Cloud drive files, we have to first install the Connect to Cloud Drive from the App Center. Once it is installed, we navigate to the File Station, and select “Create remote connection”. Here is where we would then configure the cloud or remote service. When we choose to add the cloud storage, we would then be prompted to enter the log in information and agree to let the app access the files. Simple. We tested syncing data saved on our Google Drive account, and overall the setup process is easy, and data gets synchronized without a hitch. We did notice that the upload and download speed is relatively slow at roughly 240kbps and 10 kbps, respectively, even if we did not limited the transfer rate. So, if you are transferring large files, it could be a rather painful process compared to using a browser.
The NAS has the option to sync a folder with the option to sync continuous, periodically, or at a given time and date. The periodically allows us to sync data hourly, daily, weekly, or monthly. We have the option to set from a range of one to four time slots within each setting so that it can sync data up to four times within each period. A neat feature that is included is the conflict policy where if a same file name is located in both locations, we have the option to rename files on local drive, rename on the remote drive, replace files on local, or rename on the remote drive, or update the file depending on whichever is newer. This is a very nice tool as it allows us to work on a single file locally or remotely and always having the most up to date version available. We also have the option to set to the upload and download rate.
If you live in the cloud using Google Docs or have an Android device that uses Google Drive to back up files, this feature cuts down unnecessary time of uploading and downloading files from the cloud to the local storage. This not only allows us to always have the most up-to-date files anywhere, but also keep a duplicate of the files. So that in the event of a data loss, it is easy to recover the data.
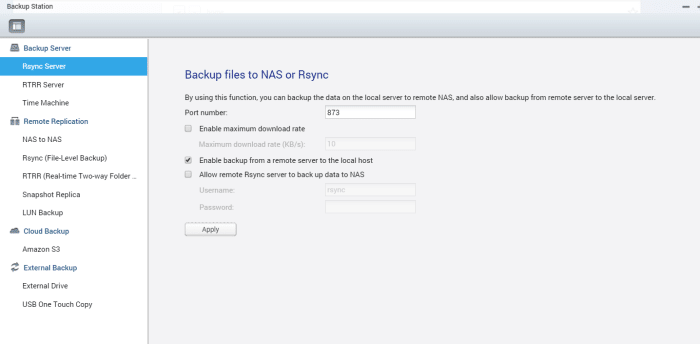
All of the previous data backing solutions are still supported. The same remote backup from NAS to NAS, Rsync (file level backup), RTRR(real-time two way folder backup) are here, but they also have added the ability to replicate snapshots and LUN backups. Additionally, cloud backup is also supported so you can backup data on the NAS to the cloud. For backing up data form PC to the NAS, you could still use the QNAP NetBak Replica tor or Acronis TrueImage and Symantec Backup Exec.
A new backup feature is called QJBOD Express. The QJBOD Express is designed to simplify data backup and sharing by reducing the network bandwidth and time needed to upload and download files to a remote location. The concept is very simple as you just have to connect the JBOD to the NAS to create an encrypted volume for the backup. Then you are able to carry the drive or ship it to a remote location. Once the drive arrives, you just have to connect the drive to the NAS on the remote site and create the final incremental backup job to sync the data across two sites. Obviously, this requires two NAS units that both support JBOD expansions. This feature is aimed toward business and content creators where it can now have large amount of data located on both locations that can be sync and worked on. This would also be very useful for home users, as it can used to have a remote data backup in the event of a disaster that destroyed the NAS and the backups on one site; the data would still be fully backed up remotely so you can get up and running in no time.