Test Rig & Overclocking
Our testing has changed a bit with Windows 10, as we disable automatic updates so that the machine isn’t downloading updates while we test. We clear the cache and prefetch before test runs, and disable the firewall and virus scanner. Windows 10 is updated as much as possible and we manually go on and select updates applying all patches and updates prior to beginning the testing. We run a single SSD or multiple SSD’s so there’s no drive indexing going on. We shut down the Internet to insure no background task is checking for updated virus definitions. All non-mandatory system-tray icons are closed.
The Windows install is done fresh for every review, and we install all the latest drivers and utilities for the motherboard. We leave the system at the normal overclock (in this case 4600MHz) but the RAM is left at factory speed for benchmarks. We do run a picture of the stock speed benchmark on one benchmark, then run an overclocked benchmark to show the boost you get from the overclocking.
| Test Rig “Quadzilla” |
|
| Case Type | |
| CPU | |
| Motherboard | |
| CPU Cooler | |
| Hard Drives | |
| Optical | Liteon DVD Burner |
| GPU | |
| Case Fans | 1 x 180mm Mosfet / CPU / RAM cooling fan 1 x 120mm PCI-E Cooling Fan |
| Docking Stations | None |
| Testing PSU | |
| Legacy | None |
| Mouse | |
| Keyboard | |
| Any Attempt Copy This System Configuration May Lead to Bankruptcy | |
OverClocking
When you get to the high frequency ram overclocking really isn’t needed but we never let that stop us.
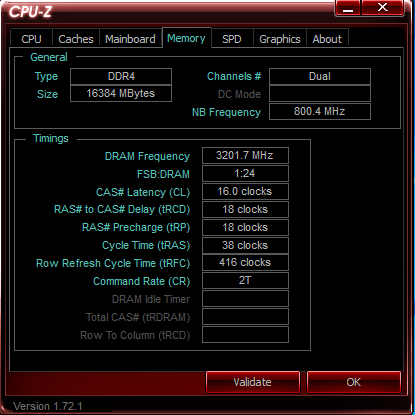
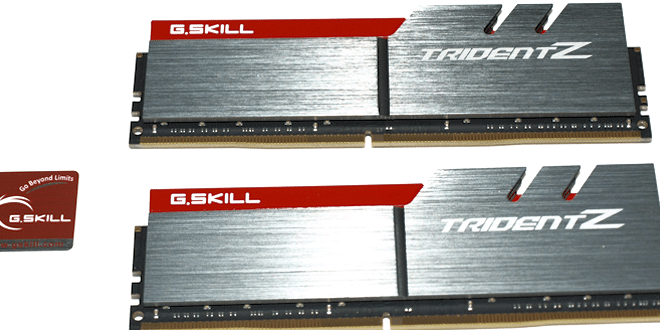
Here’s the Stock Speed shot of the G.Skill. we just reset CMOS to default settings, removed the old kit and plugged this one in and it booted to 3200 MHz no problem. We weren’t quite stable at the default settings but we bumped ram voltage up to 1.39v or 4/100ths of a volt up and the it ran better and in our testing time was completely stable. Most times if you get a failed boot just up the VCCIO and the System Agent voltage a tad and give the ram a little bump up for vdroop and you’re in like Flynn.
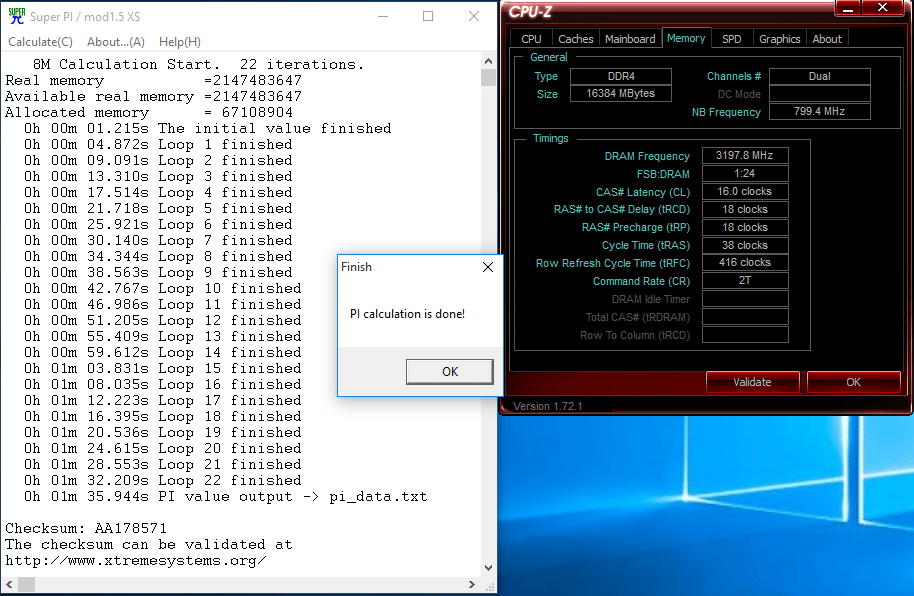
We ran a stock speed SuperPI and got 95.94 seconds on the 8 MB test and it helped us check ram stability which we had no problem with after upping the voltages we mentioned above.
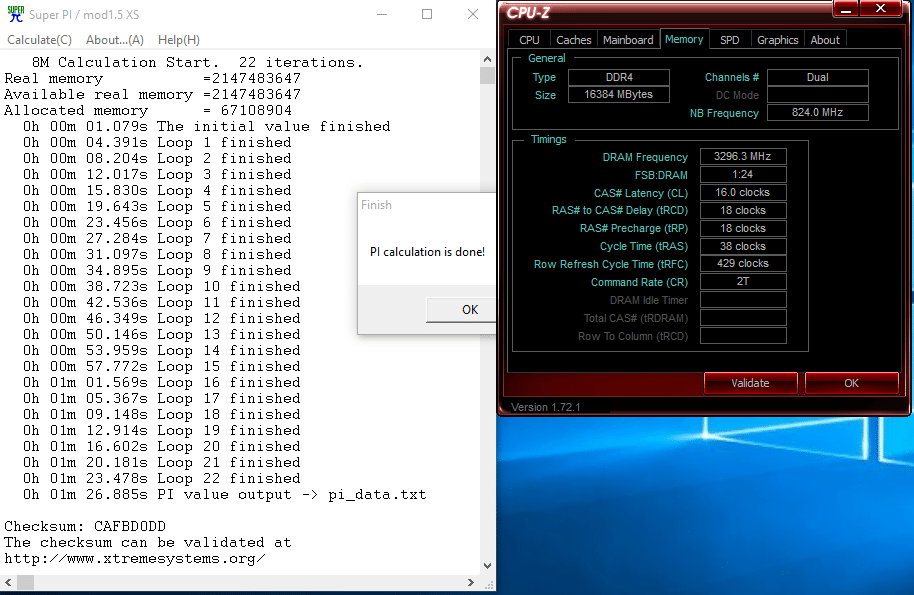 We did a BCLC overclock on the G.Skill as we’ve found multiplier OC’s to be a little funky on high-speed kits and often just changing the speed by multiplier we’d end up getting a failed boot screen asking if wed like to go into BIOS. Of course the G.Skill didn’t blow a bad OC screen we upped the multiplier incrementally until we hit just over 103 BCLK and it yielded a 96 – 97 MHz OC. Now previously we had a 95+ second SuperPi at the 8M test and here with the OC we got an 86.885 seconds a substantial increase. We did do a multiplier OC and got 3300 MHz but the BCLK OC was more productive in SuperPI and the main thing here is that there is a little OCing headroom for you OC junkies (you know who you are).