Razer Synapse
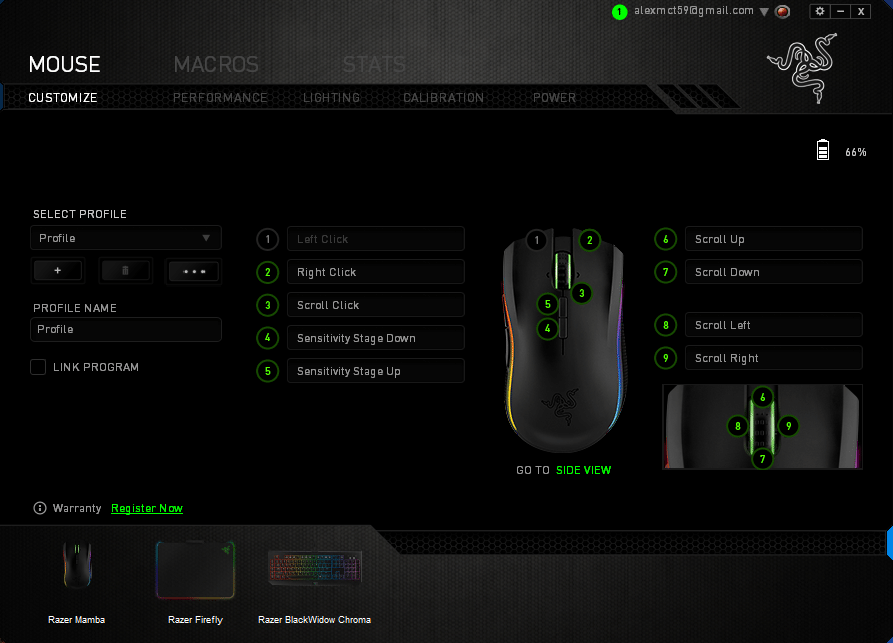
The screen Synapse loads to after the tutorial is the Customize screen and this is the screen where you can customize what each key does. Normally it’s a good idea to leave right and left click alone and the sensitivity up and down keys well we like having on the fly DPI switching so we left our Mamba 4 and 5 keys alone but later we switched the DPI the keys change to. The 16,000 DPI setting you can play with it but its most effective and applicable on multi-screen and large horizontal pixel situations. Think of it like future proofing your mouse. For instance we have 4560 x 1440 monitors in the lab currently as well as one 4K monitor. So stack 3 of those bad boys side by side and the 1440p monitor stretched across 3 screens would turn into 4320 pixels. Now if you run an old 800 DPI mouse you would have to slam and jam 5 inches or more to go end to end on the screens, the Mamba allows you to select how many pixels per inch you want to move. The best we can manage in the lab currently is 8000 DPI but if some monster high pixel setup happens the Mamba has us covered with the most precise laser sensor made for mice and we can go up to 16,000 DPI if need be.
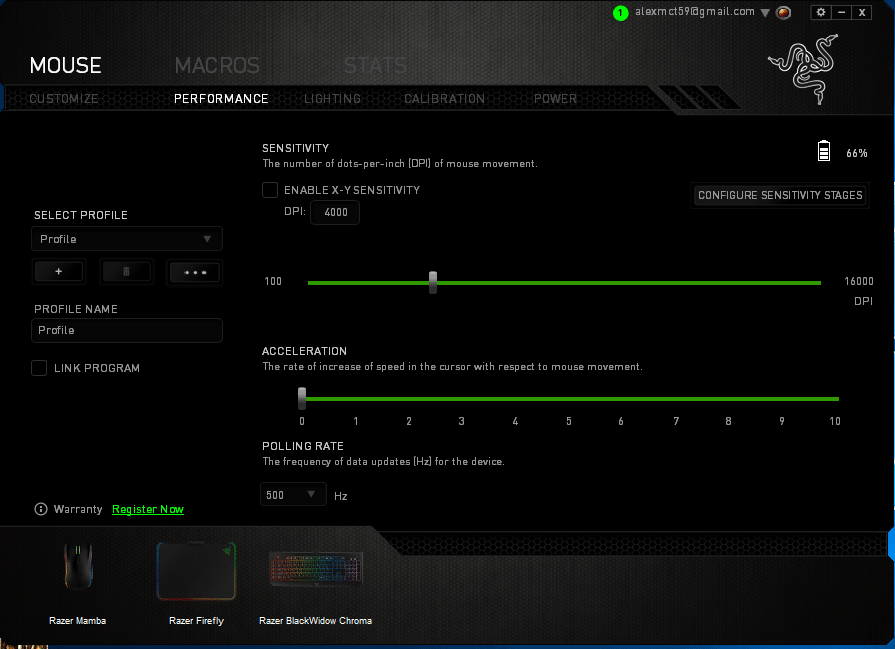
The Performance screen lets you change the default DPI and we set ours to 4000 DPI and the current acceleration is good for us so we left that at zero but if you want to increase the speed of the cursor here’s where you do it. The polling rate is very important and we set ours to 1000Hz but we left this picture at 500Hz which is the default setting. If you see a mouse lagging onscreen or the pointer jumps from spot to spot then increase the polling rate. We want as much precision as we can get so we set ours at the max Ultra polling rate of 1000Hz.
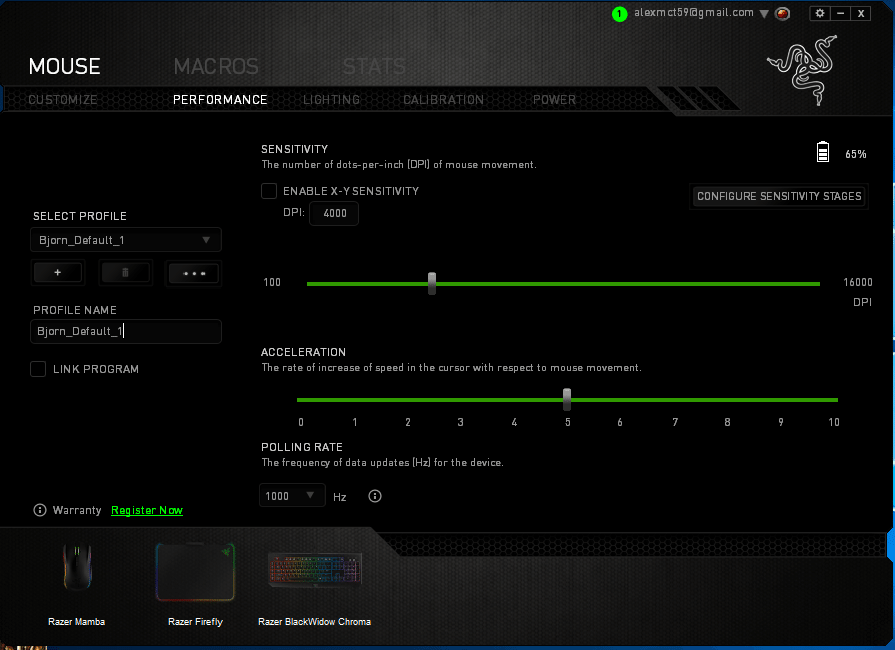
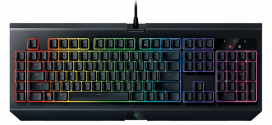
In this shot we have moved polling up to 1000Hz and if you’ll look to the upper right hand corner under the logo you have a battery level indicator. We almost overlooked telling you to check out the bottom left and you’ll see we are running the Mamba, the Razer FireFly and the Razer BlackWidow Chroma all in one spot. You simply would not believe the number of comments and questions we get on that test rig. The effects and lighting mesmerize people and they stop in their tracks after seeing the light show. Of course the Razer arsenal is heavily guarded so you’ll have to go to the Razer store or your favorite E-Tailor and get your own.
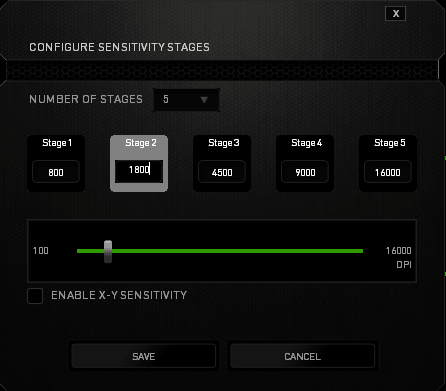
In the previous screenshot in the upper right hand corner hidden away is “Configure Sensitivity Stages” and when you click that you get this screen. Buttons 4 and 5 right behind the scroll wheel are sensitivity up and down and if you are old school they are known as DPI on the Fly buttons. They change the number of DPI that the mouse operates at. So 16,000 DPI is more than most of us can handle currently so we set our first stage at 800 DPI which we occasionally use for sniper situations. If 800 DPI is to course we shift to 1800 DPI using the number 5 button and so on down the line. This goes to 16,000 DPI as the last step but you can change the defaults.
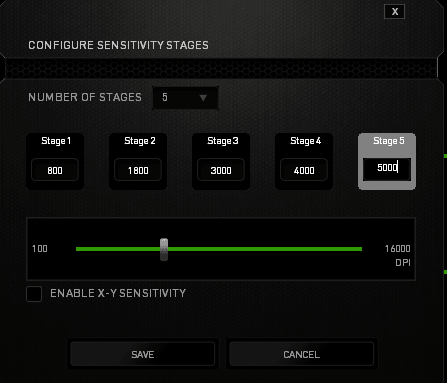
So here we are with our prefered settings for DPI and they start at 800 DPI jump to 1800, then 3000, then 4000, and finally 5000 DPI. That gives us a wide range but we will probably have to refine these somewhat so that the last value is around 4000 DPI. The whole point of Synapse is that you can have your gaming arsenal customized the way you want it not the way some hardware engineer thinks you should have it.
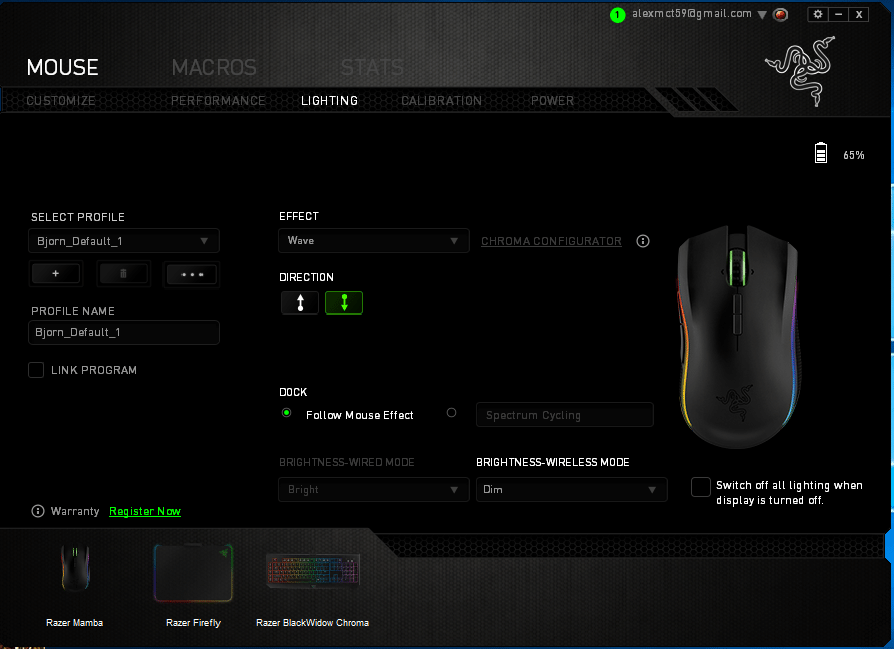
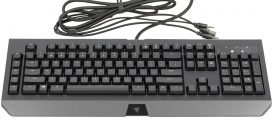
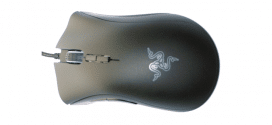
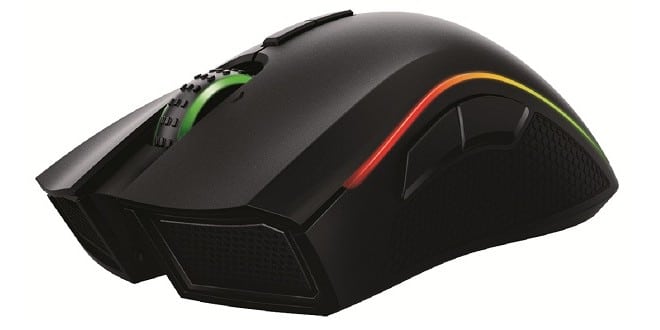
Back on the Main screen under the “Lighting” section you can adjust the lighting settings for the Mamba and synchronize the Docking station, you can only sync the Docking station when you are in wireless mode. If you are running in Wired mode then of course the docking station has no power so you don’t get any Chroma effects from it. For the most part if you buy the Mamba you should be running in Wireless mode otherwise you can pick up the Mamba Tournament Edition which is strictly wired and save a few bucks. If you want to go all out and enjoy the ultimate best of both worlds then the Mamba (wired and wireless) is the best choice. The Mamba might be a tad expensive in the $149 dollar range and somewhat a luxury it’s one luxury you should experience. Holding the Mamba in your hand gaming you know that you have one of the most high-end mice you will ever see and it is beyond a doubt the most accurate deadly mouse out there. Sure at times on other test rigs we use other mice, but for gaming this is our preferred go to mouse.
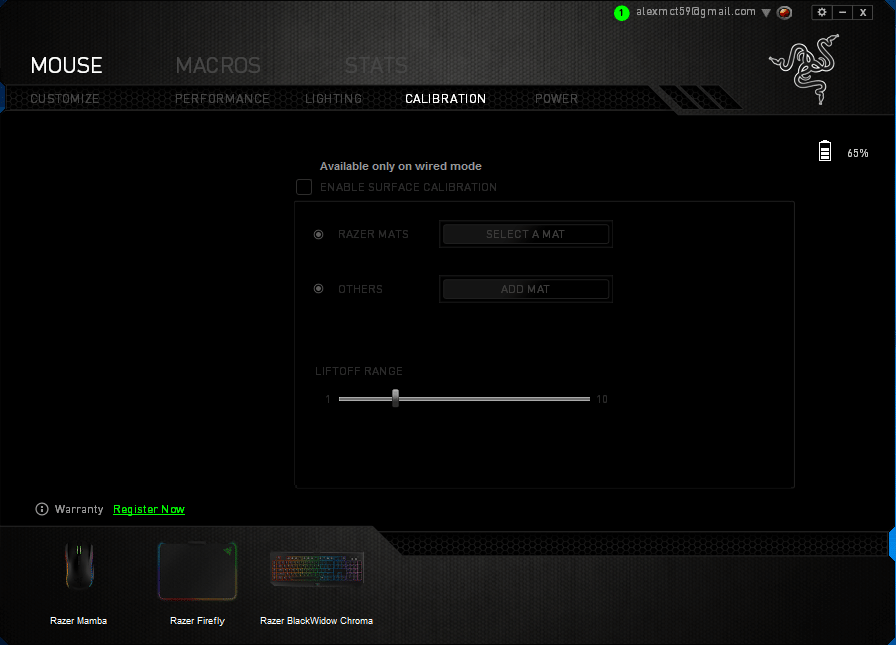
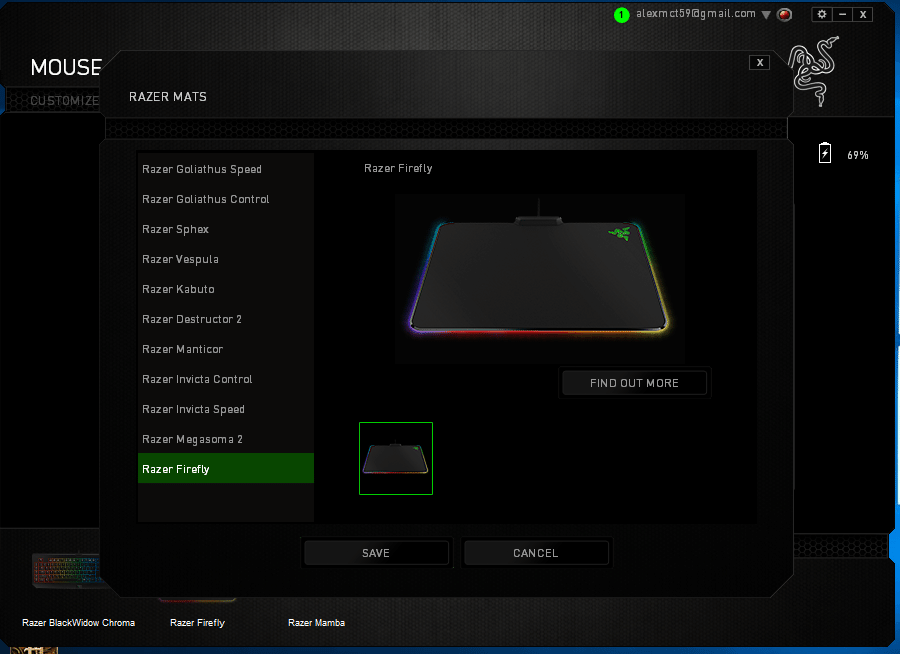
Now comes the Calibration screen and Synapse lets you choose the surface your mouse is running on and you can select from any of the Razer Mouse pads or calibrate on another pan, mat or surface. In our case we are calibrating on the FireFly Chroma Mouse Mat from Razer.
As you can see you can select from the different mouse pads and mats Razer offers but you can also calibrate on other mouse pads / mats. We did notice better tracking when we calibrated so no matter what you’re using be sure to calibrate.
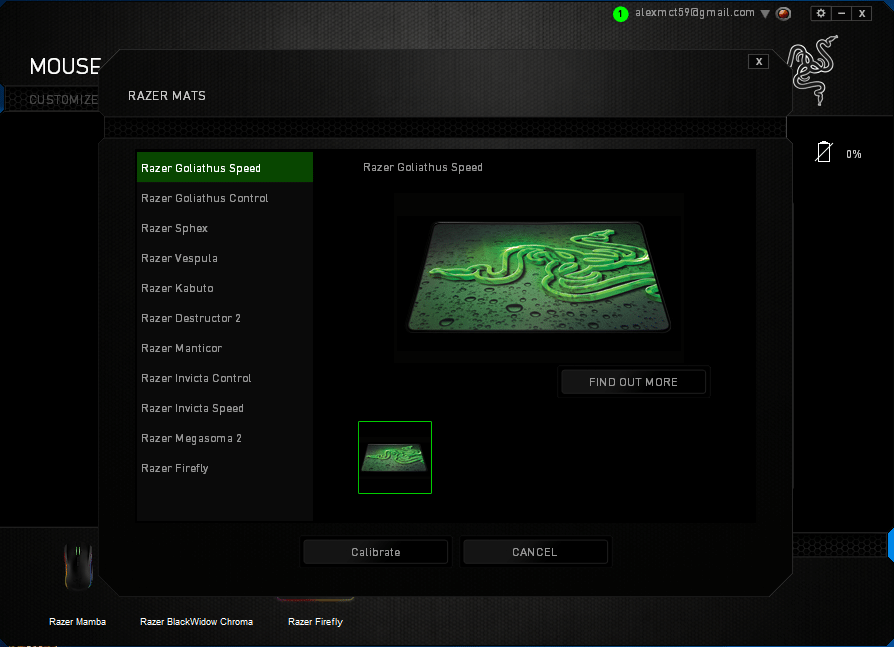
When we got to this screen we had already moved the mouse across the pad slowly until the calibration was finished and here you just click save and you are calibrated for your particular pad / mat.
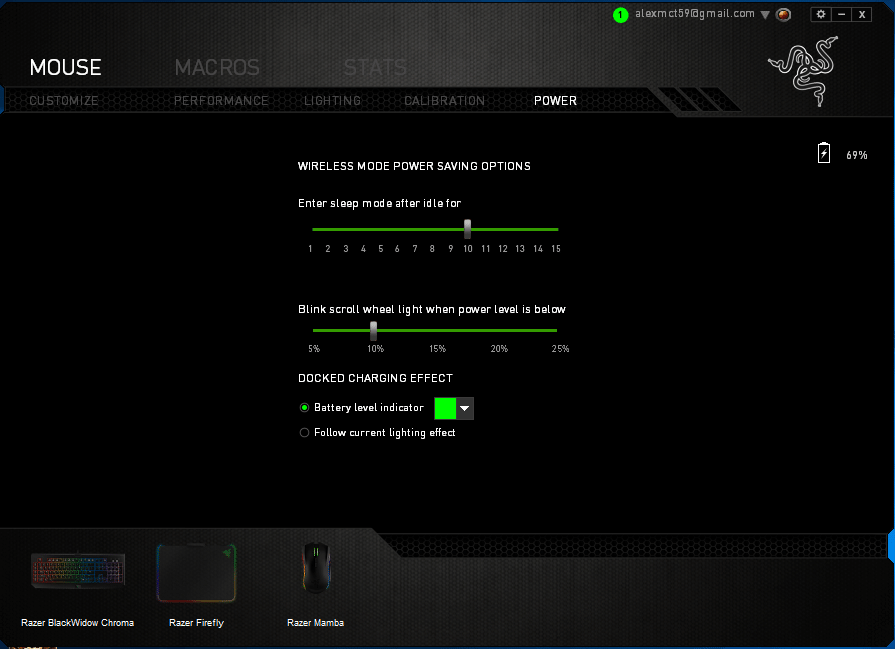
The Power screen is just that you set how long the Mamba in wireless mode should stay awake before shutting down to save power and 5 minutes is good but at times 10 minutes is better so we set it to 10 minutes which is good for a snack break. You also choose at what point the blinking low power indicator goes off, we moved that up to 10 minutes to give us a few extra minutes in case we were mid game.
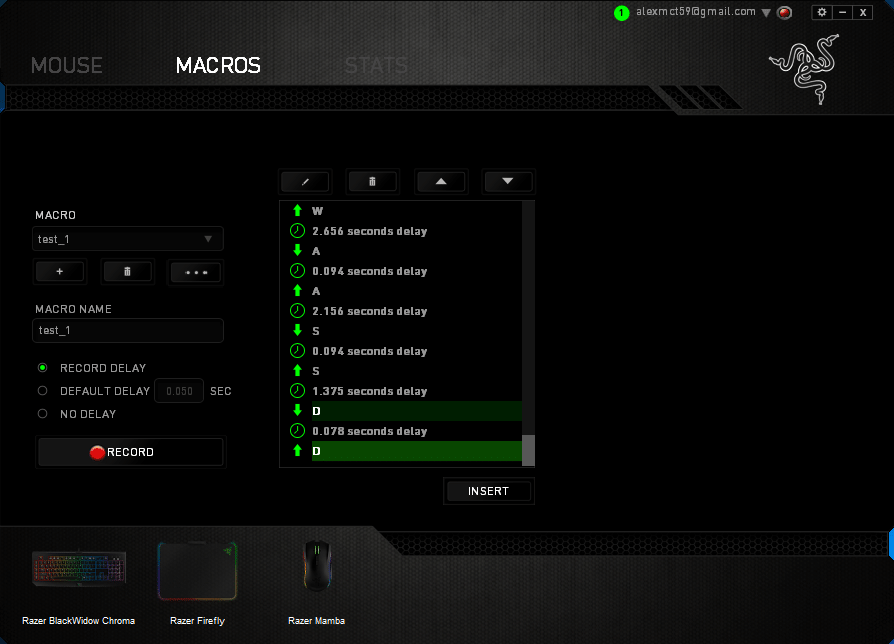
Now Macros are a bit clunky but if you want to do a manual Macro this is your screen. If you notice Razer has updated the screen a bit and if you forget a keystroke you can insert it now. You can also choose to record the delay you want like chuck a grenade, fire 3 shots then duck for 4 seconds before popping up.

If you want you can enable Stats which will show you how you move your mouse around the screen from point to point. This can tell you if you are inadvertently ignoring different sections of the screen in your sweeps allowing you to visually see where your mouse has been. If you have a Razer Keyboard you can do much the same thing except with heat maps of most used keys. Knowing which keys you use on a Chroma keyboard you can set those keys to a lighting scheme conducive to your style of play.
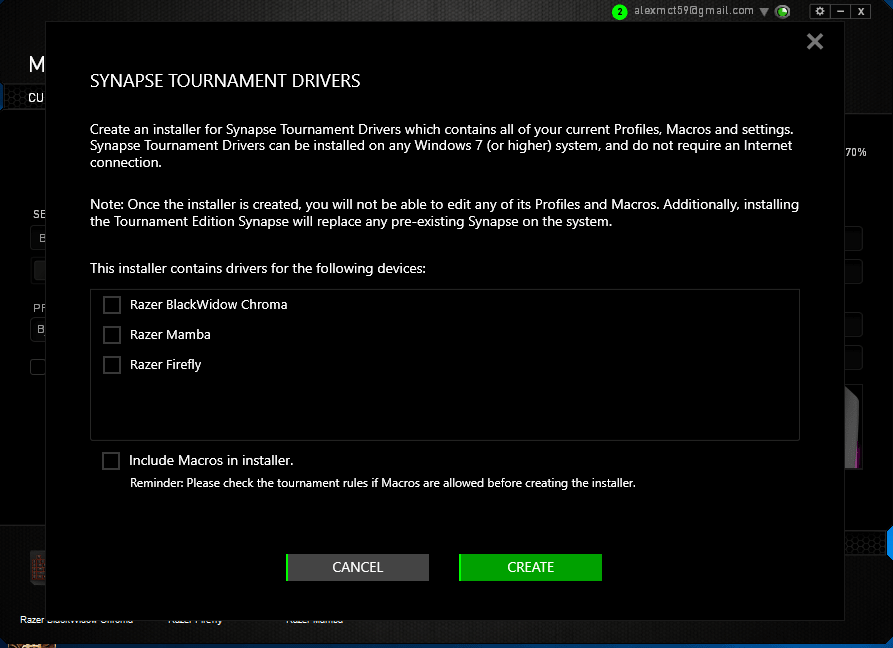
Last but not least we found a button that allows us to export tournament drivers so if we have to go on the road but expect to use a different computer we can carry customized drivers and macros and profiles without an internet connection.