Razer Synapse Tutorial
When you first load Synapse it gives you a tutorial and many people are in such a hurry they just steam roll through the built-in tutorial so we are going the full 100 yards and posting the tutorial screens for your convince. They should be the same for almost any Razer Product. Before we get started into the tutorial pictures we would like to tell you that it’s best to learn Synapse as quickly as possible and don’t just leave everything default and ignore Synapse. Synapse is like the hive brain of Razer products and one of the things that makes them unique and personalized to your needs. Invest a few minutes here and there learning and adjusting Synapse and it will repay you with better gaming and more fun without having to search for keyboard keys as much. Synapse is so rich and vital to the Razer line of products that you can think of it as a visual programming language for Razers Gear, except it’s easy to use with a very small and fast learning curve.

When you first get Synapse downloaded from the Razer website and get it installed this is the first screen you get. The top left indicated by the arrow is to select the different available zones for Chroma Lighting. You can adjust it so all the zones do the same effect or every zone can do a different effect.
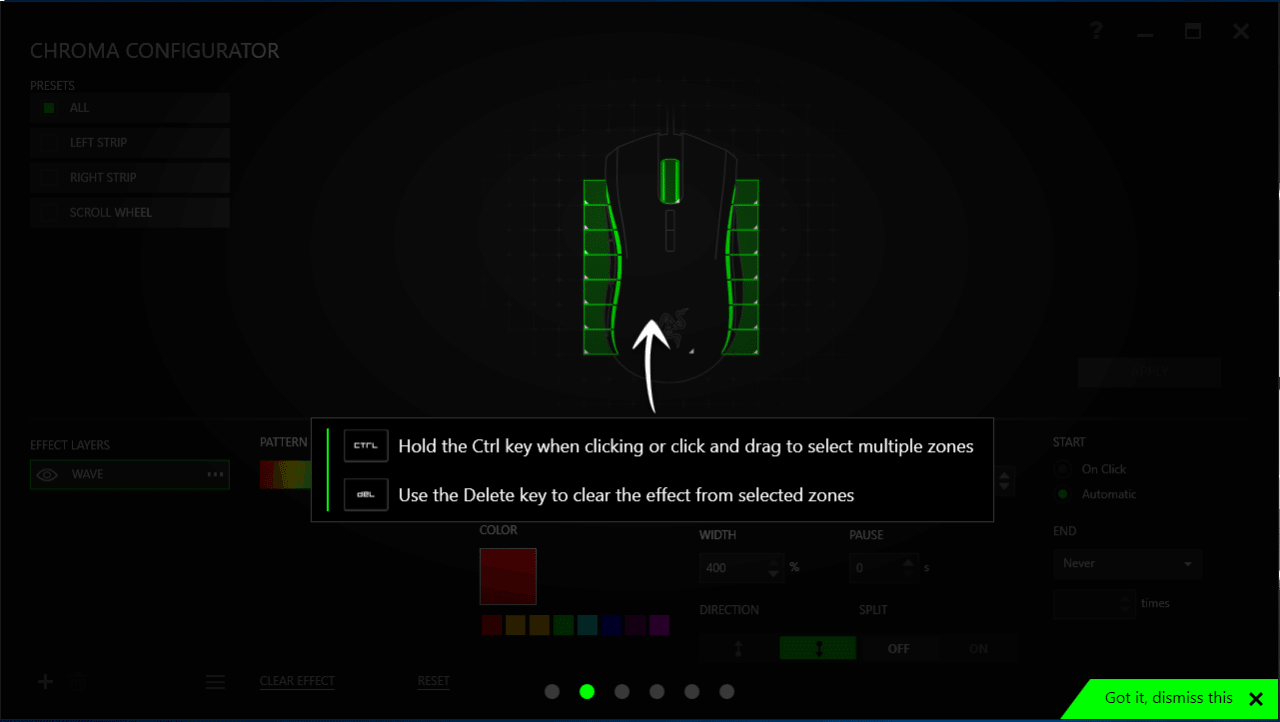
The second screen shows you how to hold the CTRL key and drag to select the zones you want to apply the effect to, it also tells you to remove the effects from the zone you can use the Delete key.
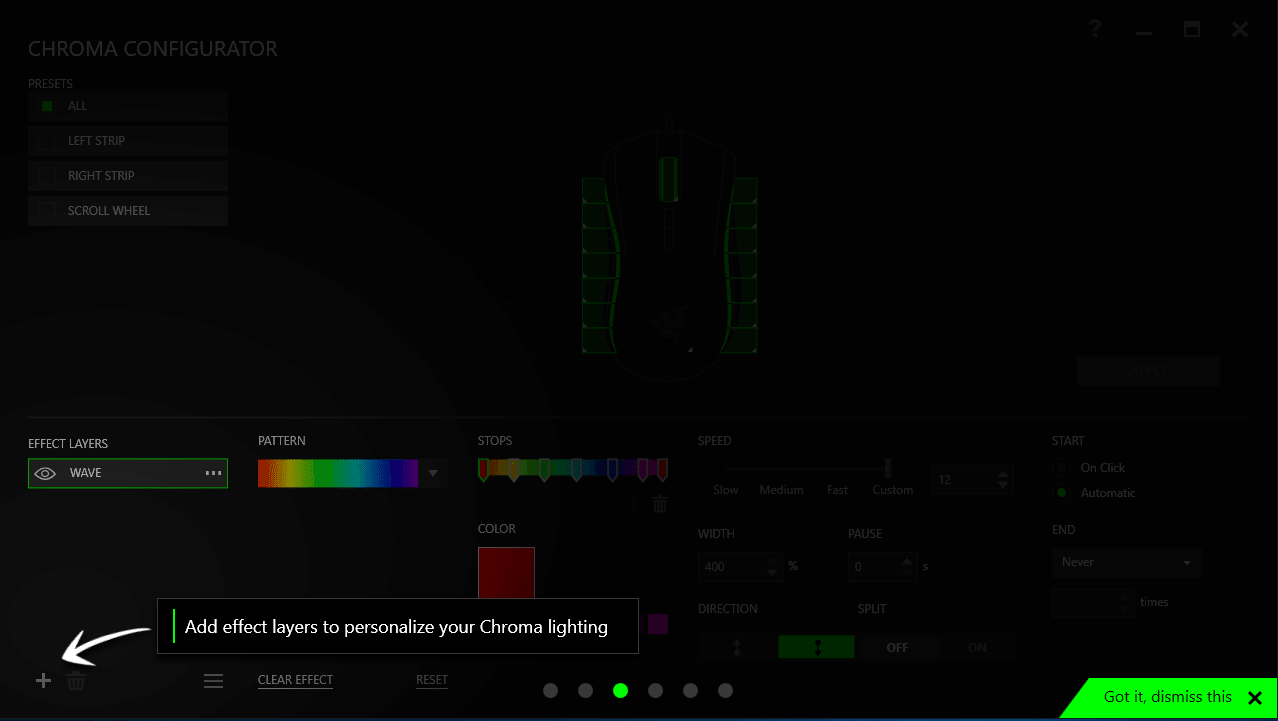
The third screen threw us for a loop at first but what they are telling you is that you can have the “Wave” then switch to “Breathing” then go to “Static” and the zone or whole mouse will switch from one effect to another. Synapse and the Mamba are tottaly configurable.
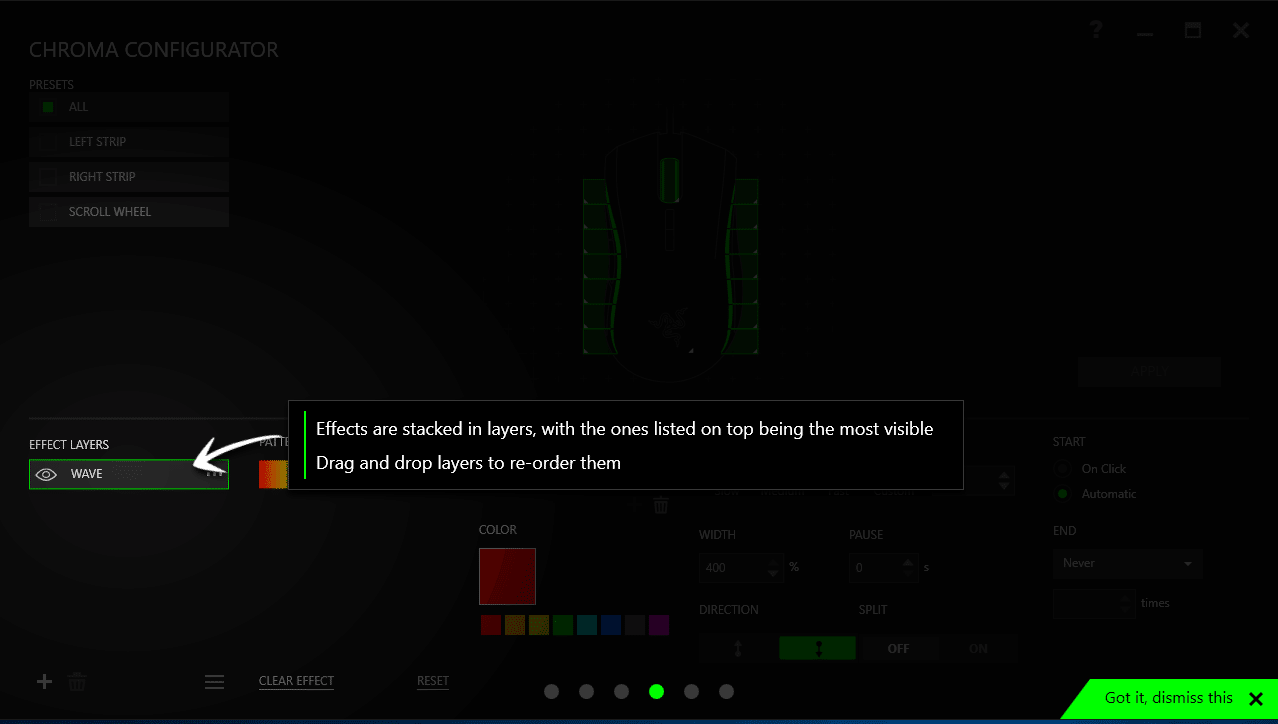
The 4th screen just shows you the effect stacking and that you can drag and drop effects to change the order.

The 5th screen shows you where you can further customize the effects with different patterns of color.
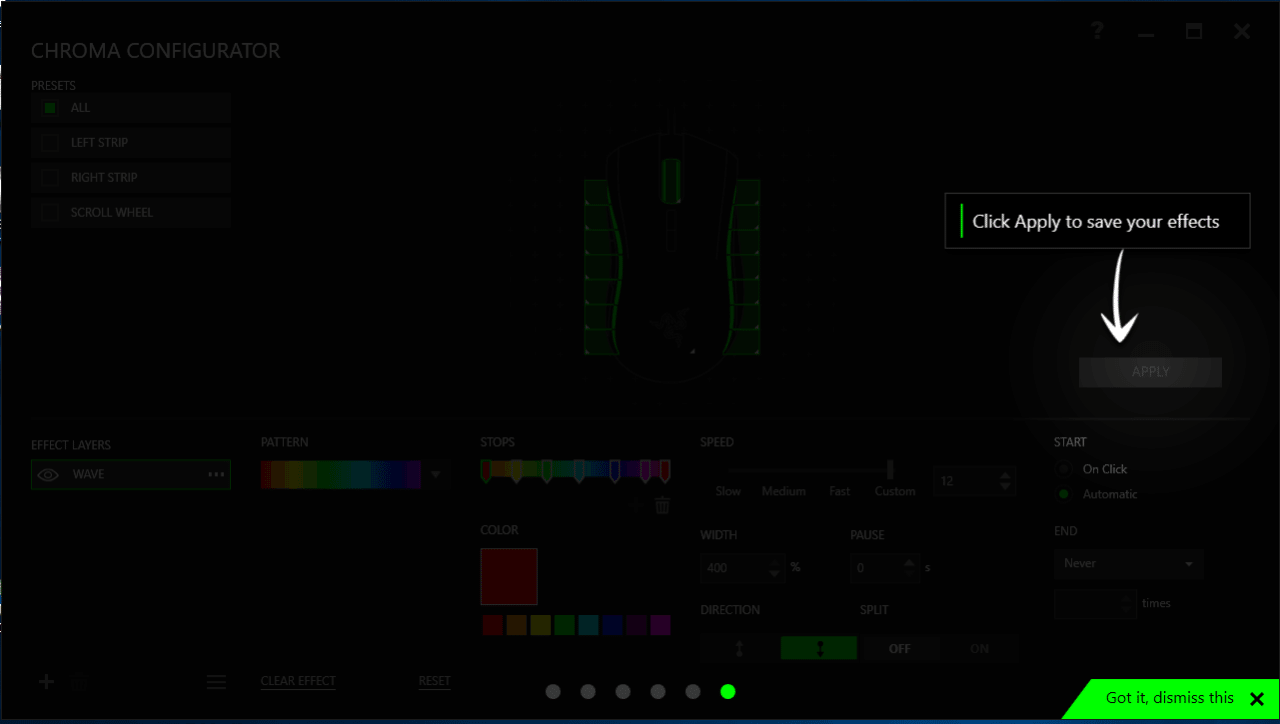
The 6th screen shows where to click to save the effects you’ve selected. The short tutorial barely scratches the surface of Synapse and we will give you a few tips in the actual Synapse screen shots on the next page.