ASUS ROG MAXIMUS VIII EXTREME A Closer Look
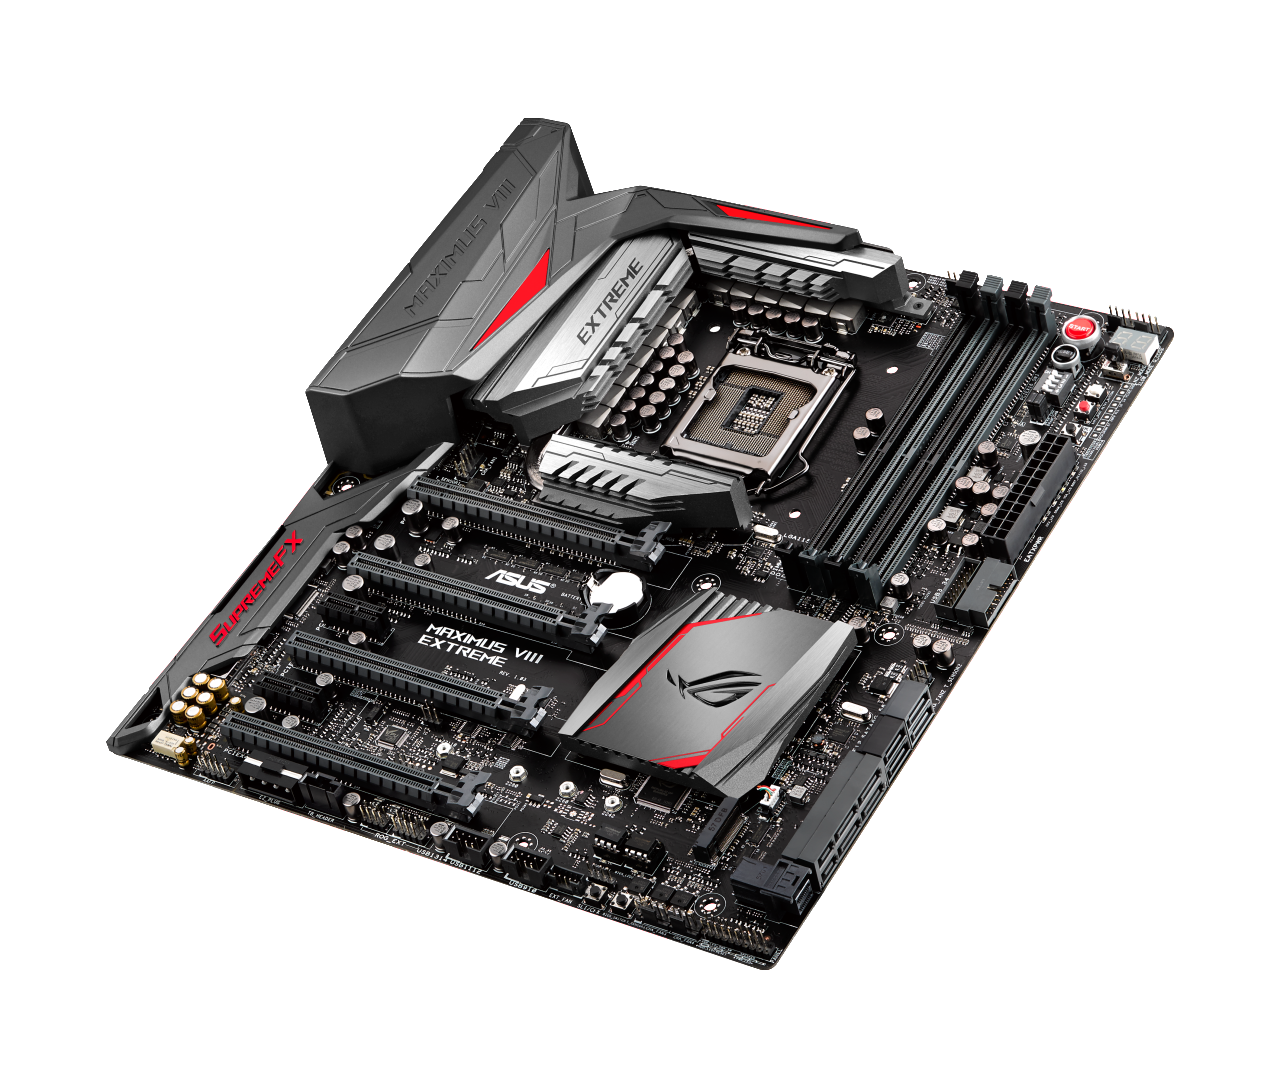
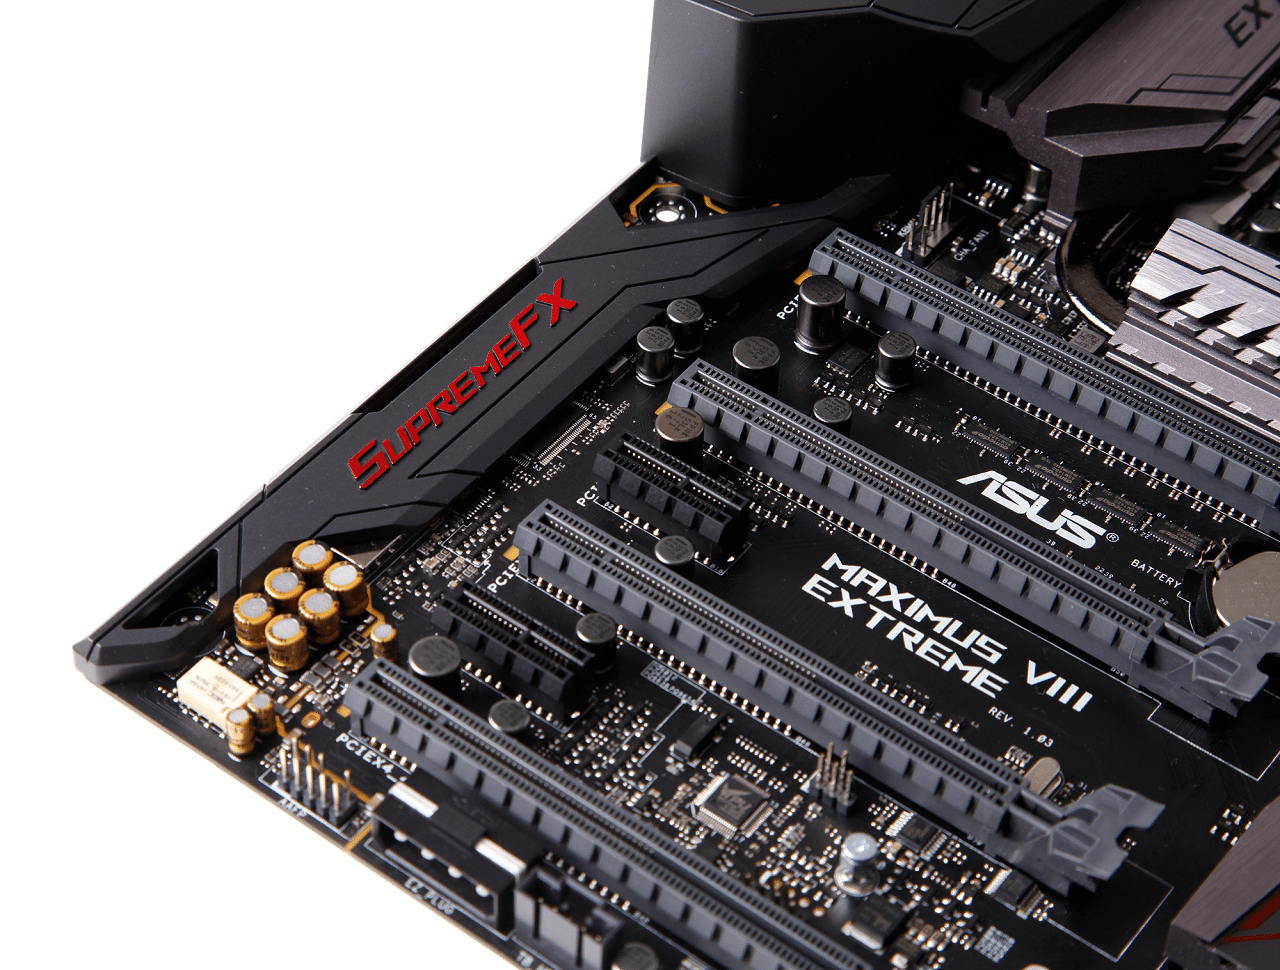
At first glance two things jump out t us fastest, the 4 evenly spaced PCI-e sockets for 4 way SLI or Xfire and what looks to be a geek drooling massively over engineered VRM. We won’t hold the over engineered CPU voltage circuitry against ASUS because frankly over engineered digital VRM’s give you what you really need when you are out there on the ragged edge of heart pounding breath-taking OCing. If you’ve ever been out there on the bare edge wondering if a few minutes of over volt is going to damage something with your cursor over the voltage control you know that heart pounding hard to get breath feeling, the MAXIMUS VIII EXTREME may be expensive but that heart pounding adrenaline rush it gives you time after time is priceless.
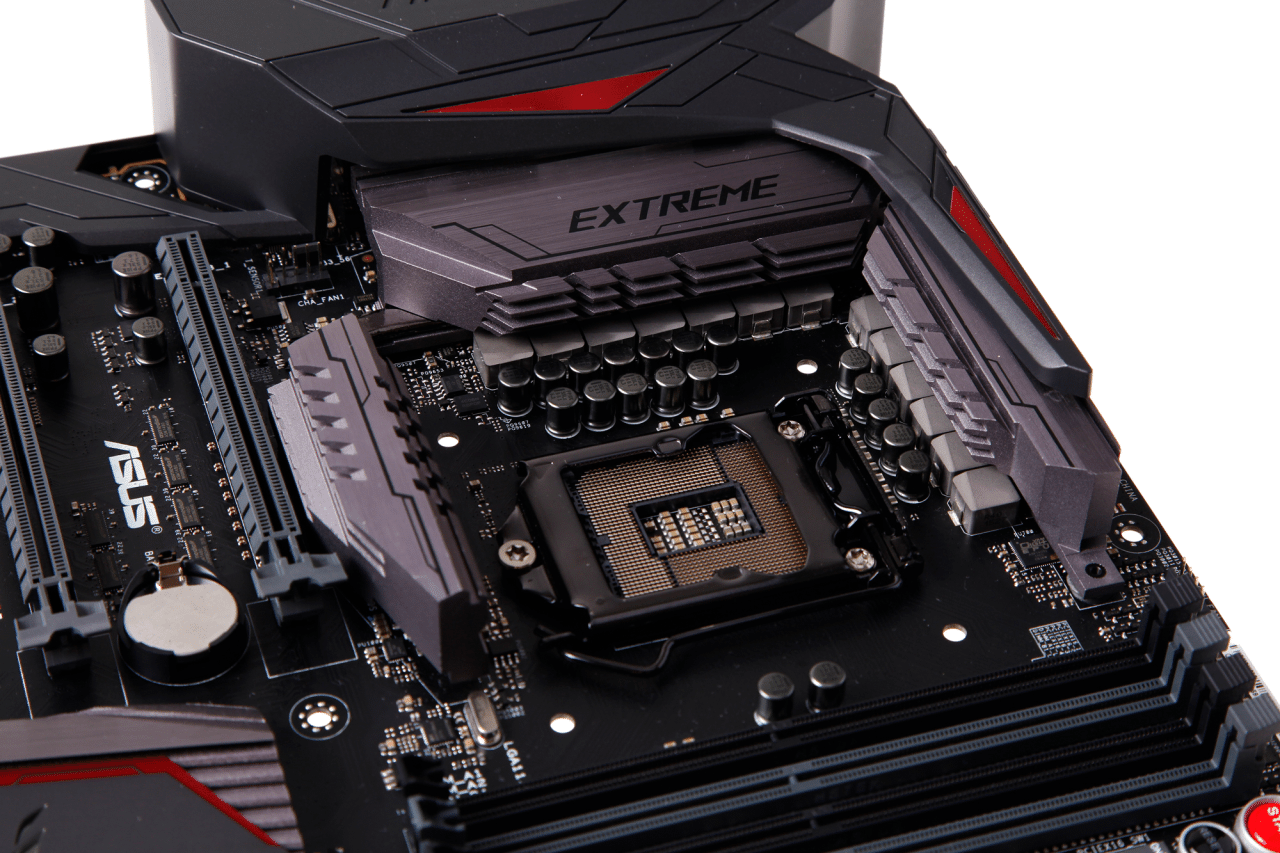
The heat sinks covering the 12+1 phase VRM and the Extreme Engine Digi+ has changed and gone futuristic (in a good way) and we’d say ASUS is going for a more aggressive cooling solution for air and water cooling enthusiasts. You can get a look at the high quality Japanese 10k solid capacitors bordering the CPU Socket but with all that heat sinkage in the way it’s hard to get good look.

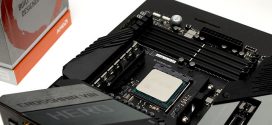
Here’s the almost naked board with the I/O cover removed and the large VRM heatsink put aside but what we really want to get a look at is the VRM area itself.
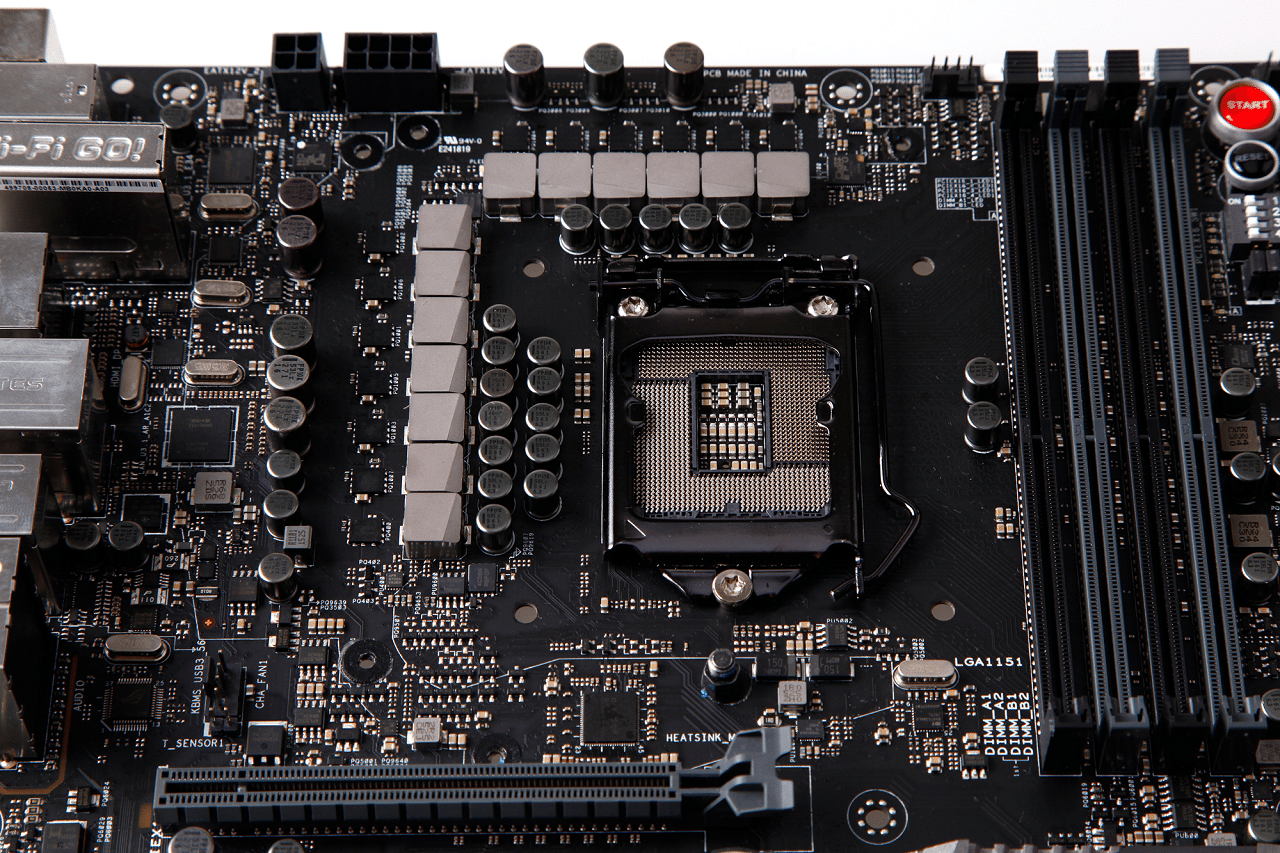
With the sinks off the ASUS MAXIMUS VIII EXTREME you see 13 micro-fine alloy chokes and OptiMOS MOSFETs being fed by the 10K Black Metallic Capacitors.
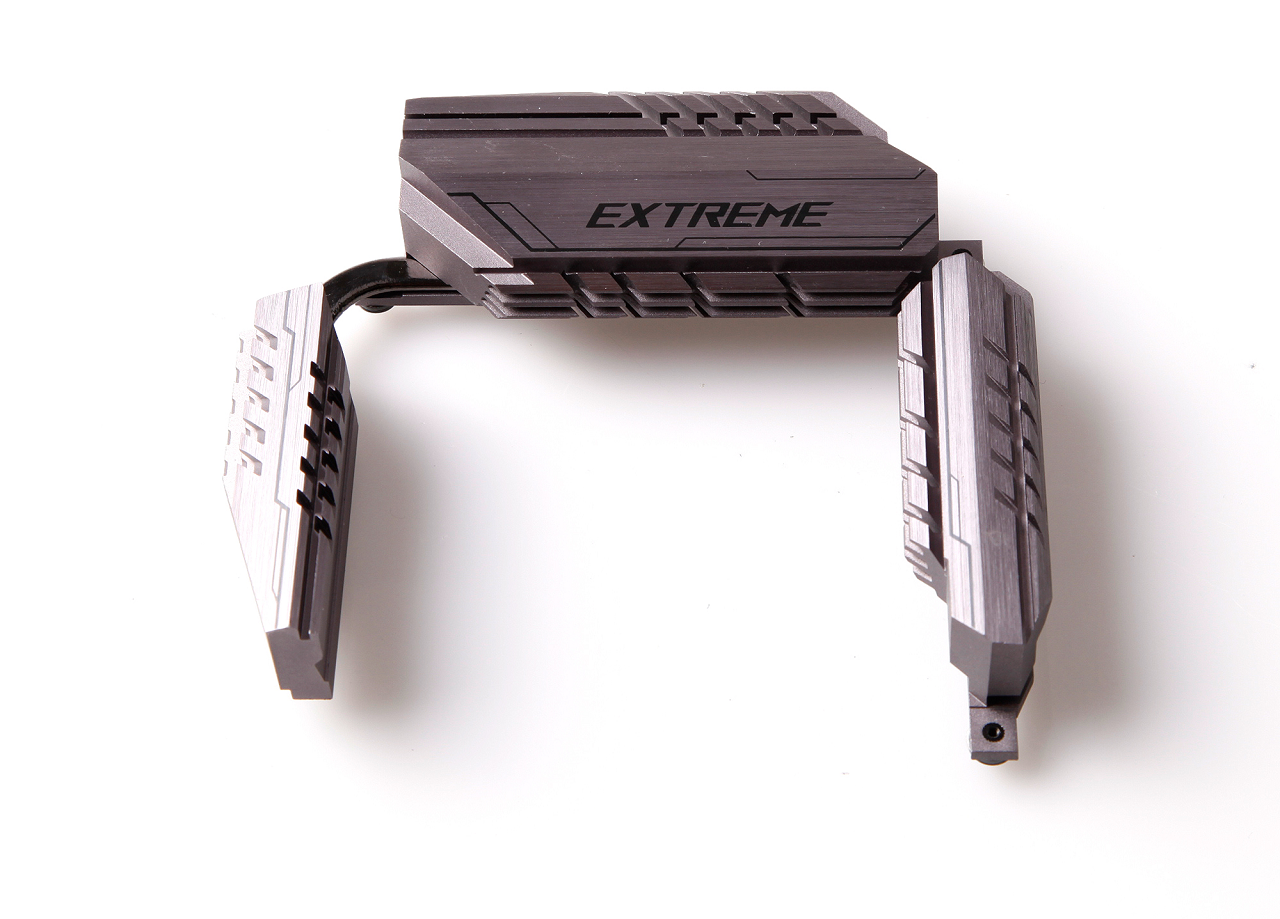
Here’s a blow up of the heat sink covering the Microfine alloy chokes and OptiMOS MOSFETs and for the life of us it looks more like a docking station for some futuristic Starship than a heatsink and we like the direction ASUS is taking in designing the newer generation of heatsinks,

A short distance from the CPU socket you find the 4 ram slots capable of harbouring 64GB of DDR4 running at speeds up to 3866MHz, the slots are black and grey and in case you were wondering if you are using two sticks of ram they go in the grey slots. Just left of the 24 pin Motherboard power connector we find something new and Asus put on two USB 3.1 headers one facing up and one facing forward so no matter the direction you need to wire you have two choices and we fell in love with the forward facing USB 3.1 socket as it prevents a large heavily shielded cable from needing to rooster tail up into our build. lets switch pics before going into the exquisite button panel.

The buttons jump out at us but notice the bank of voltage measurement points in front of the black, red and white micro buttons. A lot of high-end overclockers and especially LN2 clockers prefer to read voltages straight from the board and not some utility and ASUS has them covered with voltage measurement points and a LN2 jumper. The current values for VCore, VDRAM can be measured at the ProbeIt points. no brackets to hold the multi-meter probes in place are evident. In the generous no luxurious OCing area you have a black MemOK for failed memory OCing attempts, red safe boot, white retry button (which we found exceedingly handy) the Slow mode button, start and reset as well as the Q-Code led error code indicator. You will be hard pressed to find a more accommodating OCing panel.
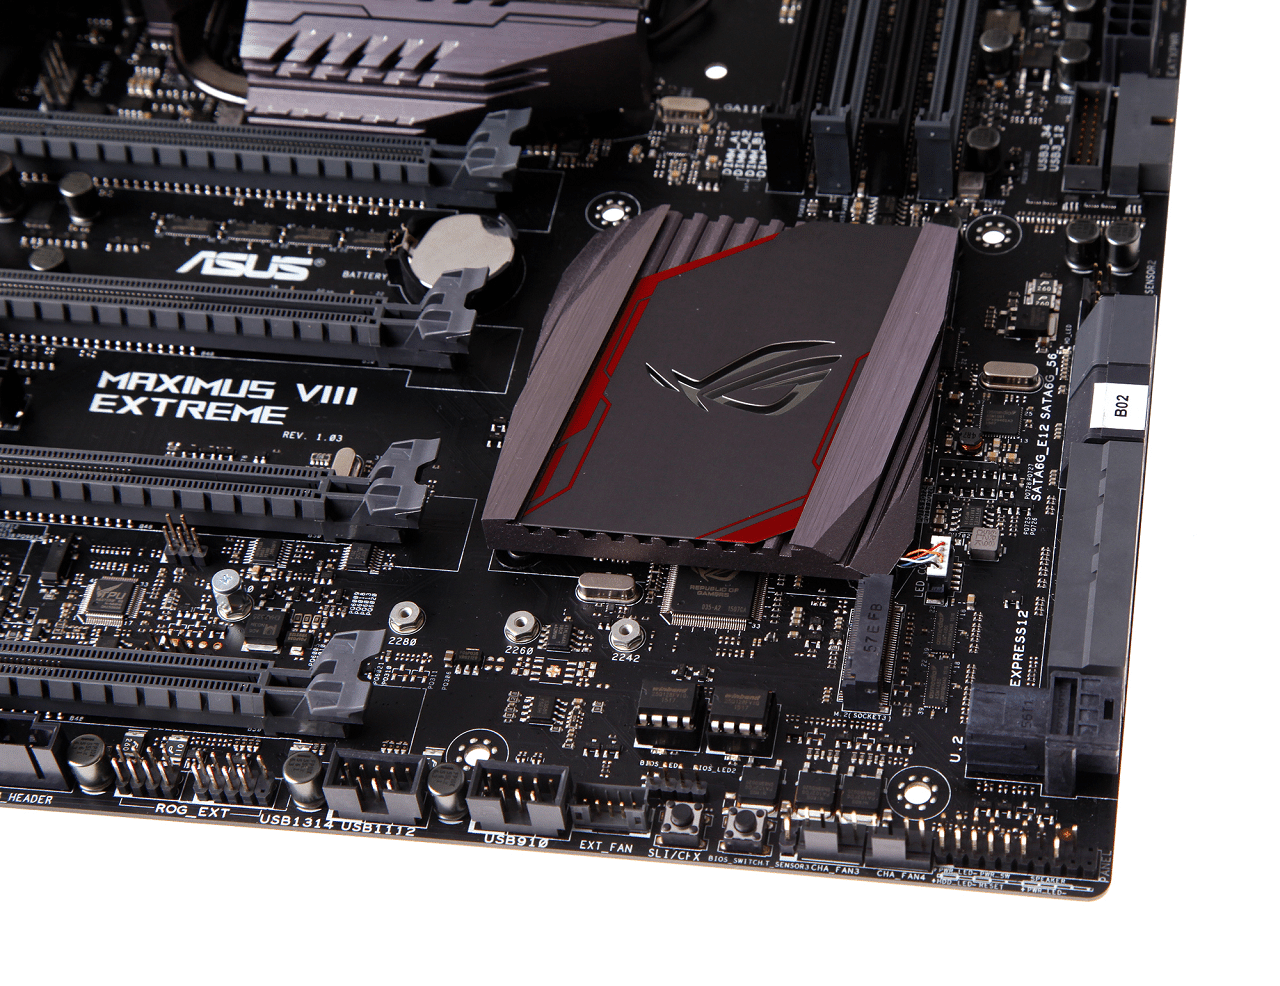
One thing we need to mention the large ROG emblem heat sink has what we would consider a minor design flaw and the little white connector to the right of the heat sink has 4 micro-fine wires that drive the RGB colors of the emblem. Use extra care when working around the connector and the M.2 slot you can see there you don’t want to accidentally break one of the emblems wires.
Bottom Left there we have the front panel connector which of course has an external connector block so you can hook up the case wires from outside the chassis and plug them all in at once a feature we have come to appreciate on ASUS boards. Next to that t the left of the FPC (Front Panel Connector) are a couple of 4 pin fan headers of which you will find 8 native spread out across the board with an additional 4 possible by expansion board (included in the bundle), Moving left you have a BIOS Reset Button, then a SLI/CFX and a couple of USB 2.0 then the ROG EXT you need to hook up the OCPanel II.

Moving down the line we see a TB_header and an EZ-plug Molex plug for extra power to the PCI-e slots and an AAFP header. Before we get any farther we would like to mention that since the ASUS ROG MAXIMUS VIII Extreme doesn’t have a PLX chip you are limited to one GPU at 16x or two at 8x x8 or 8x 4x 4x or 4x 4x 4x 4x so that might be a bit of an omission on ASUS’s part. We would tend to think $500 flagship boards should have a PLX chip and at least 16x 16x for graphics.
The white block next to the two gold capacitors is the de-pop circuit and the audiophile quality fine gold NICHICON capacitors servicing the SupremeFX AUDIO Processor.
The Audio portion of the ASUS MAXIMUS VIII EXTREME is an audiophiles dream come true so let’s go over the feature list.
- Ultra-Durable Gold-Plated Audio Connectors
- SupremeFX Audio Processor
- ESS ES9023P Digital-To Analog Converter (DAC)
- High Precision Clock Source
- NICHICON Capacitors
- 2v(GMS) Headphone Amp
- Sonic Senseamp
- De-pop Relay
- Red Line Shielding
- Sonic Studio II
Now SupremeFX at its heart is a Realtec ALC 1150 and the sound that comes from it is really good but we aren’t sure it’s as good as some of the SB Core quad sound processor solutions we’ve seen.
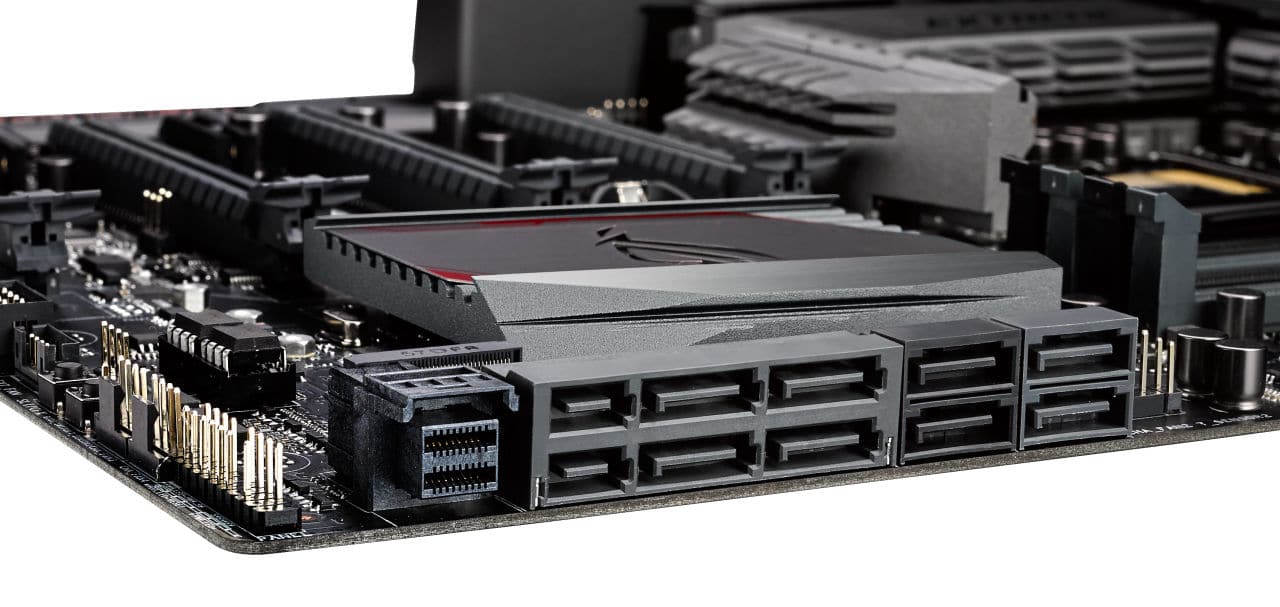
Asus has included a generous 8 Sata 3 ports 4 of which are invested in Sata Express and a surprise we were glad to see a U.2 connector for NVMe which has a potential bandwidth of 32Gbit/s and the latest solution to HD speed.
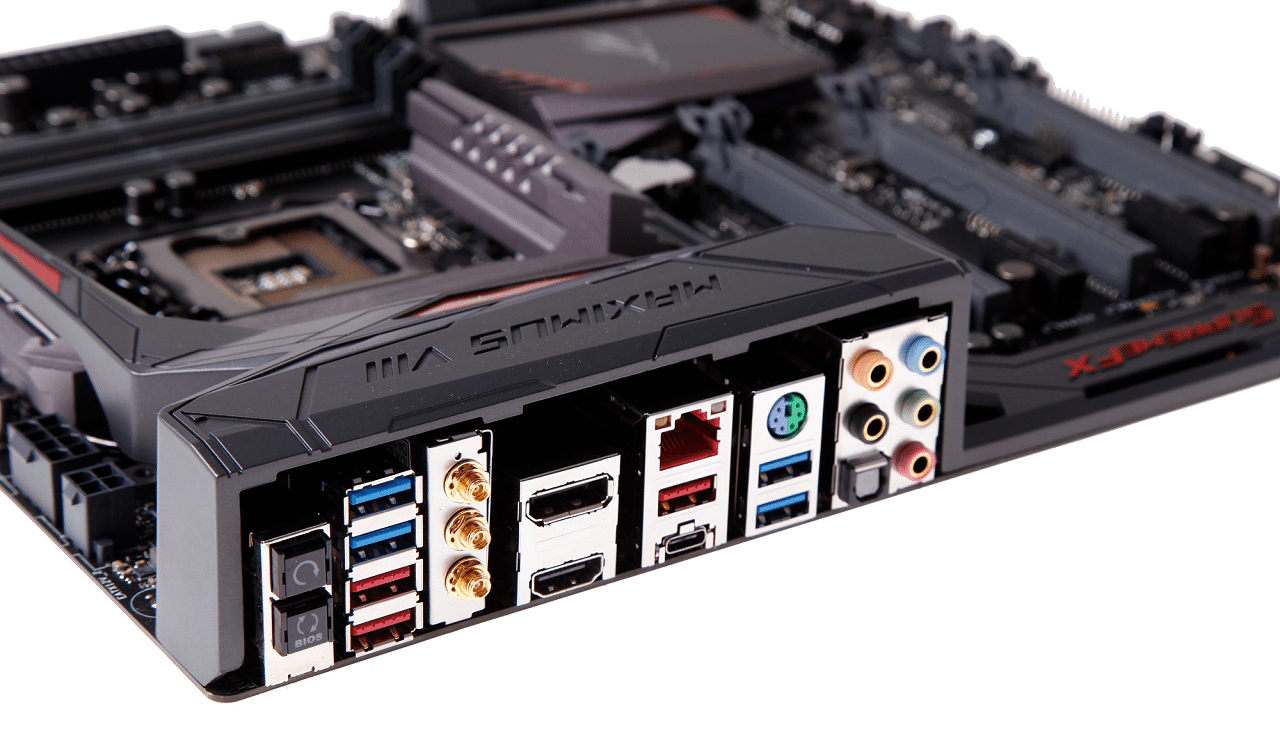
Even the I?O ports on the ASUS MAXIMUS VIII EXTREME are a joy to see, left to right we have the CMOS reset, BIOS Flashback, two USB 3.0 (Blue) two USB 3.1, the WI-FI GO Antenna a display port and a HDMI the Intel Lan port a USB 3.1 and a USB 3.1 Type C then 2 more USB 3.0 ports along with a Keyboard / Mouse combo port and the digital and optical audio ports. If you lost count that’s 8 total USB ports and one thing we like to see tons of USB ports hanging off the back.