A Closer Look
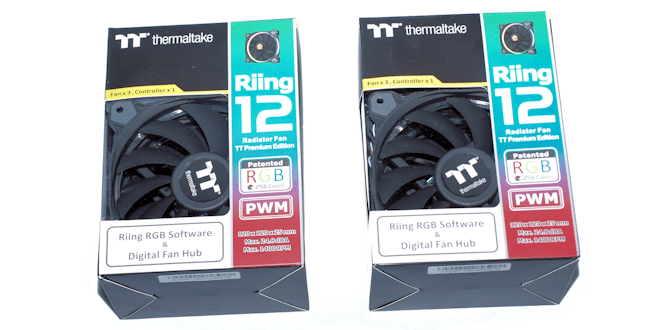
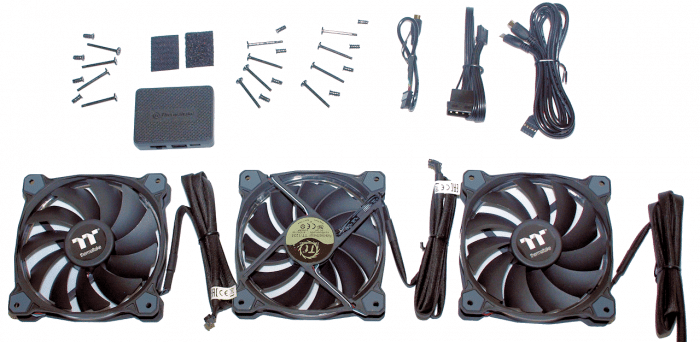
Thermaltake was quite generous with the components provided with their fans. You get three fans with braided cord PWM connectors. The power leads on the fans are long, in the three foot range, so you will need to plan your cable routing a little, but you need the length to route all the fans back to the controller box. The controller box handles three fans and can be daisy chained to other controller boxes. The controllers have a DIP switch system so you can number each controller. You also get three sets of regular fan screws, three sets of radiator screws, an adhesive Velcro patch to attach the controller with, and the controller. For cords you get a Molex to power the fans through the controller, a USB to Mini USB to control the fans with the dedicated software, and a 4-pin to mini USB to daisy chain boxes. All of the components have a quality feel and at first you might worry that it’s going to be a complicated install. Rest assured it’s easy as pie, just follow the little pamphlet that Thermaltake includes and you will be up and running quickly.
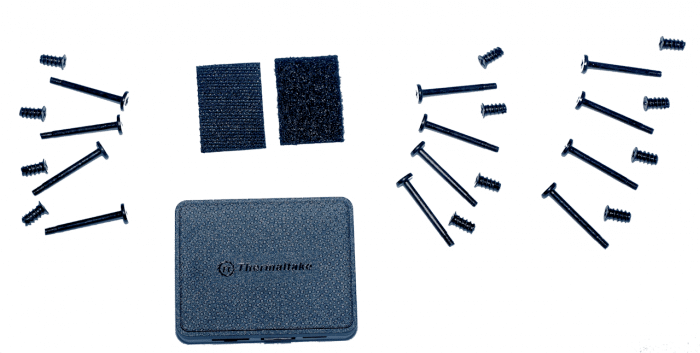
Here’s a closer look at the screws, Velcro and controller. Thermaltake really spared no expense on what we would consider to be it’s flagship Riing fan setup.
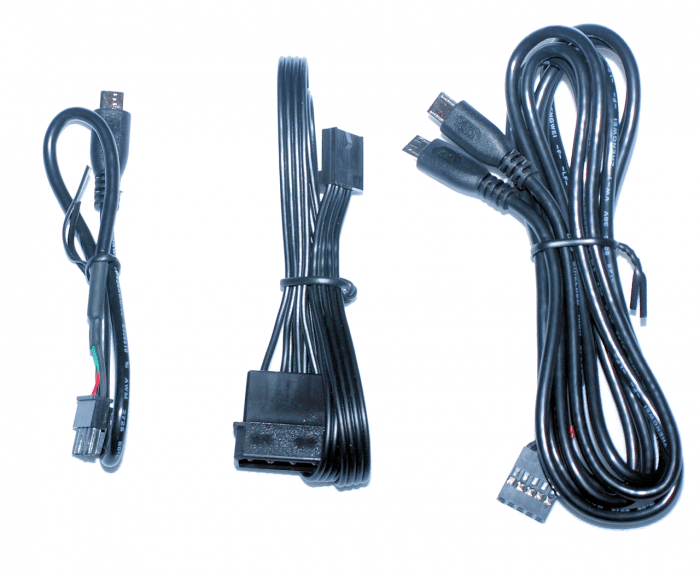
Here’s a picture of the cables so if you need to compare what you got in your box to ours to make sure the cabling is right, You know you are going to order a set of these :).
 Bjorn3D.com Bjorn3d.com – Satisfying Your Daily Tech Cravings Since 1996
