Setting Up The RAID 0 Array
Before we get into the setup every motherboard is different and has a different BIOS.
BIOS Portion
Enter BIOS like normal using Del or whatever your system requires to get into BIOS.

In our case (Asus X99 Pro) we go to the Easy Tune Wizard,
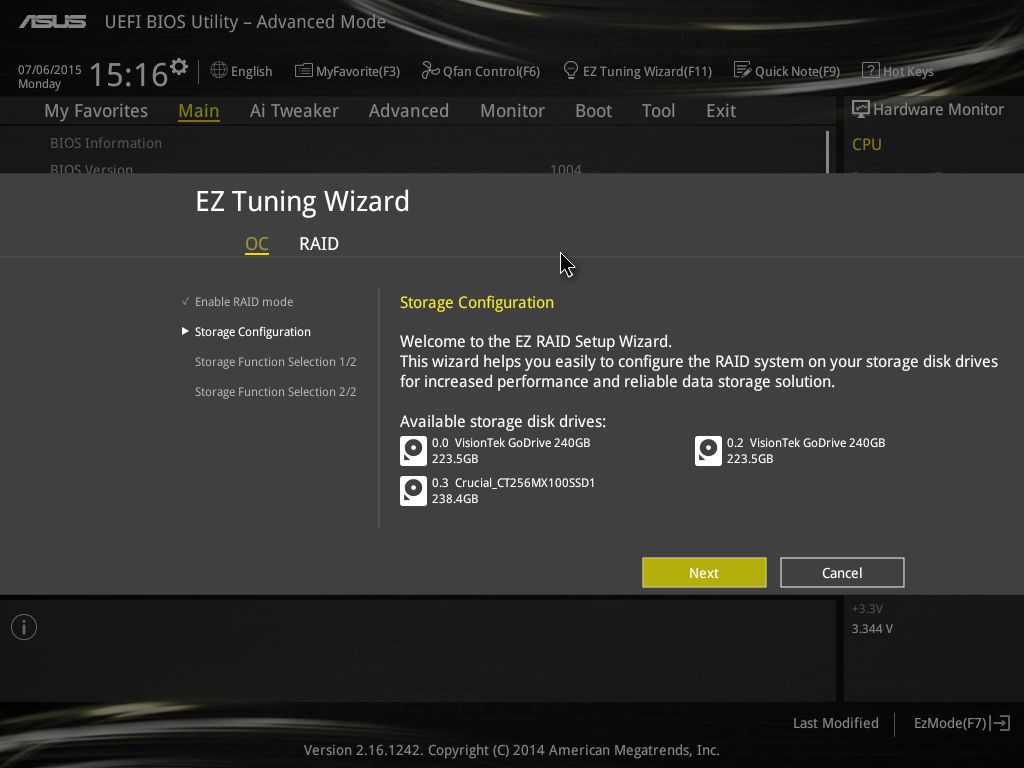
Choose the RAID option near the top.
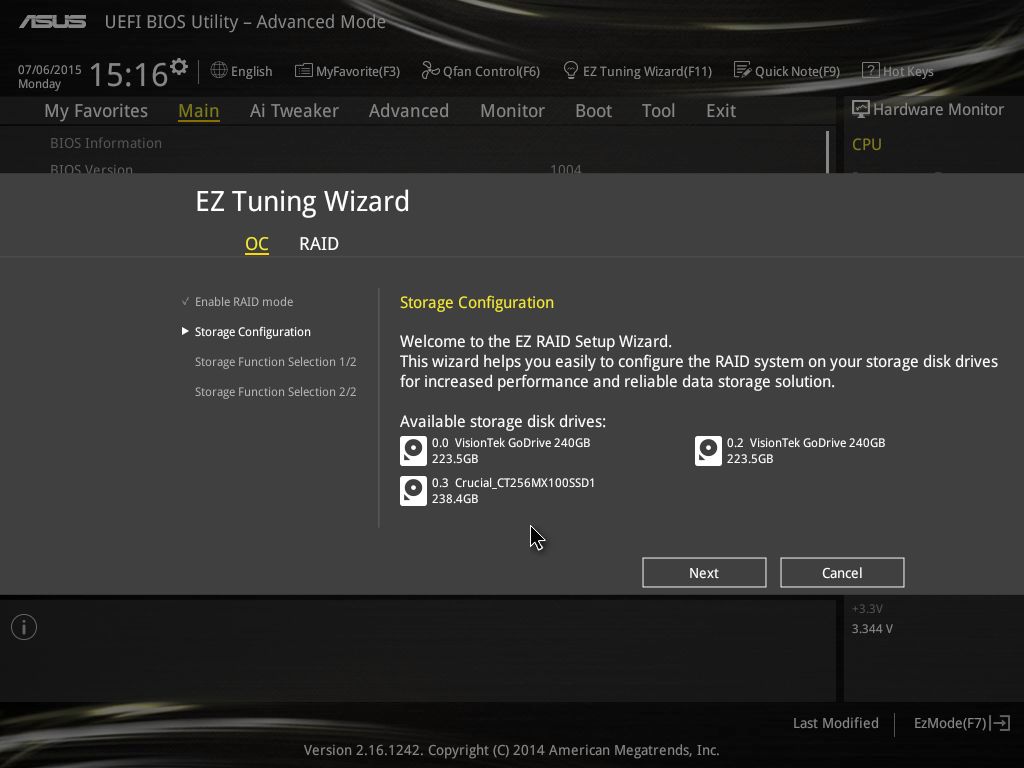
Once chosen you need to make sure you only have the drives you want Raided connected because this crazy thing is trying to include a Crucial Drive which happens to be the OS drive.

Choose Easy Backup or Super Speed, in our case we want RAID 0 so choose Super Speed. Asus could have added a Raid Designation at this point but they are aiming for the “Never RAIDed before” crowd to make it easy.
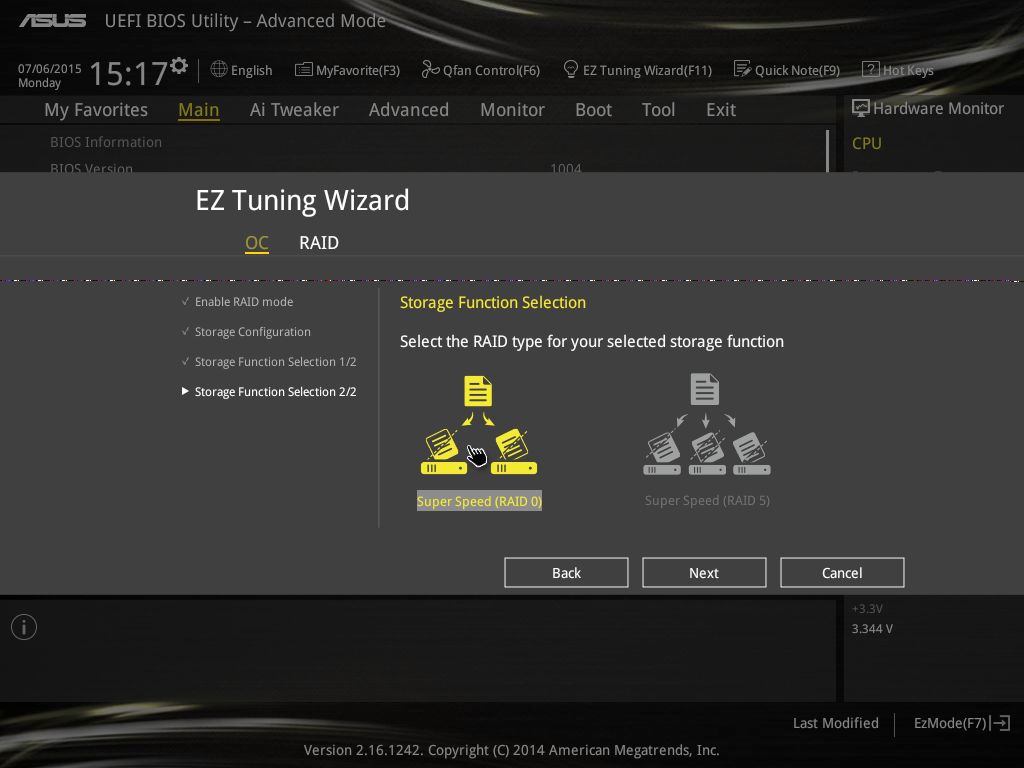
Here choose Super Speed (RAID 0) and give next a little clicky clicky.
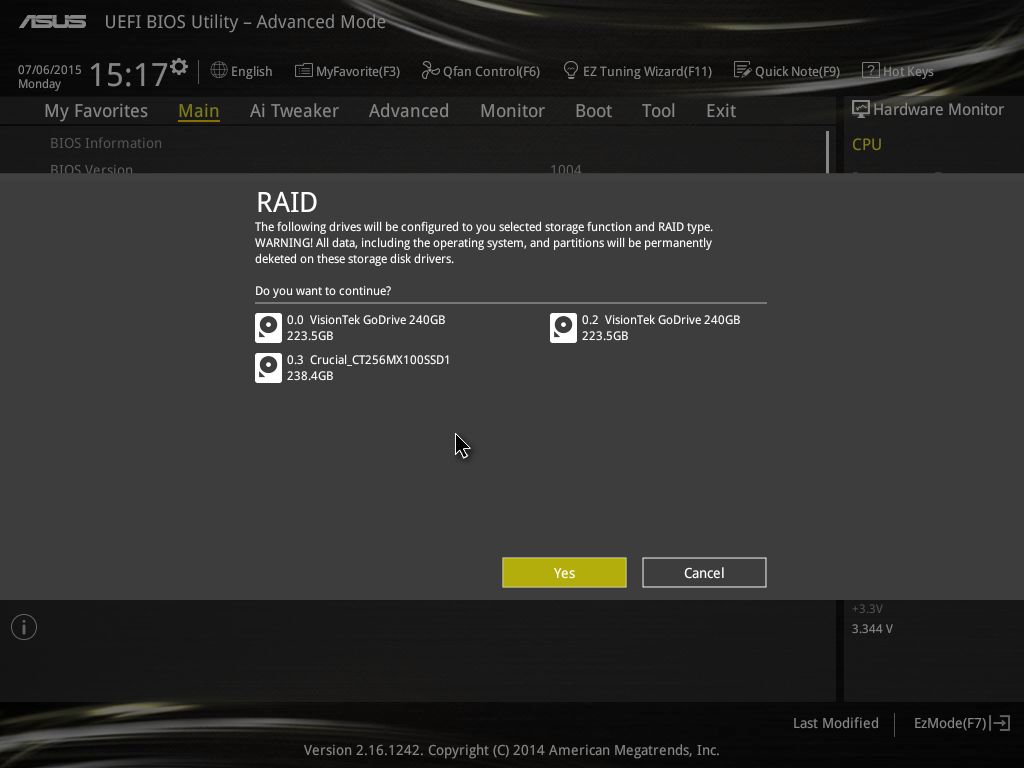
Now if you want just two drives you would have to back out and disconnect the OS Drive or it’s going to delete everything on your drive. You just click Yes and the raw array is built.
Windows Portion
Now some of you have already been through installing a new HDD in Windows and this is much the same procedure. You have a raw RAID 0 volume and the operating system can’t see it or use it until it’s prepped.
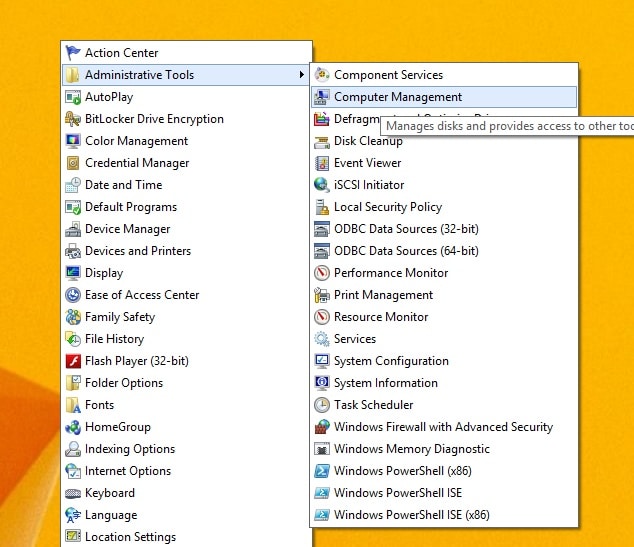
Go to Control Panel, Administrative tools and click that, yes it feels like your going to the principles office but click it anyway.
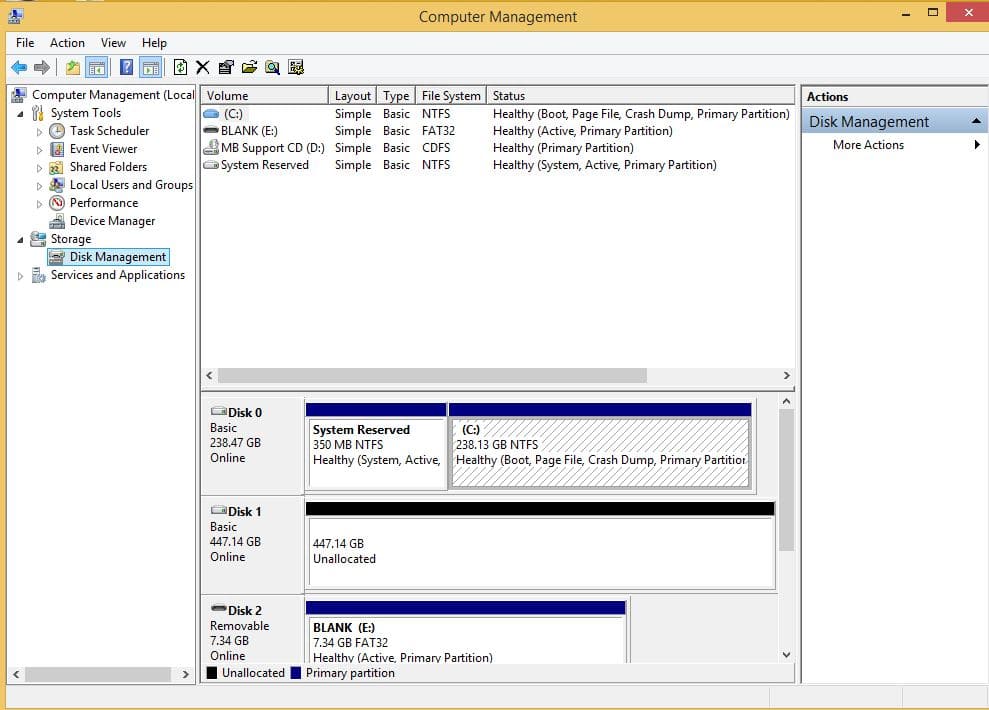
Once in Administrative tools click Disk Management and ordinarily a dialog box pops up and walks you through, We chose to go the long route in case anyone needs the extra info. Now you can see and un allocated drive showing a size of 447.14GB that’s our RAID 0 array and one of the biggest advantages of RAIDing SSD’s. Two smaller drives in the $100 range (each) combined to one larger drive so you can add a disk now and again and they all show up as one drive, plus in most cases you get increased speed. We’ll go more into that in a little bit.
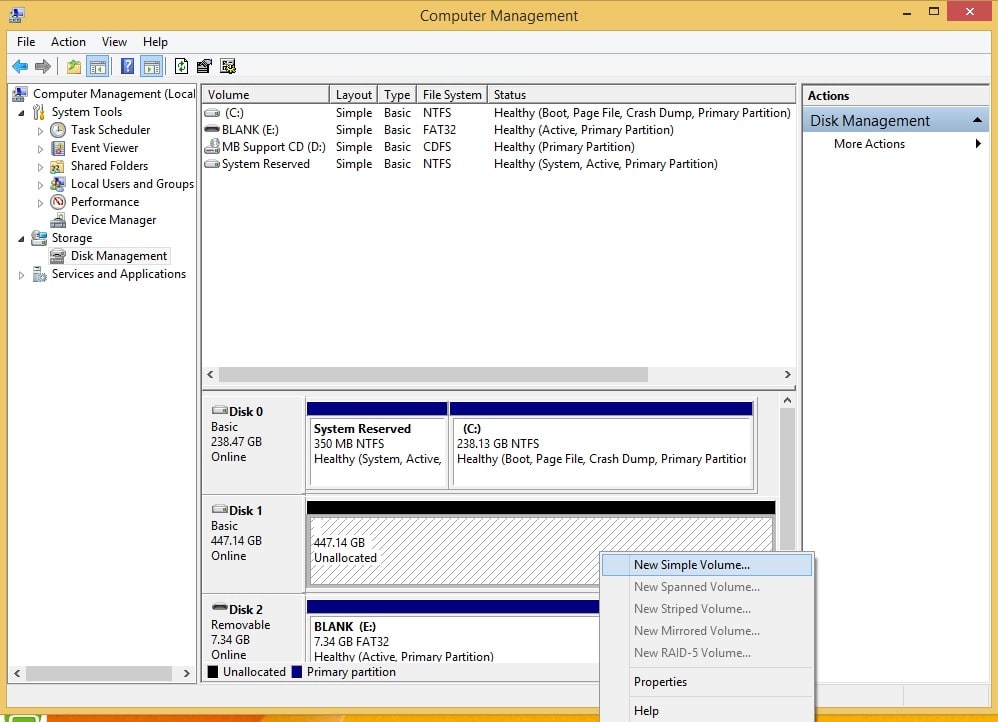
Now our Two VisionTek 240GB Go Drives are in a RAID Array so highlight them by clicking on then, hover over the selected array and right-click and choose New Simple Volume.
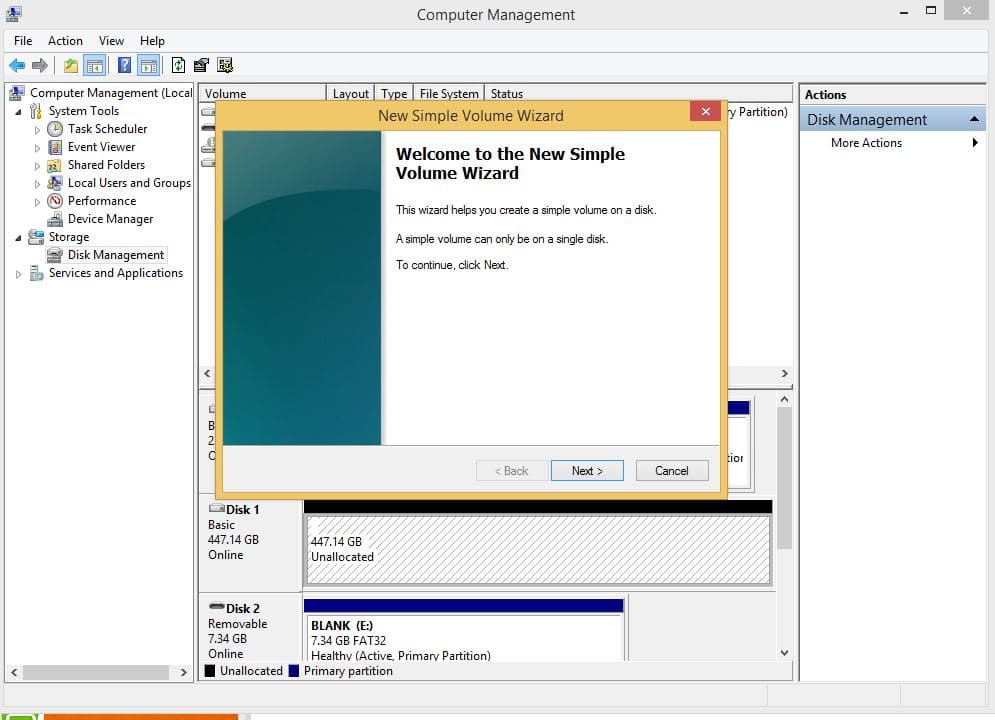
The New Simple Volume window appears so click Next.
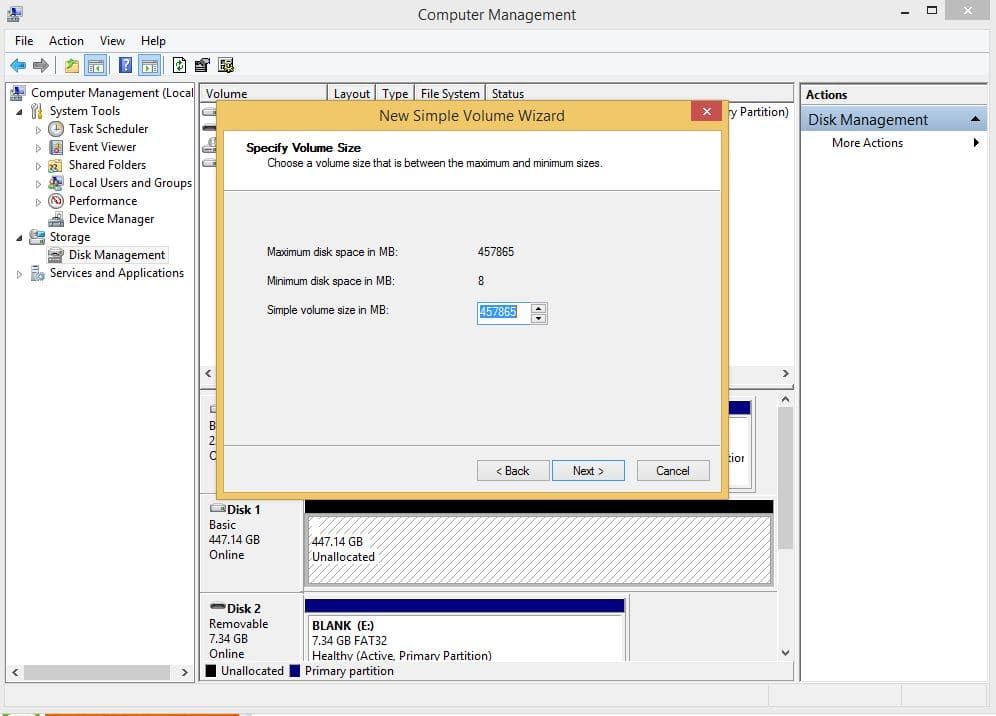
You can choose how large you want the RAID 0 Volume but it’s best just to leave it at maximum size and click next.
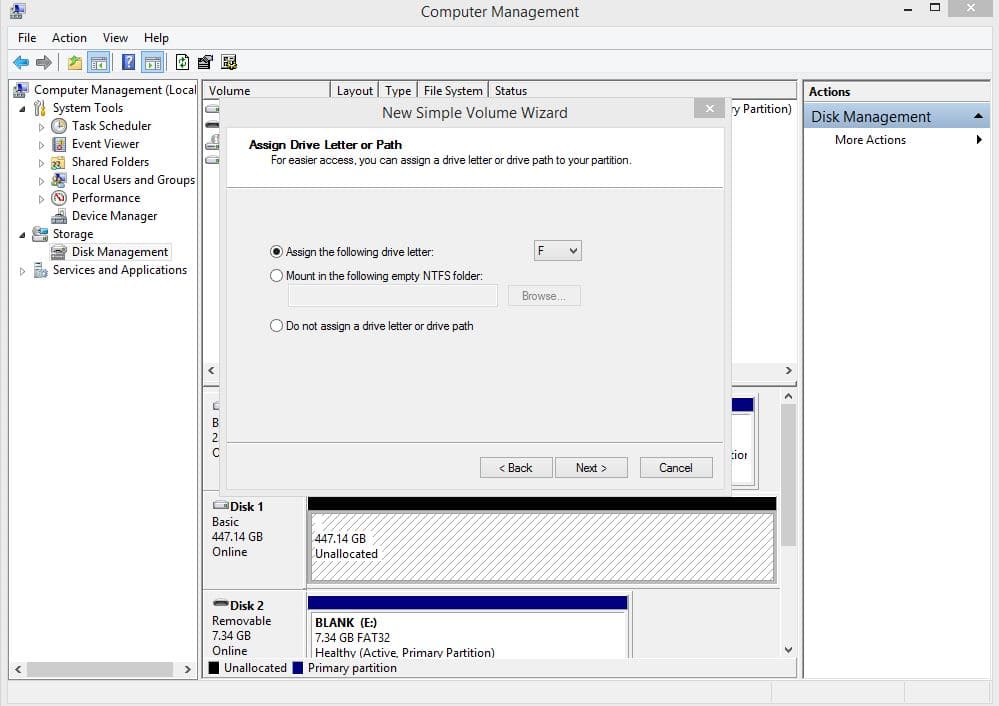
On this screen it asks you if you want to assign a drive letter and offers to choose an available one for you, we just clicked yes.
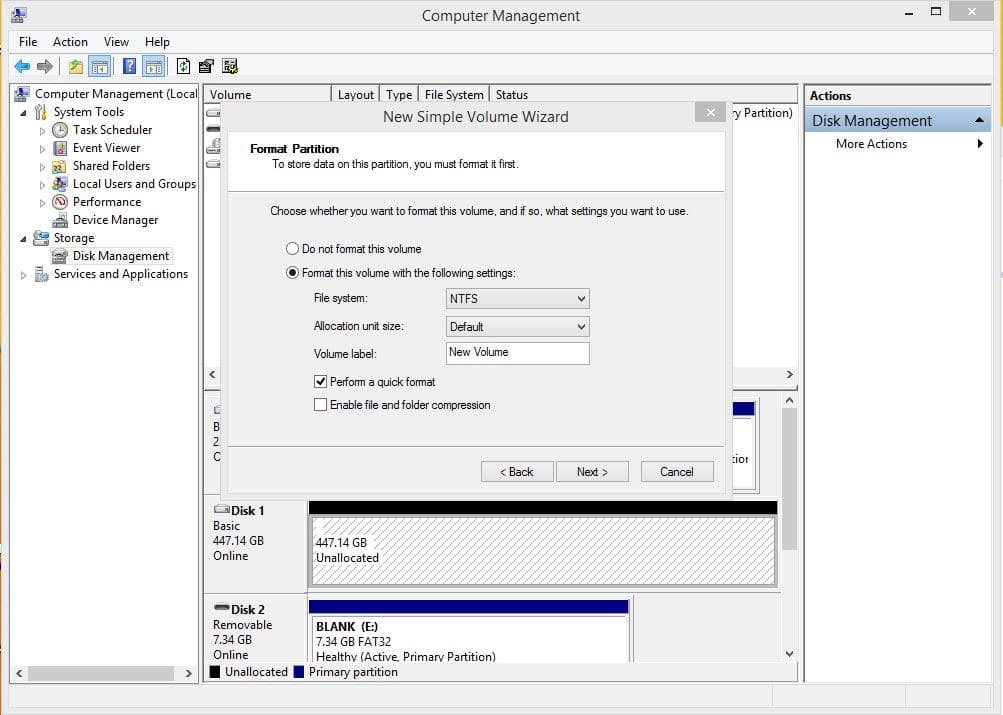
Then you get the “What flavor drive” do you want screen, NTFS is normal for internal HDD’s using Windows.
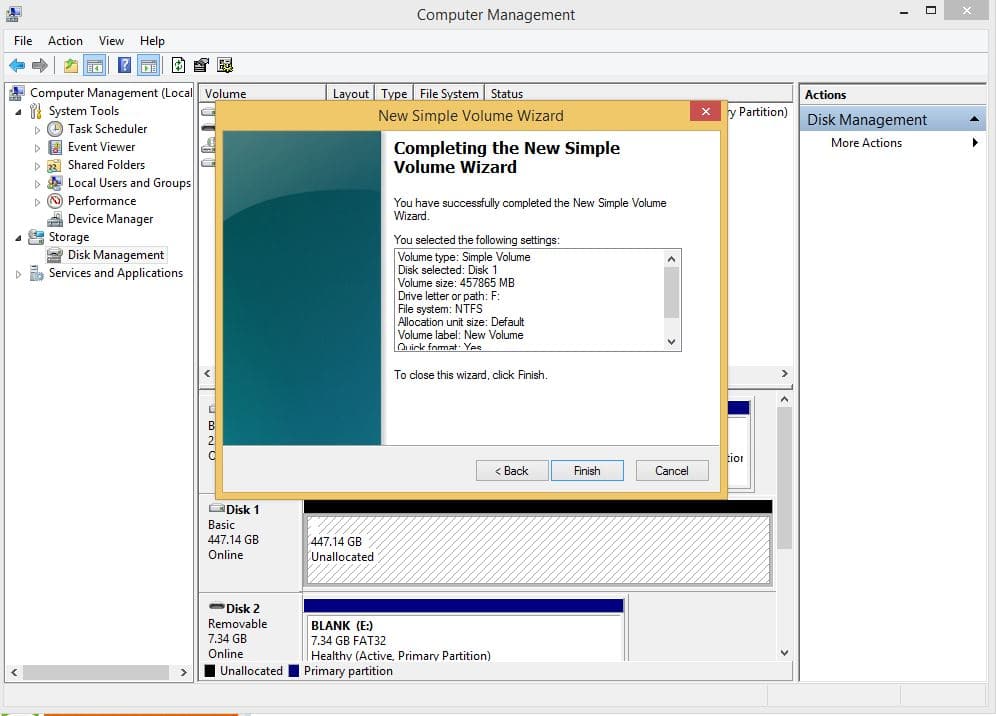
Once you’ve navigated this far click finish and the OS will begin formatting (hopefully the correct disk).
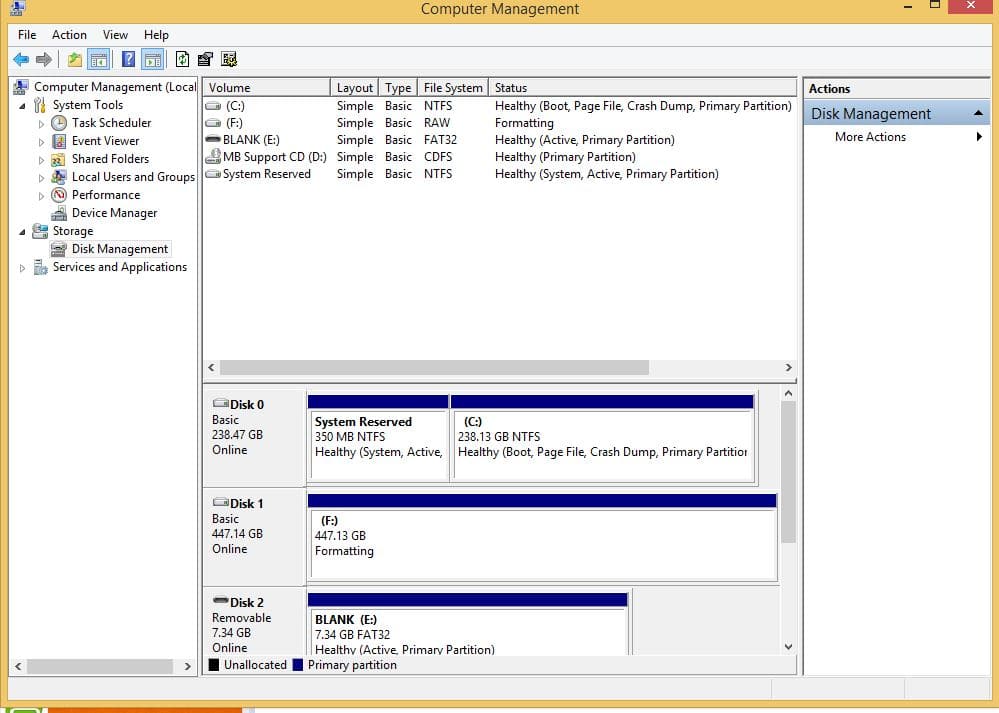
Here’s the New volume getting formatted and once it’s done your ready to lay files on the drive, clone an operating system or whatever you need to do with your RAID Array.
The other option is to have no OS drive and go through the same procedure in the BIOS section then insert a Windows Install Media and you can fresh install on your RAID 0 array