Closer Look at TS-453D-4G
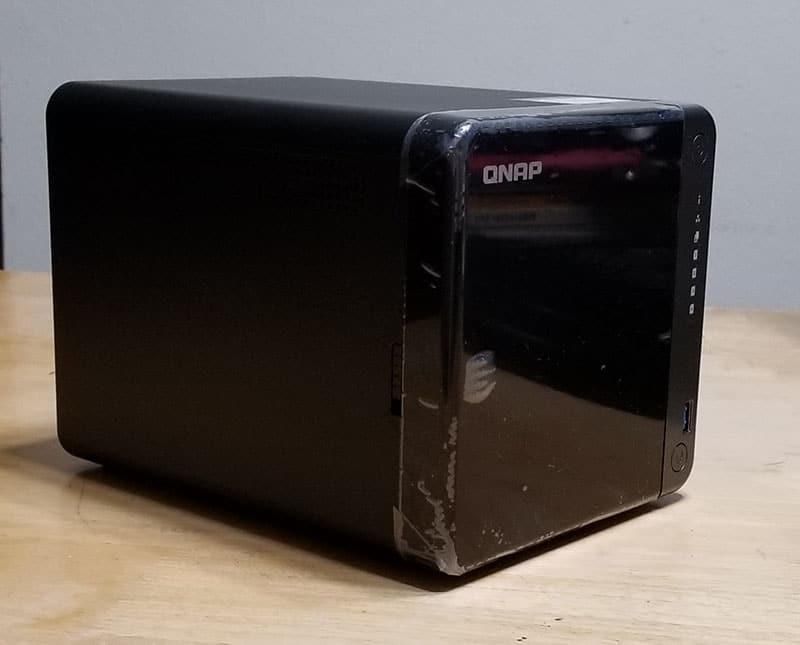
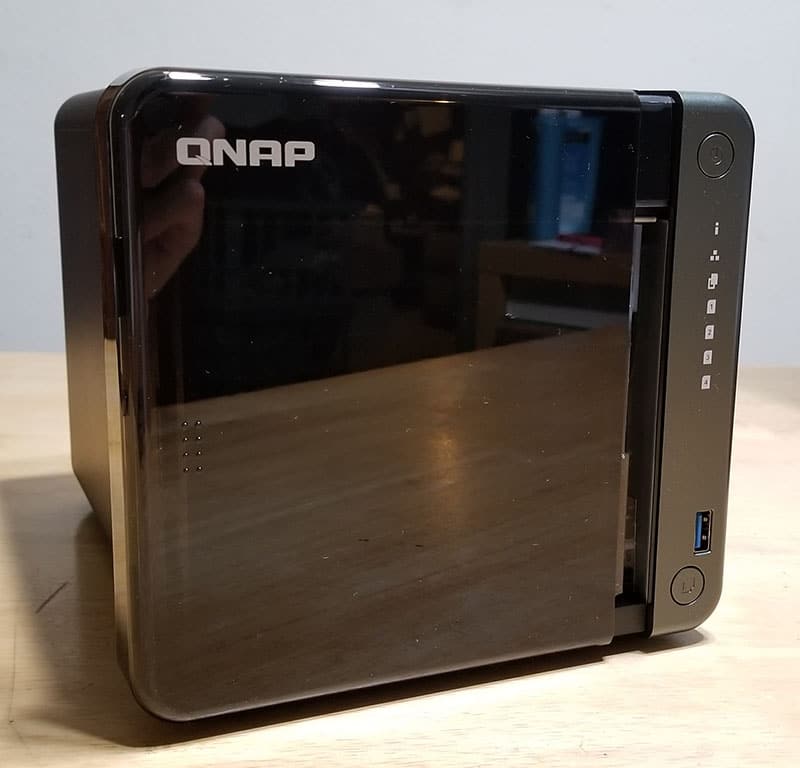
Our review unit is the 4-bay model TS-453D-4G. Thanks to the external power adapter, the unit is relatively compact at 6.61 × 6.69 × 8.9 inches. The exterior chassis for the NAS is made with black polycarbonate as oppose to metal found on the business oriented NAS from QNAP. Personally, I prefer metal chassis due to durability and better thermal dissipation. In any case, I am happy to report that the chassis on the TS-453D does not feel cheap or flimsy. Part of the reason is due to the internal metal frame design (which we will see later) on the unit that helps ensure the NAS is sturdy without being overly large or heavy.
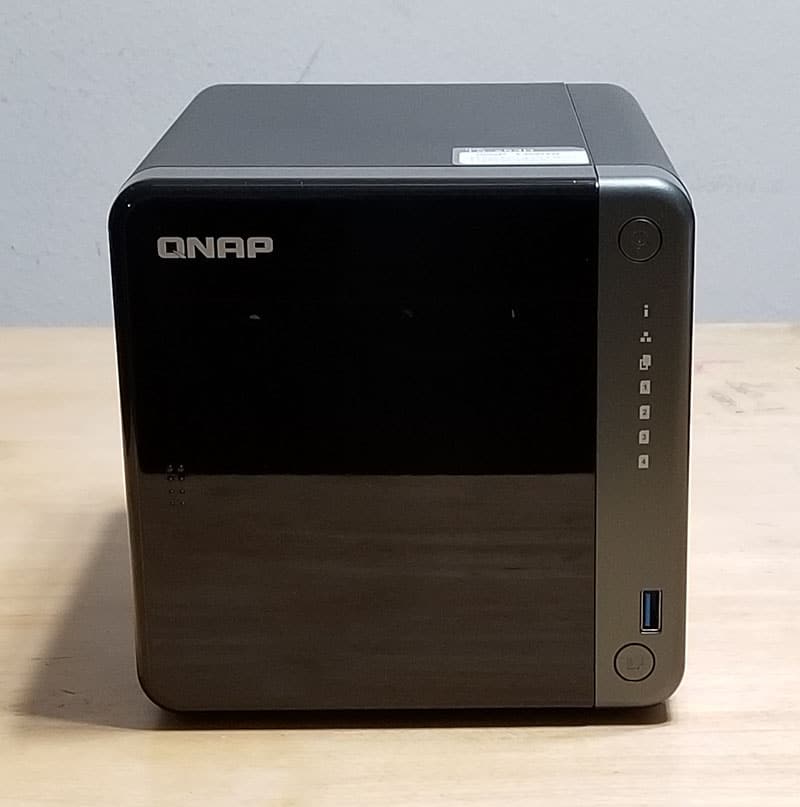
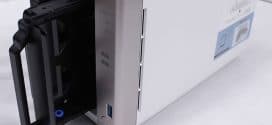
The front of the unit is fairly minimalistic with everything neatly lined up on the left side. From the top, we have the power button follow by multiple LED indicators for the power/status, LAN, USB and hard drives, one USB 3.2 Gen1 Type-A port and the handy USB copy button that quickly transfer contents from an USB device to the NAS. One feature that you will not find on the TS-453D is the LED display panel showing useful information such as IP address, temperature, and drive status about the NAS. A neat tool to have but not a critical feature that I don’t think many people would be missing it. A semi see-through mirror finish cover prevents dusts and other debris from entering the NAS with the QNAP logo locating to the right of the ports.

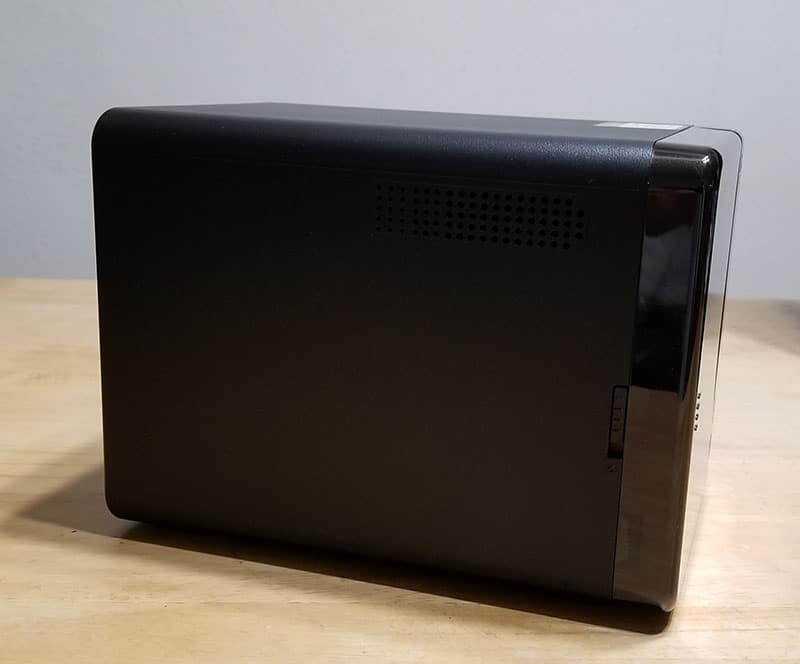
The rear of the TS-453D has four more USB ports: two USB 3.2 Gen1 Type A ports and two USB 2.0 Type-A ports. All together the NAS has 5 USB ports: three USB 3.2 Gen 1 (5Gbit/s) and two USB 2.0 (480Mbit/s) but sadly, no USB-C port to be found. We have two 2.5 Gigabit Ethernet RJ45 ports and one HDMI 2.0 port. The inclusion of the two 2.5GbE ethernet ports supporting 2.5G/1G/100M speed is a much welcoming feature. Port trunking is supported that effectively give us 5Gbit/s of transfer speed. The HDMI 2.0 supports resolution up to 4096 x 2160 @ 60Hz. On the back is where we also find power input and the Kensington security slot, and on the top is where the PCI-e low profile slot is located.
Interior
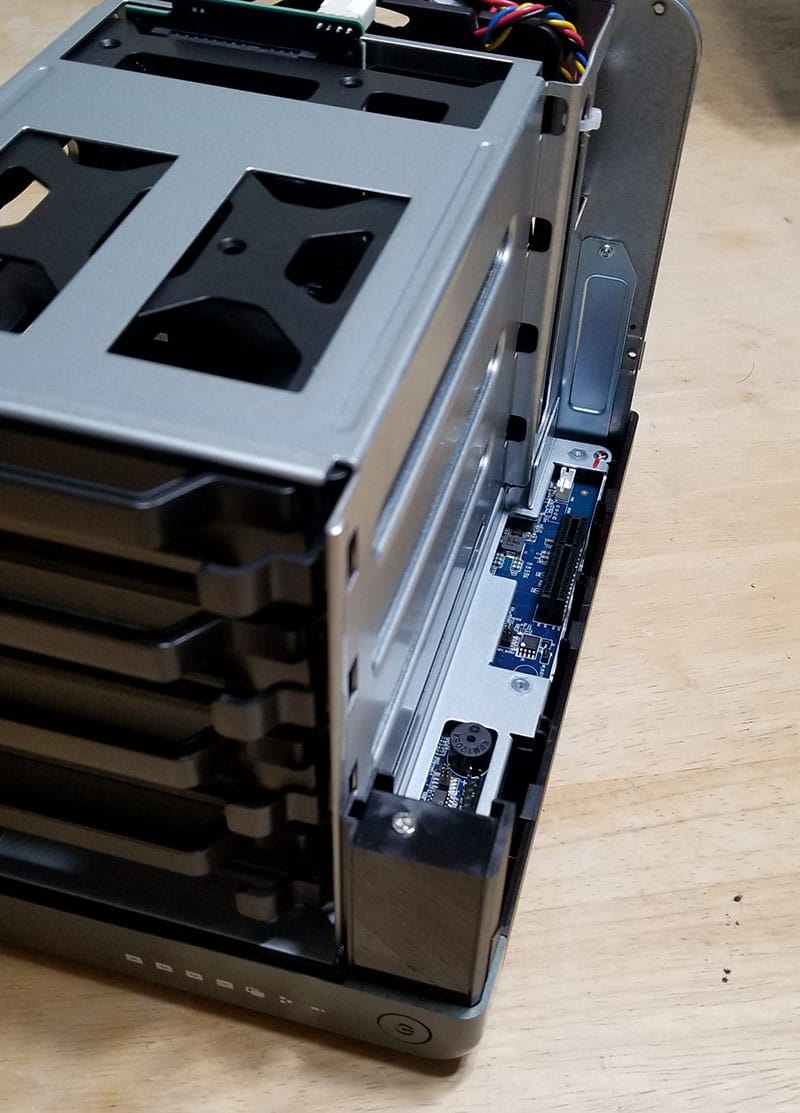
Opening the NAS to gain access to the hard drive tray is completely tool-less and trouble-free that requires just unlock the front cover lock and slide the cover off the NAS. The 4 drive bays are vertically mounted inside the NAS. The drive tray is a single piece of molded plastic that has a tab on the front acts as a lock to secure the tray in the NAS. Push the tab down and the tray can be pulled away from the NAS.
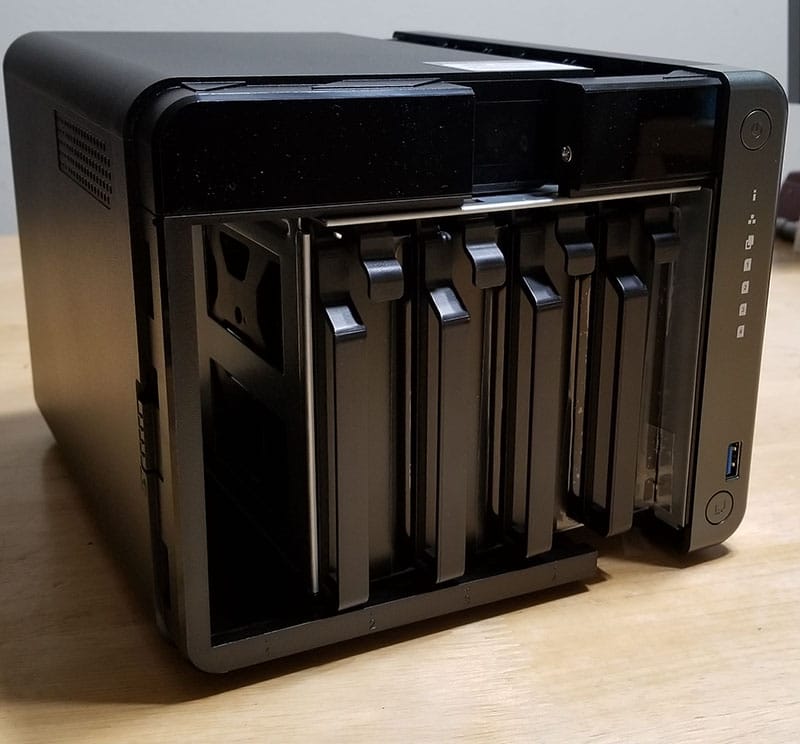
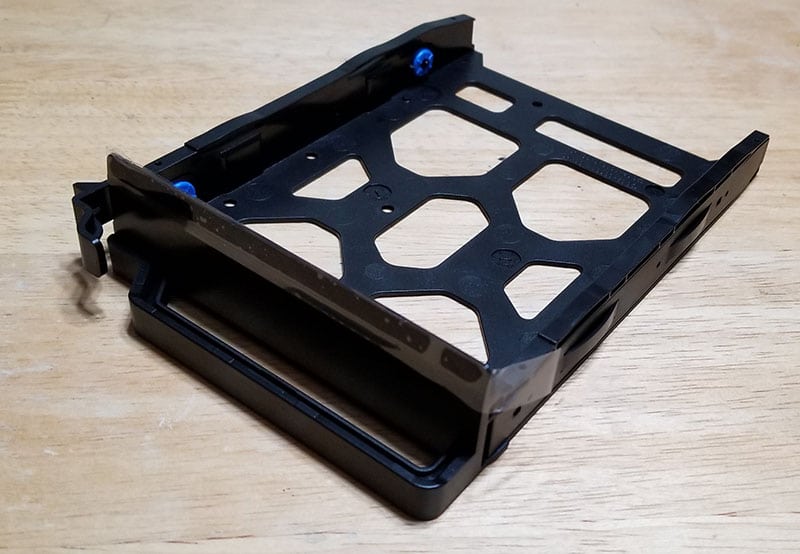
Installing the hard drive is completely tool-less if you are installing 3.5’’ drives. You just remove the fasten panels on either side of the tray, insert the drive, attach the fastening panel to secure the drive. All can be done in a matter of seconds. For 2.5’’ drive, a screw driver is all you need to fasten the screws under the tray to secure the drive, still not overly complicated.
We found the drive tray is slightly flexible but it is sturdy and holds the drive securely. We have no trouble getting in and out of the NAS smoothly. We do have a little concern about the tab’s durability after repeated usage as plastic degrades over the years and if it would survive without breaking off. The drive tray cover does help prevent the tab from bending too far when pressed so hopefully that will prevent it from breaking off and cause the drive to stuck inside the NAS.
One thing you would notice is that there is no individual lock and key for the tray. Since the TS-x53D is aimed for home or small business users, QNAP has opted out the individual drive bay lock. Instead, the plastic front cover is all we got protecting the drive from being stolen.
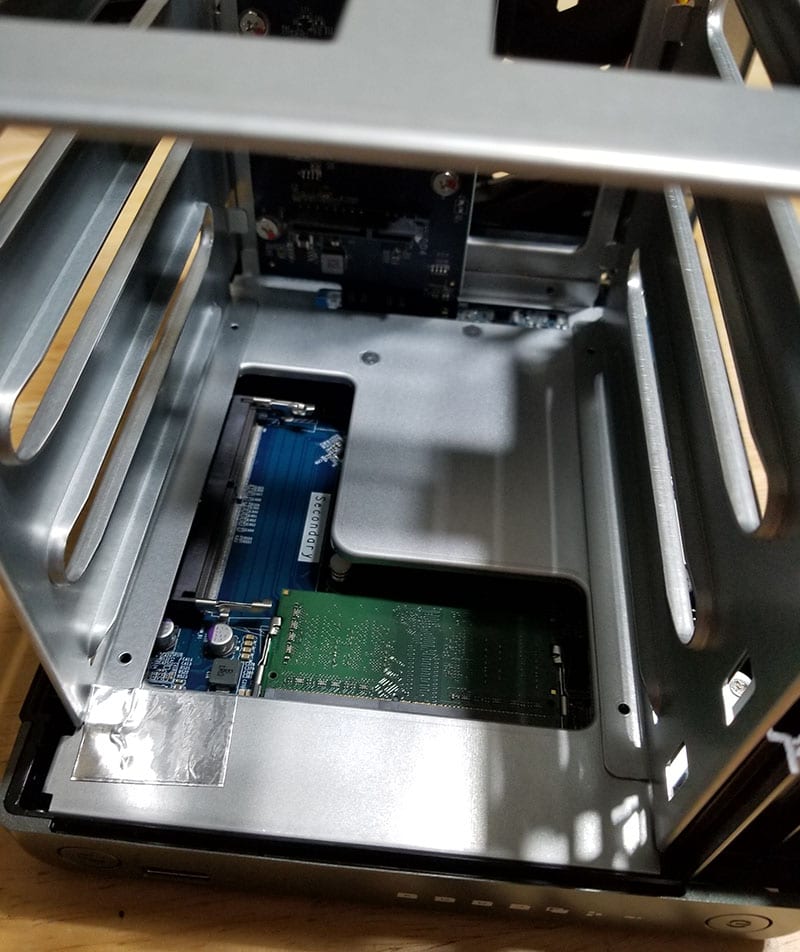
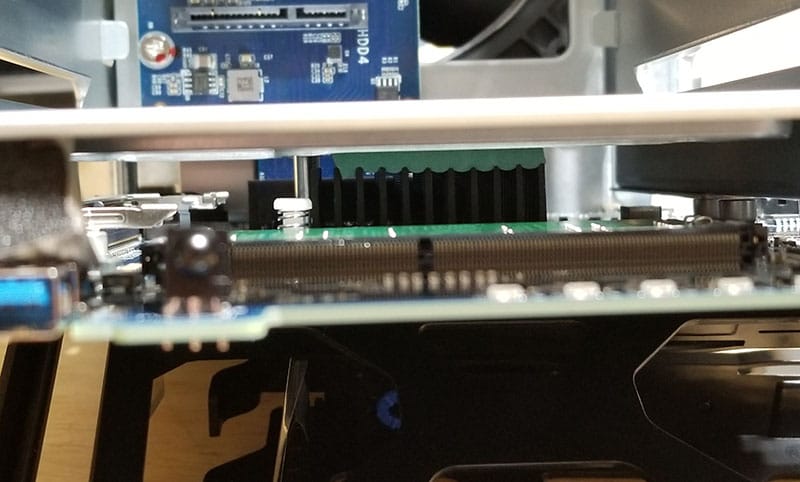
Upgrading the RAM is also tool-less design but requires removal of the all four drive trays since the both DIMM slots are located underneath the drive bays. The space inside is a little bit tight but most likely you would only need to do this once.

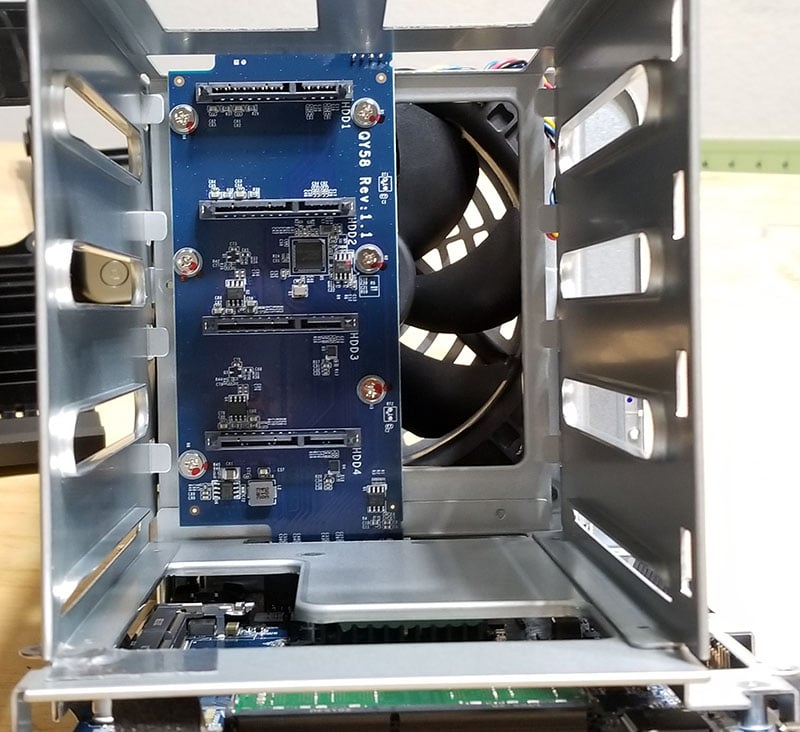
Unscrewing three screws on the back and we get a clear view of the internal metal frame. As you can see, despite the fact that the external chassis plastic, the entire drive bay is made with thick durable metal and the mainboard is secured to metal frame. Thus, the entire NAS is very rigid and sturdy. If we look closer, we can see the thermal pad on top of the SoC’s heatsink is directly touching the metal frame so the entire metal frame acts as an additional heatsink for the processor.
While some of the more powerful NAS from QNAP come with integrated M.2 slot, the TS-453D does not have M.2 slot so you would need to rely on the add-on card via the included PCe 2.0×2 slot. QNAP has a wide range of low profile expansion cards available and the compatibility list is quite extensive. The expansion slot is open-ended socket so you could physically install longer card but keep in mind that you would still be limited to x2 bandwidth. Due to the bandwidth limitation (and power), you probably will not be installing a graphic card in this slot. Instead the slot can be used to add a wide range of add-on cards from QNAP such as wireless card such as for Wi-Fi 6 (QXP-W6-AX200), M.2 slot (QM2-2P-244A), 5GbE ethernet port (QXG-5G2T-111C), or QM2 card which is a combination of 10GbE and M.2 slot QM2 (QM2-2S10G1TA) among others. Again, the long supported list contains some cards that uses PCIe 3.0 and/or x4 or higher data rate, while they are compatible with the NAS, you won’t be able to take full advantage due to PCIe 2.0×2 limitation.