INSTALLATION
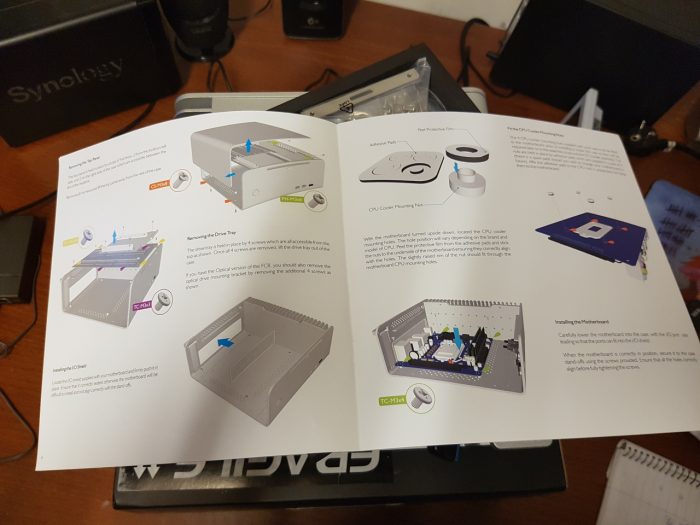
Streacom deserves praise for their manuals. They are very well done with big images and easy to follow instructions. All the screws also comes in separate bags so you quickly know which screw to use.
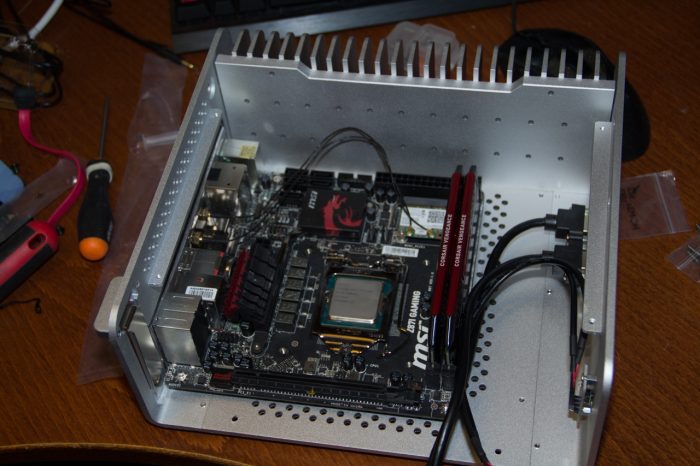
Time to come clean. This is the second motherboard I tried to install in the case. Unfortunately I did not read Streacom’s System Build Guide which contains a lot of information on what type of components fit into their various chassis. It turns out the first motherboard I installed, the Gigabyte H170N-WIFI, has the CPU-socket in the wrong place which means that the included heat-pipes are too long and do not fit. Streacom sells a kit with shorter heatpipes (MH1) but I could not get hold of one in time for this review. In the end I had to switch to another motherboard, the MSI Z87i Gaming, that I use in my regular gaming-rig.
Streacom recommend not using a CPU with a TDP higher than 95W. Then there’s of course also the issue with the PSU and how much it can handle. I would recommend a Corei3 or i5 or similar AMD CPU.
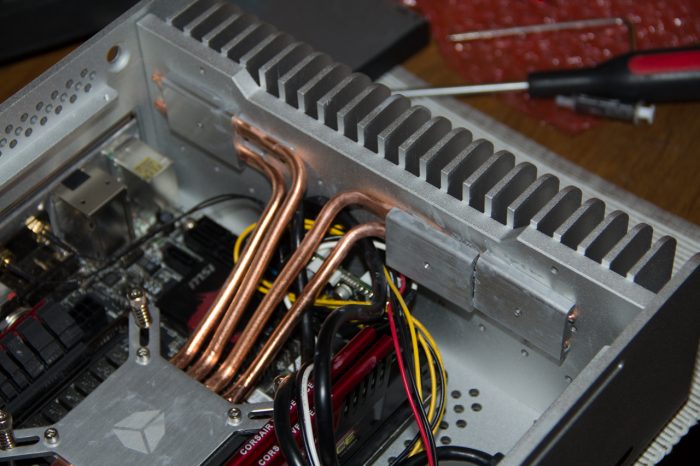
This is a dry-run where I checked to see if everything would git. I noticed that one of the heatpipes were bent but it was easy to bend it back. If you look closely at this image you noticed that on this motherboard the connector for the 24-pin power cable as well as the USB3-connector is right below the heatpipes. I was worried this would become an issue and it unfortunately did.
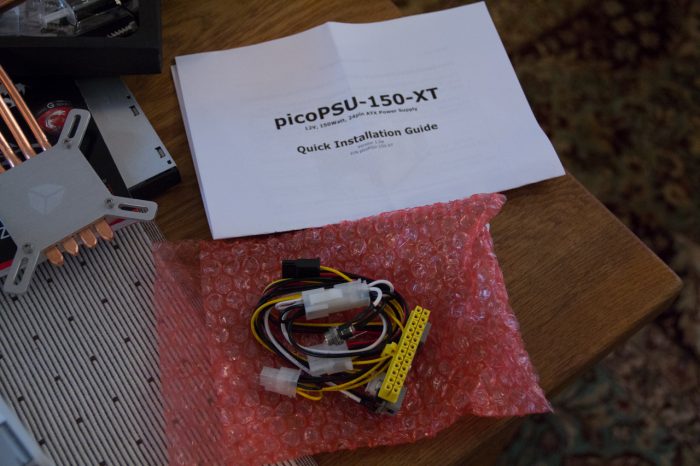
I choose to use a 150W picoPSU for this build. Streacom also sells what they call a 160W nanoPSU which is similar to this. I have one on order but it was on backorder and did not arrive in time for the review. The picoPSU is quite tall while the nanoPSU looks not as tall and that also affects how well the heatpipes fit with the case and motherboard.
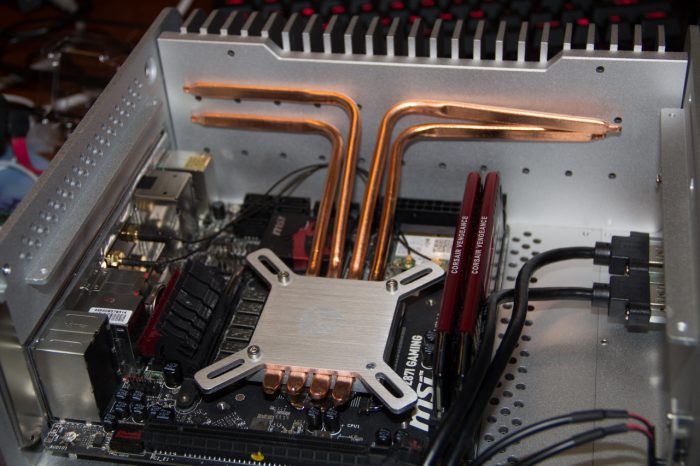
You see that I had to improvise a bit to get the heat-pipes to sit tight. The “dirty” look is due to thermal paste getting a bit smeared around. Talking about thermal paste, Streacom includes two small syringes of Artic Silver 5 paste. This has to be enough for not only the CPU but also all the heatpipes. In the end I found that it was not enough, even when I thought I was conservative. I had to get a bit more to make sure that all the different places where the heatpipes are supposed to transfer heat has sufficient paste.
I talked about the picoPSU being a big high but there is also another problem when using this motherboard. The USB3-connector is right under the heatpipes at the end of the motherboard. The problem is that the USB3-cable from the front of the chassi also is quite tall and rigid and that almost posed an even bigger problem that the PSU. Quite simply it is a very tight fit.
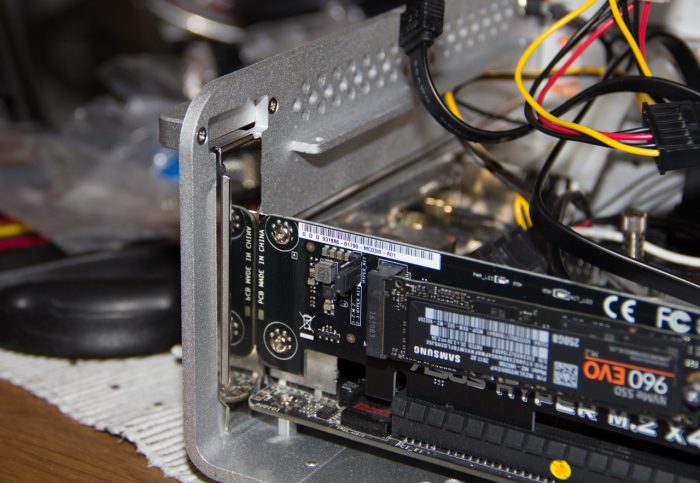
There is room for a low-profile PCI-E-card. You could use one of the few low-profile Graphics-cards if you like or, like I did, use a PCI-E-card that gives my motherboard M.2 NVMe SSD-support, which the motherboard natively does not have.
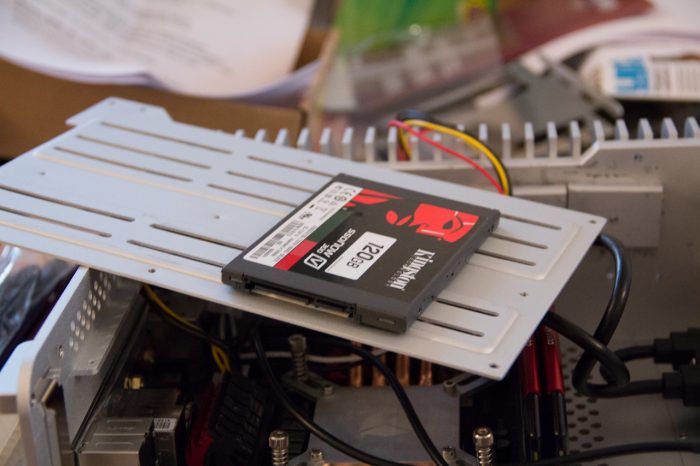
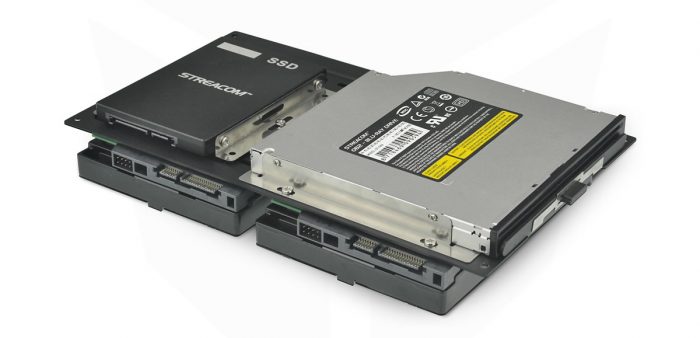
Ok, we got the motherboard installed. Now it is time to add the storage. The holder that is screwed on at the top can hold a variety of drives including even two 3.5″-drives.
This is an image from Streacom which gives you an idea how it could look. I tried to add a 3.5″-drive underneath but again ran into the issue that it is just so tight with cables, heatpipes, the low profile PCI-E-card and even more cables and I actually gave up after a while since I did not want to risk anything. To be honest I actually think that you should still focus on small M.2-drives and regular 2.5″-SSD’s anyway since it probably will get a bit hot in there when you have a lot of drives there.
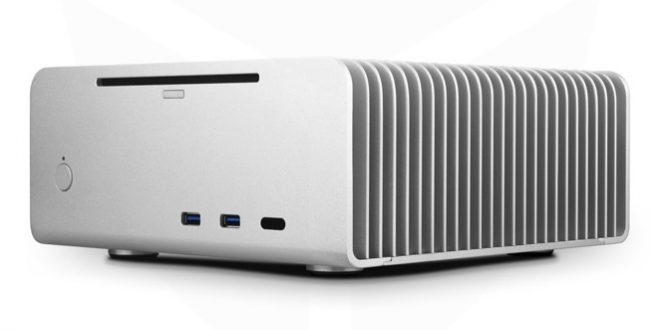
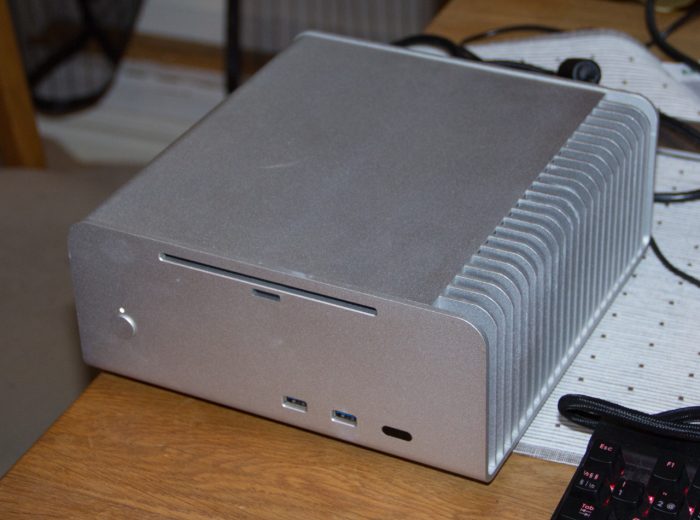
And we are done! I actually think I would prefer this case in black but the silver finish still is quite cool. Looking at the image I notice that i need to clean it up a bit after all the thermal paste mishaps I had.
 Bjorn3D.com Bjorn3d.com – Satisfying Your Daily Tech Cravings Since 1996
