Long gone are the days when cases were ugly, beige and just plain boring. These days it takes a lot more to get the attention of computer users. Some cases focus on looks, other on silent performance and so on. The NZXT Manta is a case that not only looks great but it also comes with the promise of silent performance, and excellent cable management options. It only supports mini-ITX-motherboards but the added size compared to other more compact small cases is made to good use. Read on to find out why we think this is a great case.

Specifications
| Model Number | CA-MANTW-M1 (Matte Black/Black) |
| Motherboard Support | mini-ITX |
| Dimensions | W: 245 x H: 426 x D: 450mm |
| Weight | 7.2kg |
| Clearance | CPU Clearance: 160mm GPU Clearance: 363mm PSU Length: 363mm |
| Cooling System | Front: 2 x 140/120mm (2 x 120mm included) Top: 2 x 140/120mm Rear: 1 x 120mm (Included) |
| Radiator Support | Front: Up to 280mm Top: Up to 280mm Rear: 120mm |
| Drive Bays | Internal 3.5”: 2 Internal 2.5”: 3 |
| External Electronics | I/O Panel LED On/Off, 1 x Audio/Mic, USB 3.0 |
| Expansion Slots | 2 |
| Power Supply Support | ATX |
This is a case that other supports mini-ITX-motherboards. It still is larger than many compact cases although in reality it does not feel like a midi-case so don’t be fooled by the images. Many compact mini-ITX-cases are actually quite “fat” and almost feel larger than this case. The added size though allows NZXT to offer a lot more options for cooling. Whether you want a lot of fans or water-cooling, there is room for both huge radiators and many fans, in fact you could technically have two 280mm radiators and a 120mm radiator at the same time. Added to that is a fan-controller that helps you handle all the fans in the case.
When it comes to support for storage it is a sign of the future that there are more room for SSD’s than 3.5″-drives in the case. For regular users it should still be plenty enough.
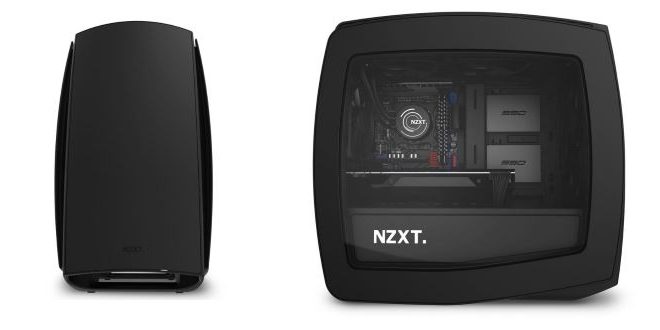
One feature that might not be completely obvious from the images is the curved design. This is absolutely gorgeous but it also has a secondary benefit. It makes it a lot easier with the cable management as there is plenty of room between the case and the side to tuck cables in. We will look more at that in a later part of the review.
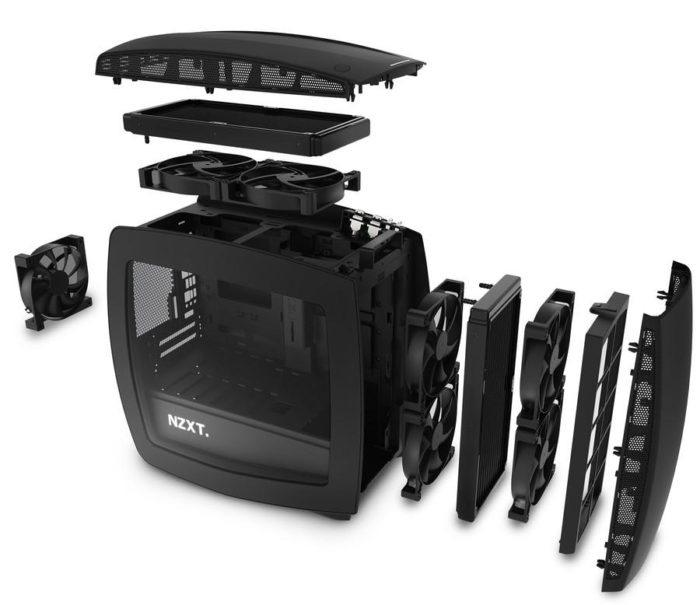
This image gives you a good look at what the case can handle.
IMAGE GALLERY – THE OUTSIDE
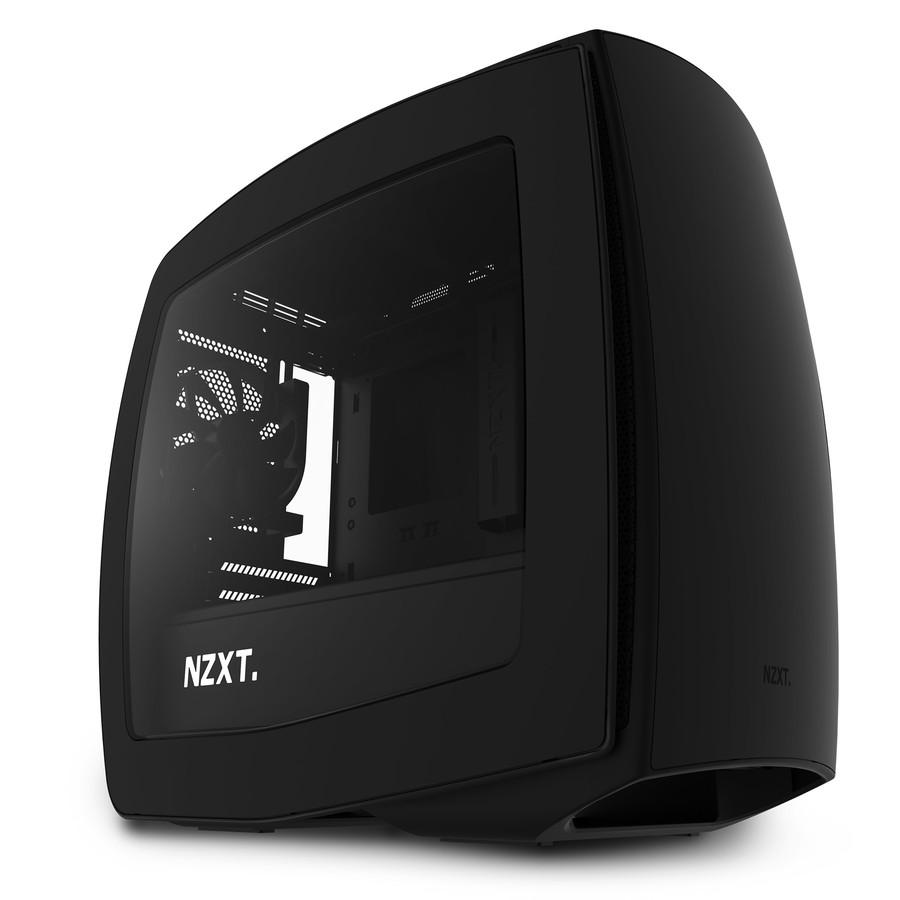
We had some issues getting a nice photo since the window is so shiny and mirror everything so we settled for a image directly from NZXT. This is a really nice looking case. Everyone seeing it commented on the looks.

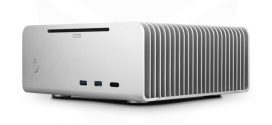
Here we have a view from the top. On the right side we see the various ports while on the right side we have the On/off-button. At the front there is a small light that shines when the computer is on. The whole top can be removed if you want to fit fans or a radiator there.
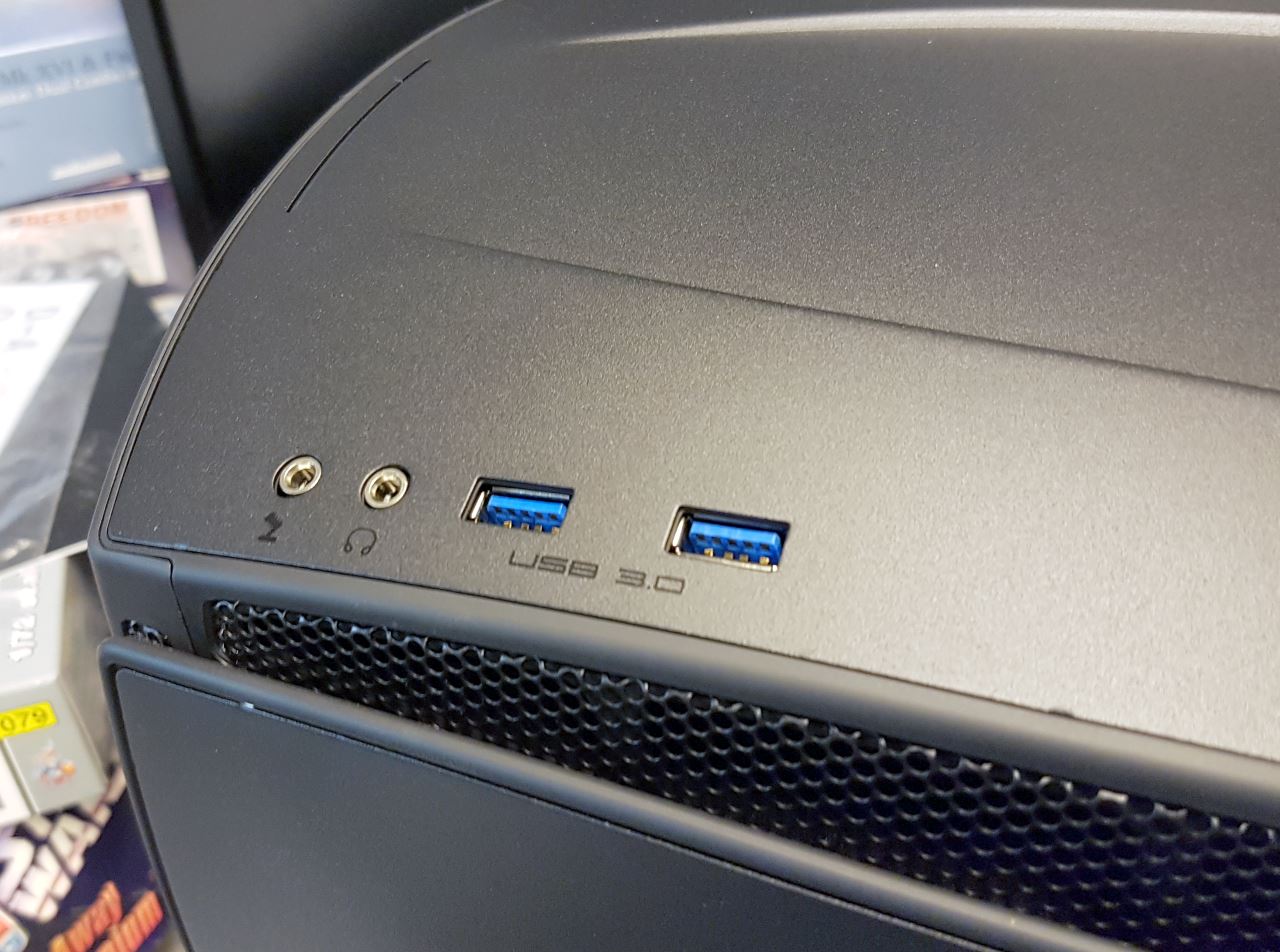
No surprise when we look at the ports at the top. Two USB3.0-ports and headphone/microphone jacks.
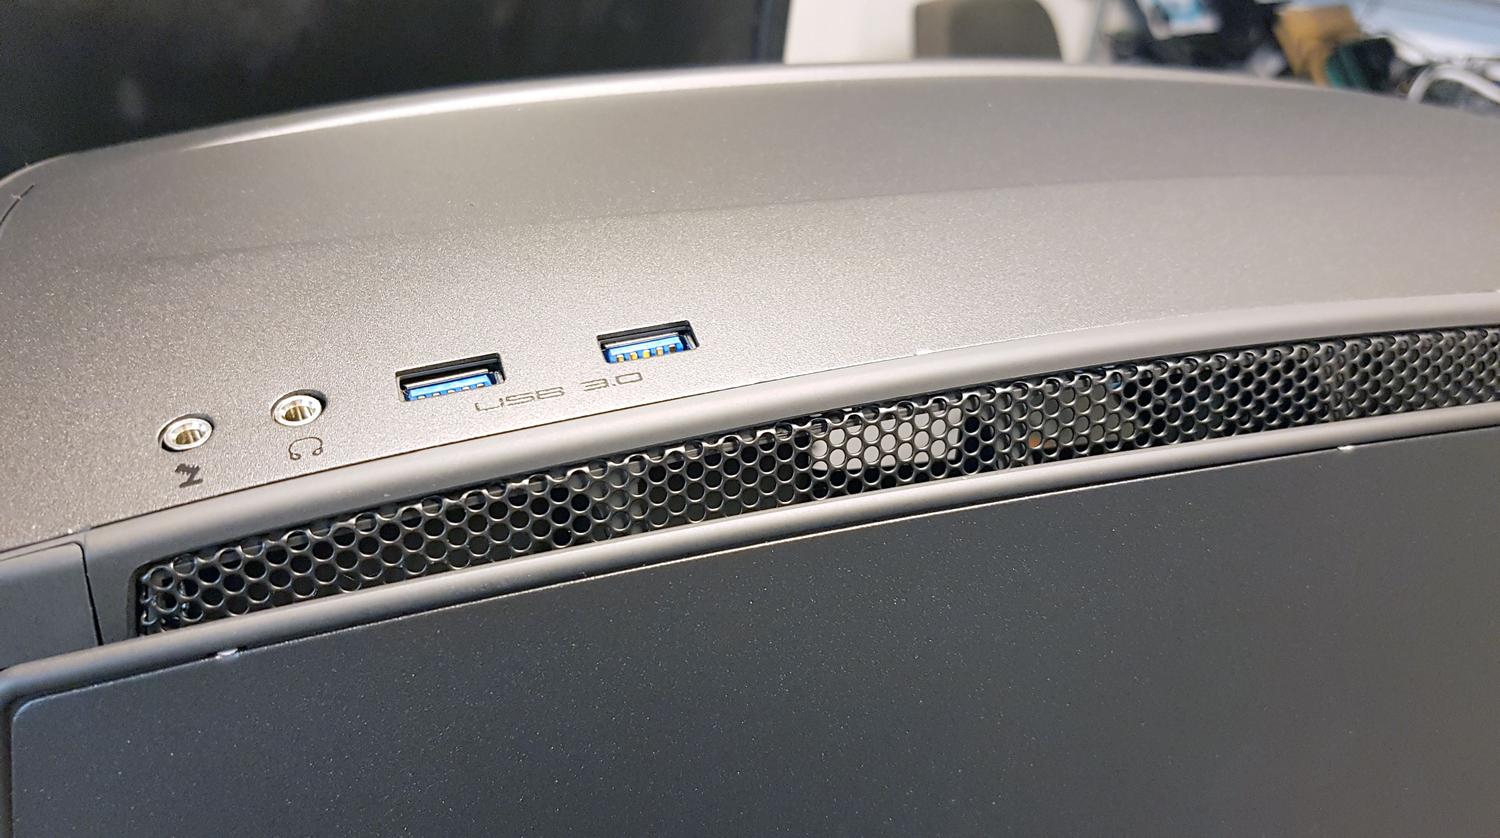
This mesh lets air in/out of the case.

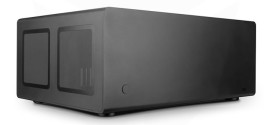
The back of the case hold no real surprises although there is one neat feature we will show in more detail in the next image. Look at the middle in this image and you see a button marked LED.

This button lets you turn on/off a pair of LED’s that are situated right by the back panel. Click the button and these turn on illuminating the back panel so you can find that USB-port in the dark. It’s a really neat features for us that often need to plug in/out something.
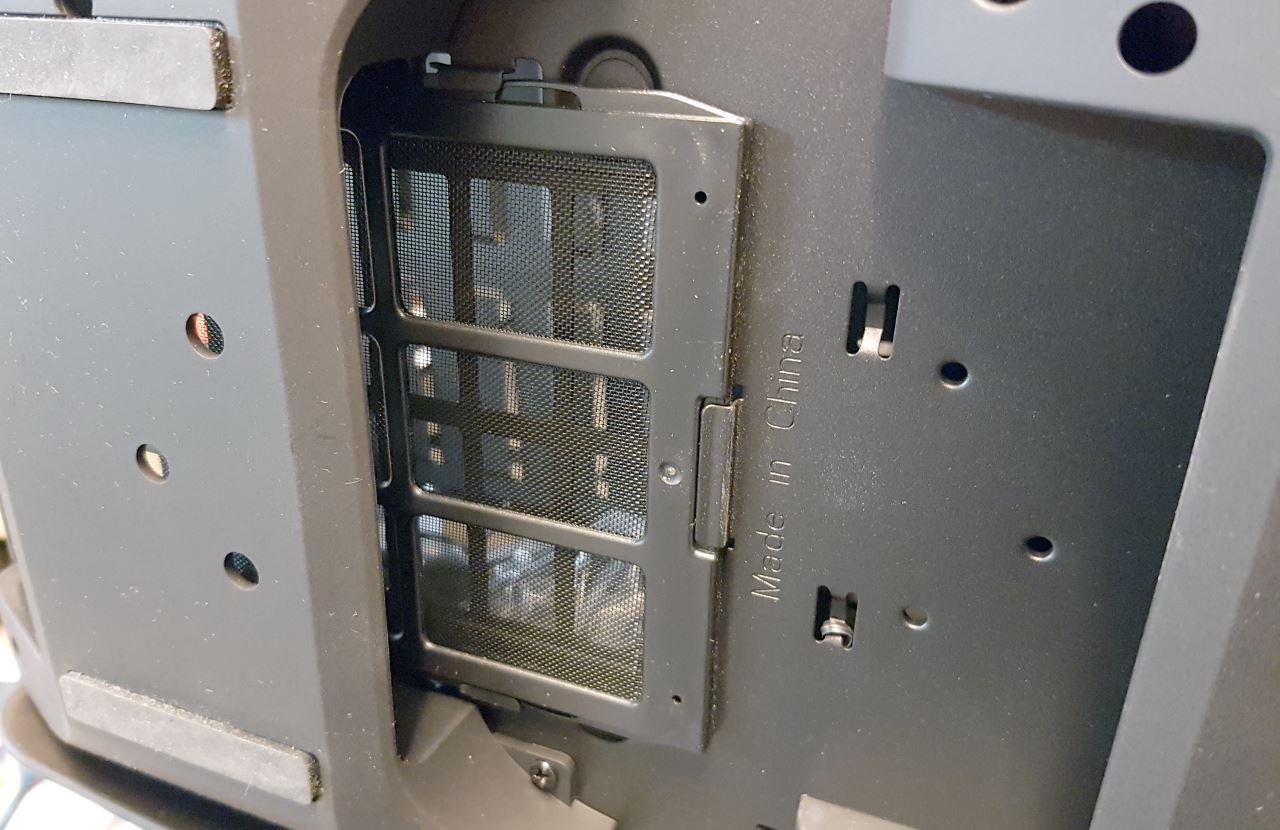
The bottom of the case shows us a filter that can be removed and washed.
IMAGE GALLERY – THE INSIDE
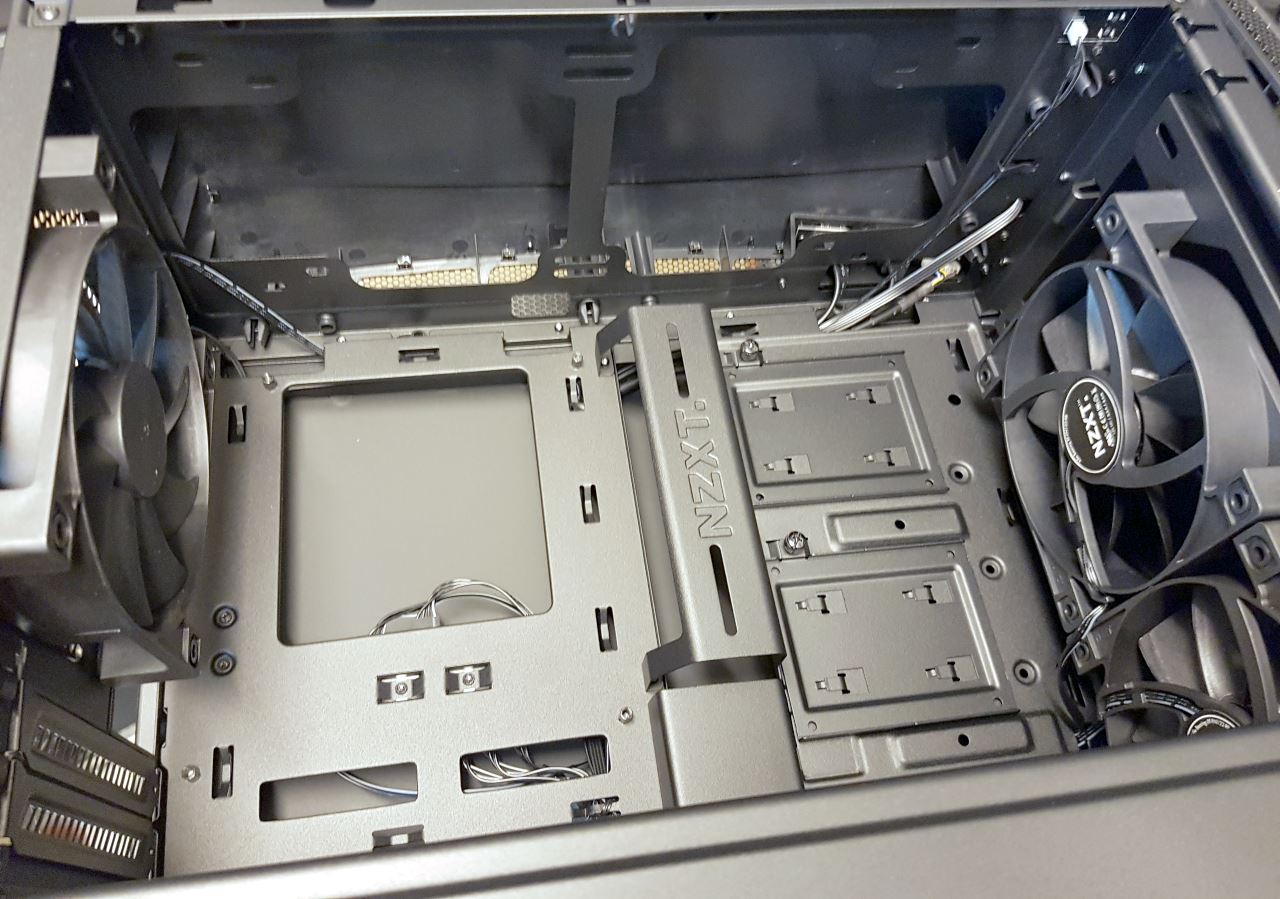
The inside of the case is quite roomy, especially when you consider it only supports a mini-ITX-motherboard. The motherboard sits in the left of the image while the SSD’s can be placed to the right in the two caddies. At the top of the image we see the space for a top mounted radiator or fans while the left and right shows the space for back-mounted fan and the front-mounted fans. From this image it should be obvious already that it should be easy to do good cable management.

The front of the case can be removed and here we see a big dust filter. Don’t forget to actually clean it from time to time!
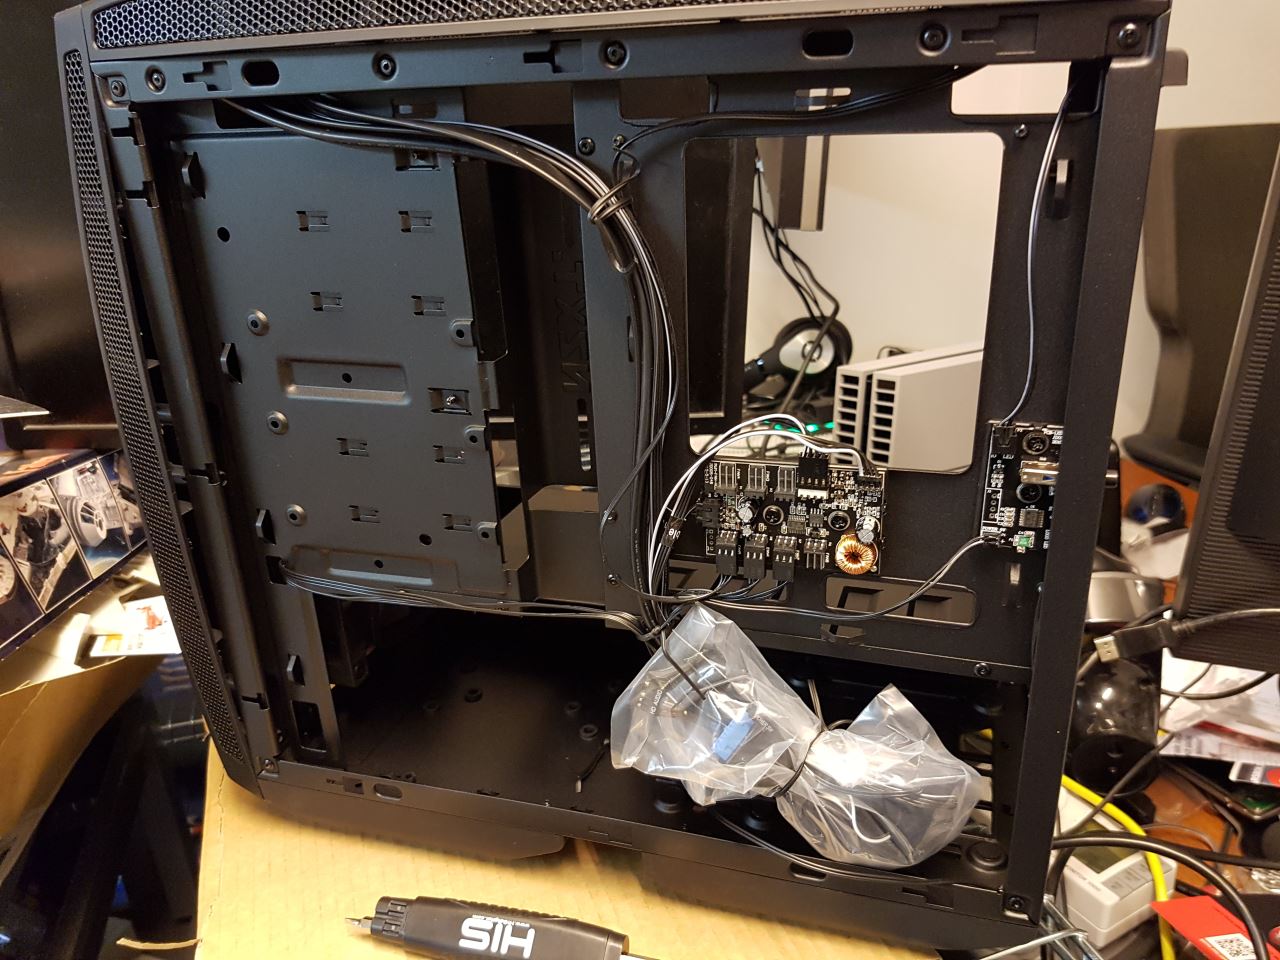
Here we see the “back” of the motherboard tray. As expected there is a huge cutout where the CPU is situated. The PWM-fan hub sits here and you can hook up all your fans here, including the CPU-fan. The cables are already zip-tied from start.
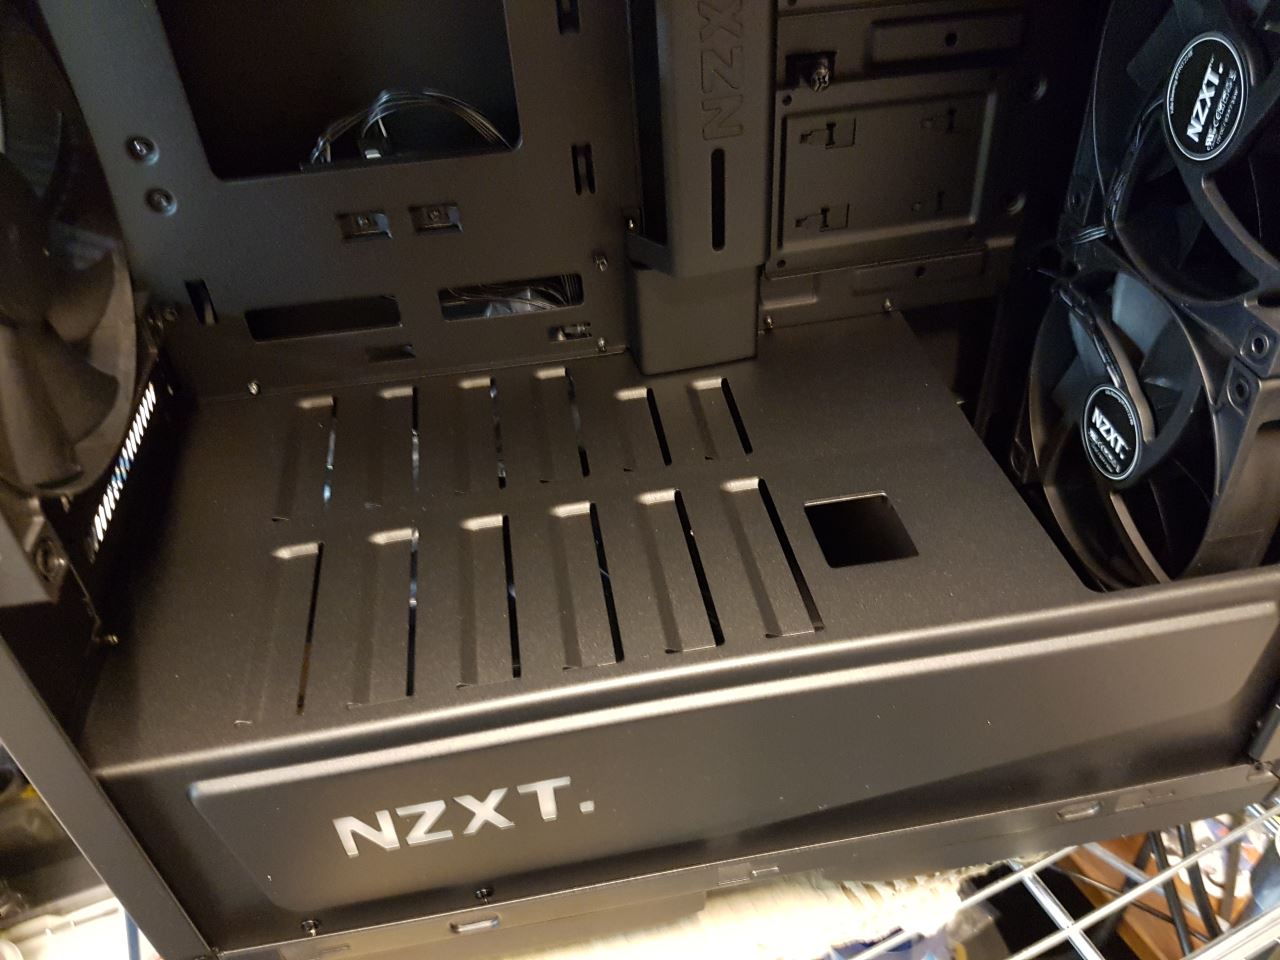
The area for the motherboard is separated from the PSU. The PSU sucks in air from the bottom of the case and pushes it out at the back making sure that nothing is ventilated to the main area of the case.
INSTALLATION

We choose our trusted friend the MSI Z87I Gaming-motherboard for this build. It’s a great motherboard that also will featured in our upcoming article about building a VR-ready mini-PC.
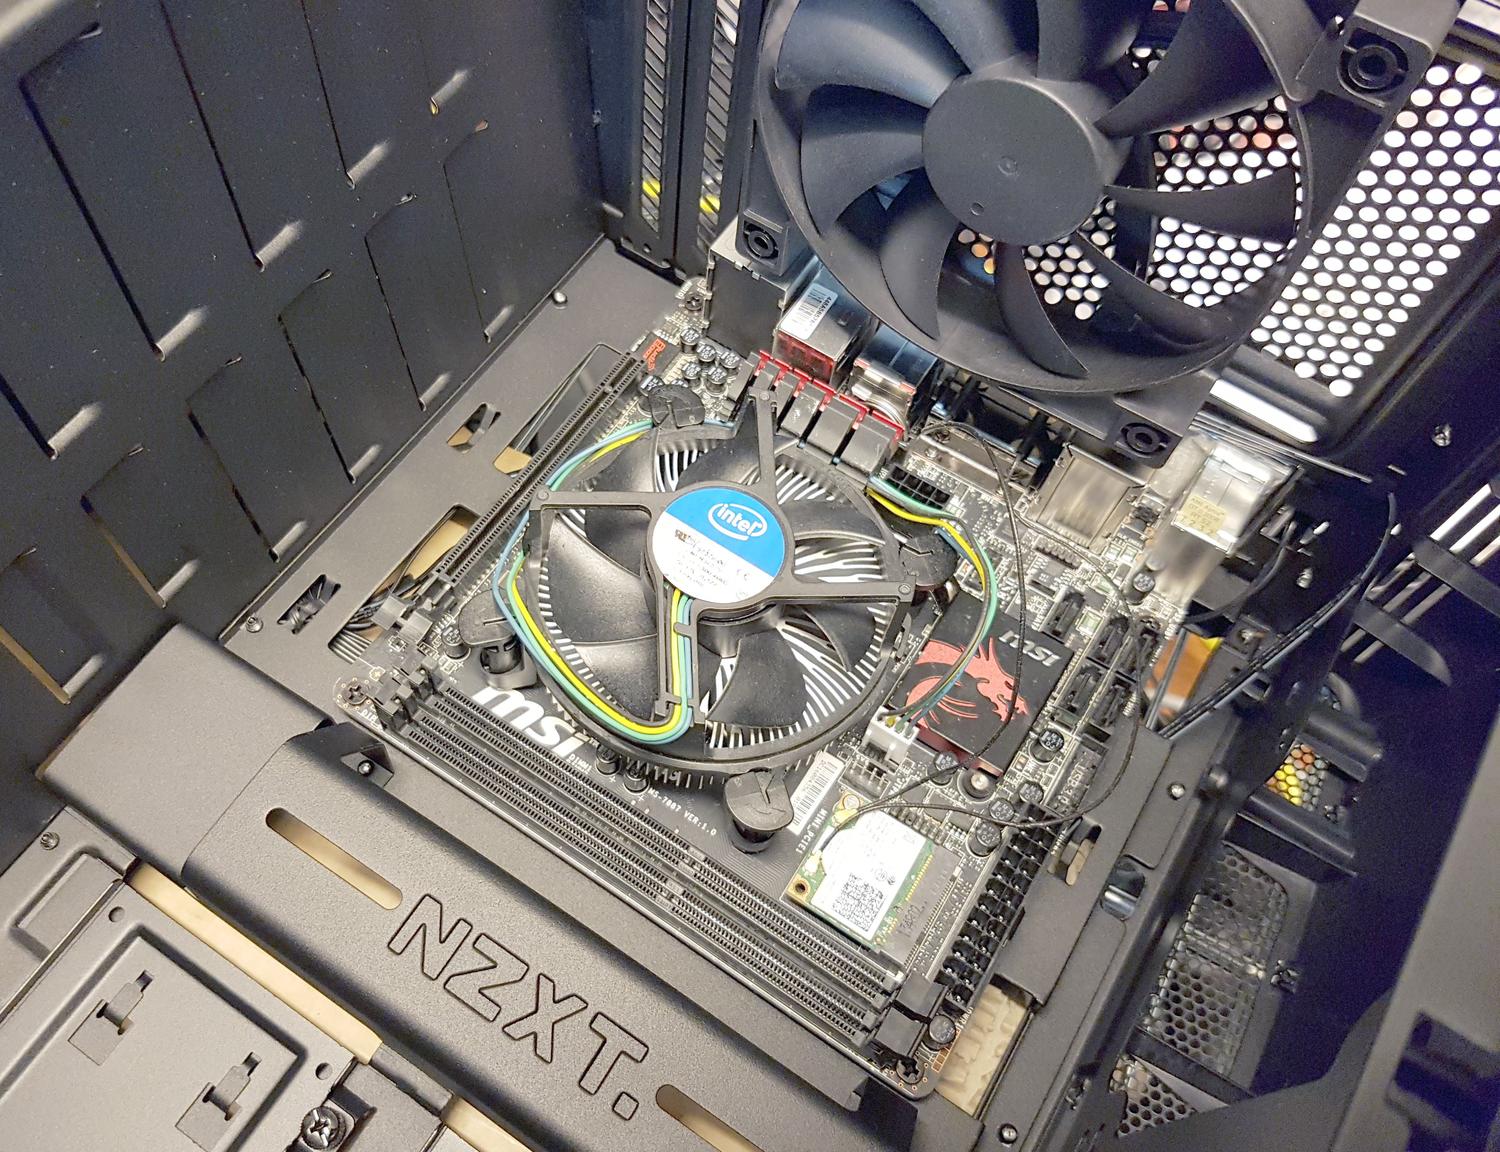
Obviously there is a lot of room for the motherboard in this case.
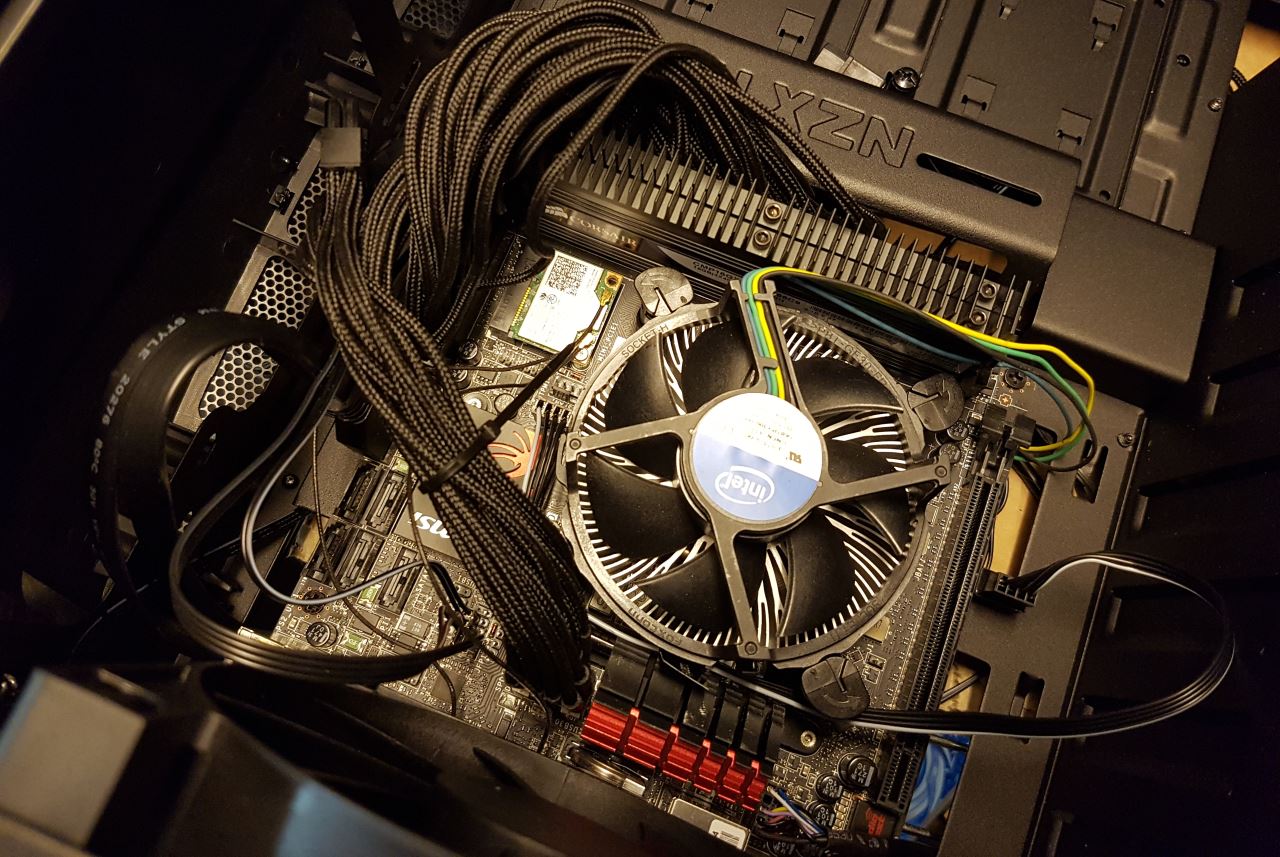
Here is a view on how it can look with the cables attached. There are a lot of holes around the motherboard for cables so it is quite easy to do good cable management.

The SSD’s are mounted on a small caddy.
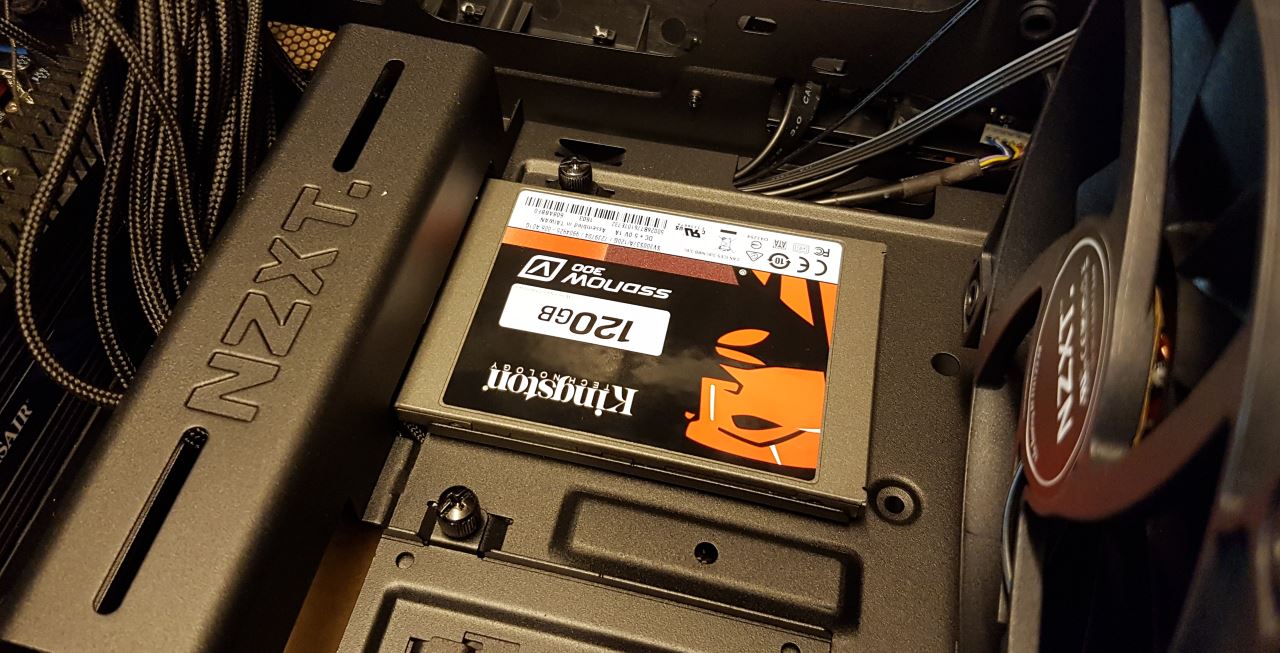
Here we have it installed. Notice one cool feature. To the left of the image the SSD-end with the connectors is hidden beneath the rised metal-thingy in the middle. You attach the power and SATA-cable from the back. Another nice cable management feature.
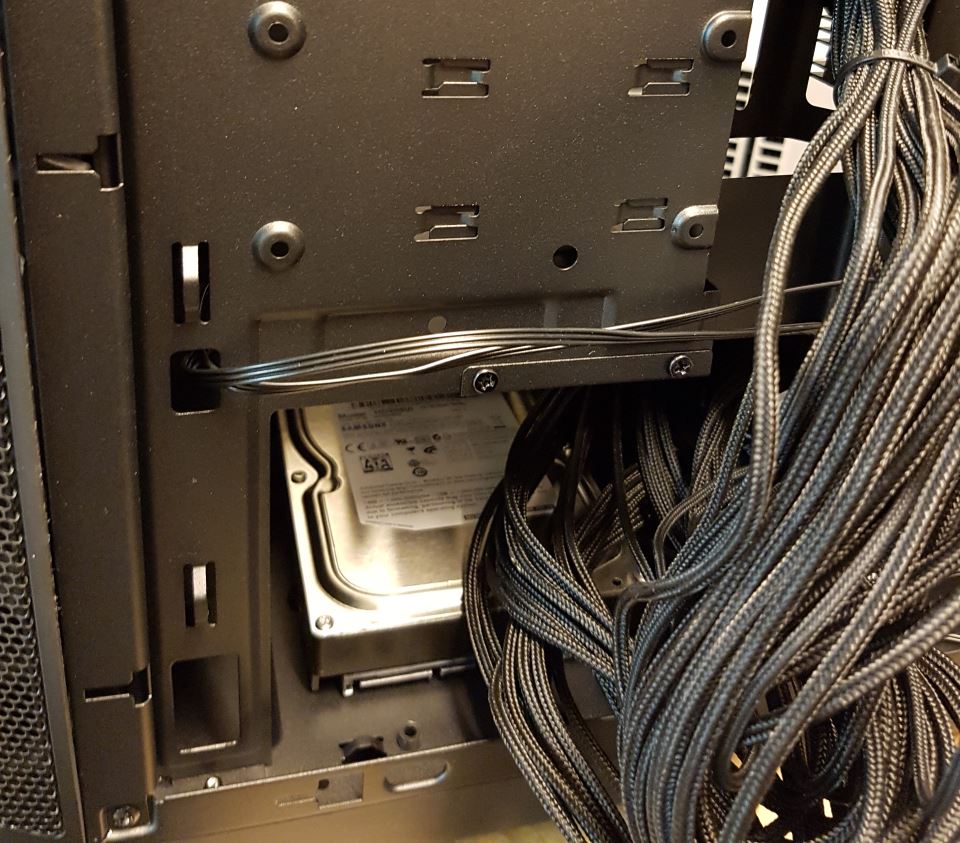
You can either place a 3.5″ HDD at the bottom of the case as we have done here or attach it to the back if the case further up in the image. Neither spot has any rubber to minimize vibrations. It does feel like HDD’s are nt the top priority of this case.
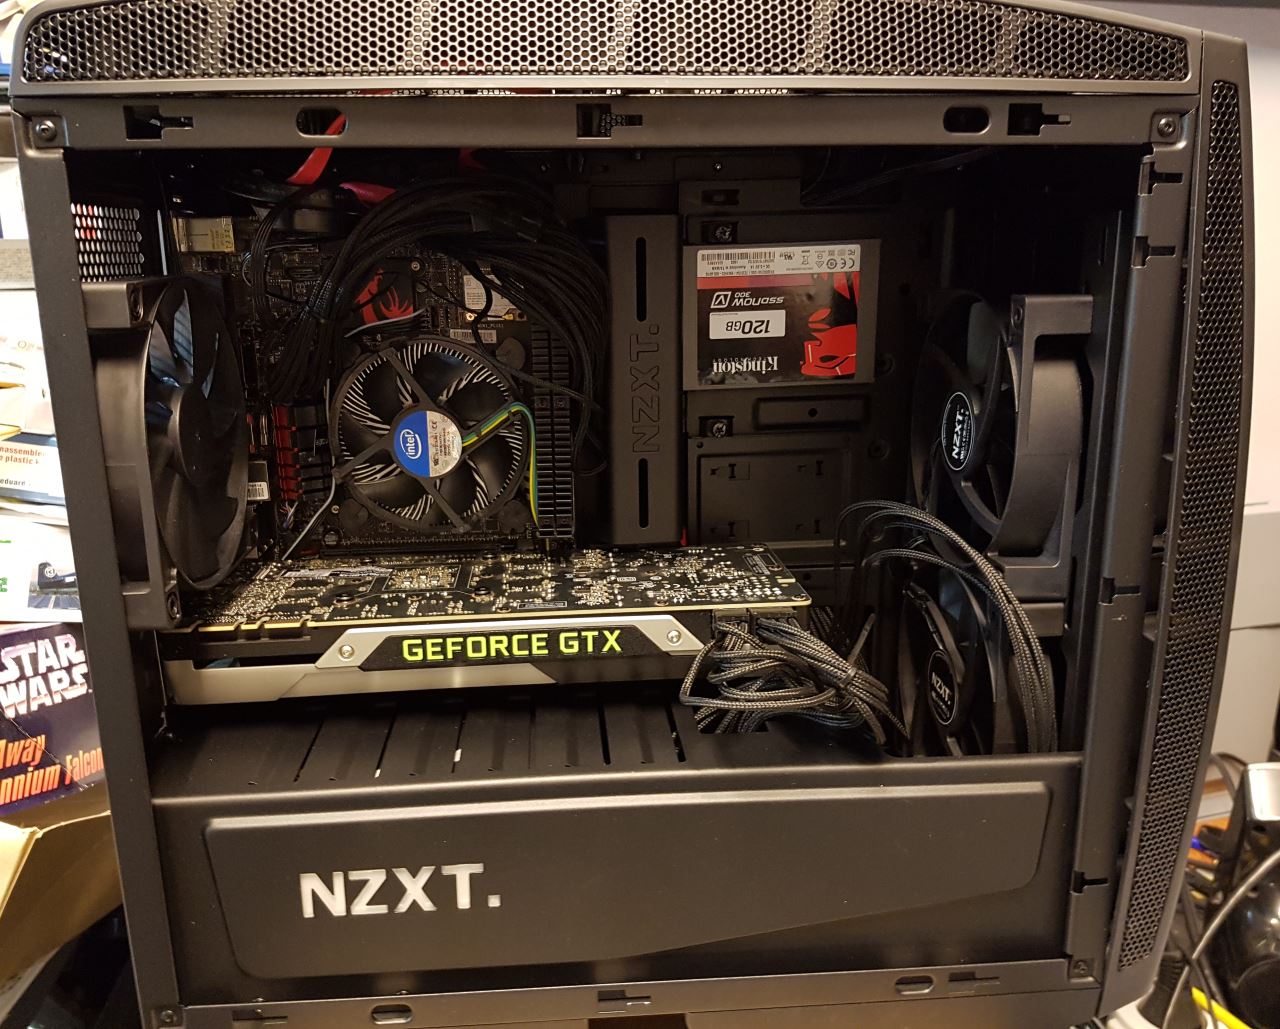
And here we are. A fully installed system. As you can see the cable management works very well as we can tuck away most cables easily.
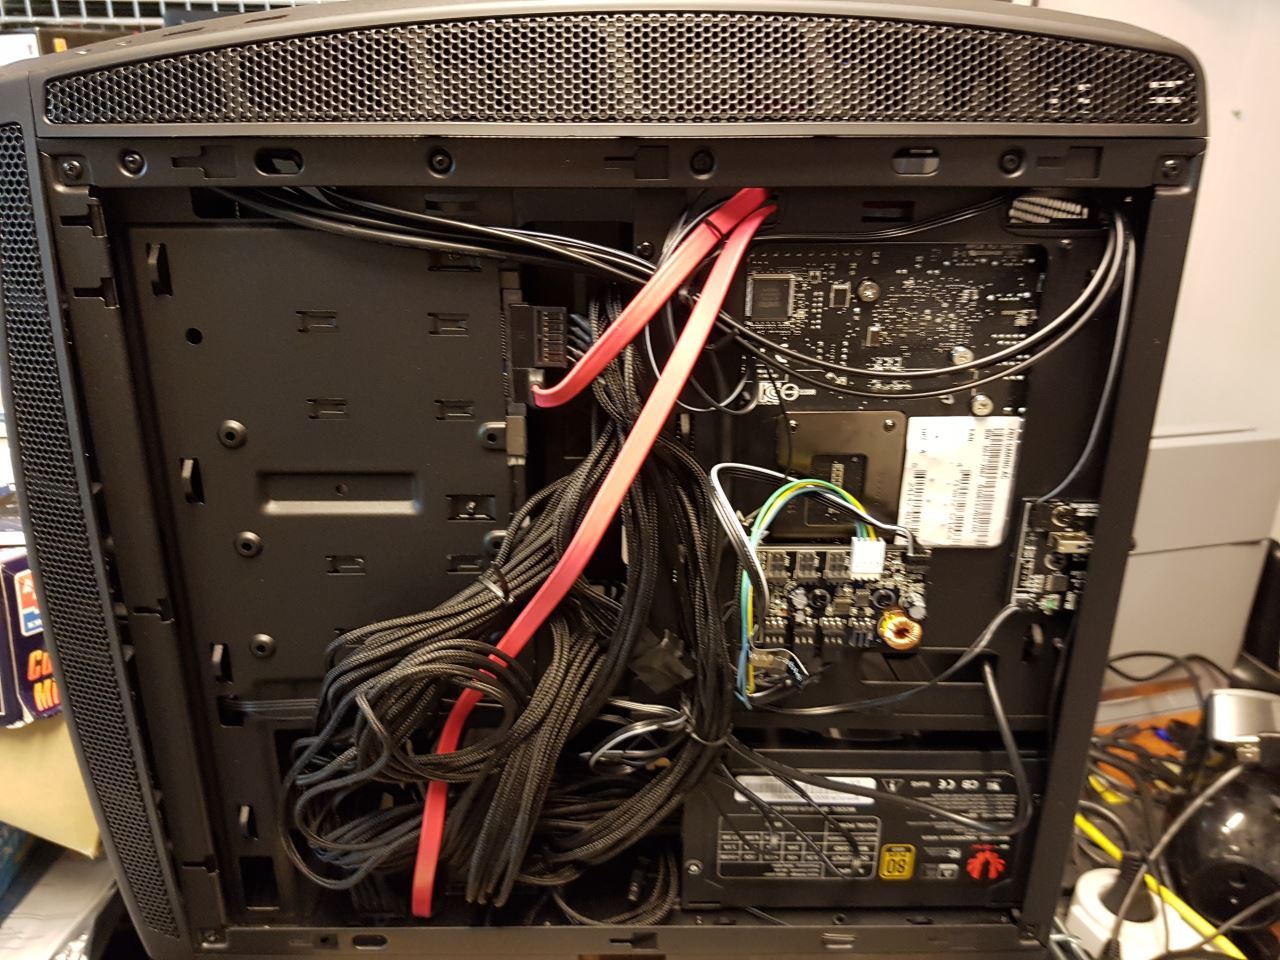
The “back” of the case looks more messy but there is actually some order to the madness. If you look closely at the upper end of the case you see the SATA-cable coming out from the SSD. This solution is very smart. Our PSU for this build, a Bitfenix PSU, has quite weird cables so you get a worms-nest of cables. Still, we could easily install the PSu and then tuck away the cables. remember that the side of the case is bulging a bit so there is no issues at all closing this case even with cables dangling like that.
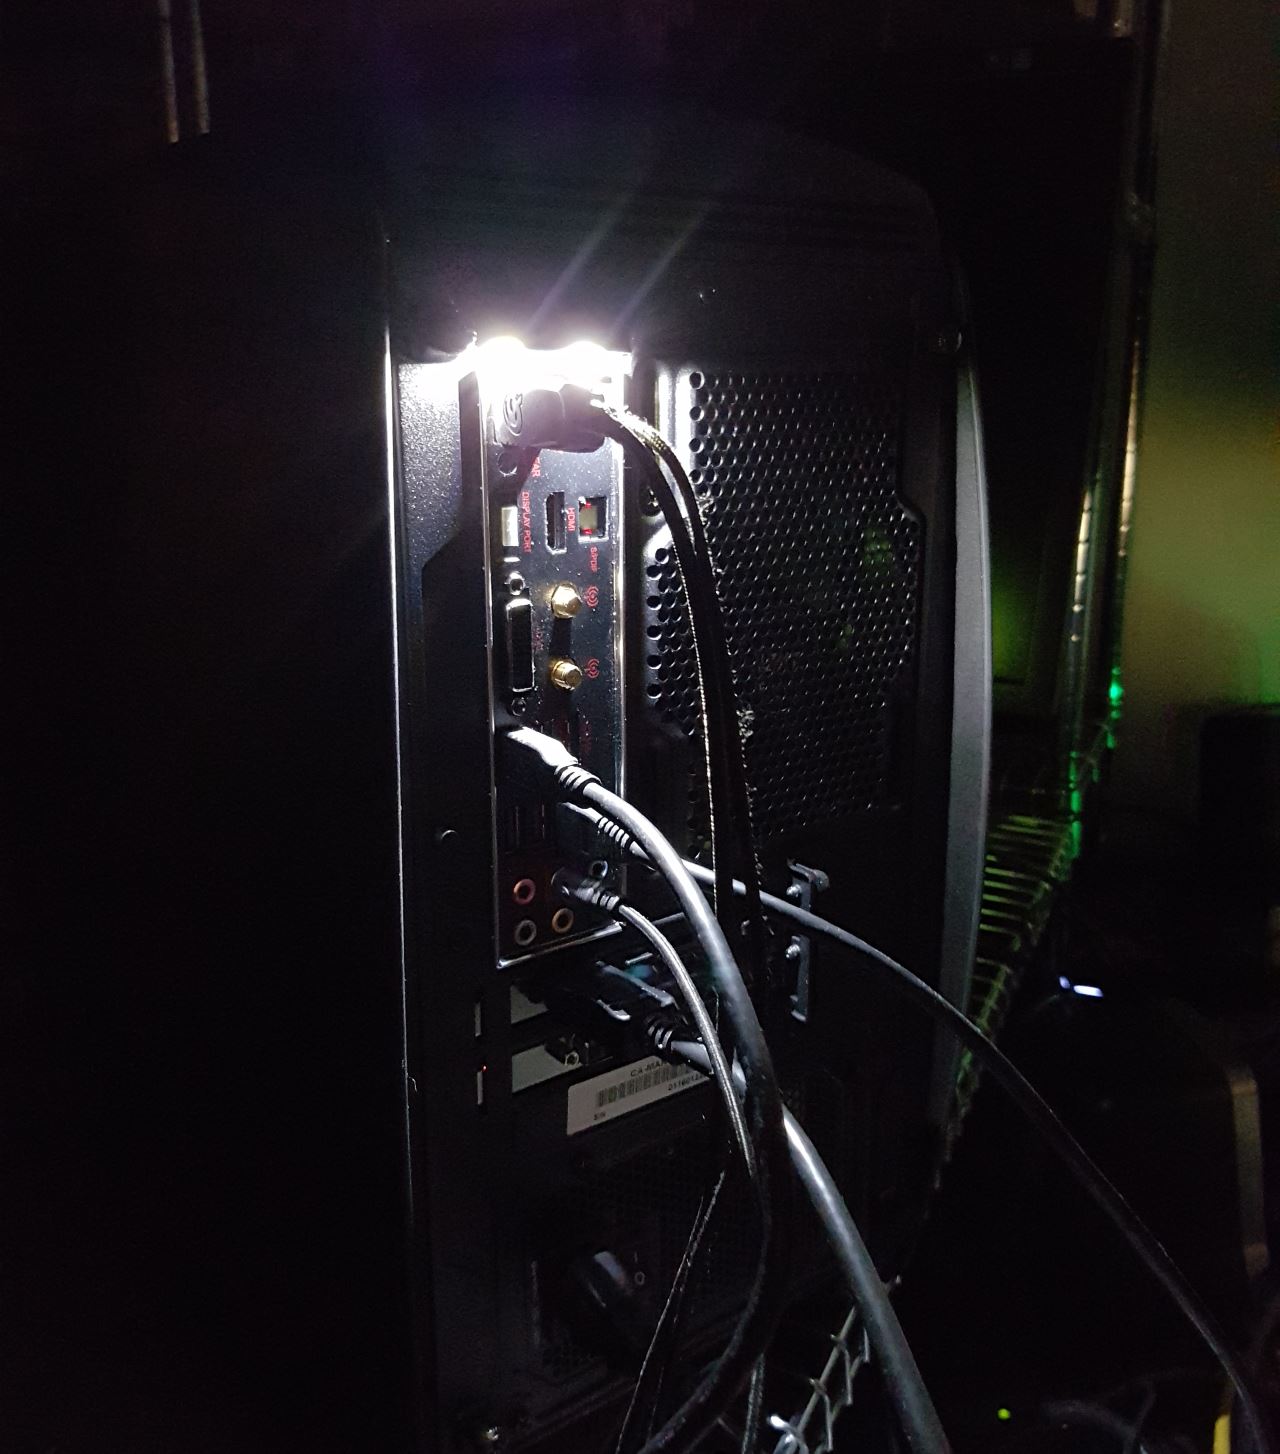
Last but not least a view of the LED at the back panel. You of course can turn it on/off (as well as other LED’s on the case) but it is a great feature for us tinkerers that need to switch a cable in the dark.
SUMMARY AND CONCLUSION
 The NZCT Manta is really a great case. True, it is a larger mini-ITC-case that is close to some m-ATX-cases but the added space is well used and with the availability of many great mini-ITX-motherboards these days we definitely can see it as part of a gaming rig.
The design itself looks good. At first we were not sure about the bulging sides but it gives the case an edge in the looks-department.
The functionality also is great. It offers a PWM-fan hub, plenty of space for cable management, lots of places to mount fans and radiators and support for long video cards and tall PSU-coolers. The only minor issue is that we would have like to see a few more 3.5″-storage places and also better HDD-mounting to combat vibrations.
At around 140$ it isn’t the cheapest mini-ITX-case but we still think it is well worth the money.