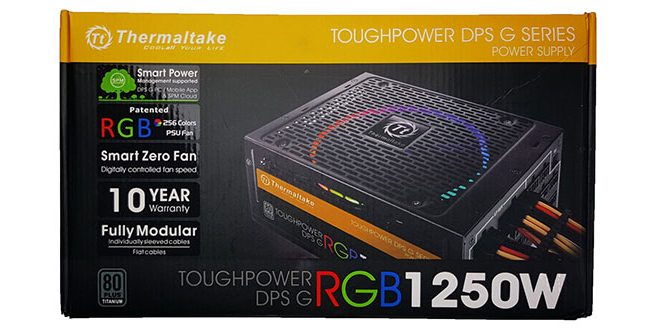
Thermaltake Toughpower DPS G RGB 1250W Titanium – Closer Look

When looking at the new Thermaltake Toughpower DPS G RGB 1250W Titanium PSU it looks almost any other PSU we have reviewed. However when you view the large label that is like a billboard on the side and when you look at this label you quickly know this PSU is something special. Besides the 80 Plus Titanium certification logo in big bold capital letters, it says RGB in red, green and blue letters that give you a hint of what you can expect once its installed. We can also see the standard power connector and power switch that Tt choose to use on this and it was very easy to find off of feel.
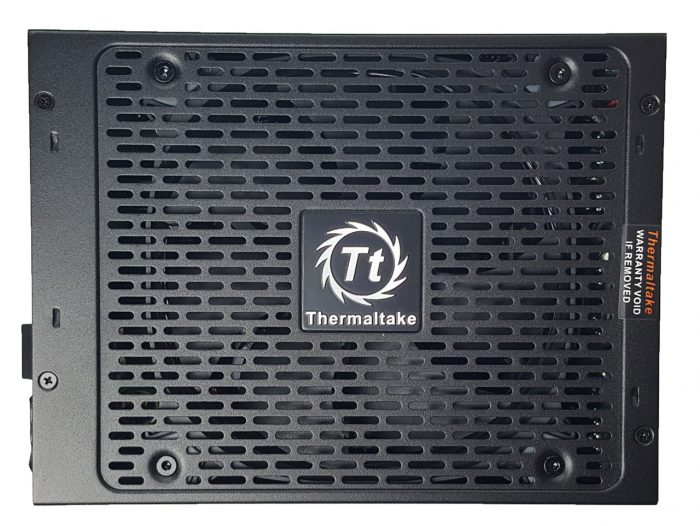
Taking a look at the top of the PSU we can see the oversized cooling mesh that provides airflow for the massive 140MM RGB high-pressure fan, this fan allows it to handle dust filters that are common in most cases. Located on this cooling mesh directly above where the fan hub is located is the large Thermaltake logo.

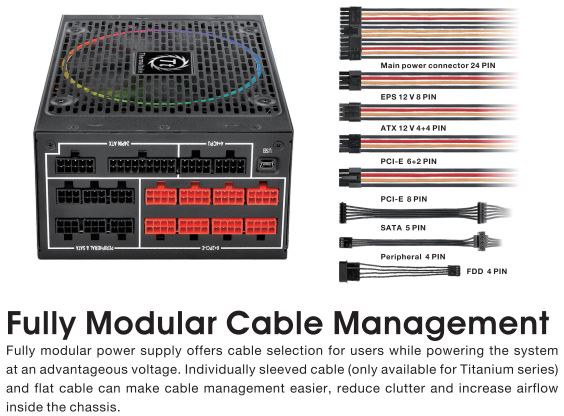
Flipping to the rear side of this amazing PSU we see the myriad of connectors for you to plug the supplied cables into depending on your system requirements. Tt color coded the connectors for your MB power and SATA/MOLEX in black and then the PCI-e in bright red. There is also a micro-USB connector here and this is to allow you to monitor and control certain features including the LED RGB settings. The software, which allows you to control and monitor your PSU, is feature packed and we will discuss this further in the software section.

Looking on the inside of the Thermaltake Toughpower DPS G RGB 1250W Titanium we are able to get a clear idea of the level of quality and craftsmanship that went into its design and construction.
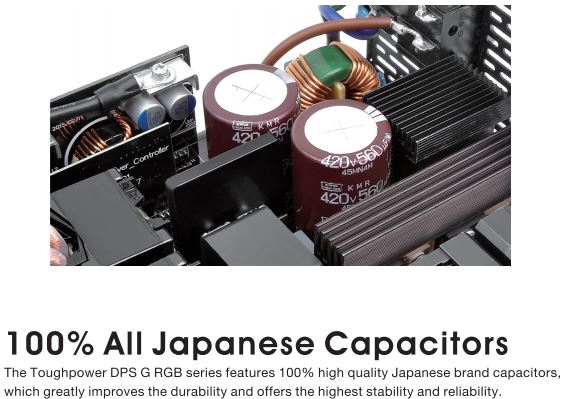
By utilizing the highest quality components from Japan inside of the PSU and the level of craftsmanship we can understand why Tt feels that it is capable of providing the user with enough years of service that allows it to be used in several system builds with its amazing 10-year warranty.
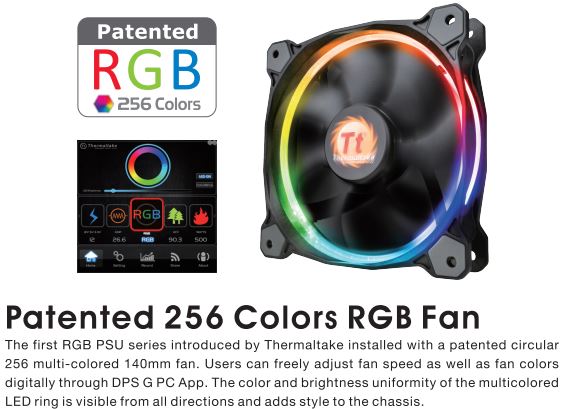
The fan that is used in this PSU we believe is one of their new RGB RIIING series of fans that we also reviewed on this site and we described their amazing performance when it came to pushing air through liquid cooling radiators and when you consider that the internals of the PSU can cause similar restrictions.
The cables that are supplied with the Thermaltake Toughpower DPS G RGB 1250W Titanium surprised us when we got to view the craftsmanship and quality of the individually sleeved wires that make up each cable. Now while not all the cables were sleeved from the factory, they choose to do all the cables except for the SATA, MOLEX, and 4-pin connector.

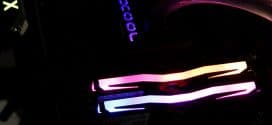
Going along with the RGB theme TT also made the sleeving on the cables several different colors which when installed and viewed through the side window on your case gives it a wonderful contrast that accents your builds and stands out from competitors cables.
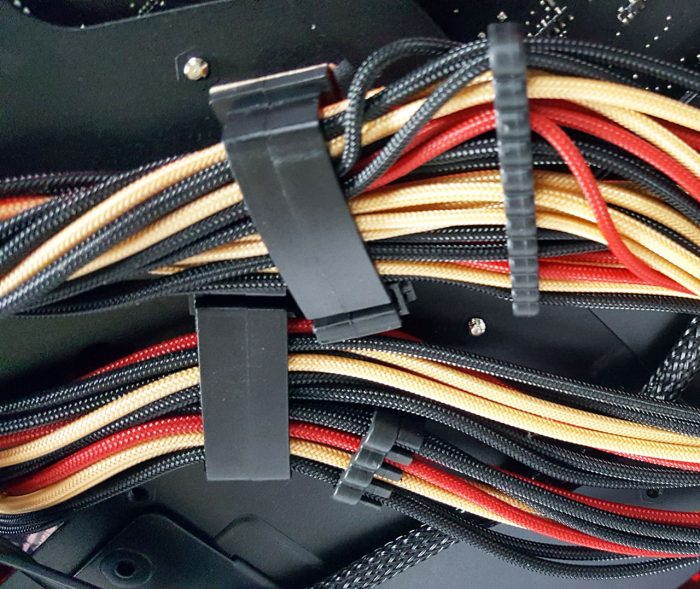
Also, by not sleeving the entire cable in a single sleeve we found the cable management to be easier since it was thinner and we were able to fit them in the long clips that were included with our In-Win 909 case.
Software
The Thermaltake Toughpower DPS G RGB 1250W Titanium features a software interface that allows the user to gather and record data in real time on all aspects of the PSU and components of the system that it is directly connected to. For example, the software allows us to directly view the usage of power going to the GPU and CPU in real time and we experimented with this and ran a stress test so we could view the draw from the CPU, GPU, and overall system usage. This is done through the USB connection on the PSU that connect via the USB header on your motherboard.
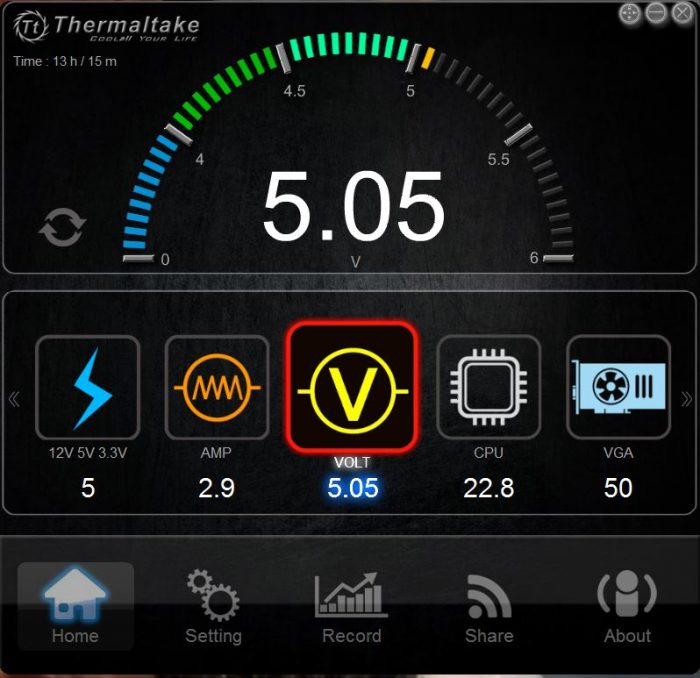
In the general system usage, we can view the current volts, amps, voltage of the 12V, 5V, and 3.3Vrails and we can view the current draw from the CPU and GPU. We can also record all of this data and you can upload it to Tt user forum to compare it with other users.

In this next menu, the user can keep track of how efficient the PSU is currently operating at. Also visible we can see the Watts, Fan speed, costs and Temperatures. To configure the energy costs for your system you will first need input the cost per kilowatt for your energy provider and it will then tell you what the cost was for your system.
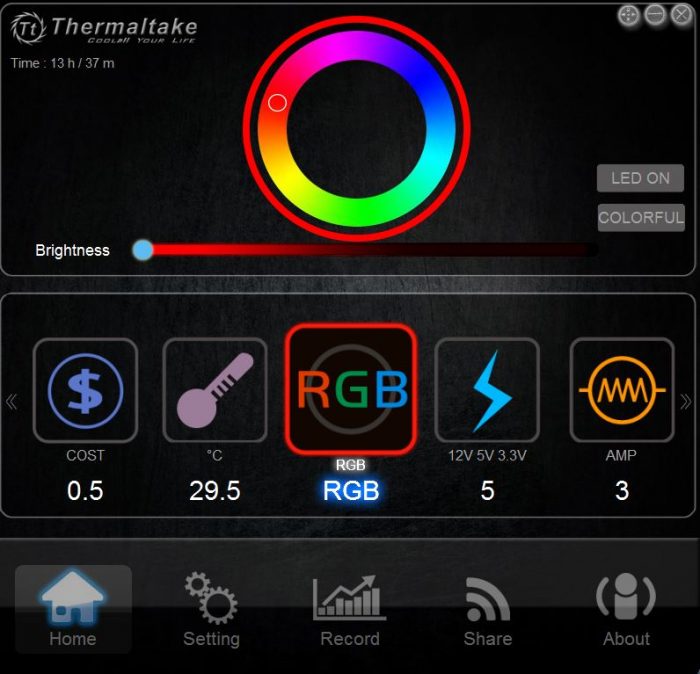
In this last part we are able to control the RGB options for the fan and in this, you can choose from a wide range of colors and options. The options already discussed are on the Home tab, Settings, Record, share and about. The record tab logs each session that you’re on your system so you are able to go back into the data logs to view detailed information.