Usability and Specifications.
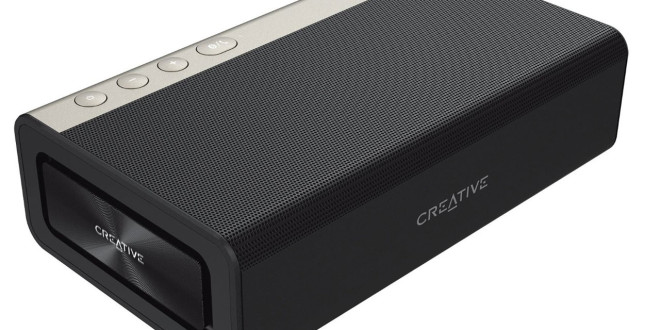
Using the Roar 2 is fairly simple, but before doing this we always recommend users to charge the speaker so that it has a full charge before they use it. Once the Roar 2 is fully charged, simply press the top power button on top and make sure you have Bluetooth enabled on your device and NFC. You can also connect via audio cable or you can plug in a MicroSD card and play media files off of it. Once you do this, you can either connect through the Bluetooth connection menu or if you use an Android device with NFC technology, all you have to do is simply touch your device to the top near the NFC symbol on the Roar 2 and presto it’s connected for your listening pleasure.
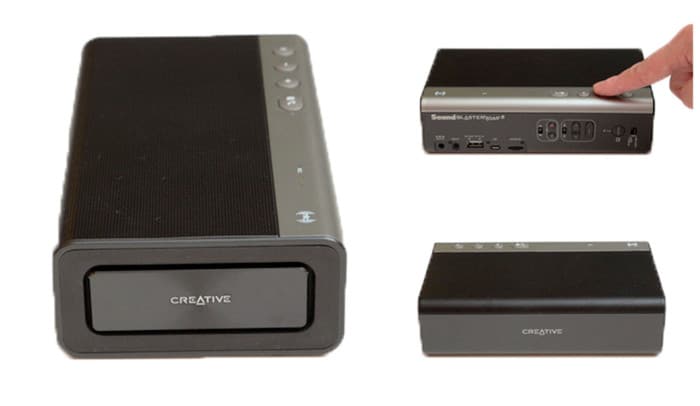
All of the media buttons we found were perfectly placed for optimal user interaction. They are laid out in such a way that the raised buttons will allow you to successfully navigate them even in the dark. After a few days of use, we were able to successfully navigate and use the Roar 2 while hanging out with friends in a dark setting.
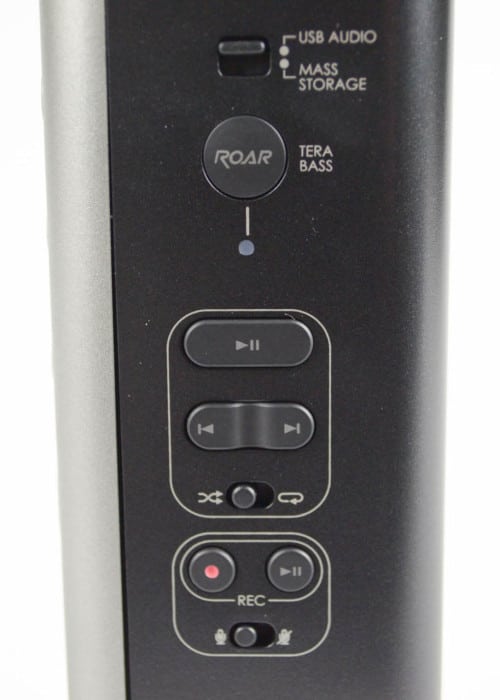
Now while some of the media controls are located on the Roar 2, some controls will still be on your device such as primary volume level. Personally we set the volume to max on our device and from there we could more easily manipulate from the user interface on the Roar 2.
| Dimensions | 51.0 x 188.0 x 109.0 mm (2.0 x 7.4 x 4.3 inches) |
| Weight | 1kg (2.2lbs) |
| · Included Accessories | 1 x Micro USB Cable 1 x Power Adaptor |
| · Recommended Usage
|
· Wireless Streaming
· Movies / Music · Outdoors |
| · Controls / Connectivity
|
· Bluetooth® Version Bluetooth 3.0
· Bluetooth ProfileA2DP (Wireless Stereo Bluetooth) |
| · Supported Codec’s
|
· AAC aptX SBC |
| · Features
|
· Drivers1 x 2.5″ Woofer 2 x 1.5″ Tweeter 2 x Passive Radiators· DesignBi-amplified Design· MicrophoneBuilt-in |
| Battery | Li-ion 6000mAH |
 Bjorn3D.com Bjorn3d.com – Satisfying Your Daily Tech Cravings Since 1996
