It’s been a long time now since we only could choose from boring beige computer cases. The spread of cases on offer today is amazing, both when it comes to style and size. One clear trend the last few years is that smaller cases have become popular at the same time as more high-end mini-ITX motherboards have been released. It is possible today to build a high performance computer and still not have to use a midi- or tower-case. We have reviewed smaller BitFenix-cases before (link, link) and today we take a look at their mini-ITX-case the Colossus mini-ITX (yes, the name is kind of funny considering the size of the case). It is a small case for a mini-ITX-motherboard that still offers support for tall CPU-coolers, long dual-slot graphic cards, an optical drive and a lot(!) of HDD and/or SSD’s.
FEATURES AND SPECIFICATIONS
| Materials | Steel, Plastic, SofTouch™ |
| Colors (Int/Ext) | Black/Black, |
| Dimensions (WxHxD) | 250 x 330 x 374mm |
| Motherboard Sizes | Mini-ITX |
| 5.25″ Drive Bays | x 1 |
| 3.5″ Drive Bays | x 5 |
| 2.5” Drive Bays | X 8(5 + 2 + 1 ) |
| Cooling Top | 120mm x 2 (optional) |
| Cooling Front | 120mm x 2 (1 included) or 140/180/200/230mm x 1 (optional) |
| Cooling Rear | 120mm x 1 (included) or 140mm x 1 (optional) |
| I/O | USB 3.0 x 2, HD Audio |
| Power Supply | PS2 ATX (bottom, multi direction) |
| Extras | LiteTrak™ lighting system, SofTouch™ surface treatment, tool-free drive locking mechanisms, filtered intakes |
This is not the smallest mini-ITX-case we’ve seen which explains why you still will be able to put some serious hardware in it. Bitfenix has gone the same way as many other companies and made the case pretty wide so that they can keep the height down. There still is support for a proper PSU, a tall CPU cooler and a regular two-slot graphics card so you do not have to compromise a lot. Add to that support for up to 5 3.5″ HDD’s or up to 8 2.5″ SSD’s and round it off with support for a dual-fan radiator at the top and radiators at the front or back and it becomes obvious this case can be used to build a serious computer.
The case also is very flexible and you can remove various parts to add more space for bigger graphics cards.
CLOSER LOOK – OUTSIDE
The case came well packed in a big cardboard box. Even though it had traveled half way around the world it had no scratches or dents.

As far as we can see the case only is available in black. It comes with Bitfenix patented “SoftTouch”-coating which gives it a really nice finish.
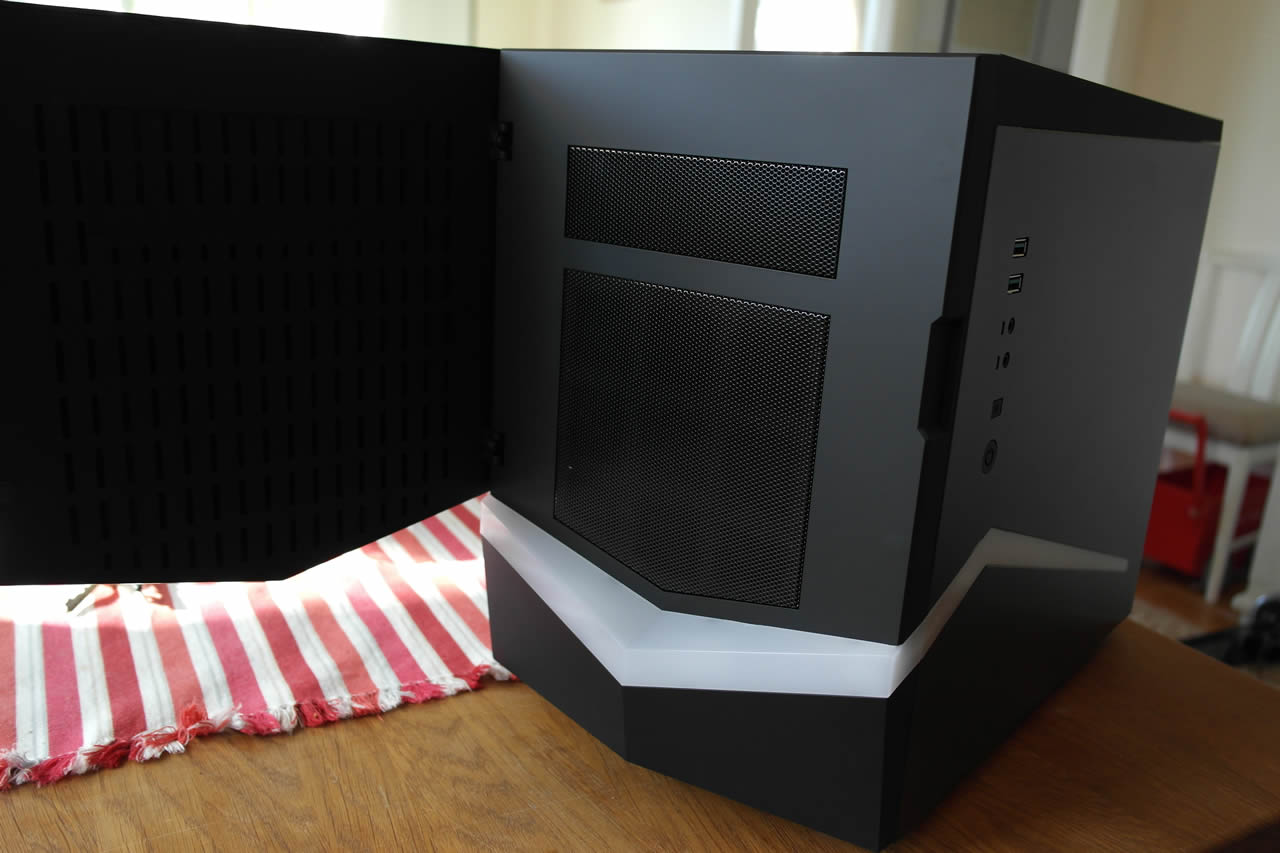
The front door opens up so you can access an optical drive if needed. Other than that you can keep it closed all time as all the buttons and connectors are on the outside.
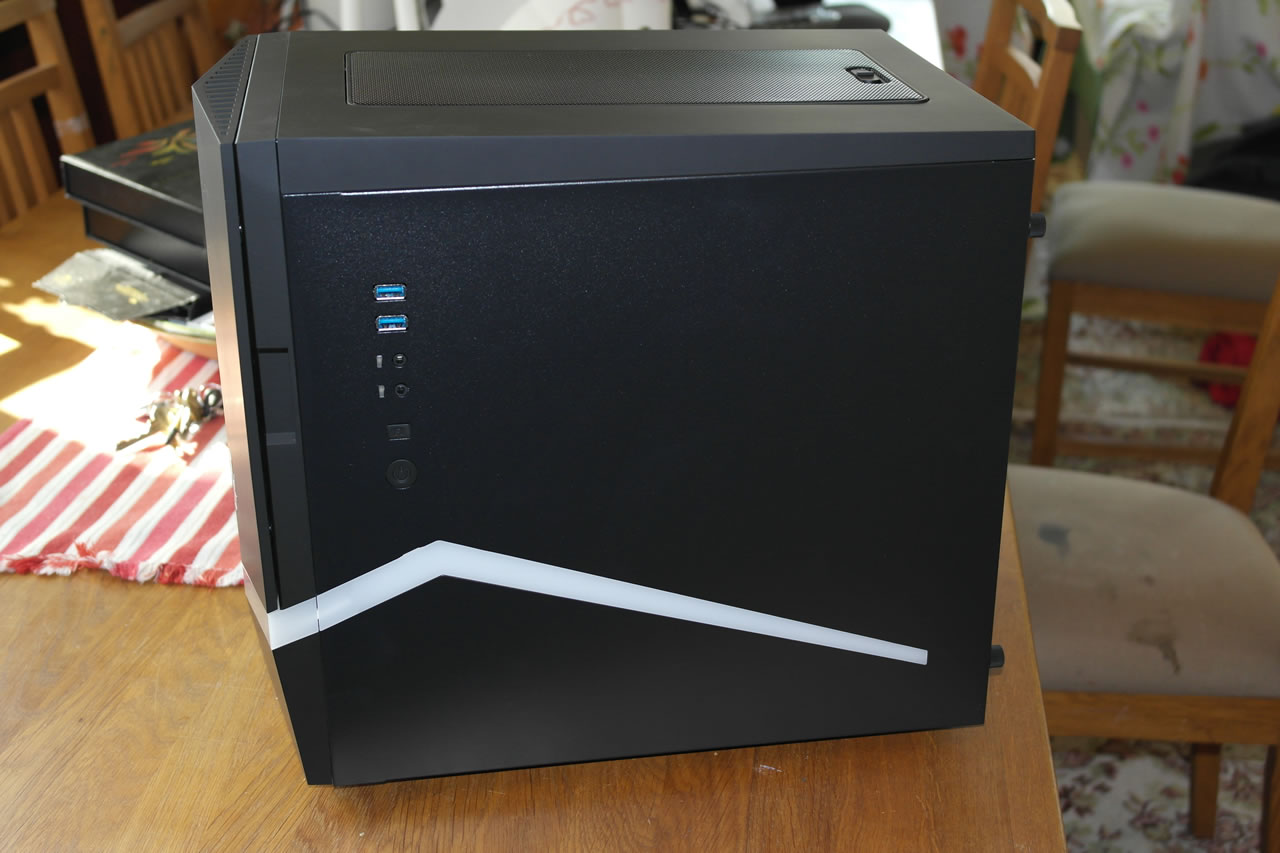
On the right side you find the on/off button, the reset button as well as audio connectors and USB3.0-ports. Since it is sitting on the side panel it means you need to be carefull if you remove it as it is hooked up to the motherboard.
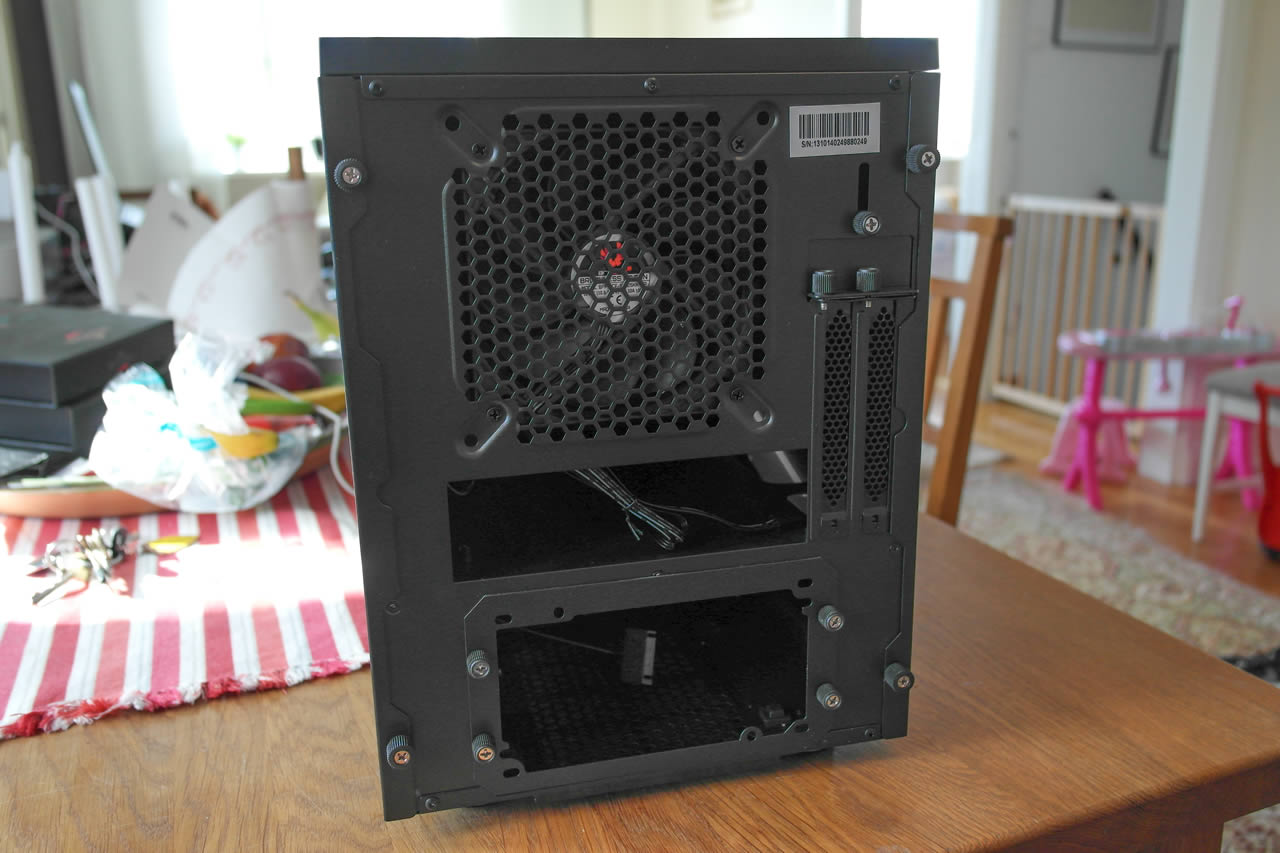
The back side hides no real surprises. The PSU is placed in the bottom and you can choose to angle the fan up or down as you please. We have access to 2 slots on the motherboard and a 120 mm fan pushes warm air out of the case. There is no holes for external water cooling.
If you choose to have the PSU with the fan down there is a filter beneath the air holes that should filter away dust. This is removable and washable which is good as these filters often get clogged by dust.
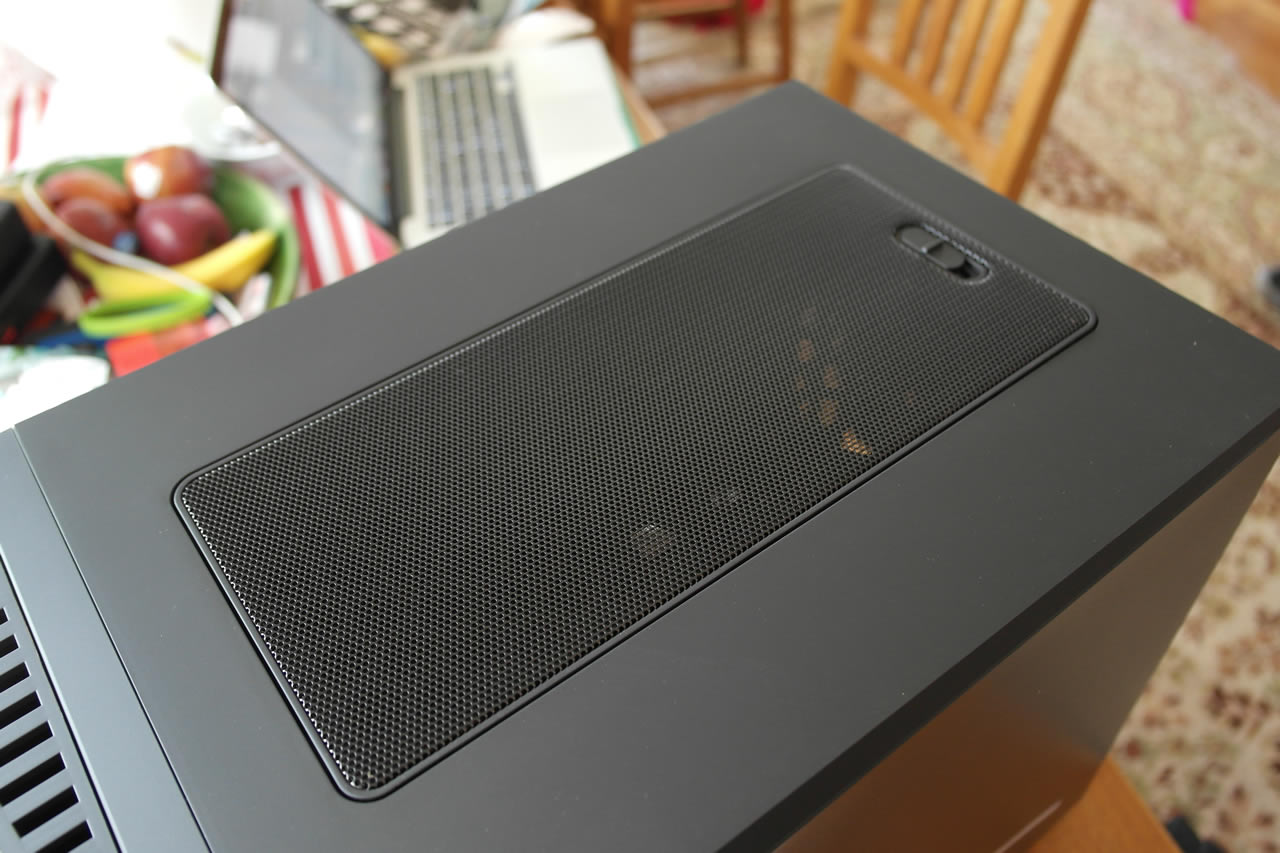
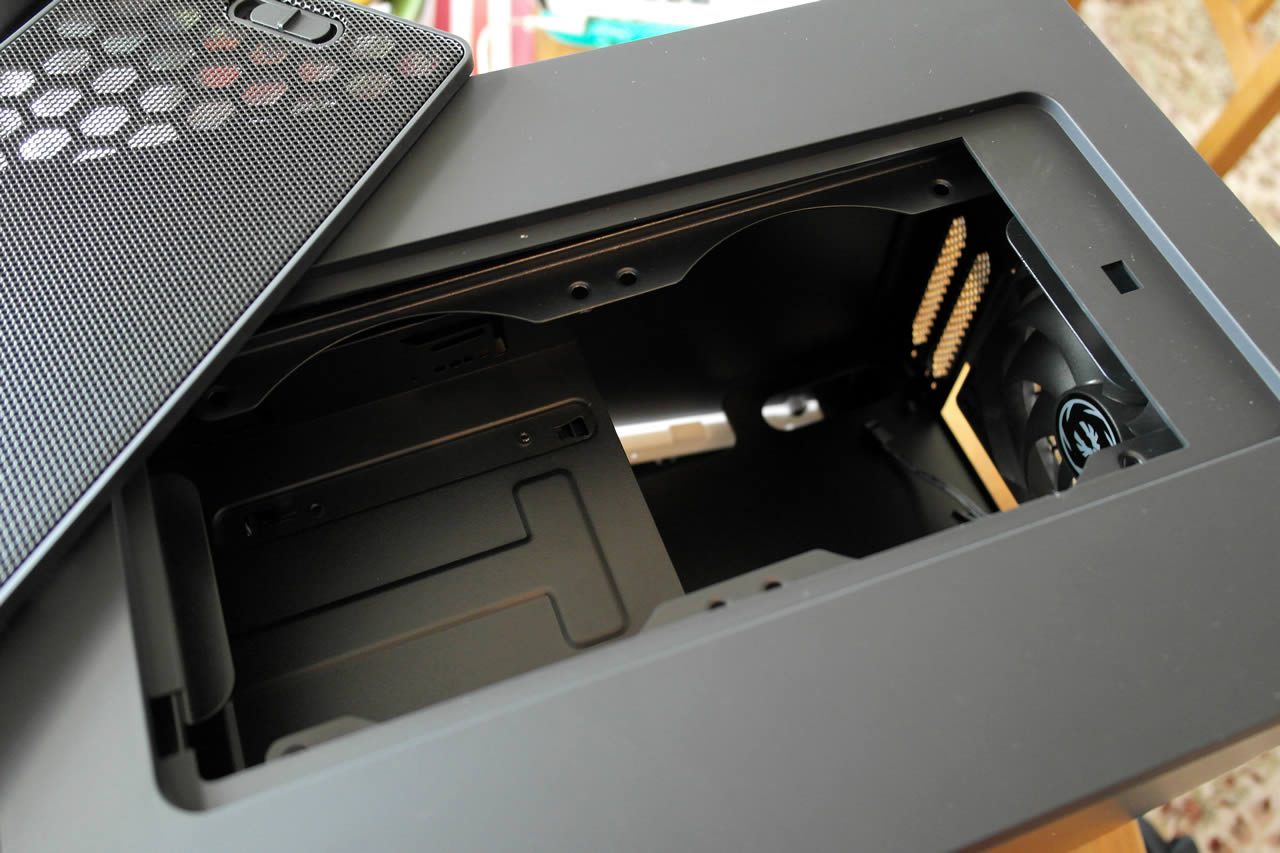
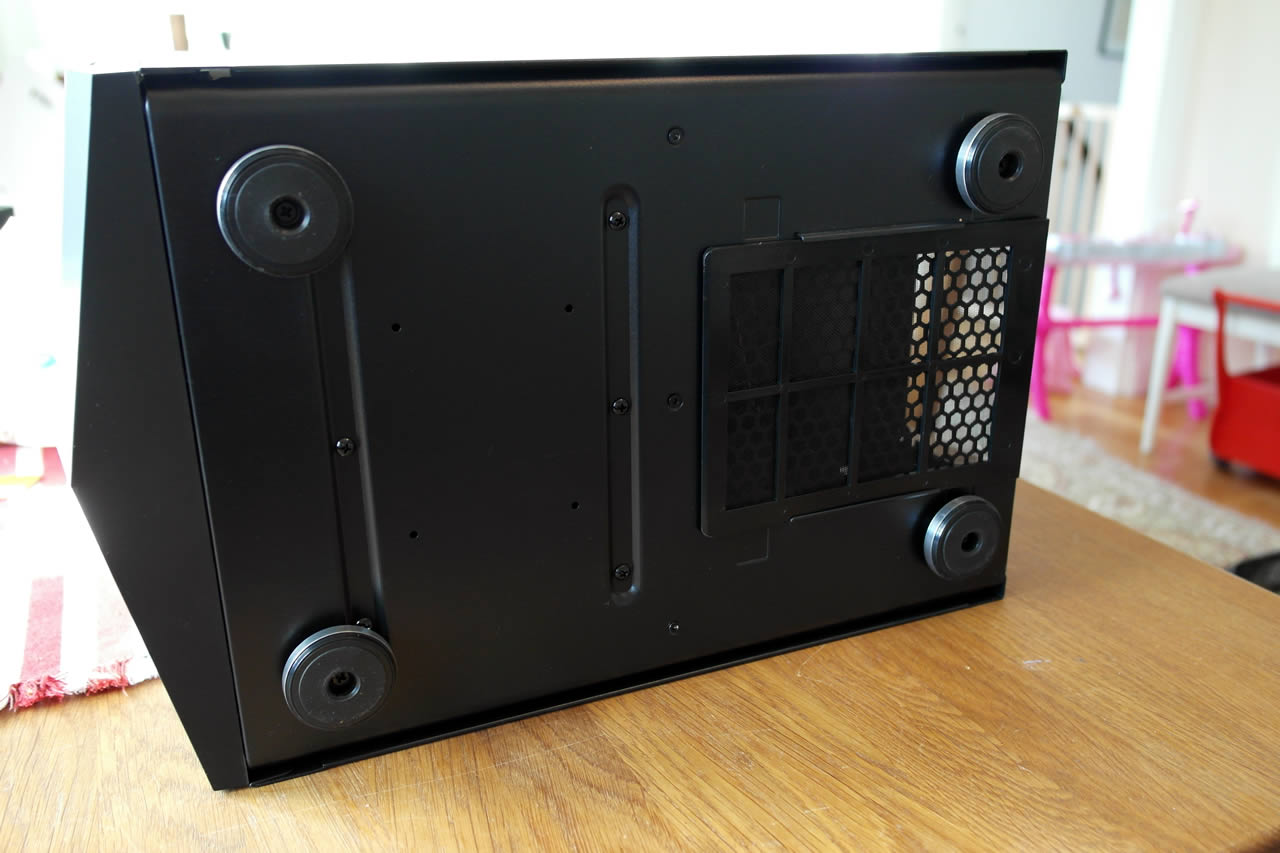
At the top there is another filter which can be removed. Underneath you can place your one fan or two fan radiator if you like (up to 240mm).
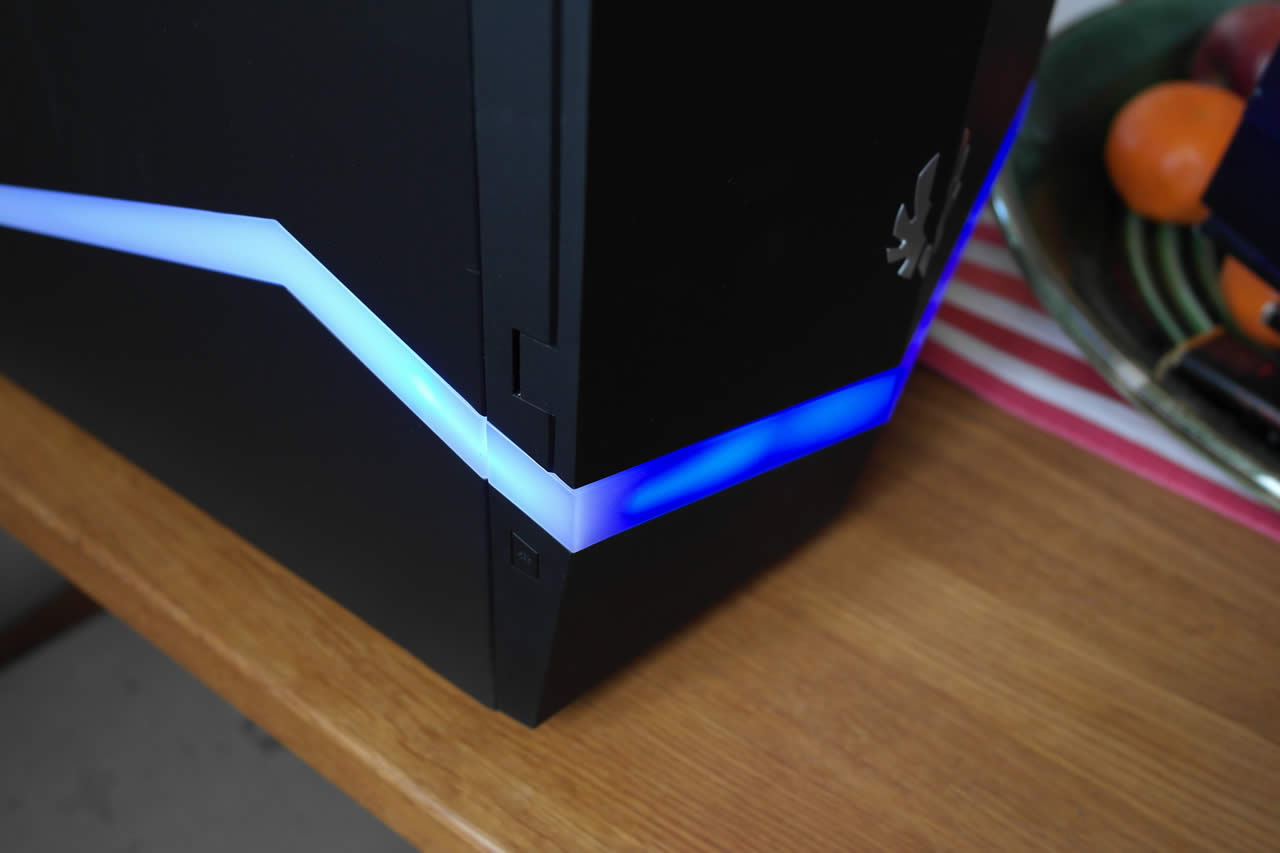
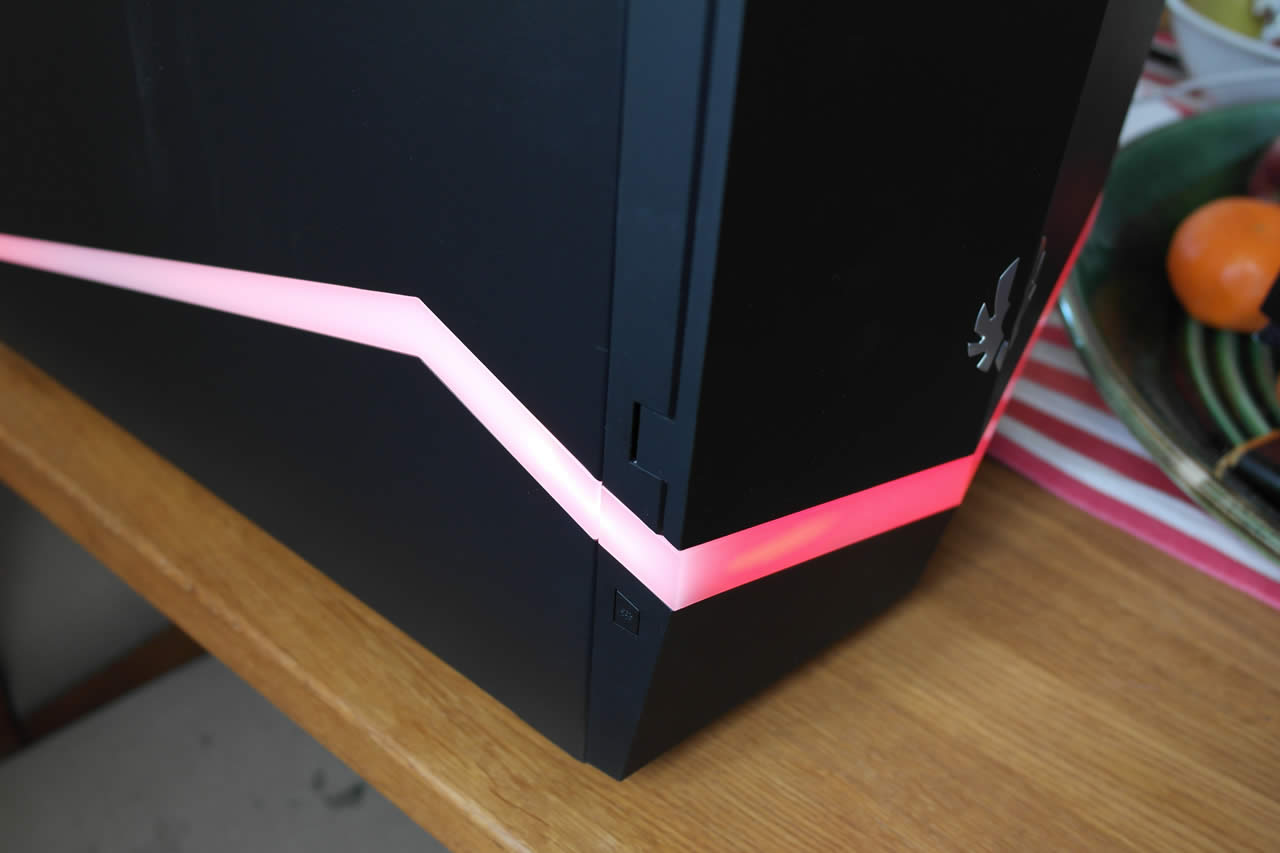
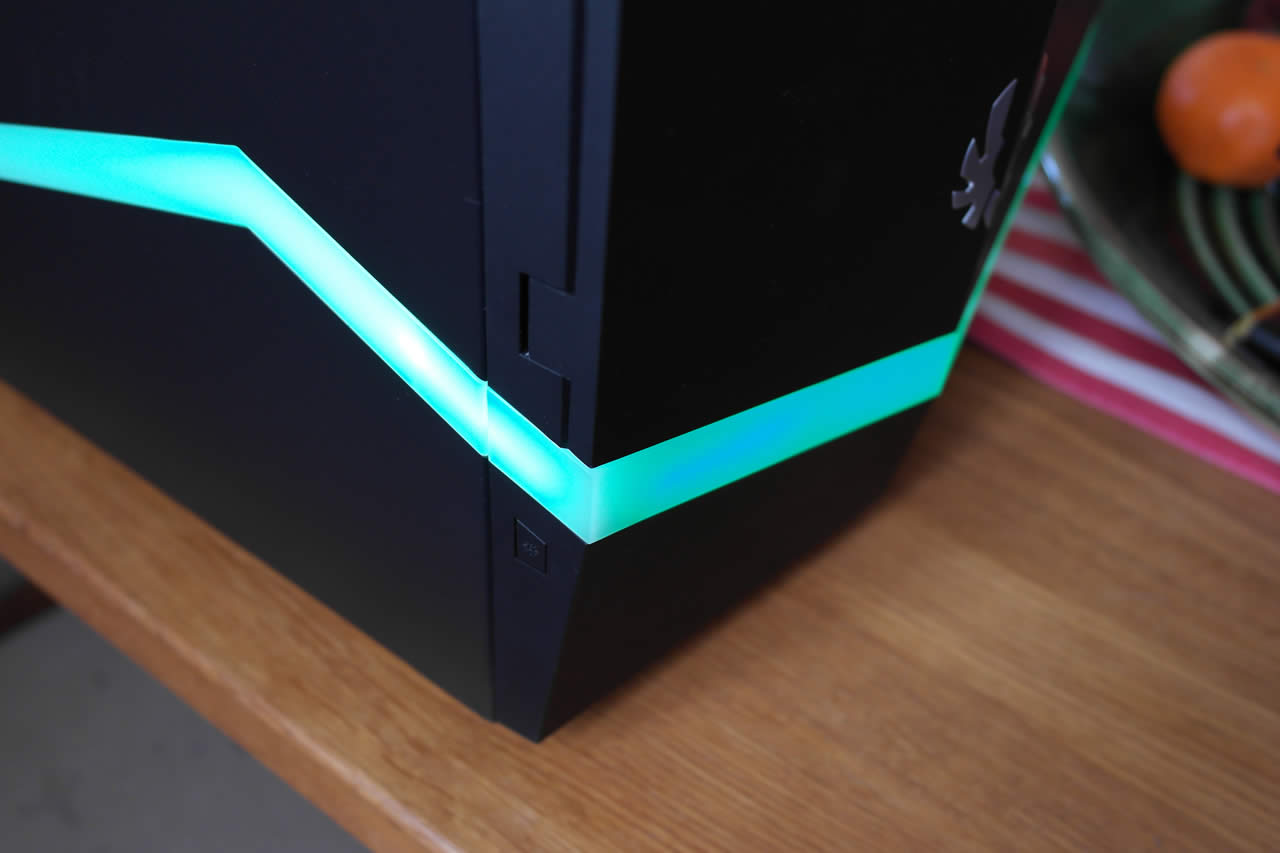
You might wonder why Bitfenix has placed a white plastic band around the case. It turns out it can be illuminated with 3 colors (white, blue, green) and even set to pulse with different colors. It’s “interesting” but luckily you can also turn it off.
CLOSER LOOK – INSIDE
Both side panels are fastened with thumbscrews and can be removed. As mentioned before you need to be a bit careful with the right one as it will be connected to the motherboard.
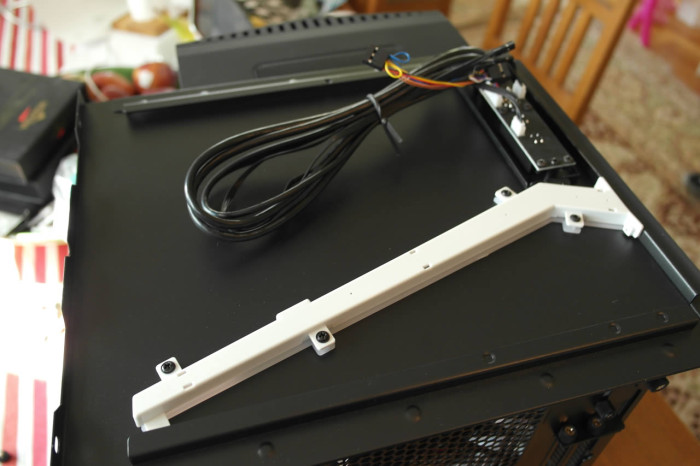
Both side panels have this big white thing stuck on them. This is actually where the colored light that lights up all around the case comes from.
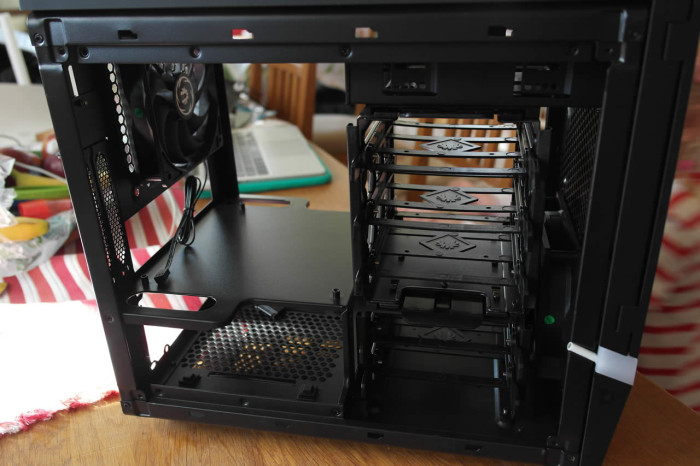
The case is logically laid out. The motherboard plate is on top of the PSU while all drives are at the front. At the top over the HDD/SSD-cages you see a cradle for an optical drive. You can of course also put a regular HDD or SSD there.
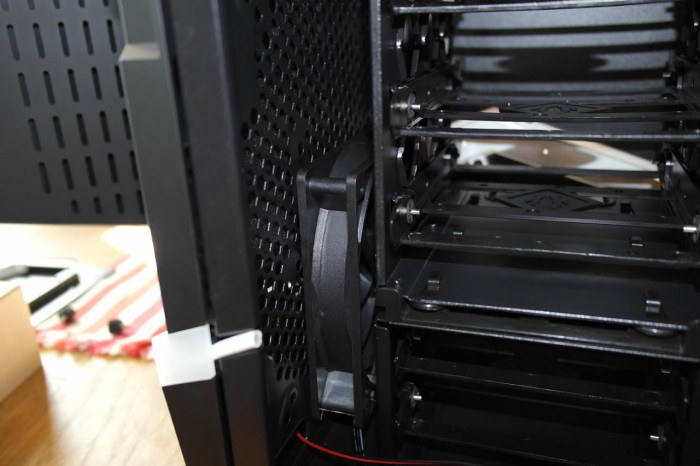
A 120 mm fan at the front pulls in air while a 120 mm fan in the back pushes it out.
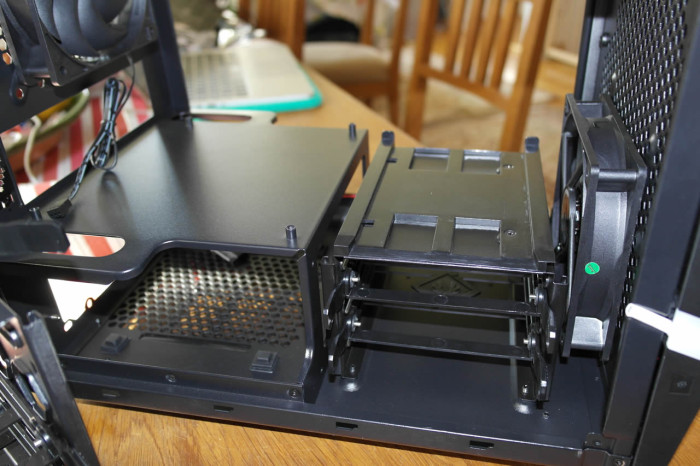
From the previous image of the open case it should be clear that a long graphics card won’t fit at all. However that is only because we haven’t taken out the top HDD-cage yet. This is easy to do and as you see from this image it gives us plenty of room behind the motherboard. Even the bottom HDD-cage can be removed or even rotated so the drives are inserted from the other side. Even with both cages gone there still is room for a few drives that can be screwed onto the PSU-cage. Impressive!
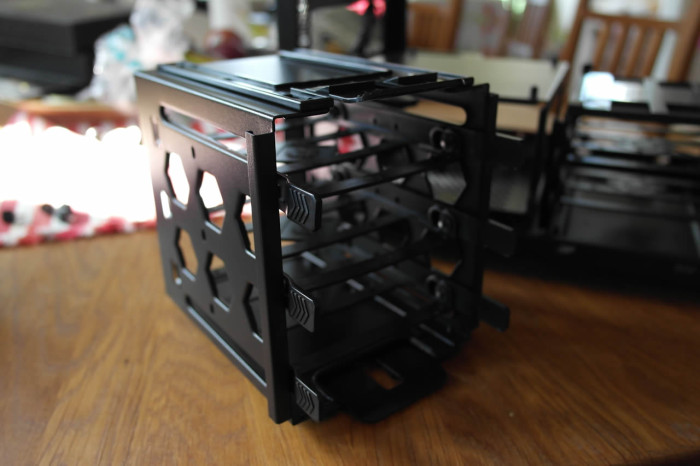
The HDD/SSD-cage can be removed without any tools and comes with sledges where to put the drive.
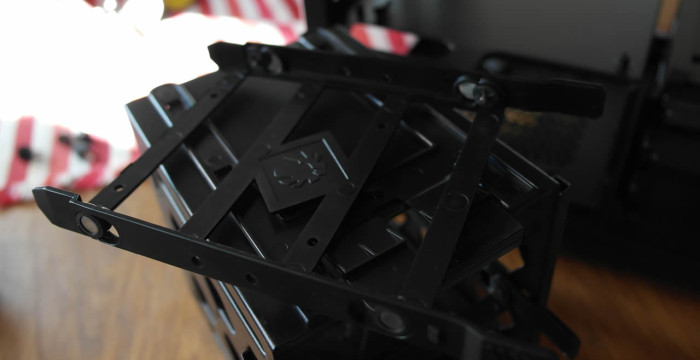
A 3.5″-drive is added without any screws while a SSD will be screwed on.
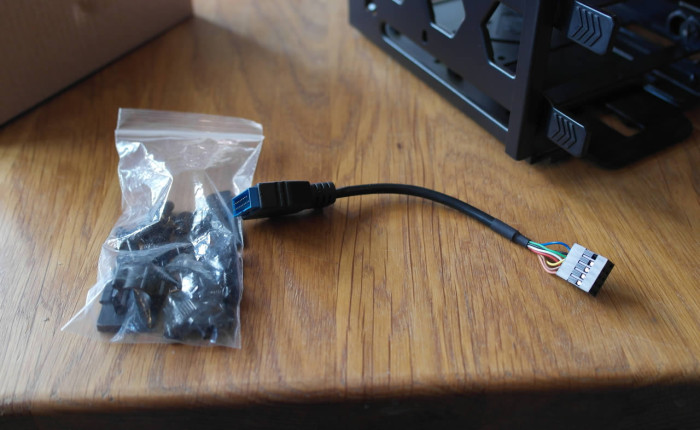
Bitfenix includes a bag of screws as well as an internal USB2 => USB3-adapter if your motherboard only comes with internal USB2.0-connectors.
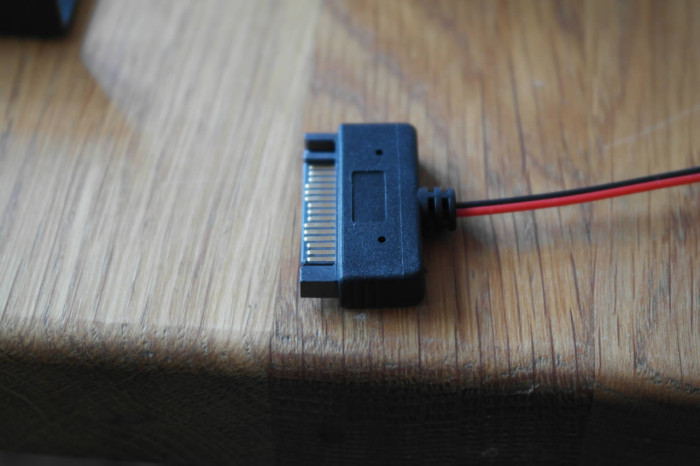
Usually when a case has a led in it the power comes from a Molex-connector. But if you have a modular PSU and do not use any other Molex-connectors it is a bit annoying having to use a Molex-power-cable from the PSU just for the LED’s. Bitfenix has solved that problem by instead using a SATA-power connector.
INSTALLATION
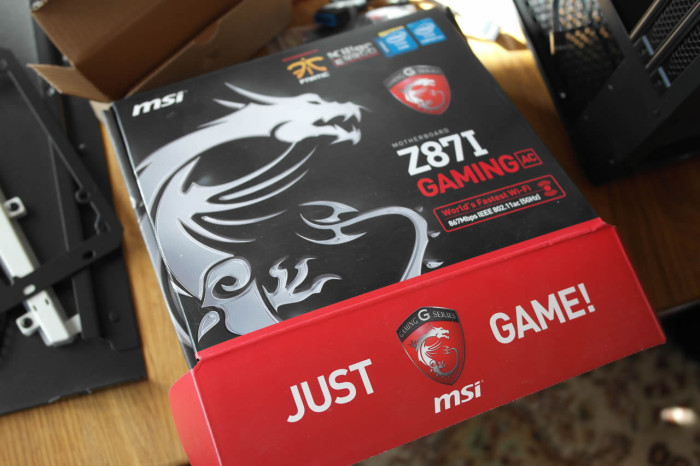
I decided to install my standard range of components which means a MSI Z87I gaming motherboard together with a Core i5, 8 GB memory, a Bitfenix 500W PSU, a SSD and a regular HDD.
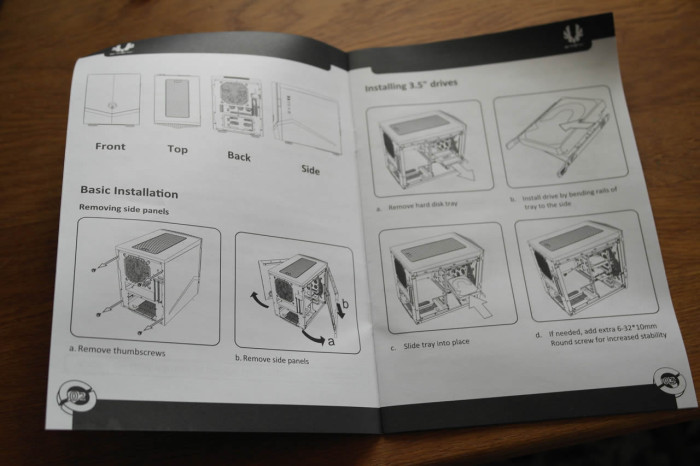
The manual included is easy to follow and understand.
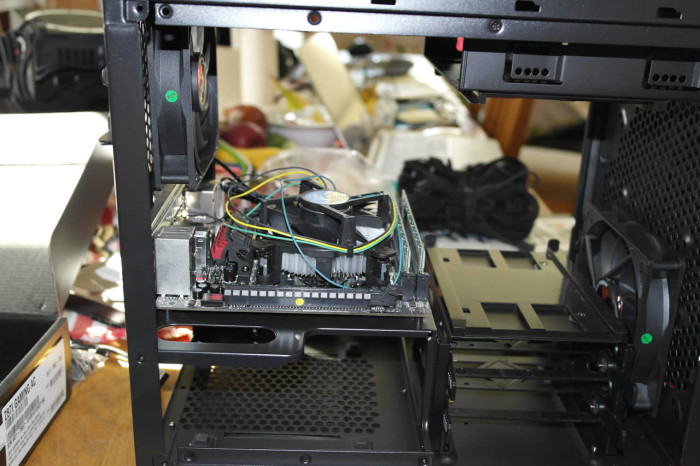
There is plenty of room to install the motherboard even if you would have a big CPU-cooler. Since you can open up both side-panels it is easy to reach and place the motherboard. However remember that you need to connect the cables from the side panel to the motherboard. This can get a bit tricky as you do not want to do it before the motherboard is in but it on the other hand is a bit tricky to see everything once the motherboard is installed.
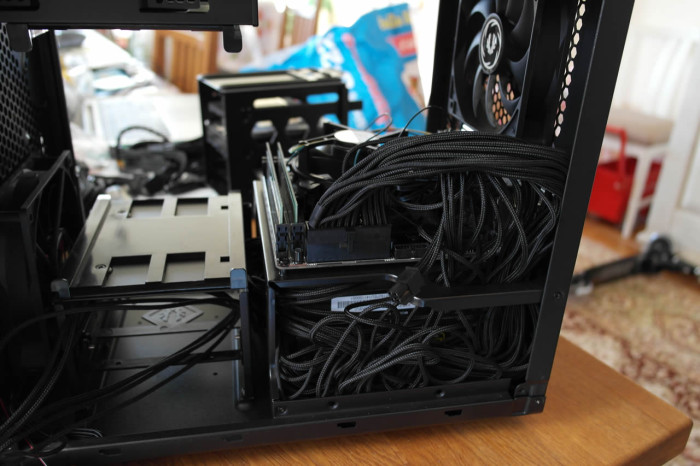
The PSU we used, the Bitfenix Fury 550G, is a modular PSU which uses braided cables. We had some issues with the cable management. Since the PSU is installed with the cable connections to the back we noticed that the space between the end of the PSU and the end of the PSU-cage is pretty narrow so we had to work a bit to get the cables away from the back and the PSU pushed in so it could be screwed on. If you do not use the lower drive cage you actually can place the cable bundle there but the hole behind the PSU is pretty small so it was a bit hard to push through all the cable there.
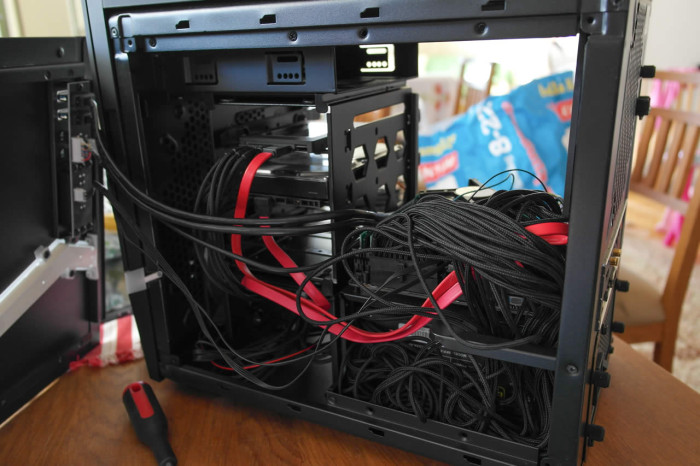
Here you have a view from “behind” with two drives connected and the side panel connected to the motherboard. It looks a bit messy but you can move away most cables so you still will get a good airflow through the case.
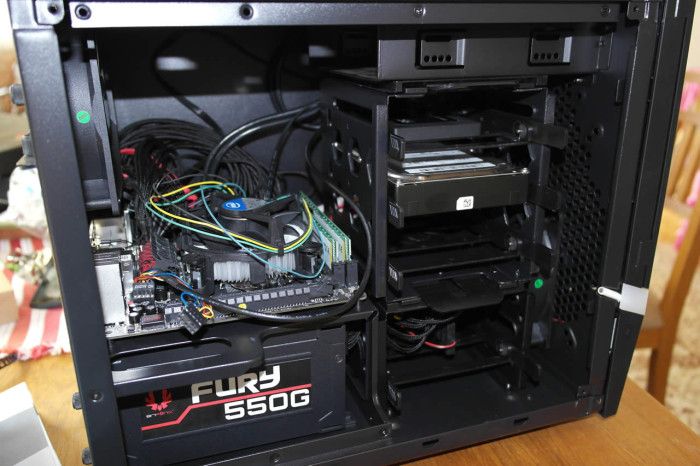
And here we get a view from the “front” – pretty clean and we do not have to worry that anything will hinder the airflow from front to back.
TURNING THE COMPUTER ON
So does it work? Of course it does. The two fans are of the quiet kind and we barely could hear them when using the computer.
CONCLUSION
 The Bitfenix Colossus Mini-ITX is yet another nice Mini-ITX-motherboard from Bitfenix. It looks nice, offers tons of room for all sorts of drives, has room for both long graphics cards and tall CPU-coolers as well as a two-fan Radiator and runs silent. And all that for around $100.
| Pros | Cons |
|
|
If you are interested in this product, why not check it out at Amazon.