Overview of the Pivos XIOS XS
Click Images to Enlarge
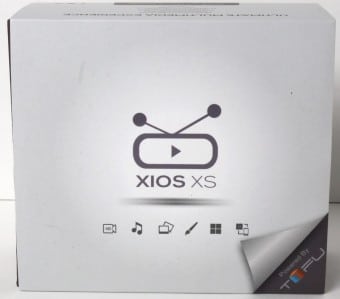
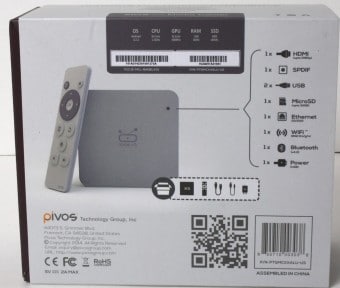
The packaging of the XIOS XS is pretty clean on the front which creates a nice visual appeal in terms of on the shelf appearance. It almost has an apple feel when looking at the way the logo is treated and the icons are laid out and that’s not a bad thing at all. The rear of the package is another story entirely as it has much of the spec detail along with a visual listing of whats in the package.
Click Images to Enlarge
Here as you look at each edge. There is a lot less information this time around as I think Pivos learned that most users looking for this kind of device simply want it to plug in and work, so they started from there making the experience better, and this comes from making it simpler and easier to use. With that you can see that the included info is massively simplified if not a bit lacking from a tech guy like myself but as I know the hardware capabilities I have no problem extrapolating the data needed to know what it will support which is most anything you can do on a modern tablet.
Click Images to Enlarge
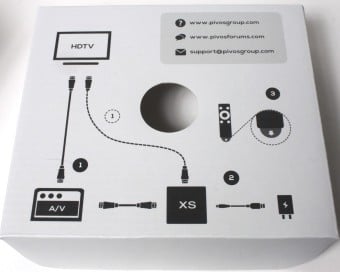
Once the box is opened you can see the included accessory cover with a very simple image based instruction set showing how to connect the Xios XS properly for easy plug and play usage.
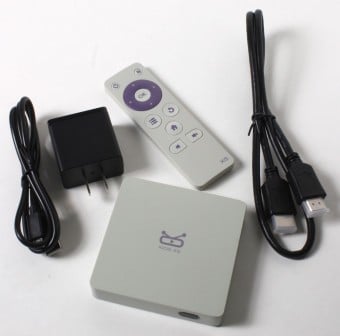
Upon removal you can see that the Xios XS comes with a modest accessory pack.
- USB Power Cable
- HDMI Cable
- Power Adapter
- Remote control
The accessory bundle is enough to get the unit working and even a HDMI to get it connected to your display of choice.
Click Images to Enlarge
The included remote control allows complete control of the XIOS XS with the following functions:
- Power
- Menu
- Directional (up, down, left and right)
- Center (ok) button
- Back button
- Information/notification button – Brings down the notification or similar to sliding down from the top on your android smartphone or tablet.
- Volume Buttons – allows volume adjustment directly from the remote.
The remote is simple enough but I did find that navigating with it could be a bit problematic as the range where it gets inconsistent is pretty short. I found that roughly 12 feet I started to have to press buttons multiple times or move the remote around for it to register. If you are using this for a home theatre setup and you have some distance between you and where the XS will be mounted it might be worth looking at an aftermarket option or even an all in one mini keyboard/mouse setup.
Click Images to Enlarge
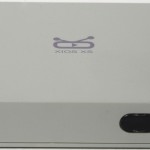
The Xios XS has a very small square footprint which means it can fit quite inconspicuously among a home theatre setup although the white/off white color does kind of make it stand out a bit as most home theatre components are black. The front IR receiver is surrounded by LEDs which when in off (Sleep) mode are red and when woken up they change to a brighter white color.
The side with MicroSD slot also houses a single USB 2.0 port and some venting to allow any heat to escape.
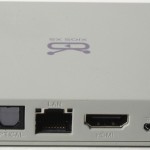
The rear has an optical port for high-end audio receivers along with the wired LAN port, HDMI port and Micro USB port to power the device. Speaking of power make sure you use the included cable which admittedly is short or a high quality one as I tried using just some small junker I had lying around and found the device was shutting off randomly and for the longest time I thought the XS unit was bad until I tried the included cable. Needless to say I felt not so bright when I realized much of my testing was being hampered by not spending the few minutes to connect it properly.
The opposing side also has venting and a second USB 2.0 port and the venting portion allows crossflow of air to ensure proper venting of the device as it has some decent power packed into a small space.
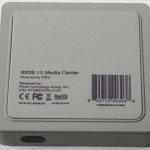
The bottom of the Xios XS is a long rubber pad covering over 90% of the bottom surface, this ensures it stays in place when you put it in your entertainment center area and doesn’t slide around as it’s not that heavy.
Click Images to Enlarge
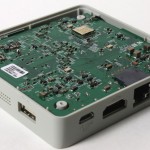
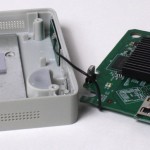
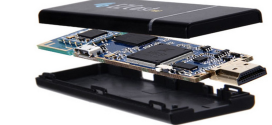
Pulling apart the Xios XS required removing or pulling back the rubber pad at the edges to uncover the screws that hold it together. then once removed the bottom plate comes off and you can see the PCB as shown above.
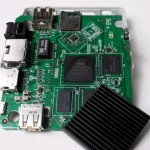
Now you can simply remove the board to take a look at the innards which are quite simply integrated. All of the critical components are on a single PCB with a processor which is a dual core 1.5GHz ARM Cortex A9 model, 1GB DDR3 memory and 8GB internal SSD Flash memory for storage of APPs and other data. The storage can be expanded via the MicroSD slot.
The Processor itself employs a heatsink which is actually soldered in place with a lug through the PCB but was not too bad to remove as we wanted to show you the model which is a Amlogic 8726-MX (Specs Below)
| Item | Amlogic 8726-MX |
| Multi-core CPU | Dual Core A9 |
| Multi-core GPU | Dual Core Mali-400 |
| Memory | Up to 2GB, DDR3/3L, LPDDR2 |
| Display Capability | TTL, LVDS, miniLVDS and HDMI |
| Display Resolution | 1080p |
| Camera | Up to 5MP with DVP interface |
| Memory Card | Yes |
| USB | USB 2.0 host and OTG |
| Video | Multi-format 1080p, H.264 encoder |
| Audio | MP3, AAC, WMA, RM, FLAC |
| Special A/V Support | Dolby, DTS, SRS, DviX HD, AC-3 |
Graphics |
OpenGL, ES1.1/2.0 |
| Package | 18mm x 18mm, LFBGA |
 Bjorn3D.com Bjorn3d.com – Satisfying Your Daily Tech Cravings Since 1996
