
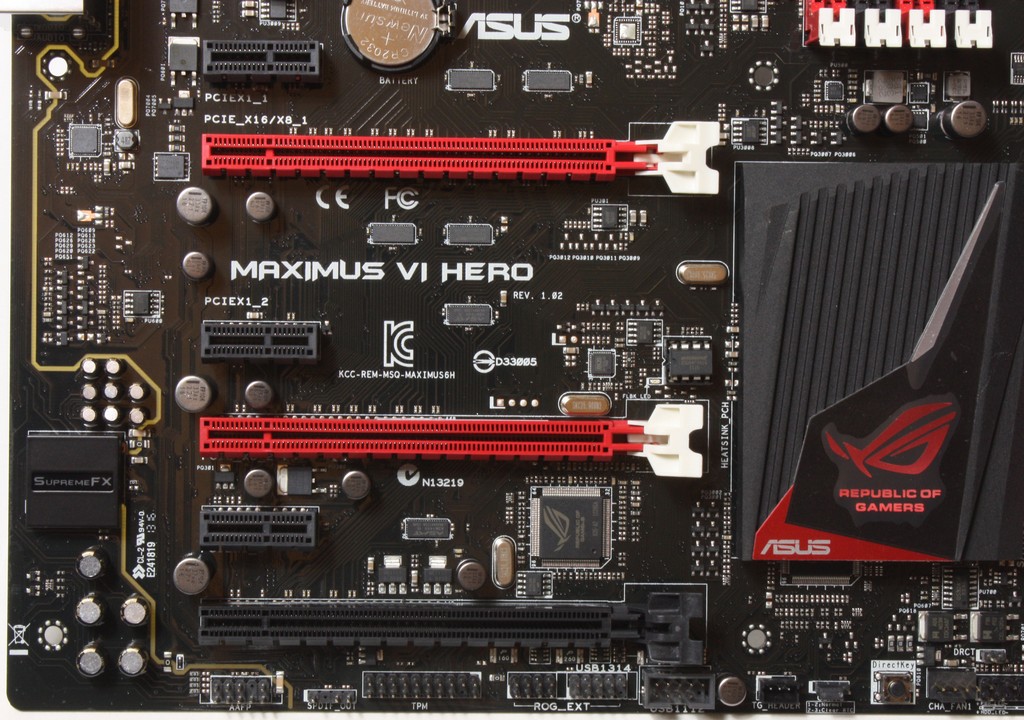
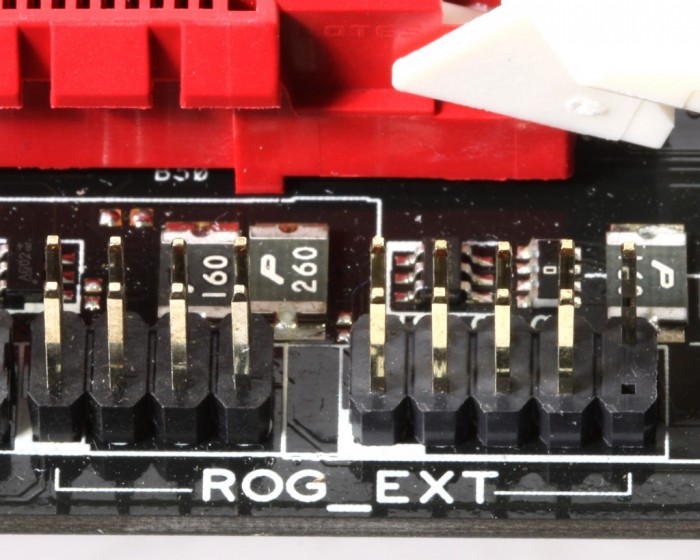
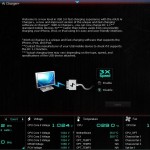
Overview of the ASUS Maximus VI Hero
The packaging is all ROG red is the key here with subtle geometric bacground designs to keep it from being boring. One thing I think ROG has always done well is the minimalists design when it comes to the front panel as it just feels clean and eye catching without feeling cluttered. This is accomplished via a opening front box panel.
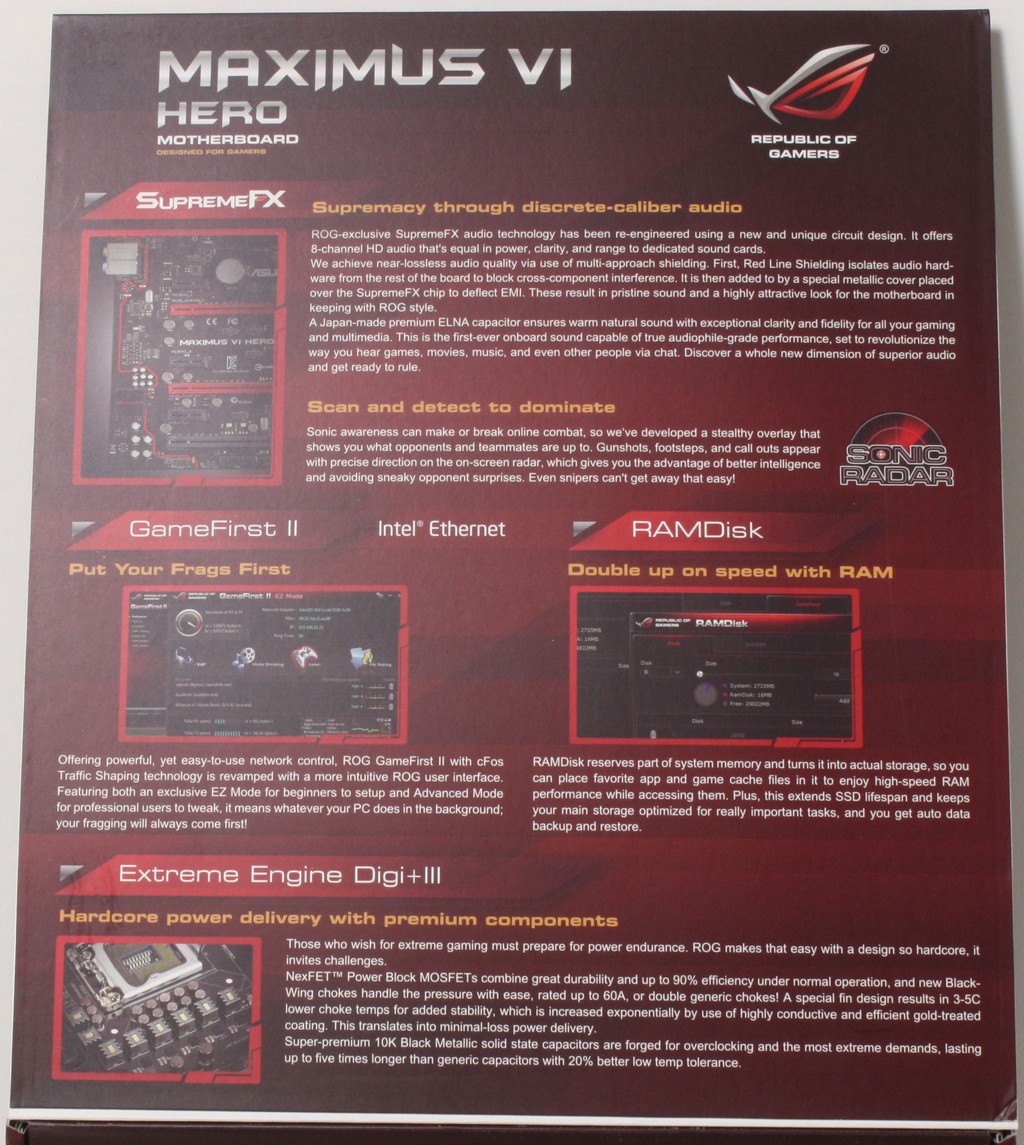
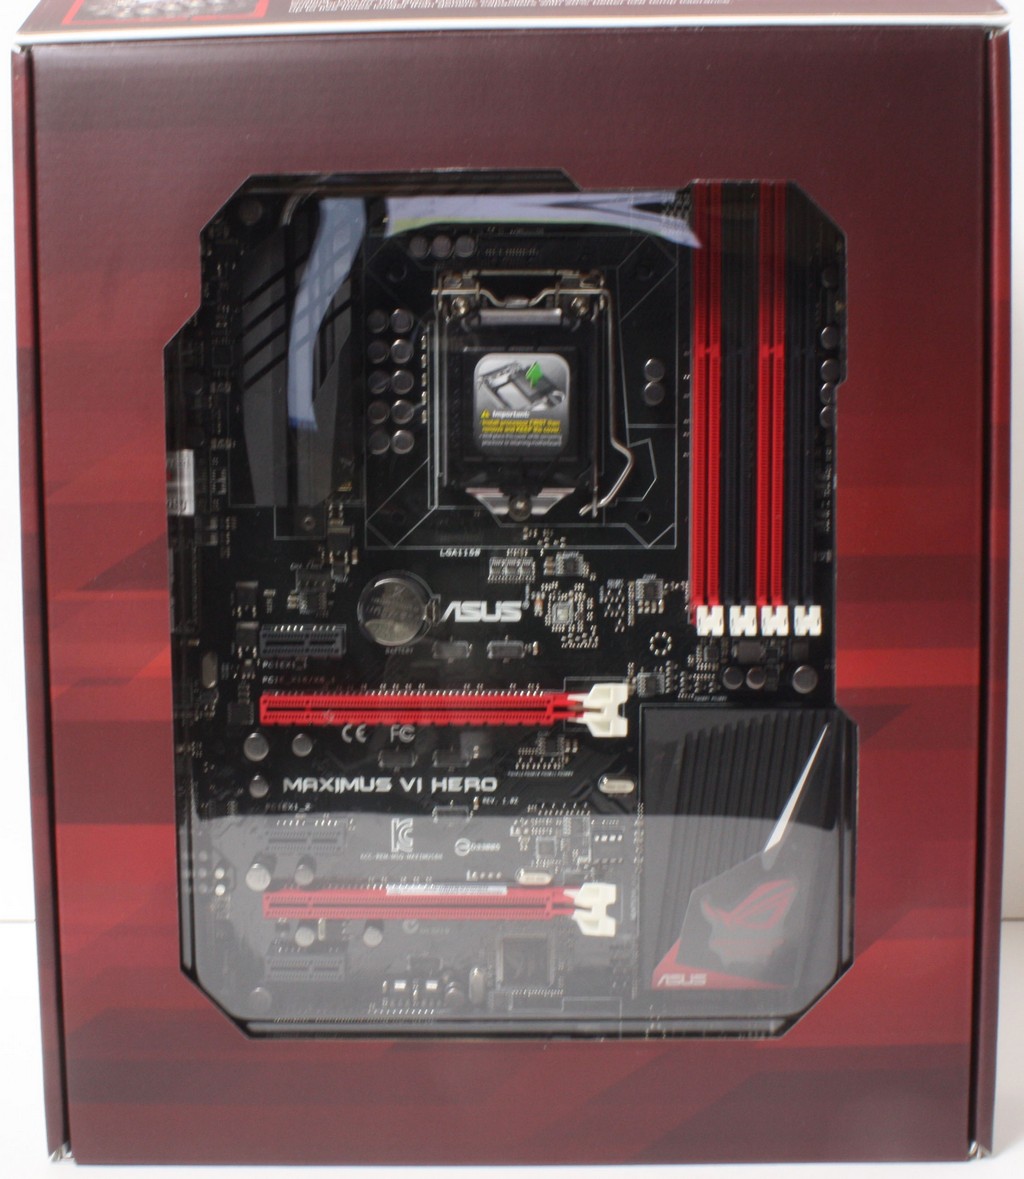
Once opened yu have a window to see the board and also on the flap many key feature explanations so you see what makes the ROG boards or this specific HERO model a good choice for your system build choice.

Click Image For a Larger One
- SATA Cables
- Qconnect front panel connectors
- IO Shield
- ROG Door Hanger
- SLI Ribbon Cable
- Cable labeling Stickers
- Installation disc
- Owners Manual
The accessories are more than enough to get the board setup and even the cables labeled for easy identification when maintaining.
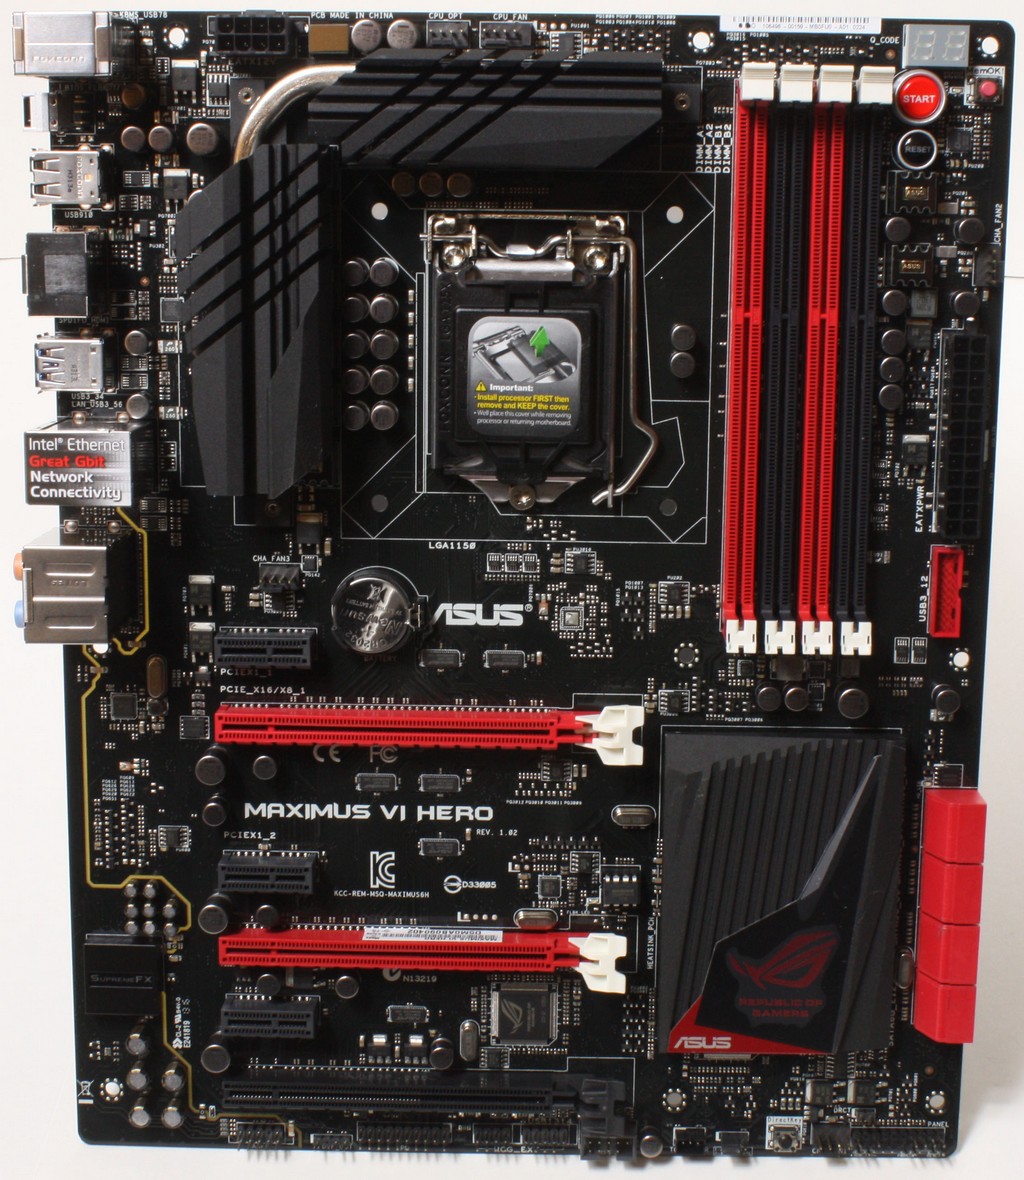

- PS2 Combo KB/Mouse port
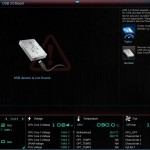
- USB BIOS Flashback Button
- 4x USB 2.0 Ports
- Intel Gigabit (10/100/1000) LAN Port
- 4x USB 3.0 ports (4x Intel Z87)
- Optical S/PDIF Port
- HDMI Connector
- 8 channel SupremeFX powered audio connections
As you can see here there is plenty of connectivity here but I do wonder why there was only a single HDMI connection and not at least a Displayport on the IO as well.


Software Overview
AISuiteIII

ASUS has completely redesigned the AISuite Software with the AISuite III software. A completely new user interface is now available and with that comes a much smoother function.


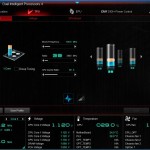


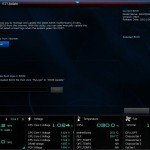
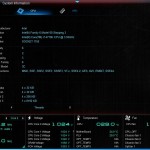
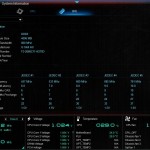

Overall the AISuite III software has been completely reworked for a cleaner looking interface. As you can see there is alot more information available in each section as the upper screen gives you the controls of the section you are in and the bottom area can be tabbed through and has a load of different monitoring areas to cycle through and help you see exactly how your board is behaving in real time. Also this is a significant change so it may take you a few minutes to figure out where everything is at but in the end it is quite easy once you get the hang of it as the system has changed from a selector bar or taskbar driven software to a larger screen driven software.
Mem TweakIt
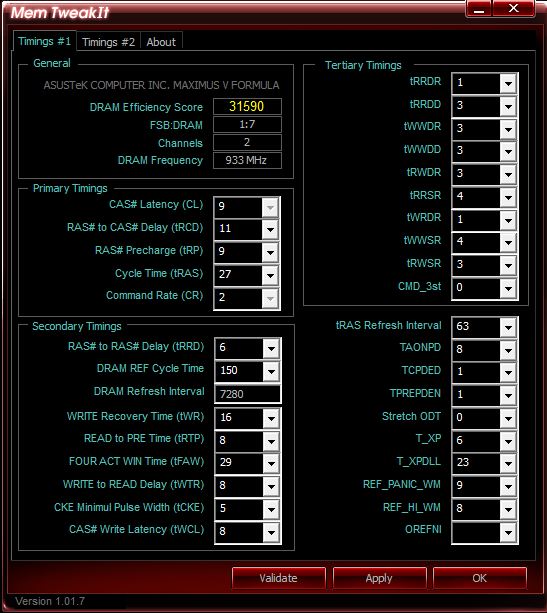
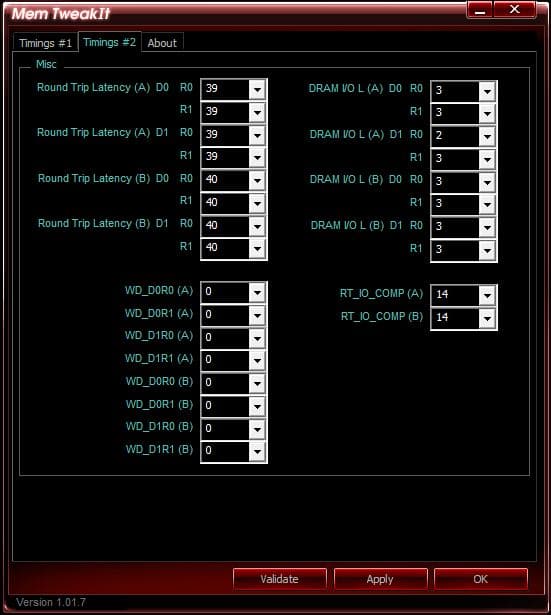
Mem TweakIt is a great program for extreme overclockers or tweakers as it allows real time adjustment and tweaking of the memory for the system which can make the difference between a high point run and a world record run.
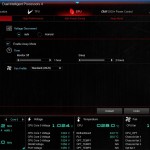
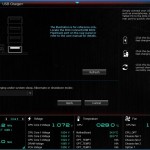
TurboV Core
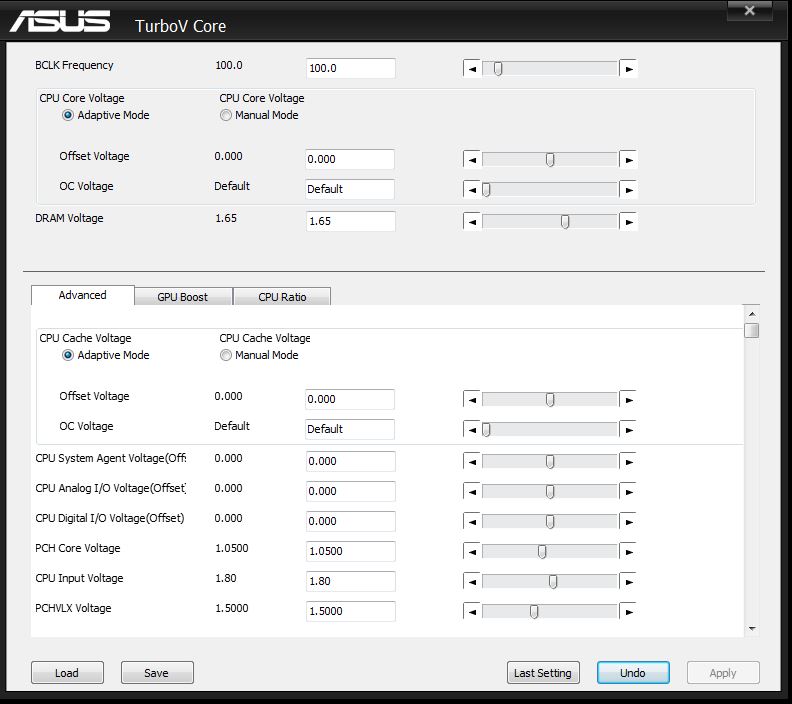


Turbo VCore is a super lite program made for quick and easy board tuning within the OS. We have seen many companies starting to realize that their included software is a bit too much or a bit too heavy for users who need a super light easy to load program that also loads quickly as being on the ragged edge overclocking you cannot wait for a huge program to load just to make a quick change.
The Turbo VCore program is just this and it fits the bill nicely as it loads very fast and load or overhead on the system is very small which is exactly what you need when running in such extreme conditions.
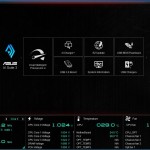
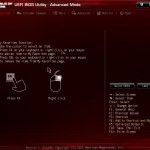
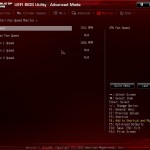
BIOS Overview

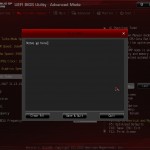
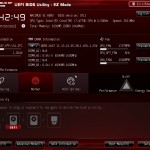
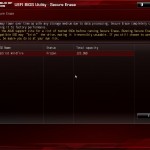


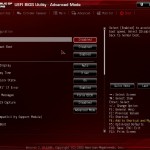
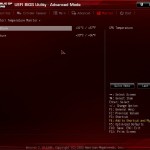
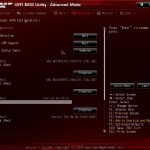
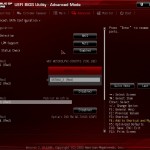
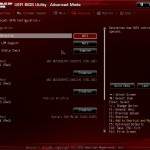
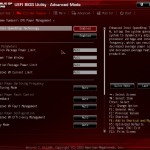
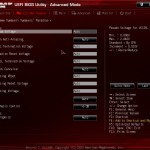
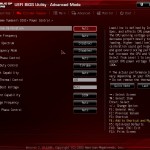
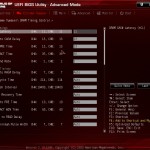
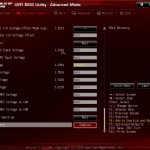
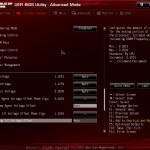
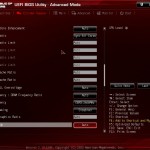
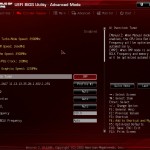
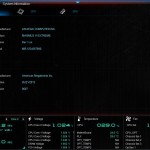
The BIOS of the ASUS Z87’s still carries the same fluidity that the Z77 and Z68’s carried as ASUS has done very well on the overall UEFU/I code which means the only think they have really needed to add was updates based on features or tuning of the board. Well all of that aside ASUS did add some very interesting features which we think will help some users especially those who like to tweak their boards and try to squeeze a bit more performance from them. The ability to take notes within the BIOS is very cool although I am old school and always keep pen and paper near by, we guess you could call this a “Green” alternative as you take notes on adjustments, although I would still keep a paper backup of any notes or at least a screenshot (F12) of the notes before flashing the BIOS as a bios update that goes deep enough could clear those notes and they would be gone forever.
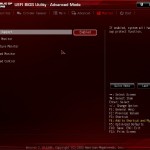
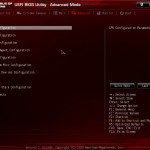
Another neat feature would be the Last modified section which basically just logs any changes you made in the BIOS so that if you run into an issue you can go back and look at what your changes were all dated and with a timestamp so that you can revert changes and test again without starting over. This is a interesting feature and I am not saying everyone will use it but well for the target audience of this board (Extreme enthusiasts and overclockers) we think it could ultimately be very useful.
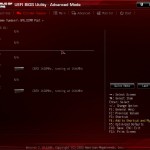
Another cool addition is the my favorites page which allows you to earmark certain settings within the bios to be placed on this page where you can go to and have access to your most commonly used settings without having to go through all of the other settings as there are quite a lot on this board.
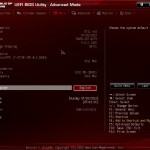
The memory presets which I have grown so used to on ROG boards is not present on the Maximus VI HERO board and that was a bit of a surprise honestly but all in all for the target audience this boards BIOS is super capable and more than enough for those looking for even an extreme clocked gamer.
Review Overview
Performance - 95%
Value - 90%
Quality - 100%
Features - 95%
Innovation - 95%
95%
The maximus VI HERO is a collaboration of everything that makes ROG great, and from it comes an insanely capable gaming board. For this it earns the Bjorn3D Golden Bear Award


The main problem with this board is the pcie 2.0 slot options, you either have 4 x1 slots or 1 x4 slot. There is no need for this restriction either, with 8 lanes available – one is used for ethernet, another for the Asmedia addon, leaving 6 available. Two of the x1 slots could be hard wired allowing the 2.0 x15 slot to opperate as a 1, 2 or 4 lane slot.