Overview of the ASUS GeForce GTX660 Ti DC II TOP
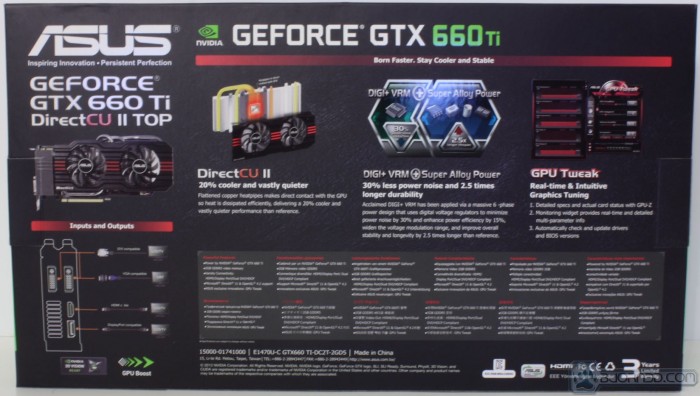
This packaging follows right along with the TOP 680 and 670 with the red claw marks coming through the front and a minimalist inclusion of a few key specs. On the rear it covers a bit more but mostly just some of the very top notch features they want to show off.
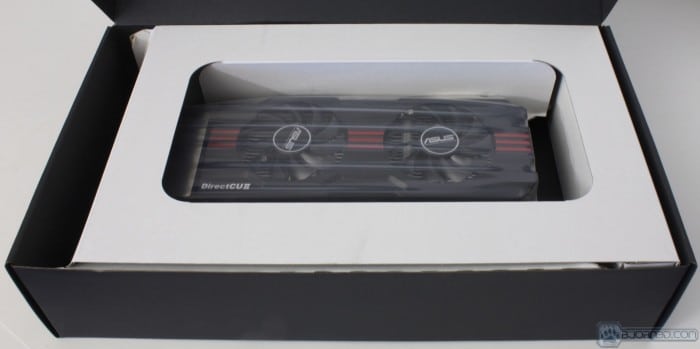
Here is what you see when we open the box. The topmost small box carries the accessories as listed below.
-
Installation Disc
-
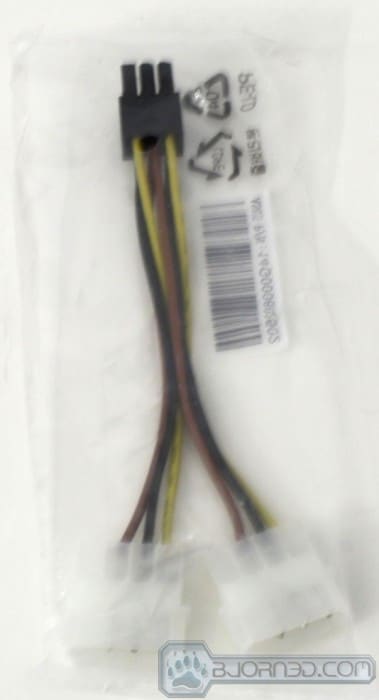
Dual 4 pin Molex to 6 Pin PCIe adapter
-
Instruction Manual
- DVI>VGA Adapter
The accessory package is simple but it will do for getting the card going.
Click Images to Enlarge
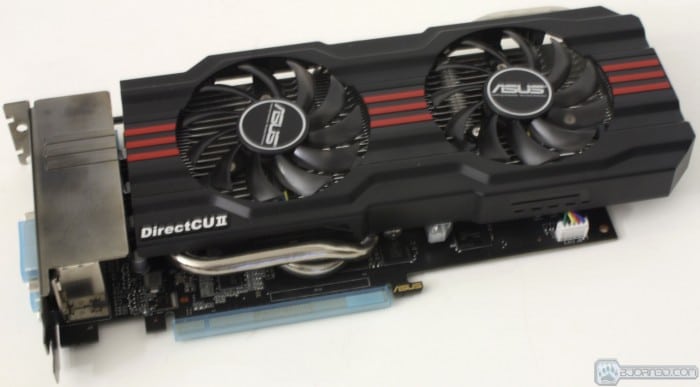
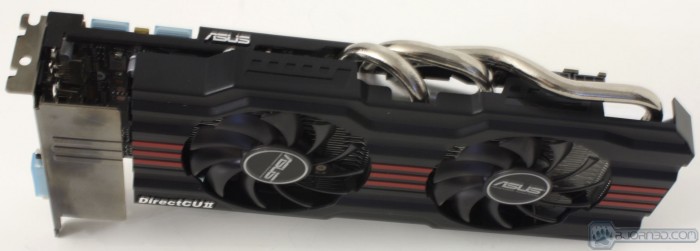
The 660 Ti is not extravagantly large but definitely bigger than a reference design and the cooler does overhang the PCB by a good inch and a half or so.
Click Images to Enlarge
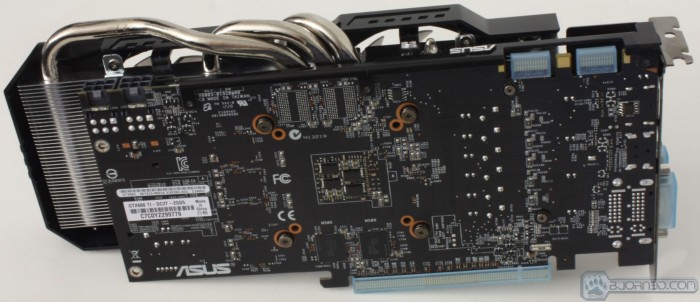
The rear of the PCB is naked and devoid of a backplate like we saw on the 670 and 680. This does not affect function but does take away a little from the pretty factor as well. The card utilizes a reinforcing strut across the top edge to keep the PCB from bending, which can cause damage especially over the life of a card. In the center behind the GPU directly you will see 4 flat caps, or SAP caps which are designed to provide instantly available capacitance to the GPU.
Click Images to Enlarge
The heatpipes for the DirectCU II cooler are 3 in total although they make a total of 5 passes through the fins as 2 of the heatpipes pass through the baseplate and into the fin array at both ends. This design optimizes thermal transfer and surface area coverage as well. The heatpipes are nickel plated for a pretty appearance which matches the look of the aluminum fin array and also it avoids the nasty tint copper pipes can acquire after some time in service.
Popping the Top off the TOP
Click Images to Enlarge
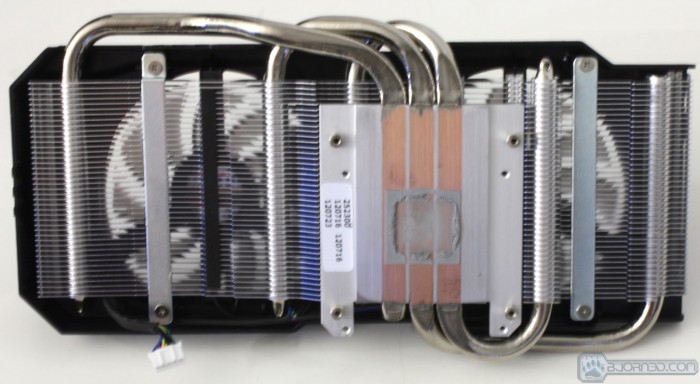
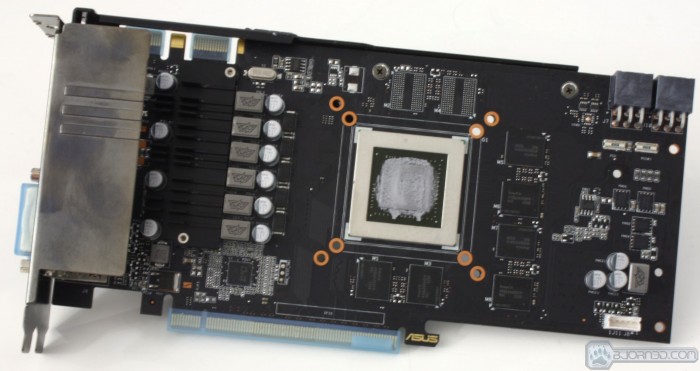
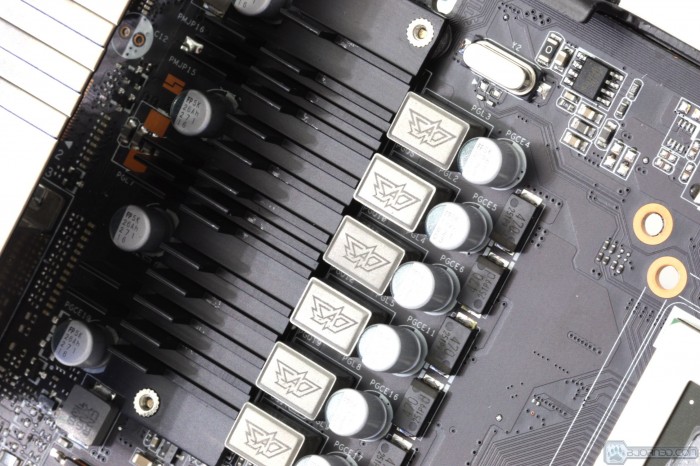
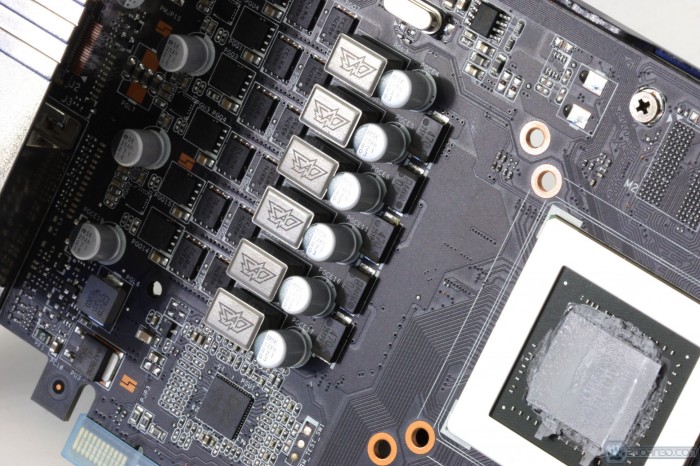
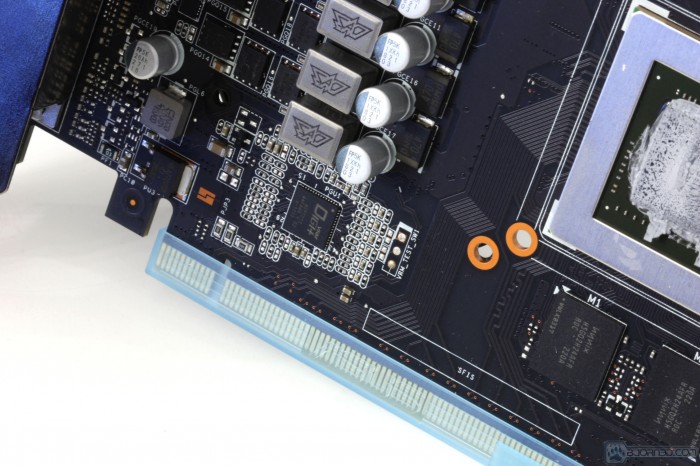
The heatsink comes off rather easy as it is a 4 screw mounting and then you just pop it off. Looking at the heatsink you can see the fin array is vast and the heatpipe base is very flat, providing excellent surface coverage for the GPU die which means optimal thermal transfer. Moving to the card itself you can see that this is no reference PCB with the DIGI+ controller and custom VRM in place.
Click Images to Enlarge
The VRM has a passive cooler attached as seen above, this cooler uses the air coming from the DirectCU II’s dual fans to keep vrm components happy and cool. Once removed we see the DIGI + components which include the mosfets for the GPU VRM. these components are nothing but top quality similar to what we have seen on many enthusiasts class ASUS boards and they are fed by a DIGI+ controller just like the motherboard which of course means finite voltage precision and control along with excellent efficiency for maximum output while having less heat from the components.
Click Images to Enlarge
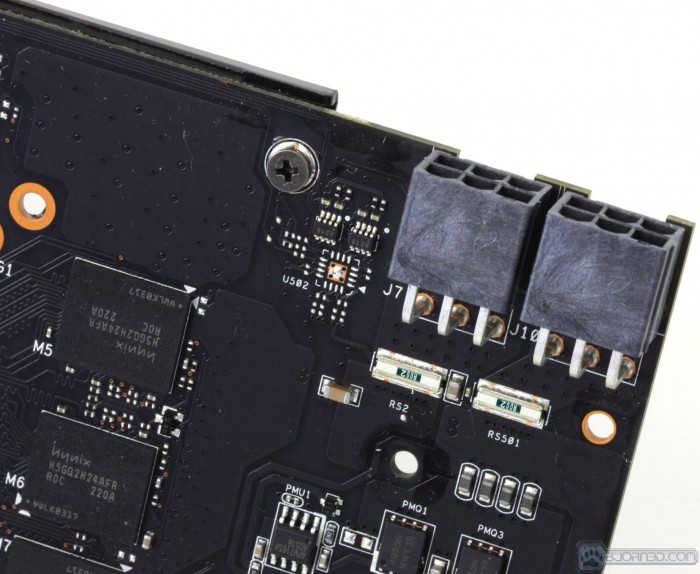
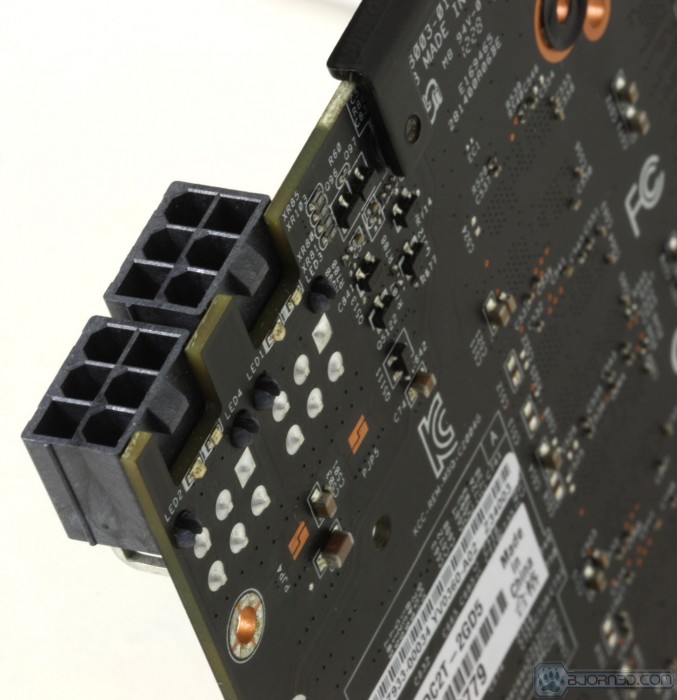
Here are the dual 6 pin power connectors and as you may have noticed the retaining notches are missing. Well tehy are not missing but in rder to avoid users from having to try and unclip the power cable from between the cooler and card they flipped them 180 degrees so that the clip faces the backside of the card and are easier to remove when needed. Also here you will see the previously mentioned LED’s unlit of course because the card has to be in the slot getting a signal to show the LED for power on the connector ports.
 Bjorn3D.com Bjorn3d.com – Satisfying Your Daily Tech Cravings Since 1996








ASUS GTX660 Ti twitter Giveaway #ASUS660Ti: http://wfi.re/mih2f