Installation
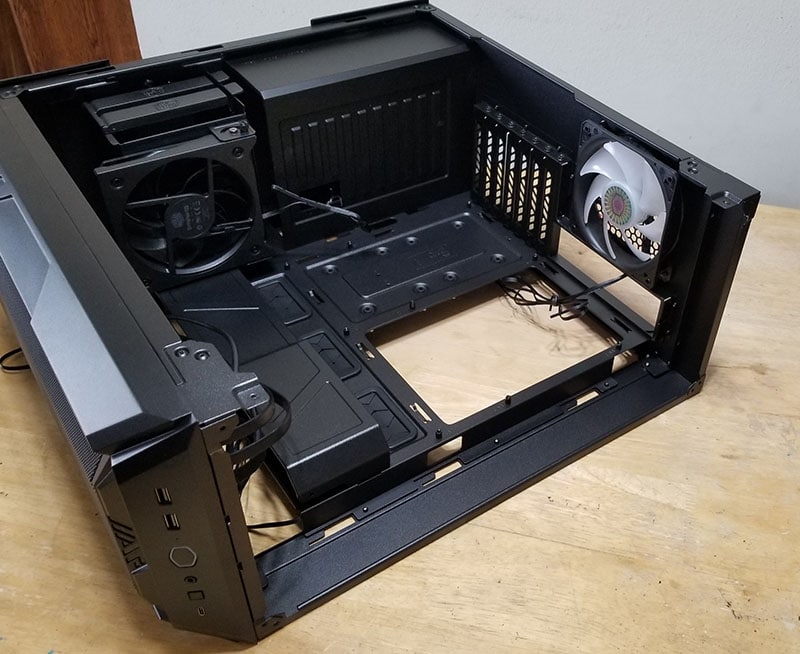
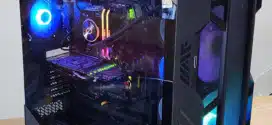
Installing components to the HAF 500 is easy thanks to the large interior space and the removable top panel. If you have never build a system with a removable top chassis, you really don’t know what you are missing. It is so convenient to install hardware and swap parts in and out because you don’t have a large piece of metal standing on your way as you are trying to get the tiny connector lined up precisely to the header or getting the RAM in and out of the slot with the big CPU cooler sitting next to it. The removable top panel expand the area around the CPU region so even with the larger cooler like the Noctua NH-D14 and the large heatsink for the power delivery system on the motherboard, the components around the CPU such as the fan headers and the RAM slots are easily reached.
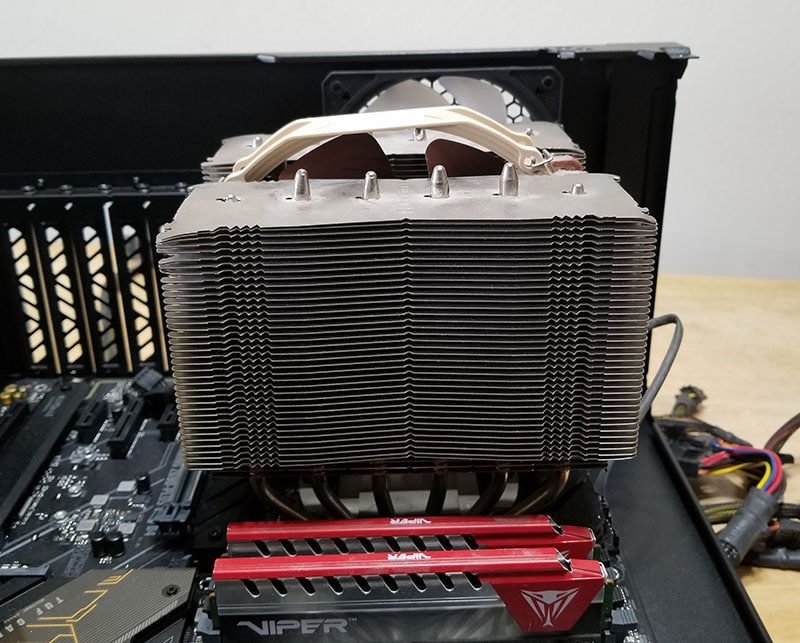

I like the preinstalled motherboard standoff saves one extra step when installing the motherboard and the CPU cutout is large where swapping the cooler should be a hassle-free process. As you can see from the image above, even with the Noctua NH-D14 installed, there is ample of room to work with and there is no clearance issue. I also had no issue installing a 360mm radiator on the top though the front does require a little work of removing the dual 200 mm fan. Given to the case design, we think it would be better to have the radiator installed on the top of the case as oppose to the front if you are using a single AIO.

The PSU installation is not an issue despite the minor inconvenience of the need to remove the shroud with a screw driver but it is not something that we would hold it against the Cooler Master. I installed the Cooler Master UCP PSU that is 190 mm long, which is 10 mm longer than the official supported figure. Despite this, the PSU has no trouble in the HAF 500 except that the PSU partially covers the cable pass-through opening; even so, there is enough opening to allow the entire bundled cables to be routed to the back of the motherboard tray.
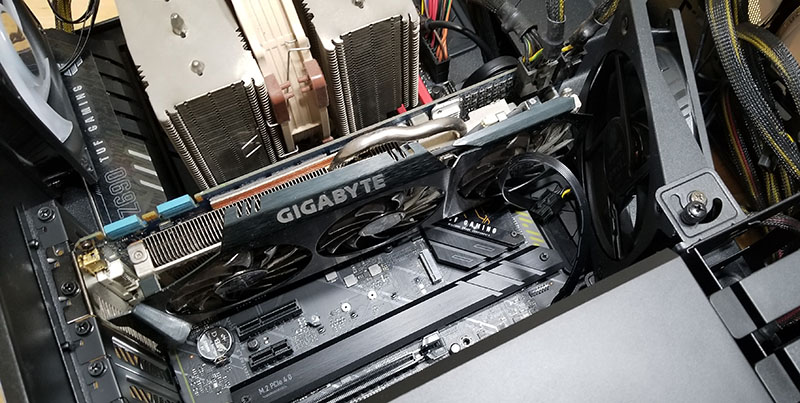
The 120 mm fan is where we have a small complaint. With longer cards installed, the fan’s adjustment is reduced. As you can see with our GTX 580 that is 11.5 inches long, the fan would not be able to point at 90 degree from the GPU, potentially reduce the efficiency of airflow. Furthermore, I did find that the area around the front panel headers a little crammed largely due to the protrusion from the GPU fan which made it a bit difficult to connect the front panel header. I did manage to install the front panel headers without the need to remove the fan but I would suggest remove the fan or the drive cage to have a little more space to work with.
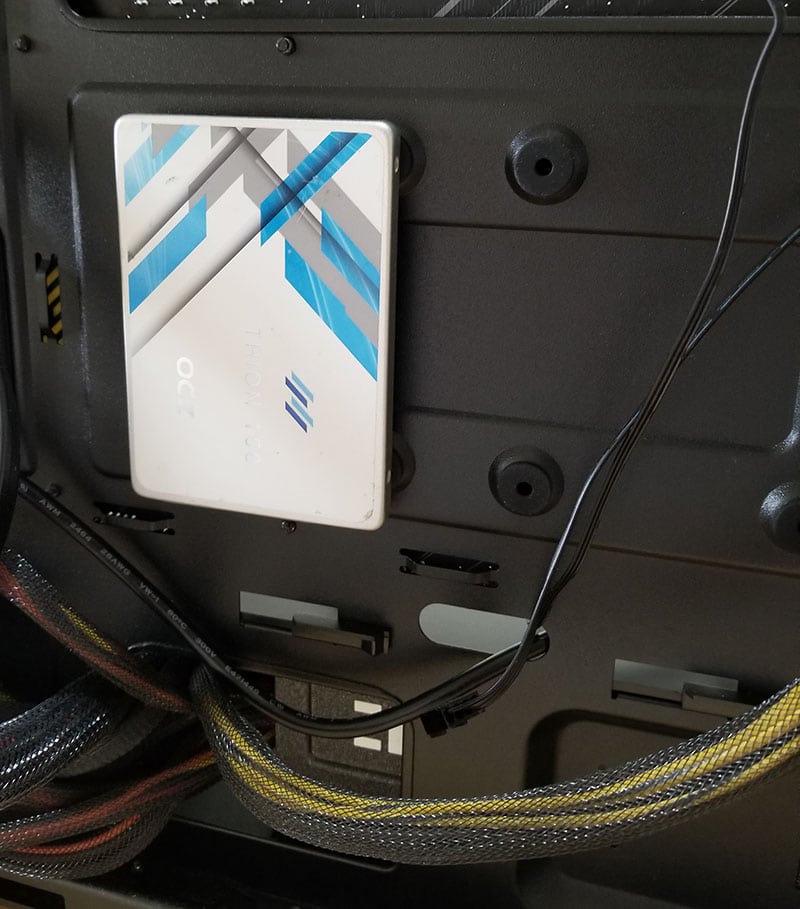
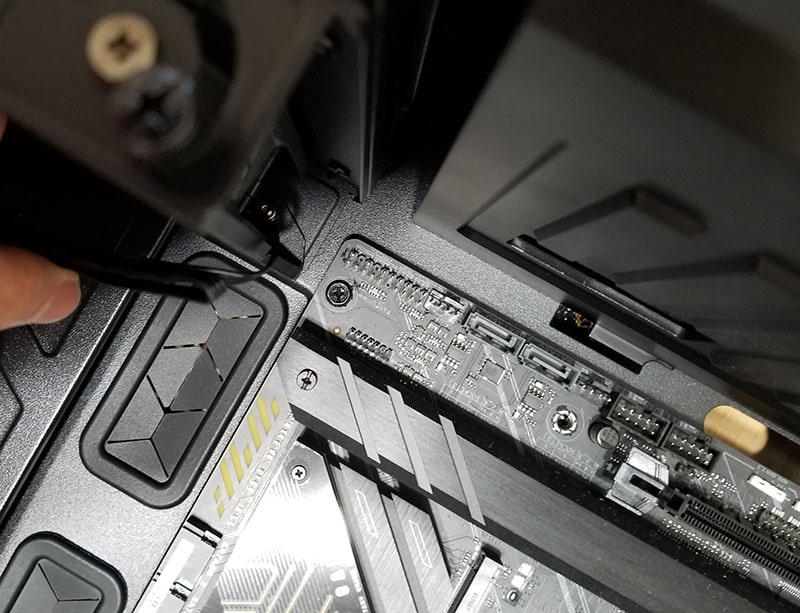
For the 2.5’’ drive, we had no trouble on either the 2.5’’ drive tray or the rear of the board. Initially, I was a bit skeptical that the drive would stayed securely on the motherboard tray with the four tiny feet. I am glad to report that there is no need to worry as they do the job well and the drive stayed put and does not wobble or loose when I shake the case.
The included 200 mm fans cables are quite long while the two 120 mm fans are a bit shorter. The cables for the 200 mm fans are pre-attached to the controller as well as the reset button header. For the two 120mm fans, I have no trouble connecting them to my motherboard’s fan header on the opposite side of the board (routed underneath the motherboard tray). However, we can see that a few people may have issue to route the rear 120mm fan underneath the motherboard tray to the fan headers near the front panel headers location and instead have to opt for having the cable over the motherboard. It is a minor complain that can be fixed easily by just connect cable to the included ARGB controller.

Thanks to the thoughtful cutouts throughout the case and the motherboard tray, it is absolutely easy to manage the cables and there is more than enough space underneath the motherboard tray to hide the cables. I still have some work to do to tidy up the cables. However, even with the messy cable, I have no trouble closing the side panel so no issue with the space.
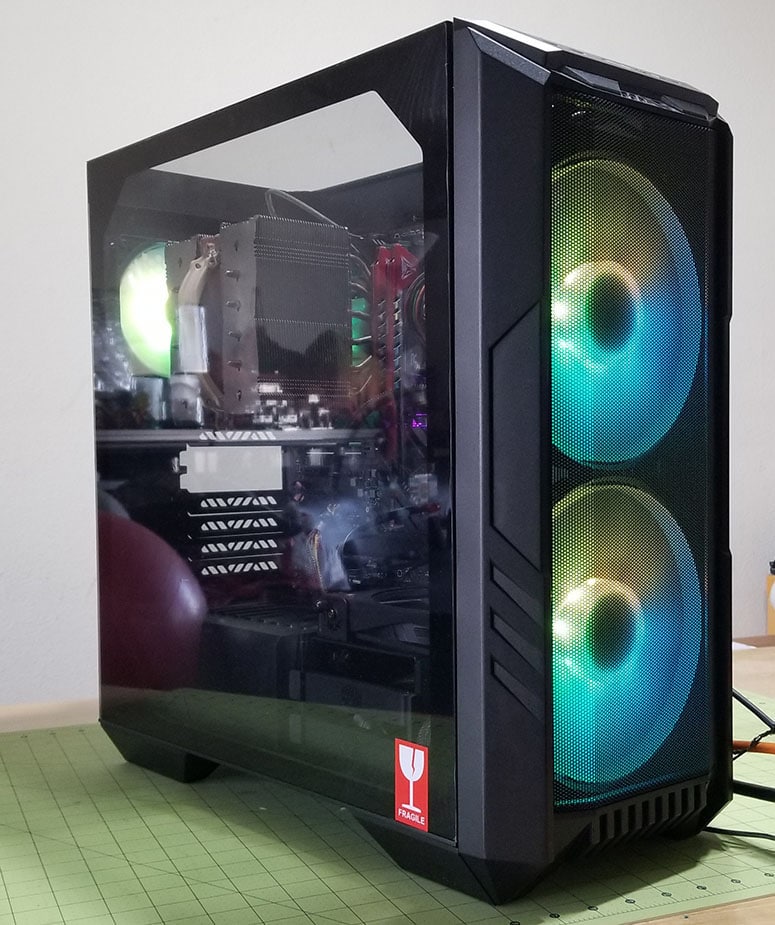
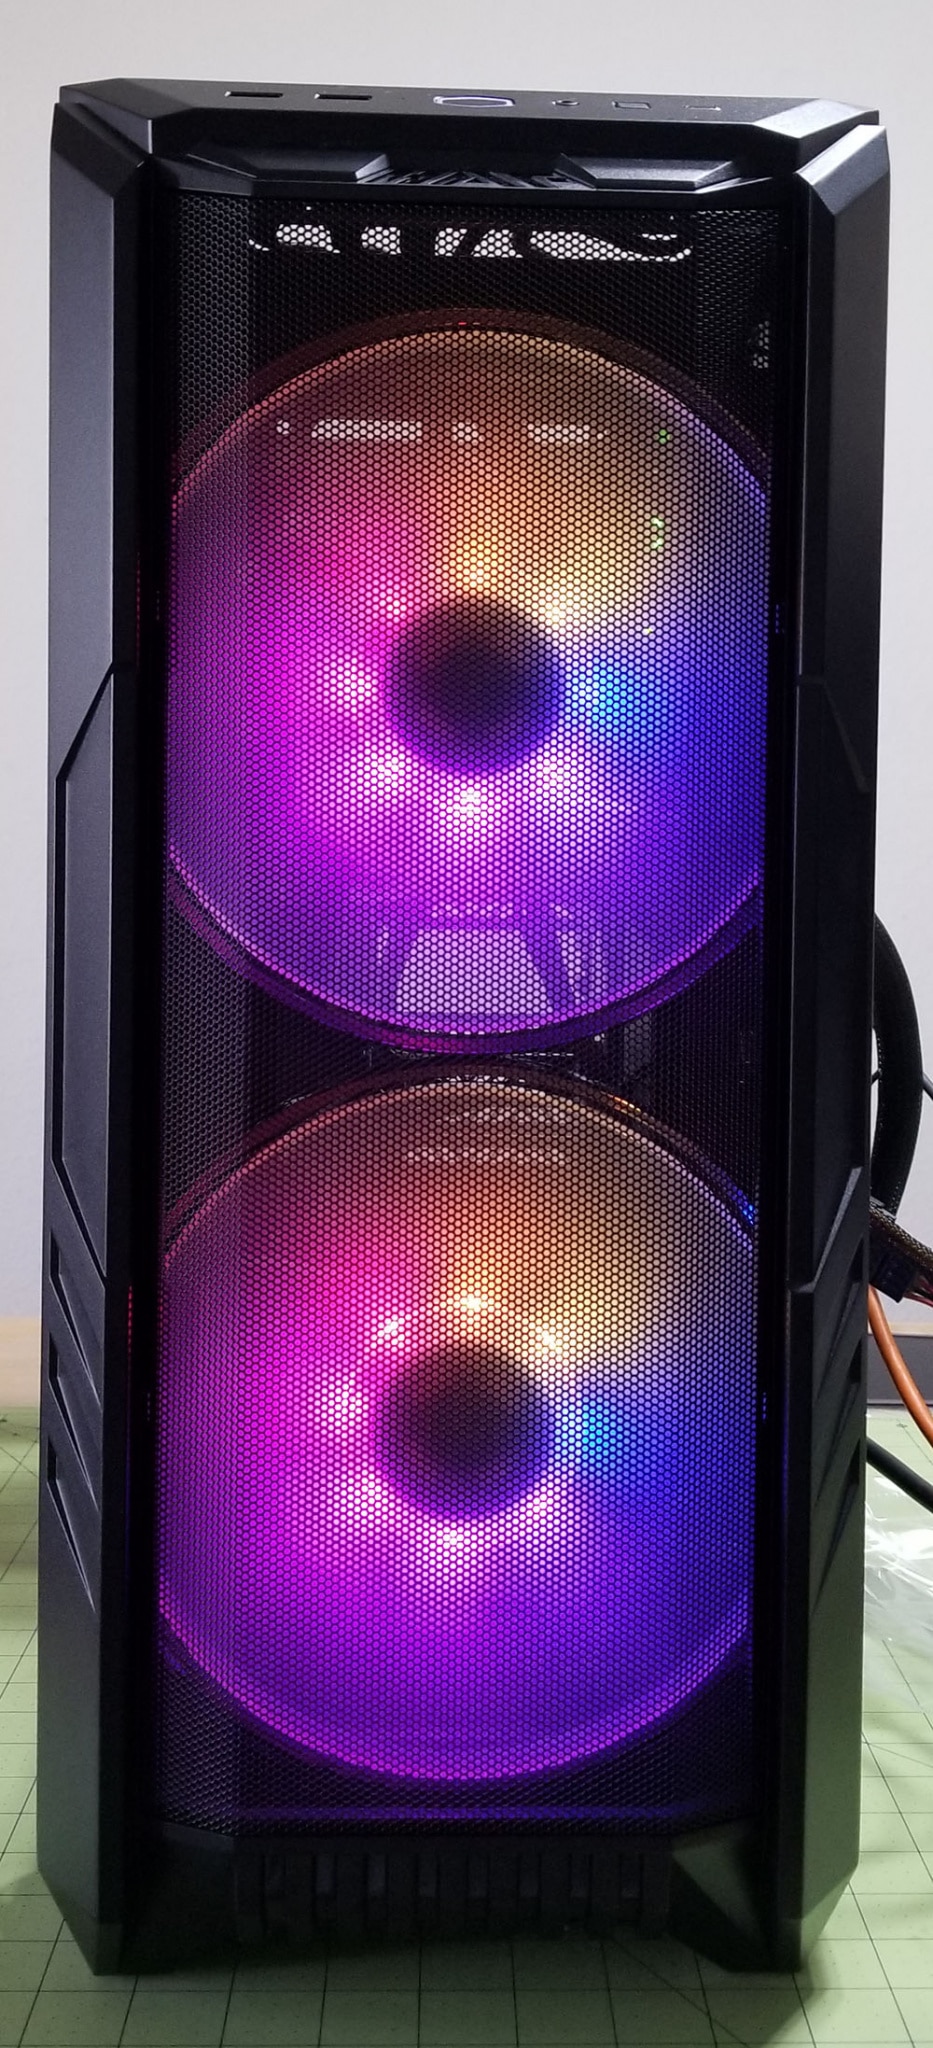
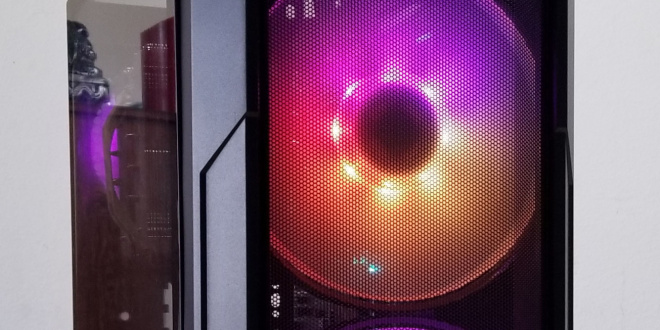
With everything installed, the dual 200mm fan displays nice LED effects along with the glass side panel to show off your prize hardware.


With the HAF 500, Cooler Master’s legendary HAF series makes a comeback. The HAF 500 has famous 200mm huge intake ARGB fans for maximum airflow and performance, ensuring unrivaled intake and cooling efficiency. A dedicated GPU fan is included in the chassis, which can be adjusted to fit various GPU lengths. The most modern water cooling configurations may be accommodated thanks to ample clearance for dual 360mm radiators on the top and front panels. Component installation is simplified and hassle-free thanks to tool-less side panels and a removable top panel that eliminates the need to battle with tight locations.
The CoolerMaster 500 series case is definitely one of the best out there, but I found airflow works better with 200 mm fans on top and avoiding hooking up any other type to an identical hub. You’ll want two separate splitter cables–one for your motherboard’s CPU cooler (or watercooling setup) and another just straight through if you’re running something beefy like RTX 30 Series cards where all their cooling needs are taken care off by default without having too many unnecessary connections hanging around doing nothing! 120/140mm intake blade situated improperly can cause serious problems so keep these things facing forward