Interior
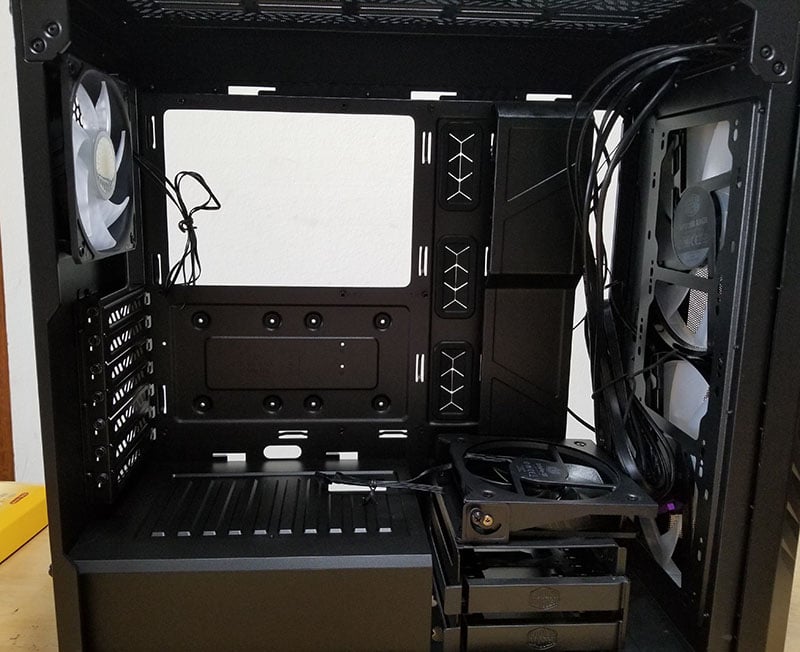
Inside, the HAF 500 looks clean and spacious. It is also devoid of sharp edges as all of the cutouts have the metal edge folded or rubber grommets to protect dedicated fingers during installation. The ATX mid-tower supports Mini-ITX, Micro-ATX, ATX, SSI CEB, E-ATX (supports up to 12” x 12.2” motherboards, may impact cable management features) motherboards. The ATX motherboard stand-offs are preinstalled with additional standoff for the EATX included. A generous size cutout underneath the CPU area to assist CPU cooler installation without the need to remove the board. Up to 167mm tall cooler can be installed.
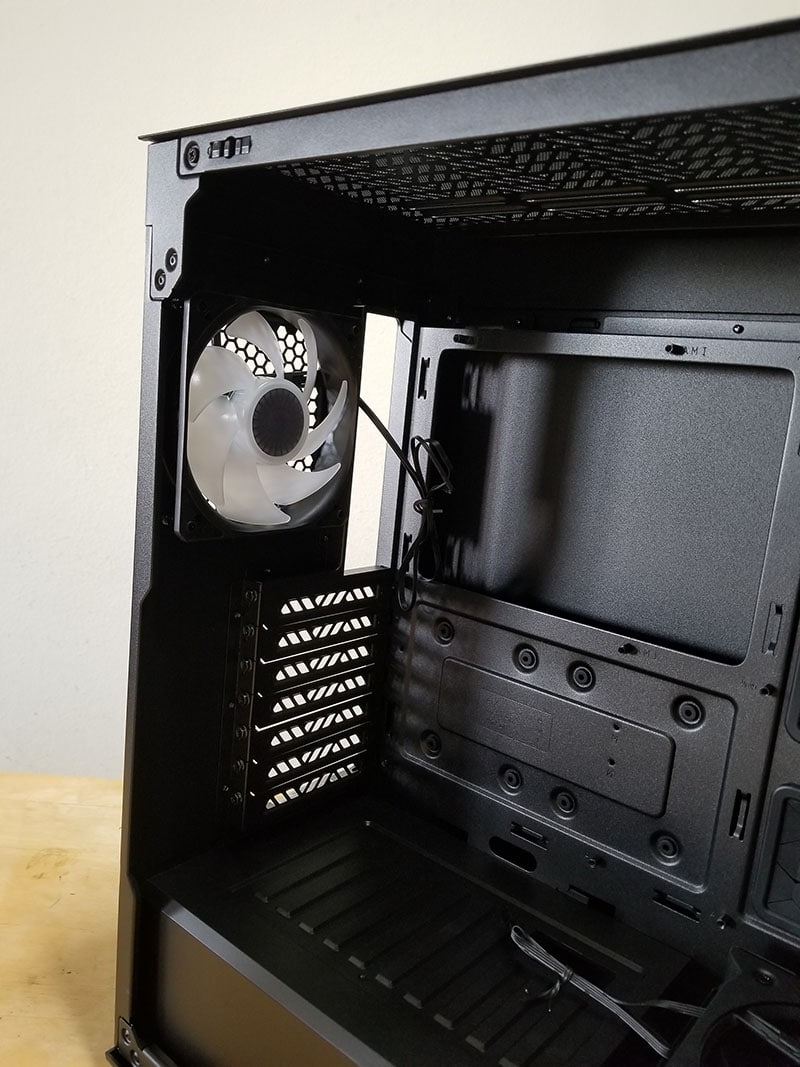
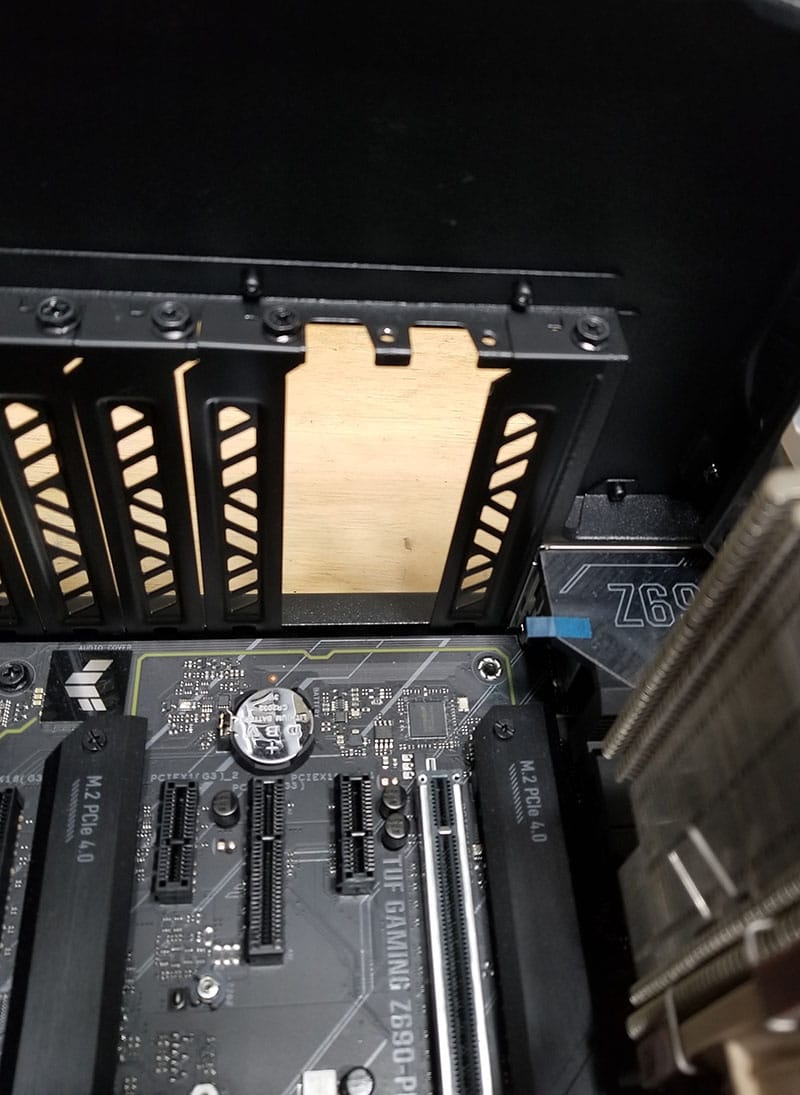
The HAF 500 sports seven expansion slots and will accommodate graphic card up to 410mm, which should be plenty of space for even the longest GPU on the market. I like how the expansion slot lacks individual divider, making it easier when installing cards that takes multiple expansion slots.
When comes to cooling, the HAF 500 can accommodate 3x120mm, 2x140mm, or 2x200mm fans on the front or on the top. In addition, the rear of the case supports one 120mm fan and the top of the HDD cage supports an additional 120mm GPU fan. This means that HAF 500 can fit 120, 140, 240, 280, or 360 mm radiator on the front and the top and a 120mm radiator on the rear. It is nice see that both the front and the top support the same fan and radiator configuration as it leaves user more option to choose from. Cooler Master preinstalled two 200mm ARGB front fan, one 120mm SickleFlow ARGB fan on the rear exhaust, and a 120mm SickleFlow fan (non-LED) for the GPU. One minor annoyance is that if you choose to install the radiator on the front, you would have to remove the dual 200 mm fans.
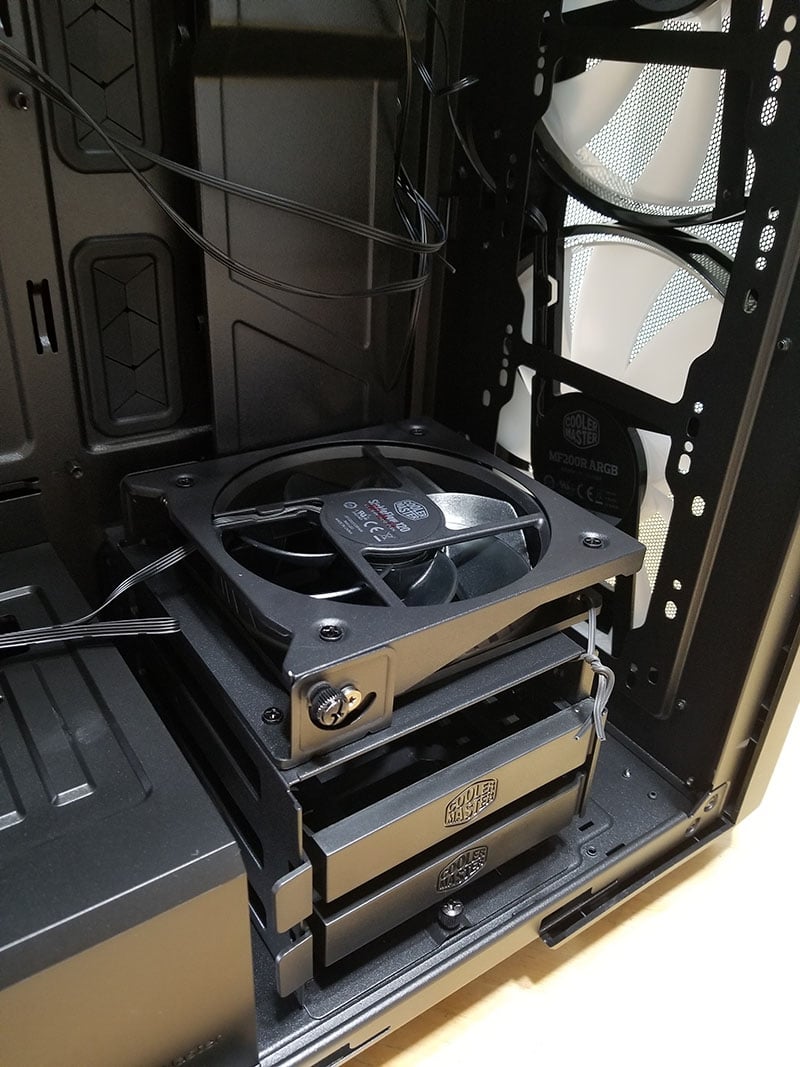
One of the unique features with the HAF 500 is the 120mm rotatable GPU fan sitting on top of the HDD cage that provides additional airflow to the GPU. The fan can be rotated up to 90 degree and a single screw sits on the base to secure its position. It’s location may not be ideal because it does gets in the way of a longer graphic card and poses clearance issue with larger radiator on the front. Luckily, it is removable so you can decide yourself whether the fan offers any additional cooling benefit.
We see that the PSU is covered by a plastic shroud. The plastic used is a little soft and feels a tad cheap but it serves its purpose of creating an isolated cooling zone for the PSU where the intake cool air pass through the drive bay and exhaust the hot air directly out of the case, as well as hiding the messy cables of the PSU. The shroud clips onto the motherboard and is held onto the case via a single screw on the rear A cutout is located next to the PSU for cable routing. It is large and is located close to the center of the board so you can also use it to route cables to the internal headers located on the bottom of the board.
Next to the PSU is where we find the two 3.5/2.5’’ combo drive bay. Installation is tool-less design if you are using a 3.5’’ drive but you would need a screw driver for the 2.5’’ drive. I found the drive rail is made with soft plastic and a bit flimsy. If you opt to install on drives to the rear of the motherboard tray, then you won’t need a screw driver as the drive “feet” uses thumbscrew. The entire drive cage is held together with a single screw so it is easily removed to allow us more space to work or to store our cables.
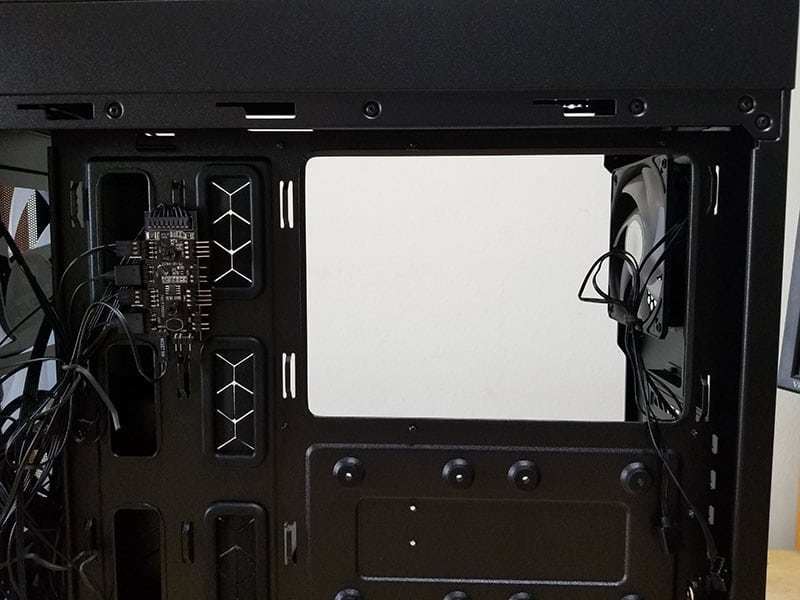
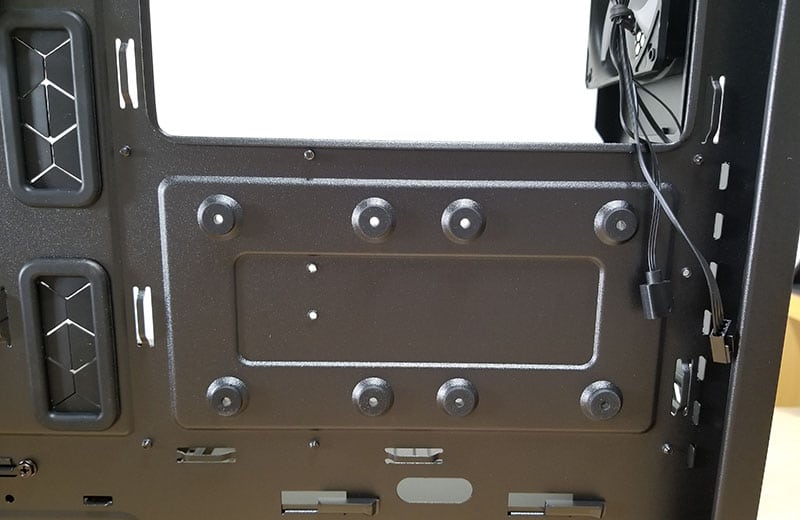
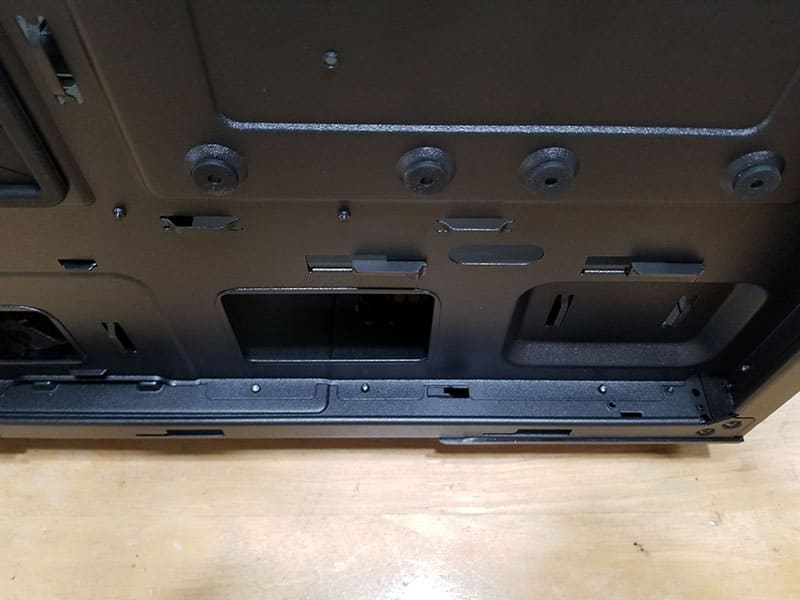
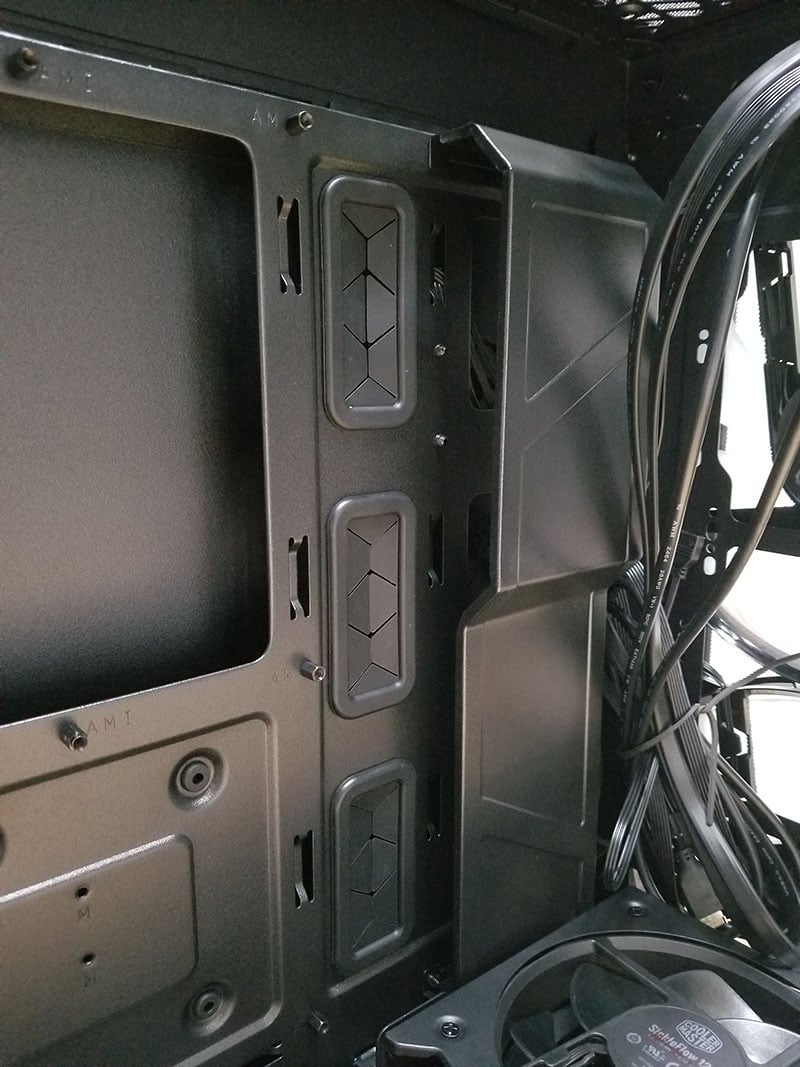
Behind the motherboard, there is a 30 mm width of space to organize your cables. Thoughtful cutouts can be found for easy cable pass through: three large openings with rubber grommets and three more without grommets (for EATX board) next to the motherboard, one small opening on the bottom of the motherboard for the IO ports, one next to the PSU, one behind the 2.5’’/3.5’’ drive tray, and two small openings on the top. Tie loops are also found on the rear of the motherboard tray to assist cable management which Cooler Master even includes the cable ties. Here is also where two more 2.5’’ SATA drives can be installed vertically.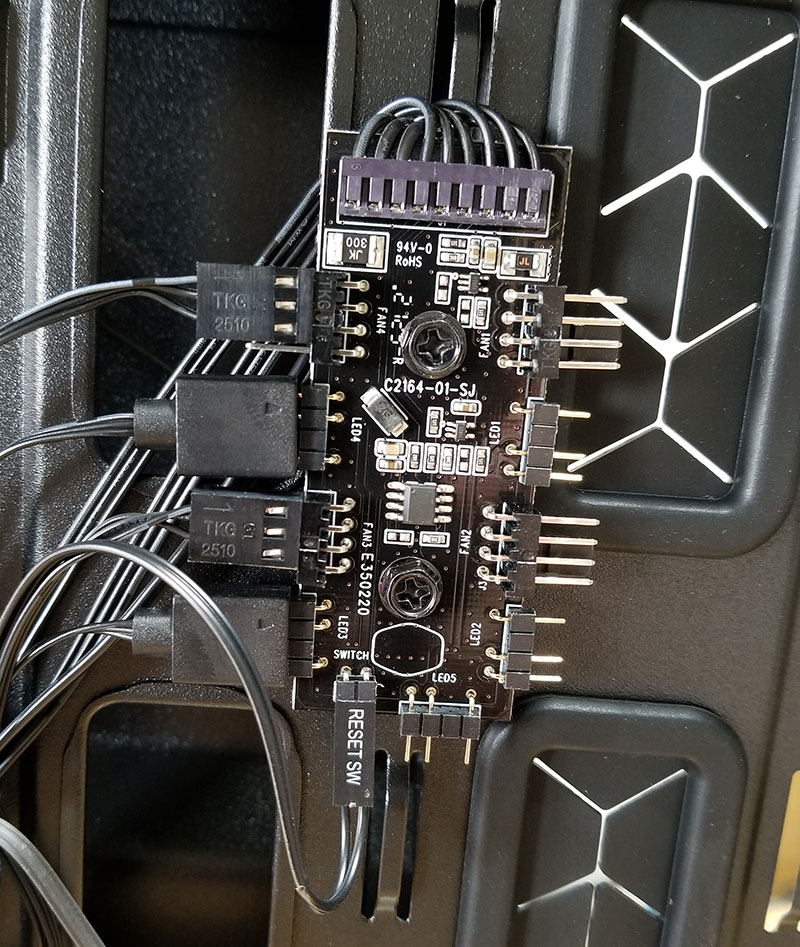
In addition, the case includes a ARGB HUB that supports 5 ARGB and 4 PWM headers. The ARGB takes a single SATA port for the power. Interestingly, Cooler Master did not provide any software for the ARGB hub. We would have thought that the company would leverage on the MasterPlus+ that some of the Cooler master chassis such as MasterCase H500M and many of the company’s hardware relies on for the ARGB control. Instead, the reset button can be repurposed as a switch to change the lighting effect. Or if your motherboard supports ARGB, you can also route the cable to the motherboard header for more control over the RGB effect.
The HAF 500 feels solid built. The removable parts are solid and does not feel weak or fragile. Every pieces is locked or screwed to the frame of the case where once it is fully assembled, you don’t feel loose parts or hear any rattling noise.


With the HAF 500, Cooler Master’s legendary HAF series makes a comeback. The HAF 500 has famous 200mm huge intake ARGB fans for maximum airflow and performance, ensuring unrivaled intake and cooling efficiency. A dedicated GPU fan is included in the chassis, which can be adjusted to fit various GPU lengths. The most modern water cooling configurations may be accommodated thanks to ample clearance for dual 360mm radiators on the top and front panels. Component installation is simplified and hassle-free thanks to tool-less side panels and a removable top panel that eliminates the need to battle with tight locations.
The CoolerMaster 500 series case is definitely one of the best out there, but I found airflow works better with 200 mm fans on top and avoiding hooking up any other type to an identical hub. You’ll want two separate splitter cables–one for your motherboard’s CPU cooler (or watercooling setup) and another just straight through if you’re running something beefy like RTX 30 Series cards where all their cooling needs are taken care off by default without having too many unnecessary connections hanging around doing nothing! 120/140mm intake blade situated improperly can cause serious problems so keep these things facing forward