Introduction
In a sea of gaming PC cases, there are very few that pull the sleek, minimalistic look that many have come to love. I think for me it all started back with the Voodoo Omen that I really started to like cases that were simple, yet did an amazing job housing a powerful system. It seems like some at Cooler Master have the same affinity for a simple design integrated with some forward thinking internal design options. Cooler Master’s FreeForm™ modular system is aimed at giving users a new level of flexibility when building their systems. We will see just what the MasterCase has to offer in this review.
Main Features
These are the main features of the MasterCase Pro 6 that Cooler Master is trying to highlight in their materials for the case:
- FreeForm™ Modular System – Easily customize, adjust, and upgrade your case, inside and out. The majority of the case is modular and really makes it great to not have items you don’t need from cluttering up your case.
- Subtle and Sleek – Smooth, flush panels and a large side window will complement softer and more refined home, gaming and office setups. The design really will make this case much less obnoxious in your home than a lot of the other gaming case designs.
- Discreet Air Vents: Thin vents on four corners the of the case provide ventilation and a soft LED glow is integrated at the bottom of the front panel. Pop the top and front panels up slightly for even more cooling options. These panels sure work well making the case look great while giving the case a slightly more interesting look when popped out.
- Flush I/O – USB and audio ports are hidden by a cover that blends seamlessly with the top panel. Clip-and-Click Panel – Our unique panel for drive cage adjustment comes straight from our FreeForm™ technology. This helps to really stealth the case and really pull the look together.
- Versatile Liquid Cooling – Water cooling bracket allows 297mm radiator space on top or shift the bottom HDD cage for front installation. The top bracket makes for installing a radiator a much easier and simplified process.
- Layout Freedom: Create an internal layout that follows your personality and preferences with a highly adjustable frame and easily removable parts. Rearrange the case to suit your needs and excess cages can be removed easily.
- Dual Partition Chamber – a partition panel isolates the power supply and cables for clean management. The inclusion of a tinted panel on the window gives you an option to hide this area giving you a much cleaner look.
- Slip-and-Clip SSDs – Two pockets with four mounting positions – behind the motherboard tray and on top of the partition. Installing 2.5″ SSDs or HDDs fast and in a way that looks great.
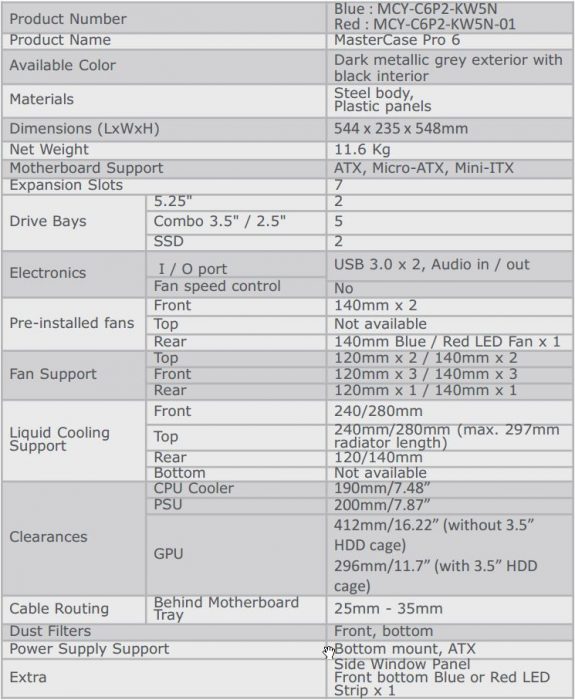
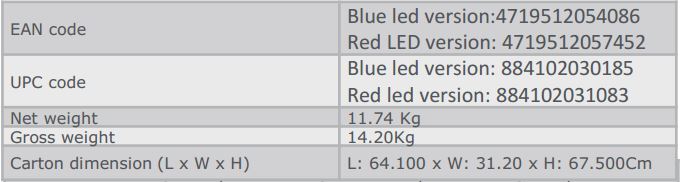
MasterCase Pro 6 Specifications
Specifications from Cooler Master on the MasterCase Pro 6 models.
The Case
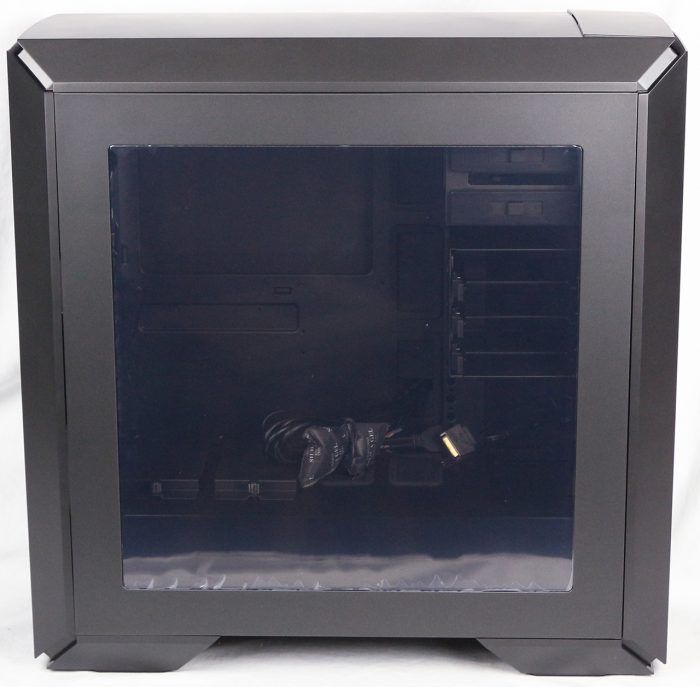
The windowed side panel comes with a protective sheet on the window straight out of the box. Also, you can see that the rear shroud from the side makes it look uniform with the front.
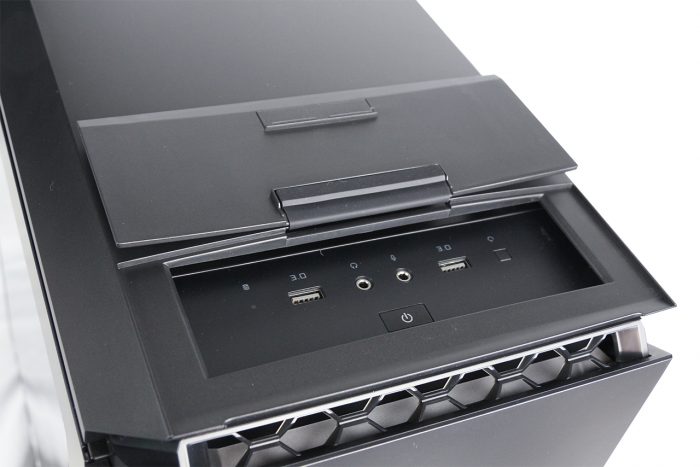
The Flush I/O is another feature of the case and it is a cover for the front(top) I/O. It is firmly held in place when closed with magnets and the hinge is a nice rubber flap that allows you to flip it back like this.
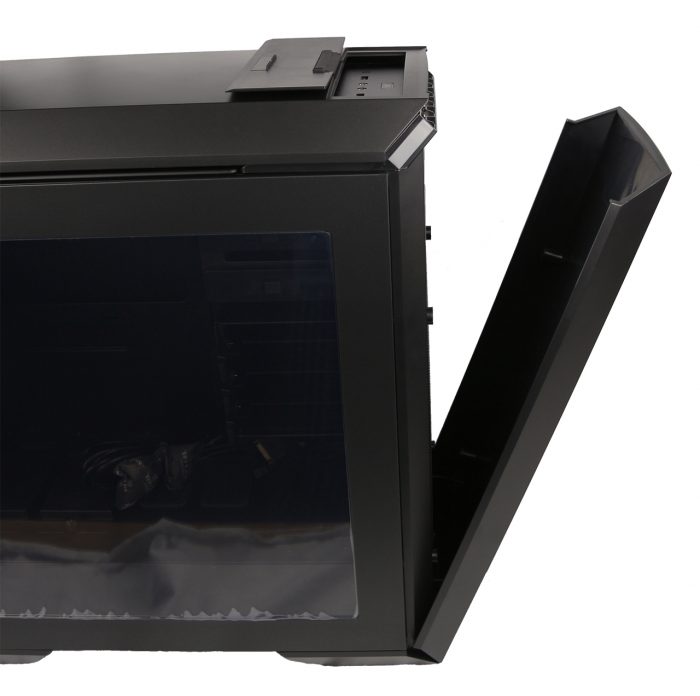
The front panel latches with hooks on the bottom so that you can access the top so if you have a disc drive you can load it easily.

The panels attach to these spring-loaded magnets that hook up with screws in the panels. They have two positions, closed and open, which you will see further down.
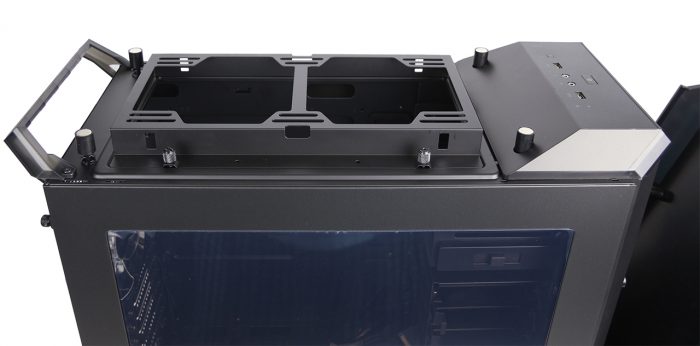
The removable tray makes it a breeze to attach the 240mm radiator of our AIO water cooler. I was able to remove the assembly and attach the fans to the radiator and bracket first. After that, I just screwed it back in place and attached the block to the CPU. This by far was the easiest install of a radiator I have ever done.
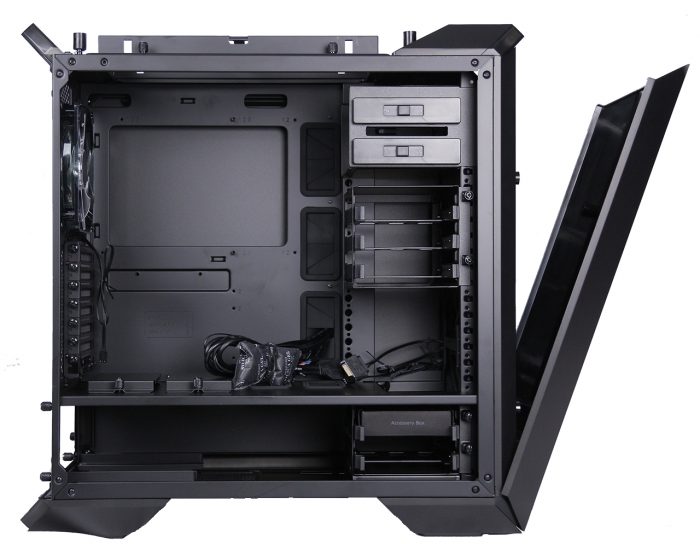
The interior of the case is spacious and the drive trays are all removable; there are thumbscrews throughout the case. I did find that they were usually a bit too tight at the start so you may need to use a screwdriver to loosen them at first.

The rear fan is either a blue or red 140mm LED fan depending on what model you choose to get. As you can see, the rear of the case is made for getting as much airflow as possible.
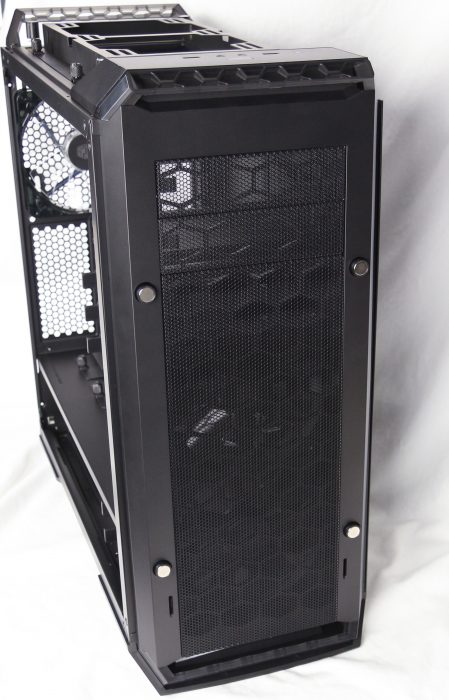
Here we can see through the mesh to the dual front 140mm fans (non-LED) and there is room for 3x 140mm fans if you choose not to use any external drive bays. The fans are very quiet while running at full speed and provide more than enough airflow to keep the system nice and cool
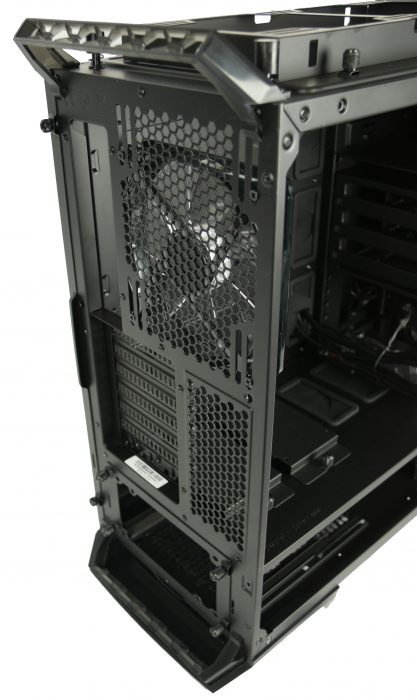
The handle looking part is definitely not to be used as a handle as it is far too weak and is there for making it look nice, as well as ventilation with those panels that will be over it.

The bottom air filter is easily removed from the rear and will be handy in helping to keep your PSU clean and hair free if you have pets.
The Build
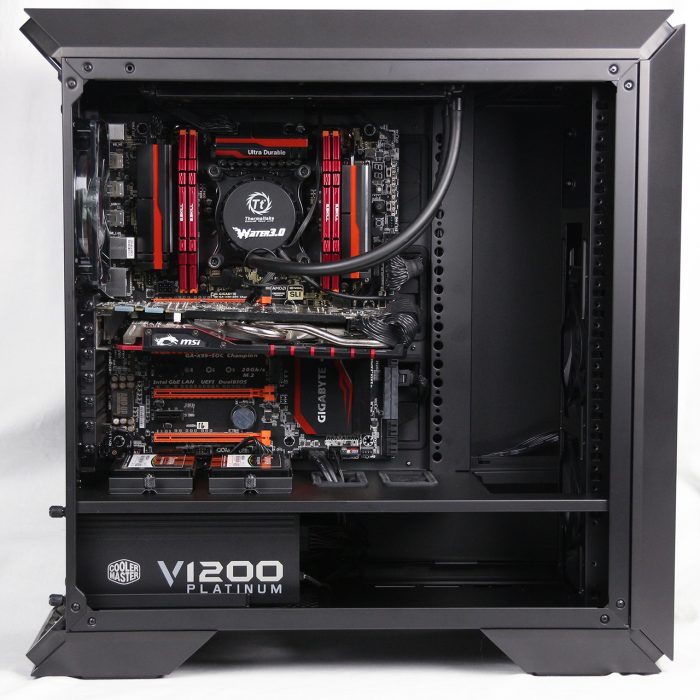
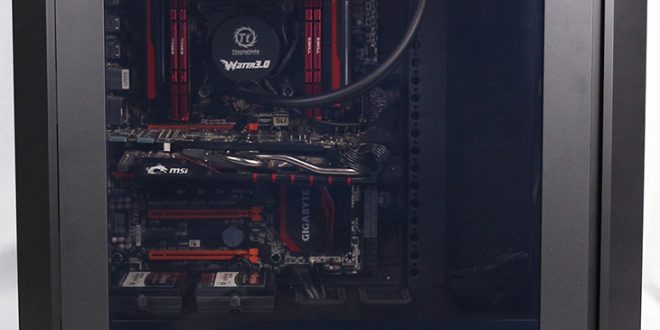
The build process, in this case, was very easy and with all the cable routing options I was able to make everything look relatively nice. Being able to remove the drive bays sure makes it look much nicer, and the 2.5″ drive trays really make for the SSDs to be nicely displayed. I will recommend that if using these you probably want to go for power extensions over the cable from the PSU so you can hide the cables easier.
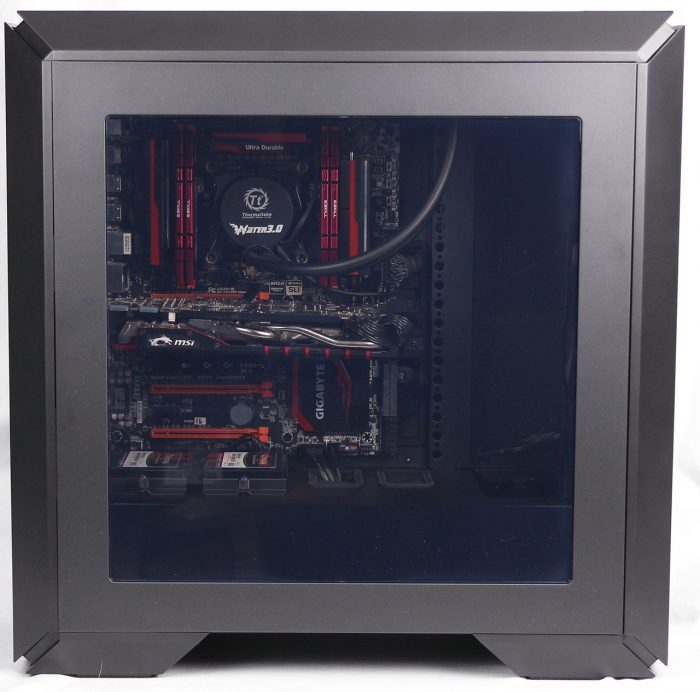
The side window has a dark strip that covers the PSU chamber and really makes the build look nice and clean when viewed from the side. This was a happy surprise as I was spending a bit of time trying to make the lower half look nice. This is a picture of the panels “closed”, as you can see that they are close to the case and in the next picture they are in the “open” position.

Here we see that the front and top panels are in the open position and can give the case a bit of a different look.Hopefully, it is also providing a bit more room for the air to flow.

The plate for the PSU comes off so users can slide in the PSU onto these rubber dampened slide rails. I found it much easier to not try to attach the bracket to the PSU and install it but rather install the PSU and then the bracket after it is already in.
CONCLUSION
This is by far the best case I have built a PC in so far, and I really am in love with the minimalistic and sleek looks of this case, which we found to be very pleasing. I really enjoyed how I was able to easily install the radiator via the top bracket that really made it go much faster than I expected. The materials used in the case seemed to be very good quality, and the finish on the exterior pieces didn’t pick up fingerprints too easily. The overall fit and finish are very good, though like I mentioned earlier, the thumb screws need to be loosened up with a screwdriver first.
Overall, this is an excellent choice for someone who is wanting a quiet case that has plenty of cooling options for their high-performance parts. The configuration options for this case are quite vast and Cooler Master has some extra accessories for the MasterCase series to truly make it your own. This would be an ideal case to get a bit more adventurous with modding if you are looking to try your hand at it.
I really think that a version of this case without a window would appeal to many people including myself, so I will have my fingers crossed for that version. With this case, I think it would be much more appealing with a tempered glass window standard instead of it being an accessory. I personally am really looking forward to seeing how it looks with the vertical GPU holder to put it on display. This is a really great offering and that could be addressed with new models.
The MSRP on the Cooler Master MasterCase Pro is $175, though we have yet to see what actual retail pricing will be.

For being a beautiful case with a modular-centric design focus and being a pleasure to work with the Master Case has easily earned it’s Golden Bear Award.
| Cooler Master MasterCase Pro 6 Pros |
Cooler Master MasterCase Pro 6 Cons |
|
|