Corsair Utility Engine
“The Corsair Utility Engine (CUE) makes it easy to set up button mapping and other parameters for each of your favorite games. You can save a gaming profile directly to your M65 PRO RGB and take it with you. Don’t just configure your mouse – program it with double macros, custom RGB lighting, and more.” -Corsair
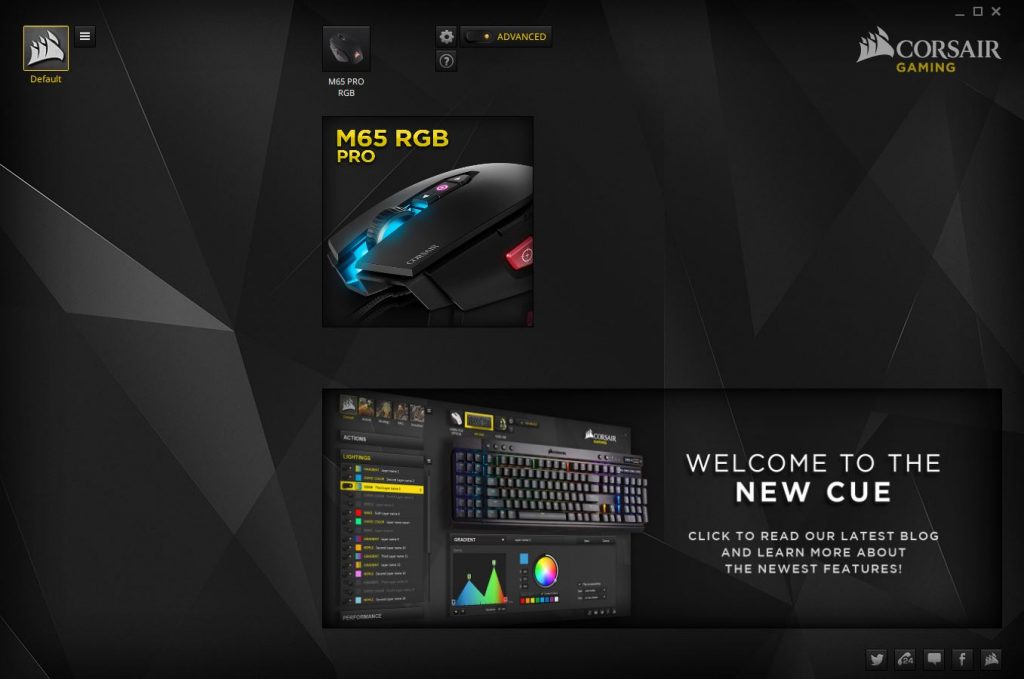
Upon opening the Corsair Utility Engine (CUE) you will be greeted with the home screen. Here you will see all of your currently connected corsair devices. You can also demo other Corsair devices such as the new MM800 to get an idea of the options for them. We have selected “show only connected devices” to focus on the M65 PRO RGB for this walkthrough.
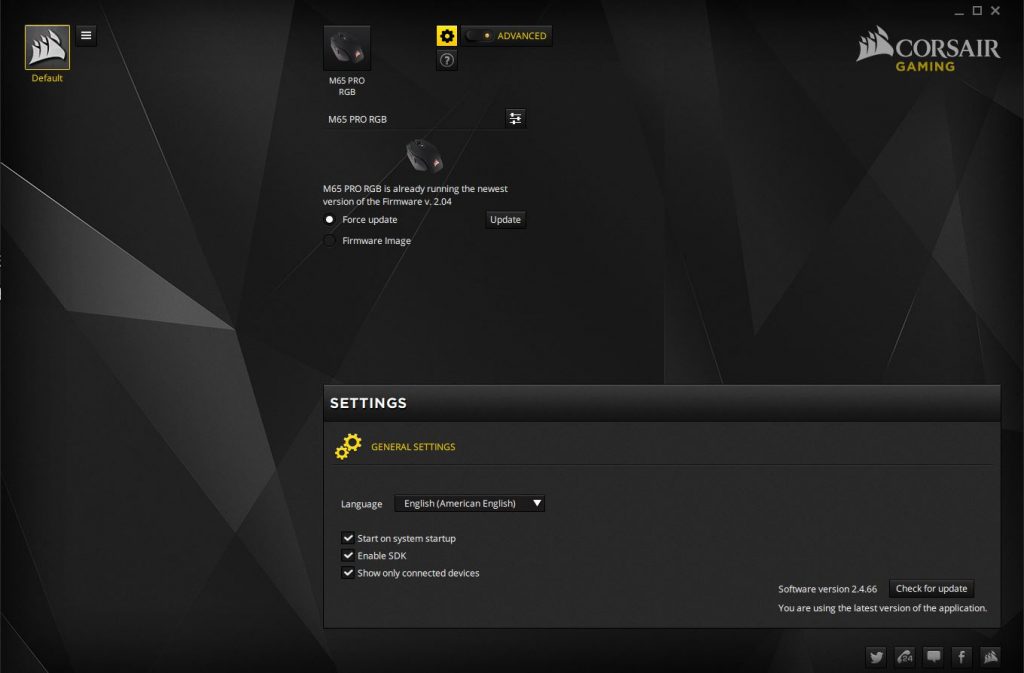
The first thing you’ll want to do is click the Global Settings gear and do a firmware check on your new M65 PRO RGB to insure everything is up to date. You can also update any other corsair devices you have connected from this tab. From the Global Settings tab you can also choose the polling rate and overall brightness of the mouse, most likely 1000 Hz / 1 msec and max bright is what you are after.
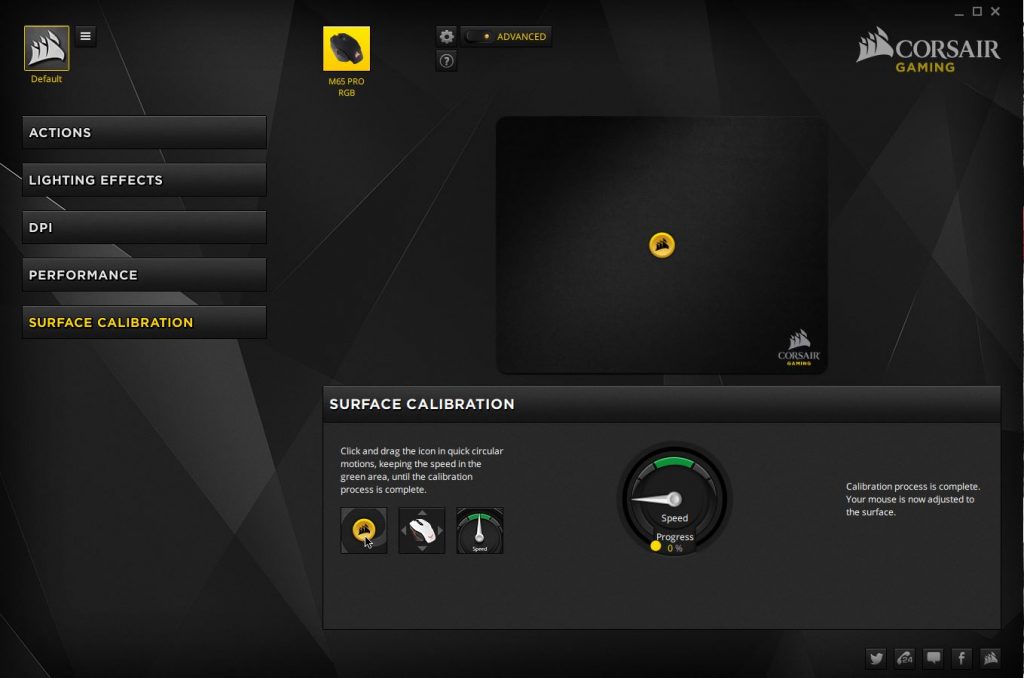
Our next stop was the Surface Calibration tab. The Calibration is quite simple and takes only a few moments. Just draw circles with the pointer and keep the speed in the green. Just like that you’ve got a tuned surface calibration.
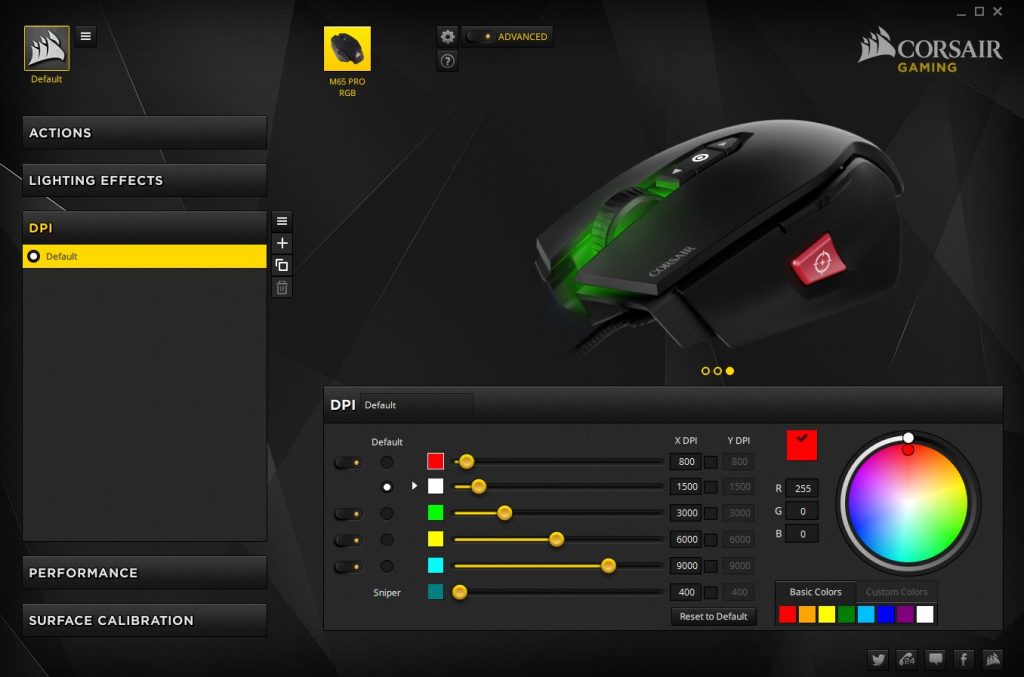
Here we see the DPI tab. There are five DPI levels that can be set to your liking, these are toggled with the DPI selection buttons above the scroll wheel. The “Sniper” button makes six DPI options or of course can be remapped to whatever input you would like such as a macro. The LED indicator on top of the mouse can be set to the color you like for each level of DPI. Above all levels are shown at default to show how the mouse operates out of the box.
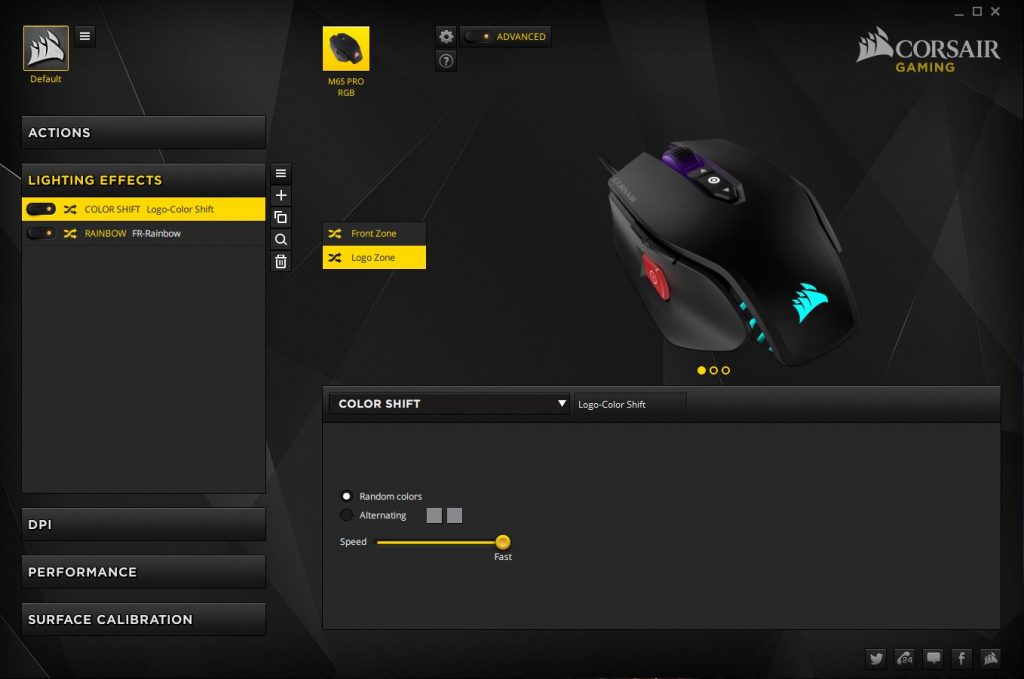
Now to the lighting effects tab. Above we have set the front LED area to a color rainbow and the logo LED to a color shift setting. This was done to show that the color and effect on the front and rear LED zones can be customized independently of each other. Just in case it was a question on readers minds. There are quite a few effect and color combinations to make the M65 PRO RGB fit your color configuration nicely.
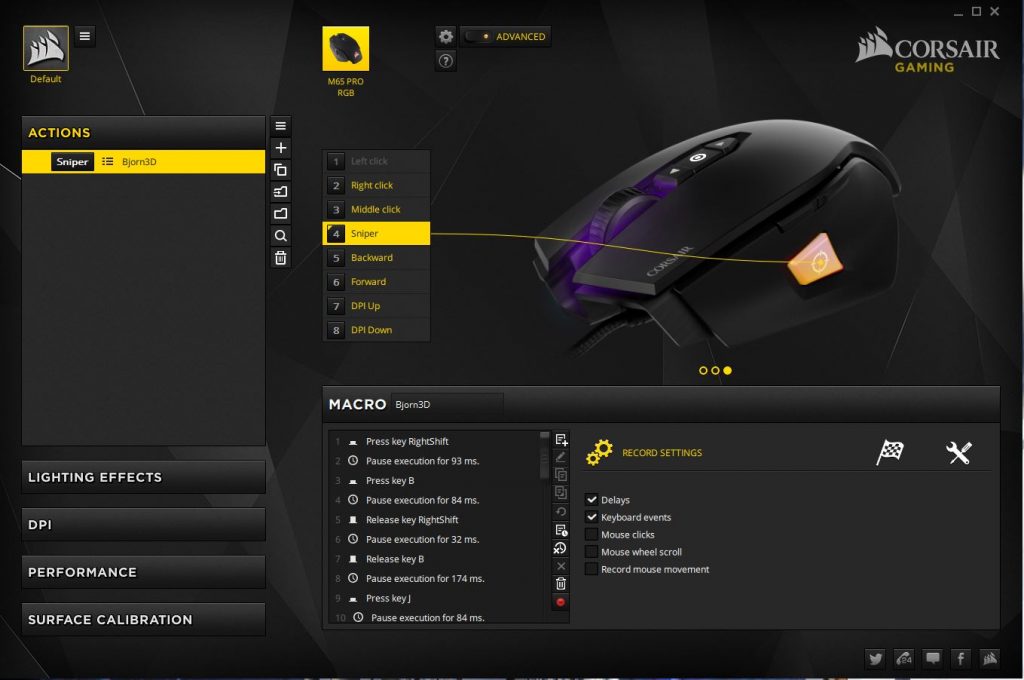
In the Actions tab you have the ability to make nearly every button do anything you want it to do. With the option to include delays, keyboard input, mouse clicks, scroll wheel input, and literal mouse movement, the complexity of the macro is only limited to your imagination. Above we set a simple macro just to see how easy it is to accomplish. Really easy was the result.
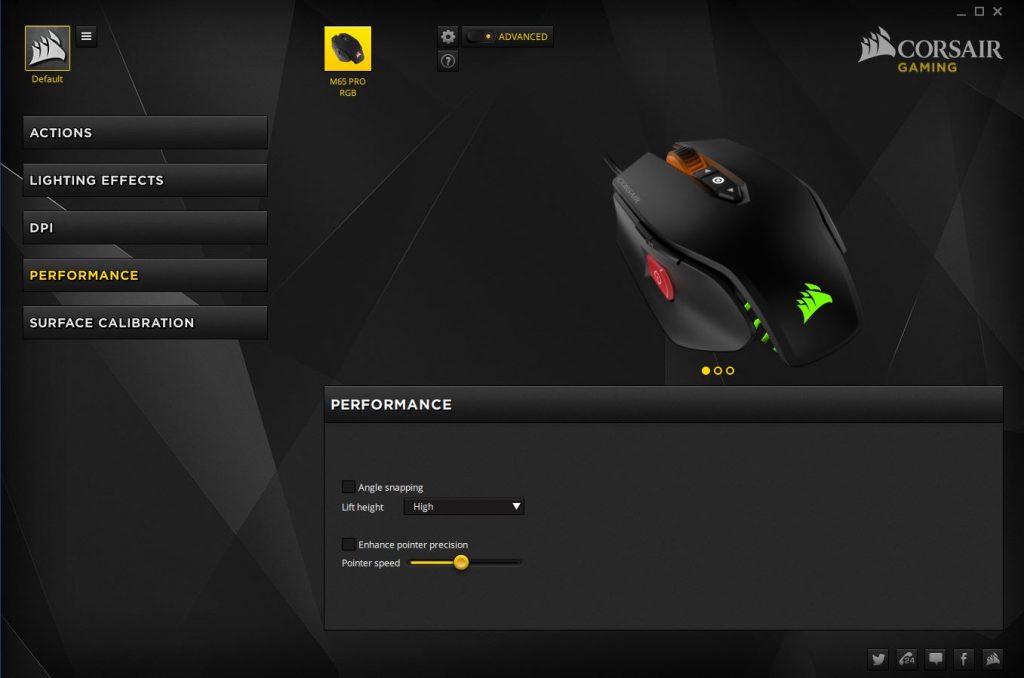
For the M65 PRO RGB the performance tab options consist of Angle snapping and lift height modifier. The next option is to enhance pointer precision with a speed selection slider.
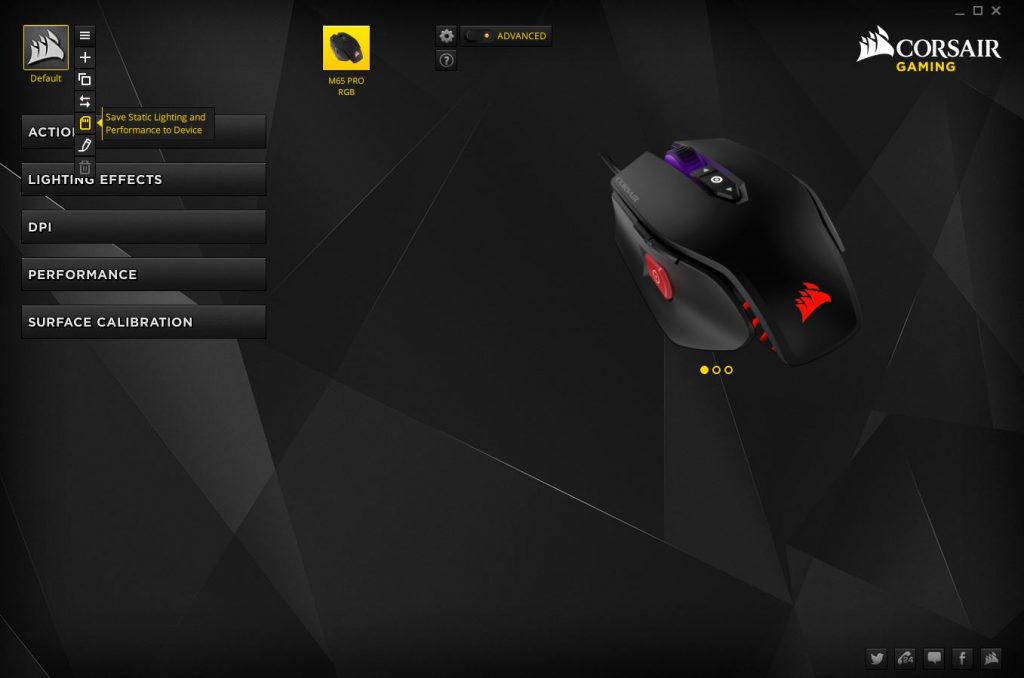
After you get done fine tuning your new M65 PRO RGB the final step you will want to take is to save the profile to the device’s onboard memory. This way the last saved profile configuration will be present when you use the mouse on the go, regardless of the Corsair Utility Engine being present or not.


If they would just remove that annoying sniper button on the side of the mouse it would be perfect.
How is it annoying? It’s a programmable button. If you don’t use it just don’t press it. It sits flush with the thumb rest.