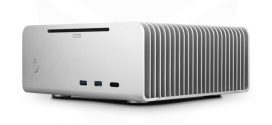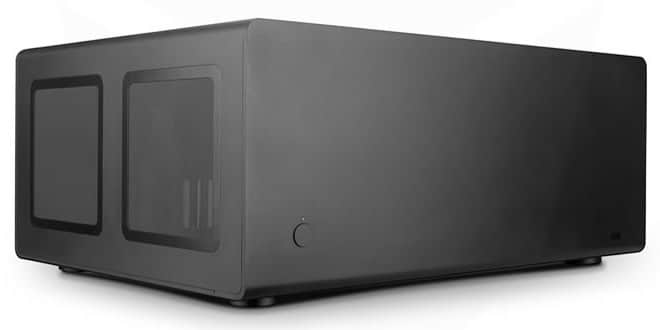
Closer Look – The outside
The case comes in a big box that makes sure that the contents, the case, is well protected. The whole case is made of 4 mm thin aluminium plates that have been sandblasted to a special finish. It is not shiny and thus does not attract finger prints like a lot of other black cases. This finish really gives the case a very sober feel.
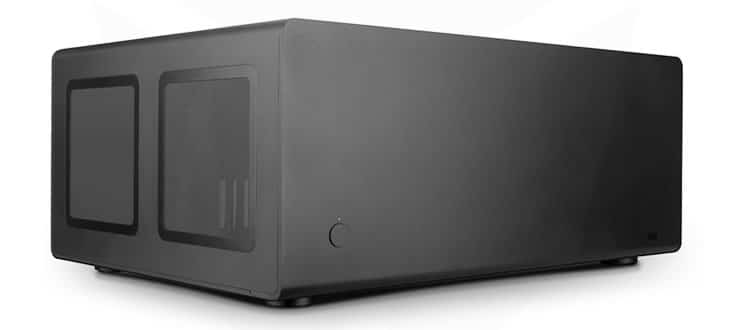
The front of the case is really clean. In fact, it is extremely clean. Except for a power-button, a tiny led-hole above the button and a place for an IR-eye, there is nothing else on the front of the case. No USB-connectors (or on any side of the case), no slit for a slim optical drive (which would be nice for a HTPC), nothing.
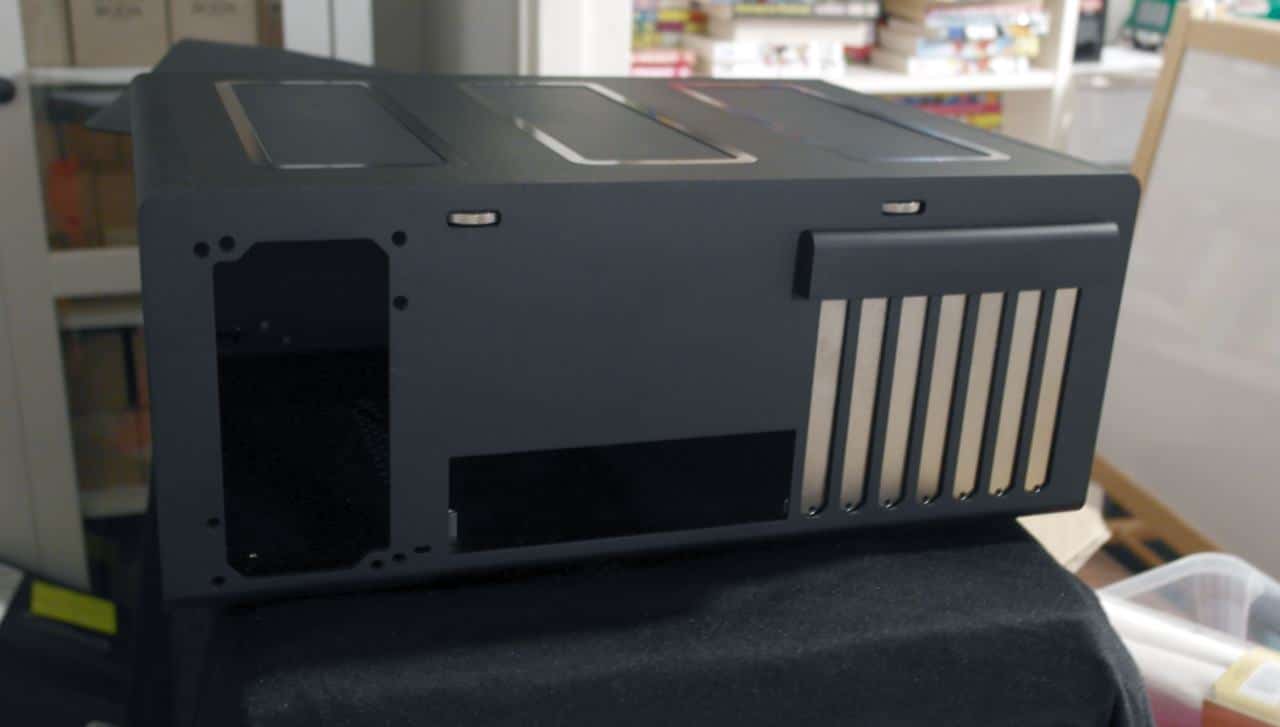
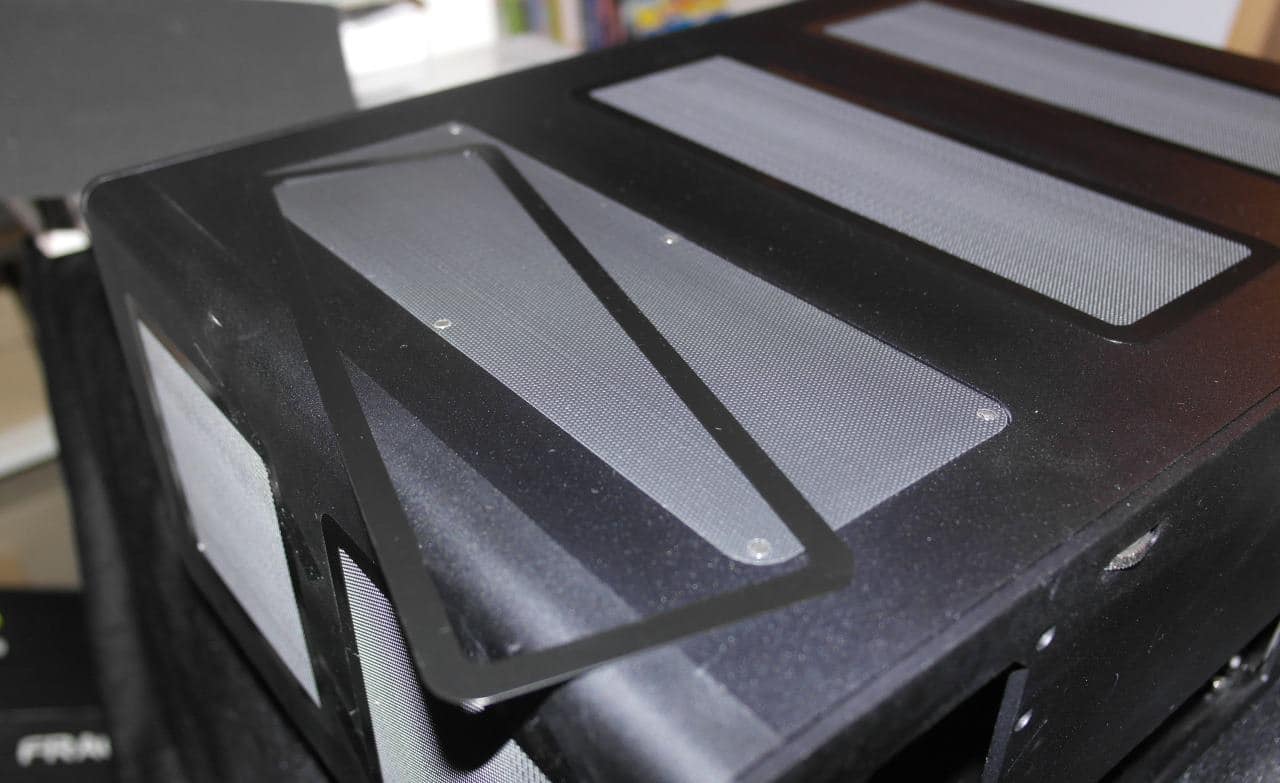
The case has 7 big openings for air-flow on the case, 2 on each side and 3 on top. These openings are covered with mesh that then is locked to the case with a magnetic frame. The mesh and the frame are actually separate which presents us with some issues. First of all they are very thin. This doesn’t matter with the mesh but the frame actually is easily bendable and when that happens it won’t fit snuggly to the case. The mesh has small holes which you thread over 4 studes around the airvent opening. Then you put the frame above it which then locks via magnetism.
Closer look – the Inside

To get inside the case we need first to open the top of the case. Normally this would mean unscrewing a screw but Streacom has chosen a different path in this case. You have to turn this knob to unscrew the screw. Unfortunately it was not easy to figure out when the screw has been unscrewed since the lid has a very snug fit.
Here is another view of the screws. Instead of screwing in a screw from the top the screw sits on the knob.

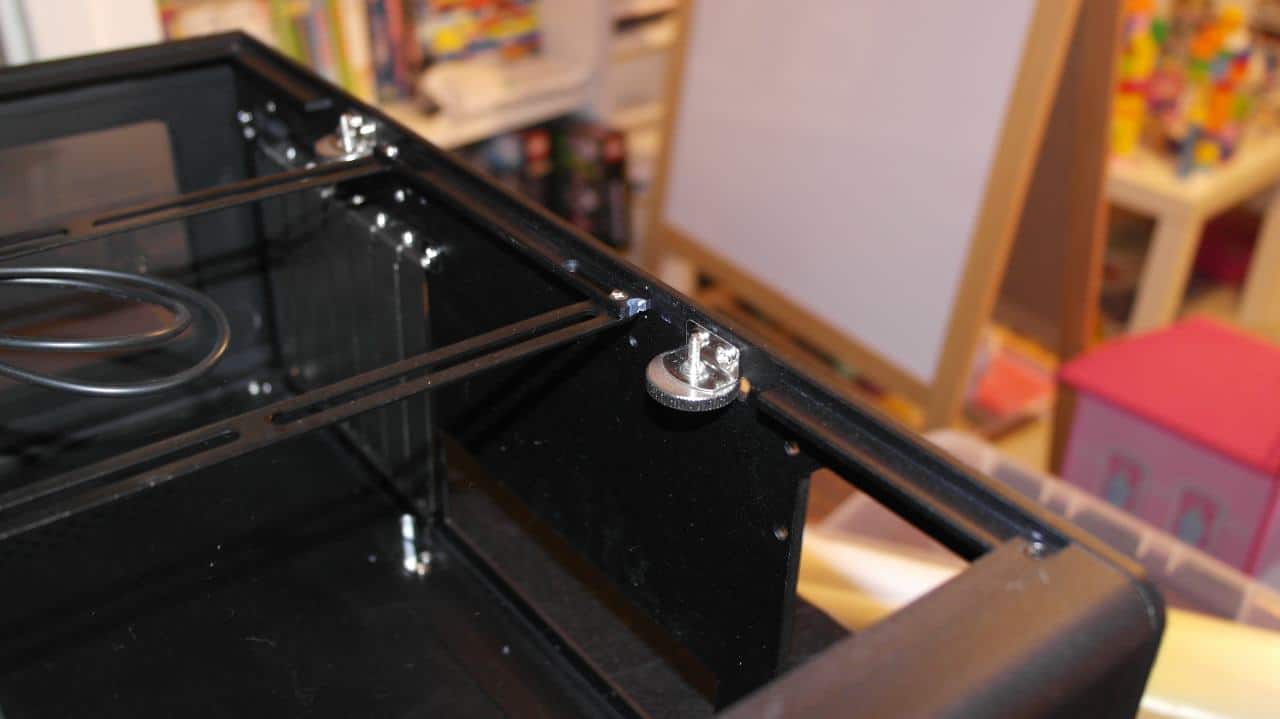
As advertised the inside of the case is very roomy and open. The upper mounting rail are separate so that you can mount all sorts of fans up there, whether they are 120 mm, 140 mm or bigger.
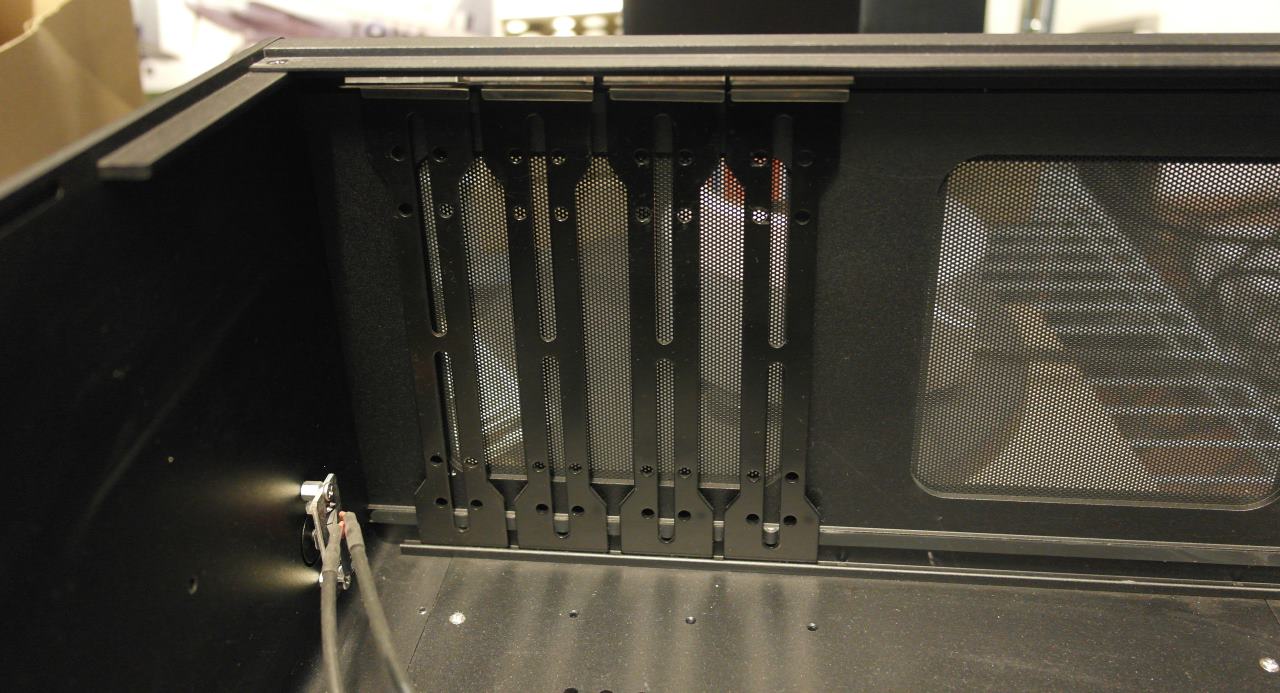
And here it is. The new mounting system. Each of these metalic mounting brackets can be moved along the side and drives and fans attached in several ways. They are attched with a retention clip mechanism so you in theory should be able to easily remove and put them back. Well, in theory. But more on that later.
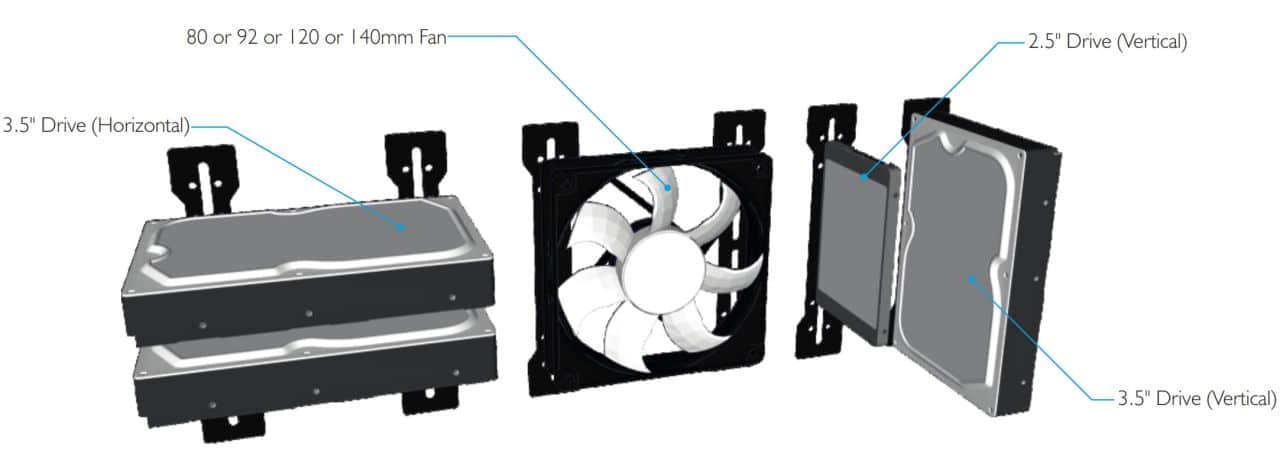
Here is a nice illustration on how you can mount the drives and fans.
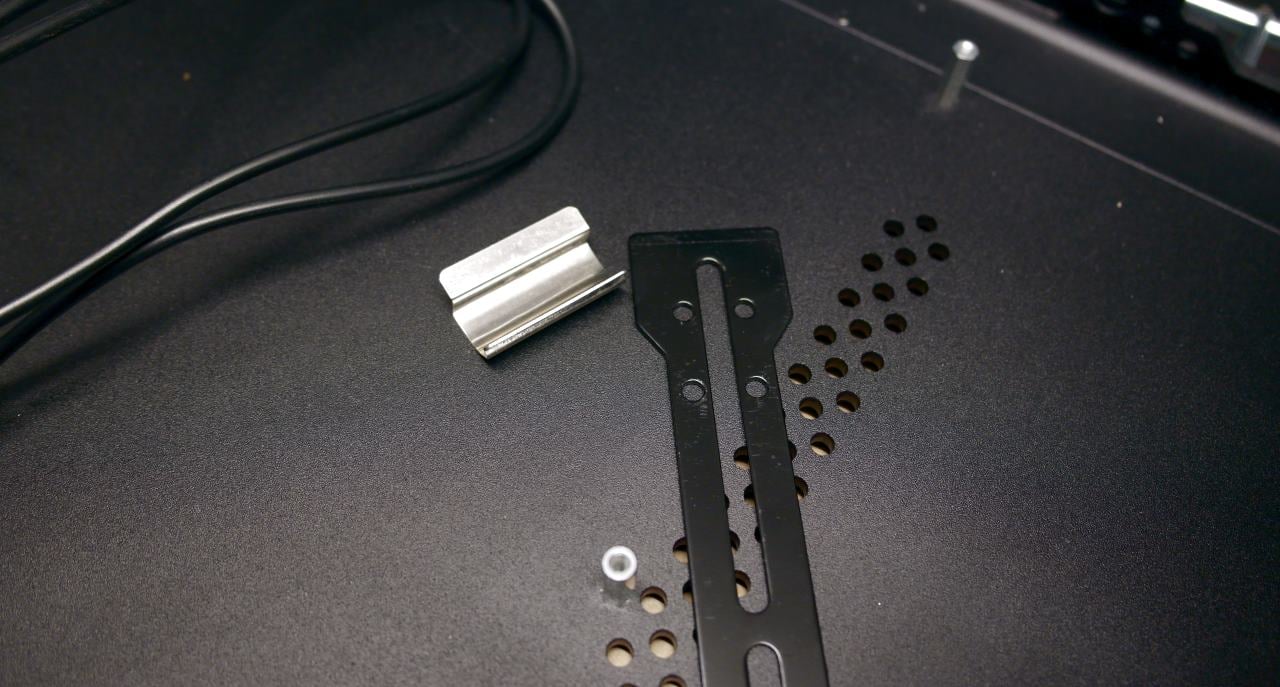
Here is a closer look at the bracket and the retention clip. As you see it they are separate. This will prove troublesome later.