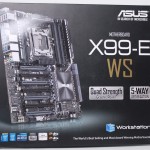
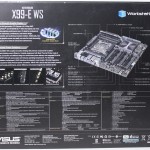
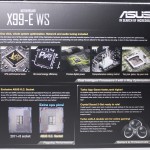
Overview of the ASUS X99 Deluxe
Click Image For a Larger One
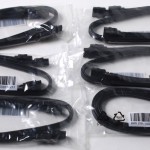
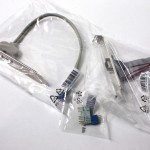
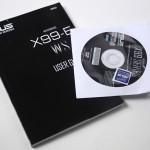
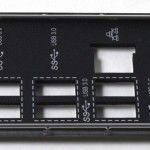
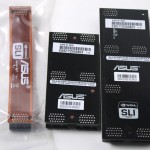
Here we see the complete accessories included.
- SATA Cables (8)
- Qconnect front panel connectors
- IO Shield
- 3 Way SLI Hard Bridge
- 4 Way SLI Hard Bridge
- 2 Way SLI Ribbon
- COM port bracket
- USB 2.0 rear panel IO
- Installation disc
- Owners Manual
The accessories included should get you up and running along with a COM port bracket should you need an external connection for a UPS or other appliance.
Click Image For a Larger One
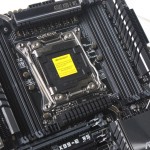
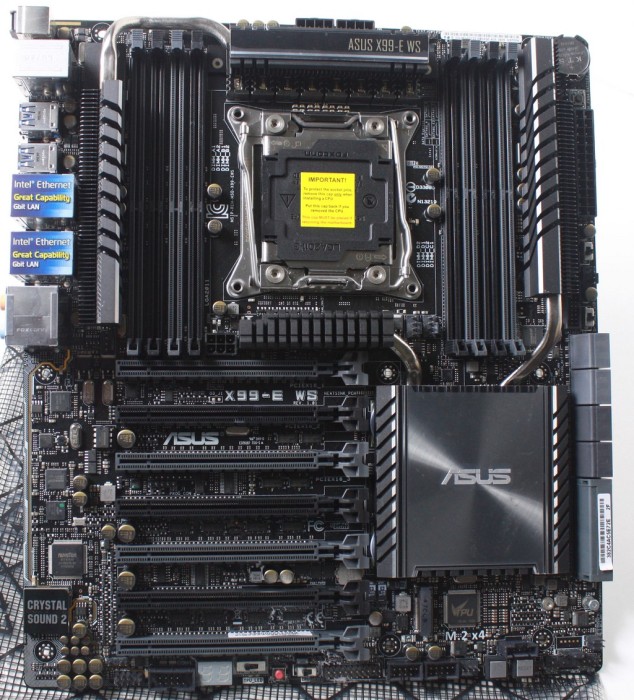
The main board shot always shows the layout and gives a feel for the board as a whole. Much like the desktop parts ASUS pays attention to componnet and connector location in most points with much of the connectivity at board edge locations to facilitate east cable hiding and easy management. The CPU fan headers and the 6 pin PCIe Power connector for the PCIe slots are mid board which means you will have to pln cabling when setting up build but overall that is not a deal breaker as I understand this comes down to a layout decision to avoid other trace issues. Also it is worth noting that with the massive amount of passive cooling on the board there is not a ton of space to add other items likely the extra cooling is to ensure the constant on usage will have plenty of cooling but also dont forget we have the dual PLX bridges which will be dumping heat as well.
Click Image For a Larger One
Looking at the IO it as well as the board is stuffed quite well with features.
- Q-Code Logger button
- USB BIOS Flashback button
- 2x SATA III/6G eSATA ports
- 2x Intel Gigabit (10/100/1000) LAN Port
- 10x USB 3.0 ports
- Optical S/PDIF Port
- 8 channel (Crystal Sound 2) audio connections
The connectivity for the X99-E WS is plentiful with high speed options and being a workstation based board we can forgive the omission of WiFi
Click Image For a Larger One
Here we have the memory slots which support up to 64GB and more in the future but the JEDEC for DDR4 is 2133 and the slots are spec’d to run up to 3200MHz + depending on DIMM strength and configuration.
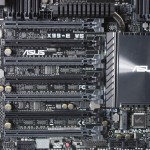
The slot Layout can run up to 4 Way full x 16 or even all seven slots active with the primary slot running x16 while the 6 below operate at x8 Gen 3.
The onboard SATA solution offers 10X ports from the PCH two of which populate a SATA Express controller. another two ports populate another SATA Express controller and are powered by a 3rd party ASMedia controller.
Click Image For a Larger One
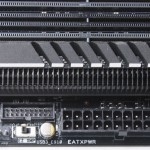
When looking around the board edge first we will start at the top right which normally would be “”Overclockers Corner” on most desktop/performance boards but this being a whole different animal the board brings another bag of tricks to the party. To the right of the 24 Pin ATX connector you can see the MemOK button which allows safe startups should a memory setting go awry. To the left we have the “EZ XMP” switch which quickly enables the XMP profile at the flip of a switch rather than having to setup via BIOS. the switch further to the left is the Dr Power switch which allows debugging if possible power issues, when switched of for me just showed a green LED, so I am guessing if power was finicky it would likely show a red. Also here you will see Dual USB 3.0 headers, and now we gotta ask as we are seeing more and more dual USB 3.0 based boards, we will need more chassis offering dual USB 3.0 front panel ports as well.
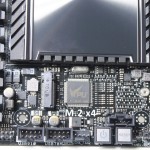
The lower board edge has many of the usuals once again such as dual USB 2.0 headers and TPM and as always the front panel control headers. Also here you can see the onboard control buttons for power/reset operations along with a DRCT two pin header which allows hooking up of a switch which will enable direct to BIOS function. along with jumpers for the CPU OV or overvolt function. Also do note that laying down is the connector for the M.2 port supporting up to 2280 sized drives on the farthest mounted lug, or swap it to the closer lug for 2260 fitment.
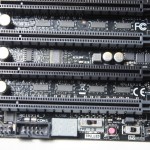
Lastly to the far left you can see the TPU/EPU switches for quick easy overclocks via the TPU switch or of course extreme energy savings via the EPU switch. Also a clear CMOS switch and two digit post display along with the front panel audio and com port headers,
Click Image For a Larger One
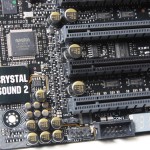
The Crystal Sound 2 audio solution is in place for those utilizing this as a workstation ro gamer as the heavier workstation or server usage likely would not need a high end audio solution but by adding this ASUS opens the doors to more power users to employ this board.
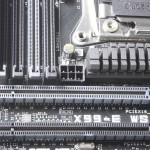
The 6 pin PCIe power connector directly above the PCIe slots provides additional power to the slots to ensure that under heavy GPU or add in card usage that all of the power will not be pulled from the 8 pin causing possible overload or even trace burnout.
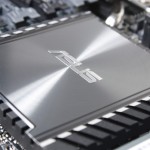
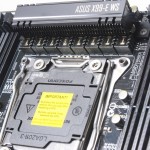
The PCH cooler is classy and yet looks mean, and I know that probably sounds silly but at this point I have seen so many wild and crazy heatsinks on boards the WS styling really jumps out at me as its just there, it is a no BS I am here to get the job done appearance while not looking too boring. This also helps in case the build is seen through a windowed chassis overall the heatsinks carry a nice appeal.
Click Image For a Larger One
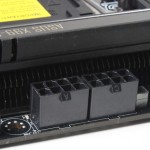
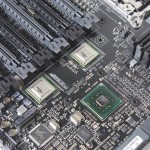
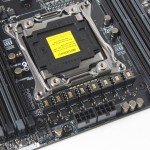
The VRM on the X99-E WS is a 8 Phase desifgn based around DIGI+ components and as you can see there are some top choice parts here such as the “Batwing Chokes” high end Dr. Mos components and 12K capacitors driven by the DIGI+ controllers to round out some super strong power delivery. The VRM is fed via dual EPS 8 pin connectors which normally a single will do fine but when pushing the CPU at overclocked speeds amperage draw climbs quickly so having the second power connection there is a very safe move.
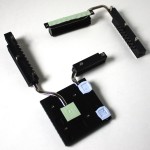
Removing the heatsinks you can see that its two separate components with heatpipe connected cooling arrays to spread thermal loading out so that airflow through the chassis will evacuate heat away quickly and get it off of the critical components and with the dual PLX chips at play here there is more thermals to deal with which explains the much larger heatsink application for the WS model.
Software Overview
AISuite

ASUS has completely redesigned the AISuite Software and it now more closely mirrors the new BIOS clean cut design. Anybody ised to the old menu bar design might be a little put off until you go thru the navigation for a few minutes and familiarize yourself.
Overall the AISuite software comes with so many usable tools and one of the coolest I have to say is the DIP5 and 5 way optimization which automatically performance tunes your system for optimum performance and from my testing so far has been almost exactly spot on with my manual overclock results although the auto clock was just slightly higher on CPU volts.
BIOS Overview
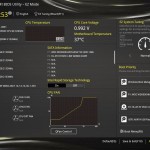
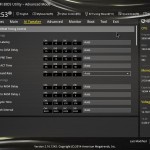
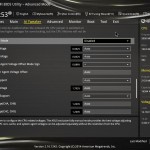
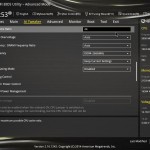
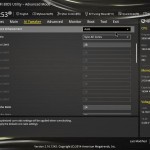
The BIOS of the X99 Deluxe followed in lockstep with what we saw from the Z97 model boards with a very clean cut and smooth interface. The ASUS UEFI for a long time now has been my benchmark for what other companies should do and this latest iteration further refines the look and feel of the UEFI interface.
Performance - 9.5
Value - 9
Quality - 10
Features - 10
Innovation - 10
9.7
The X99-E WS is well deserving of the Bjorn3D Golden Bear Award and a masterpiece of high end hardware simply waiting for the right user to put its true potential to work.
User Rating:
2.72
( 8 votes)

 Bjorn3D.com Bjorn3d.com – Satisfying Your Daily Tech Cravings Since 1996

