Overview of the Gigabyte Z97MX-GAMING 5
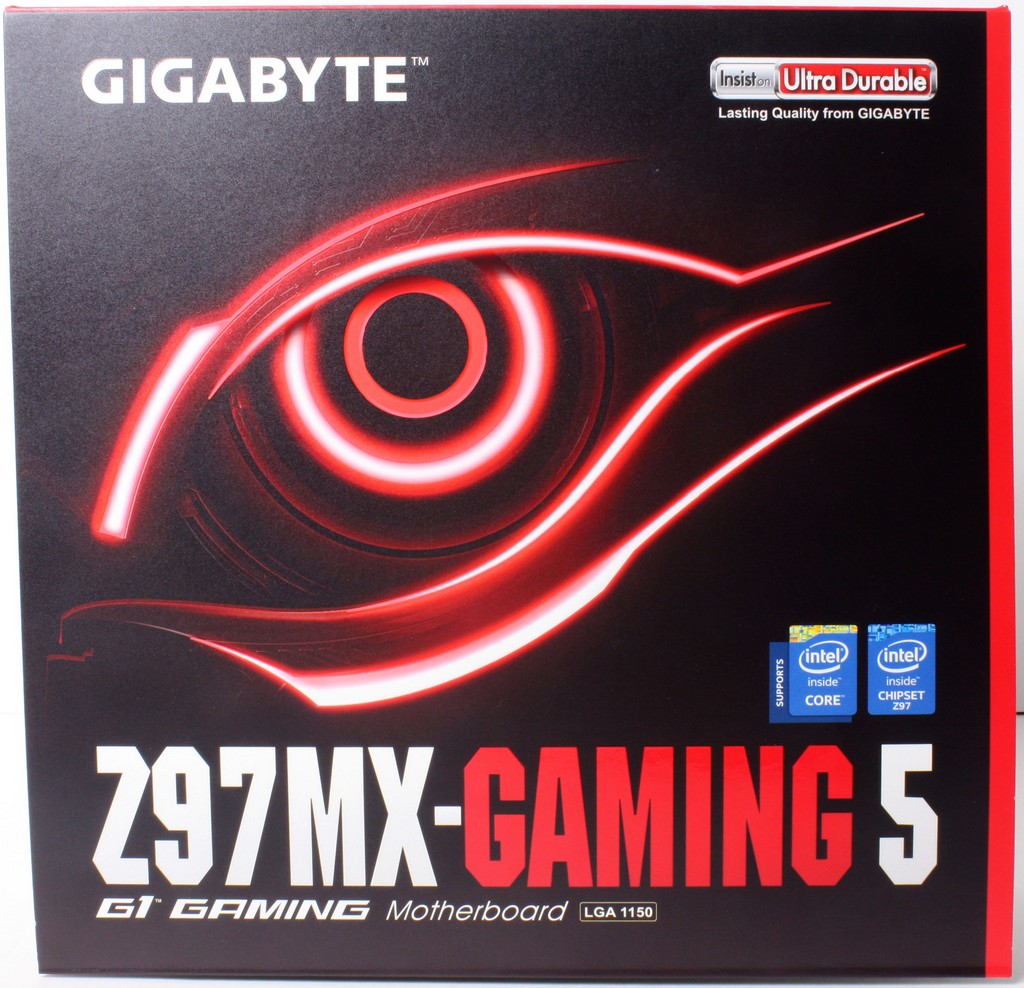

The packaging for the mATX Gaming 5 is simply and to the point boasting the Gigabyte Eye similar to what we have seen on their gaming graphics cards packaging in the past. This is good as I get the feel that Gigabyte is moving in a direction of creating solidarity along the brand product lines to ensure better identification of a board model and level at a quick glance which should make it better for consumer visibility on the shelf.
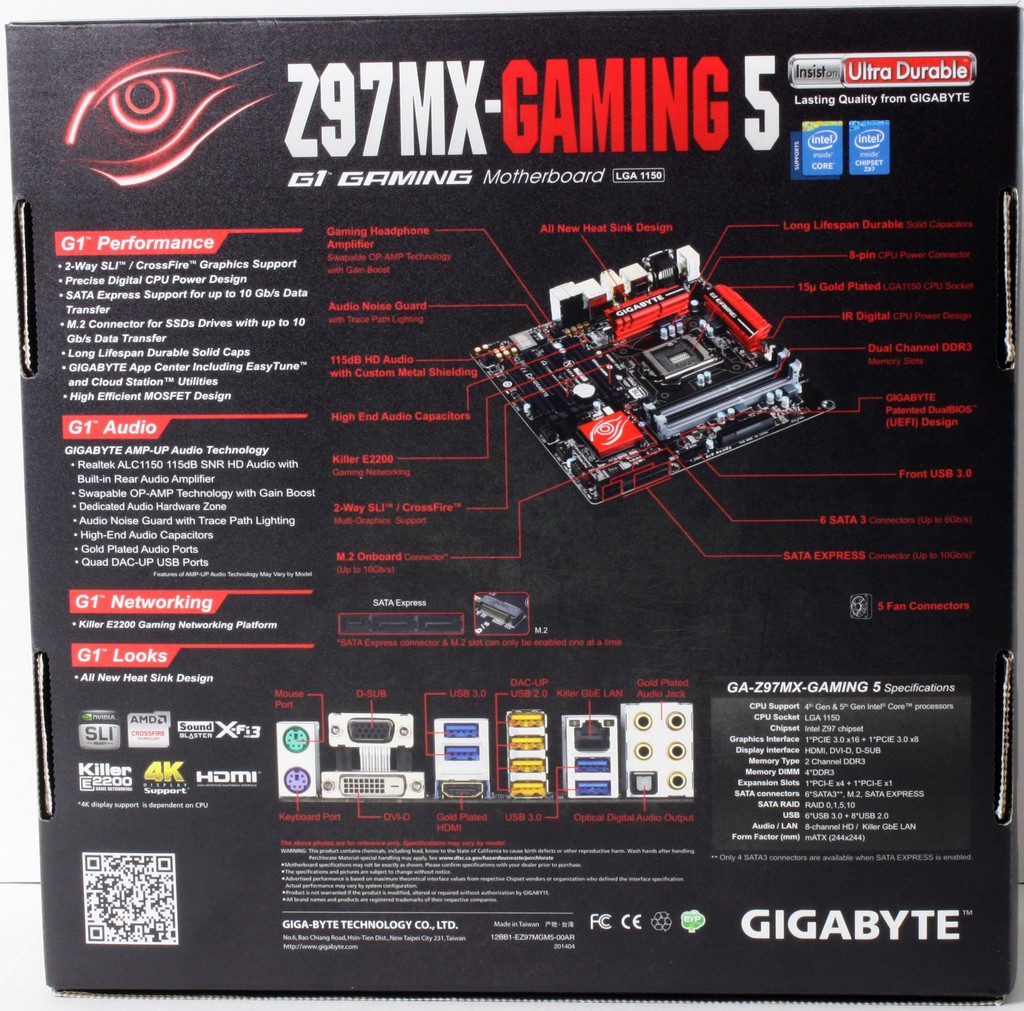
The flip open front door of the box I figured would lead to the clear window to view the board like I have seen so many times before but instead to my surprise I found that behind there was a printed image of the board in place and of course some key feature details.

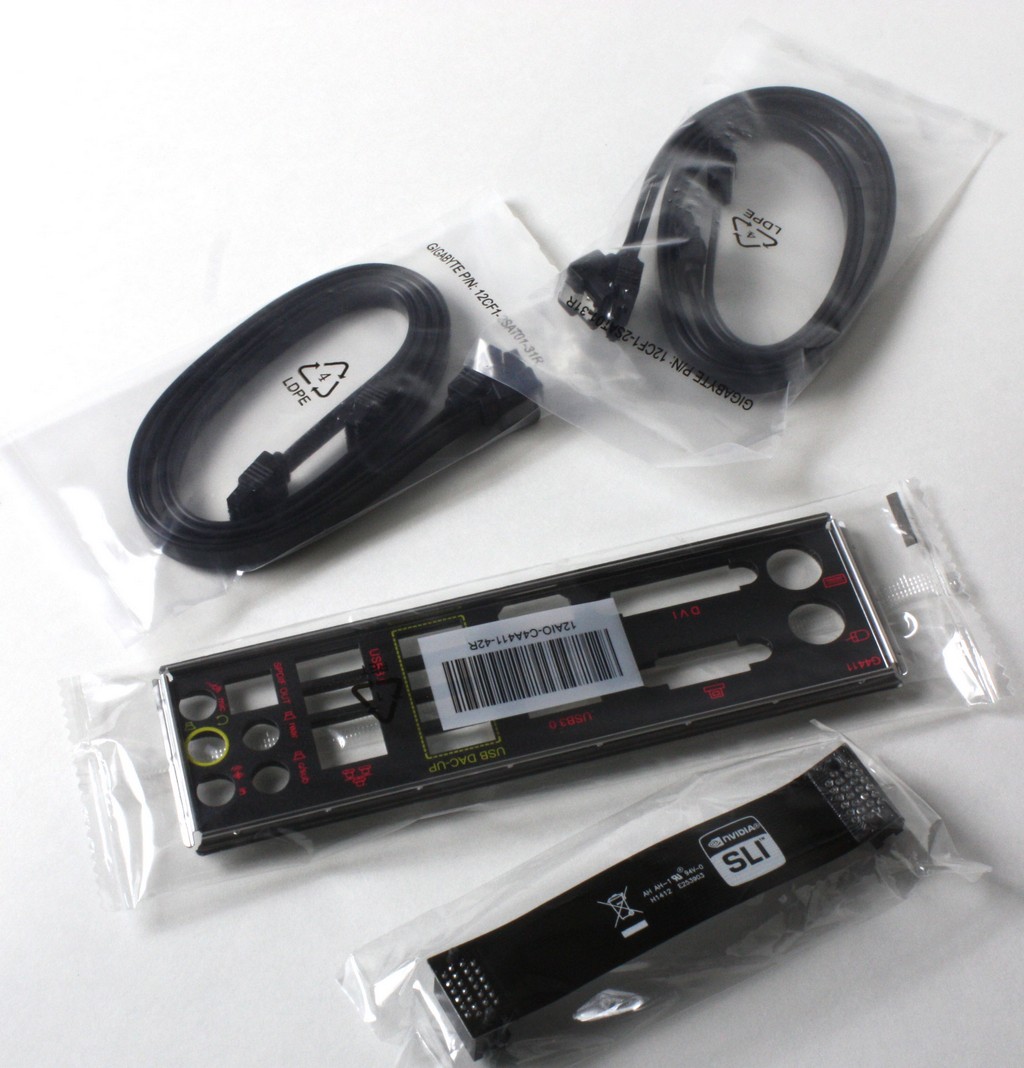
- User Manuals
- Installation Discs
- SATA Cables
- SLI Ribbon
- IO Shield
The bundle for this micro board is sufficient to get it running and also enable dual card SLI. One thing to note is that there are 4 total included SATA Cables so do be mindful as occupying all of the standard SATA ports will require you to grab a few extra cables either from your build stash or buying them.
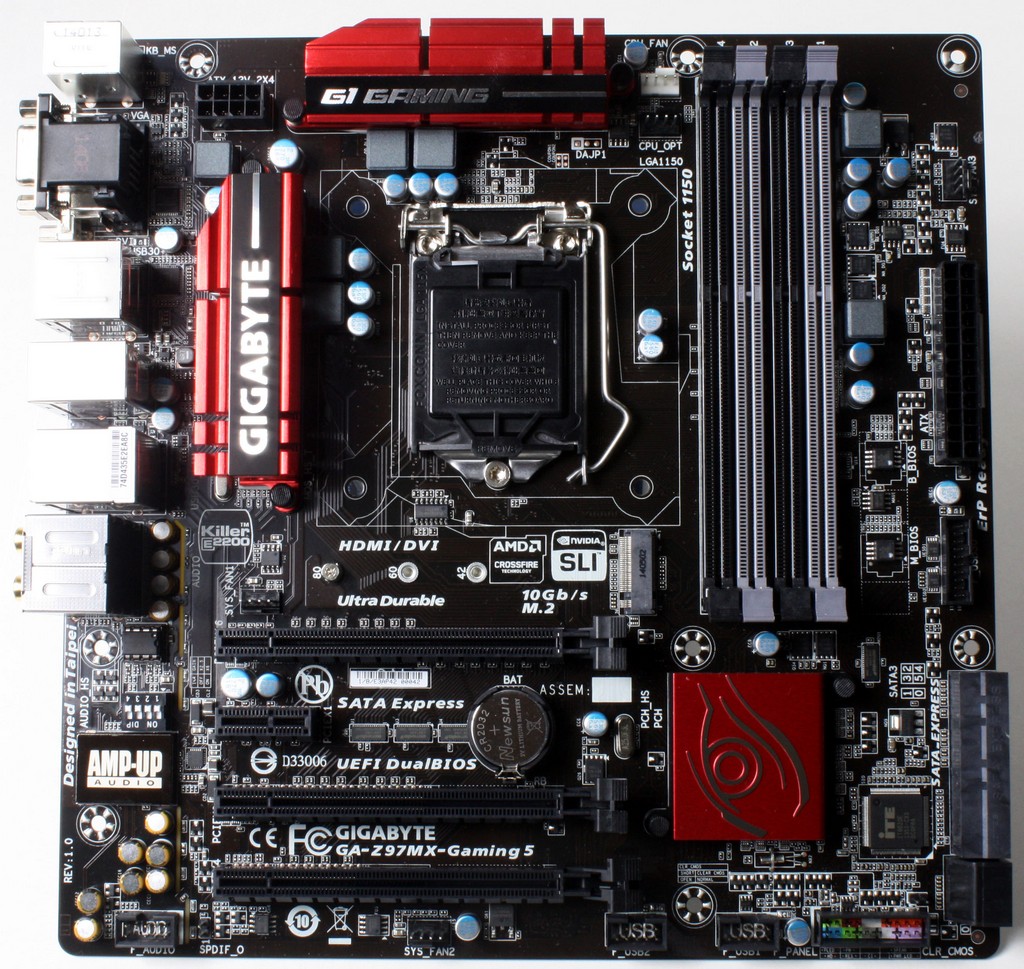
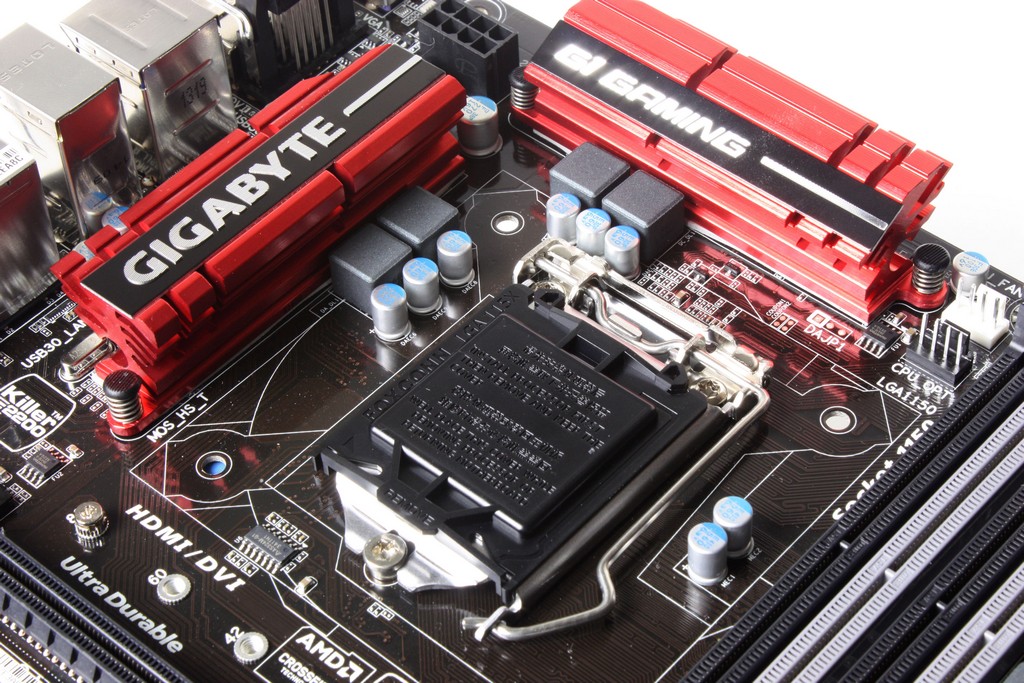
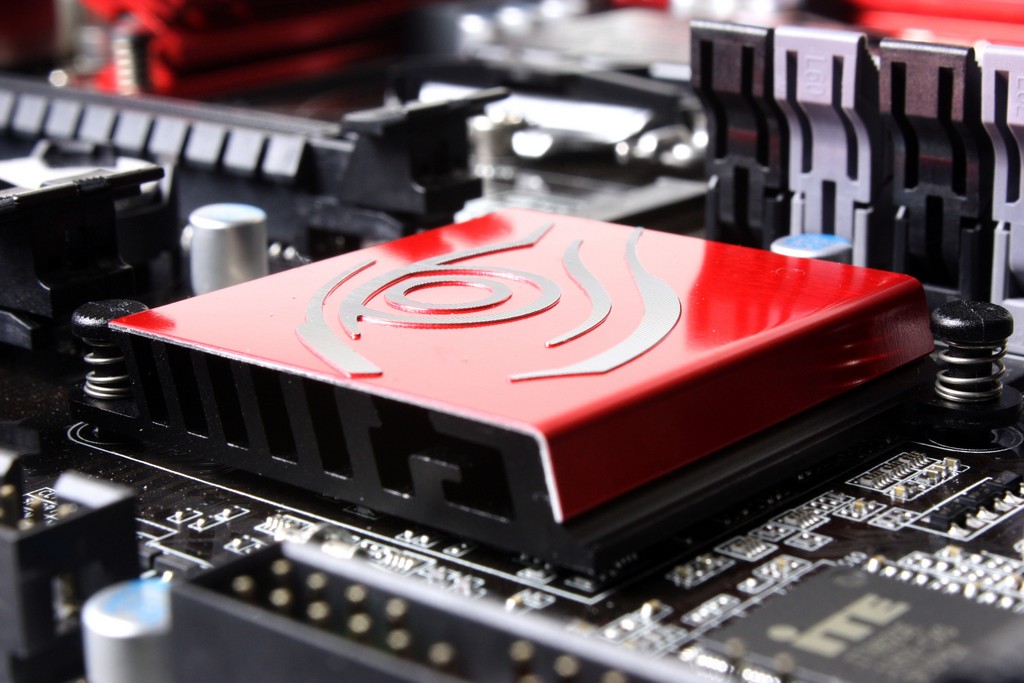
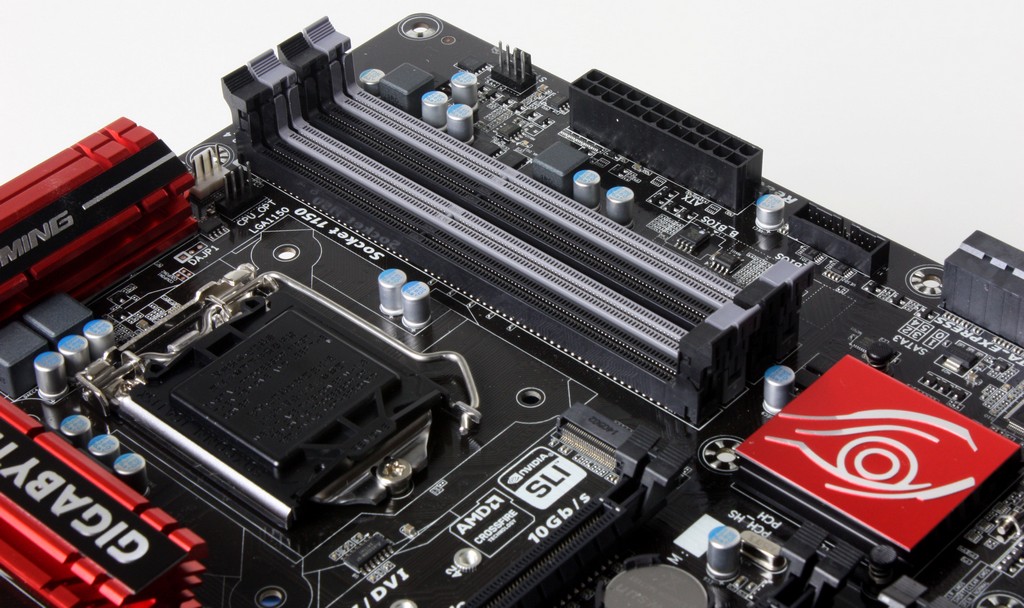
Here the board is laid out and you can see that the mATX while small still packs in some features. The new heatsink design helps the board have a little flair while still not being too much or make it stand out so that it will not look good in a build. You can also see the multiple slots available for expansion and even the audio setup in its island of PCB. Also do note the placement of the M.2 port directly beneath the CPU socket area so if using an air cooler be sure to install the M.2 drive first or you may have some trouble getting to the slot to install it post cooler install.
One thing I definitely like is the trend of placing connectors at board edge to allow easier cable routing, and this has become much more common which allows for cleaner systems.
One thing worth noting is that there are no onboard buttons for the Gaming 5 Micro board so if bench testing you will need to short the appropriate pin header or attach buttons.

Click Image For a Larger One
Click Image For a Larger One
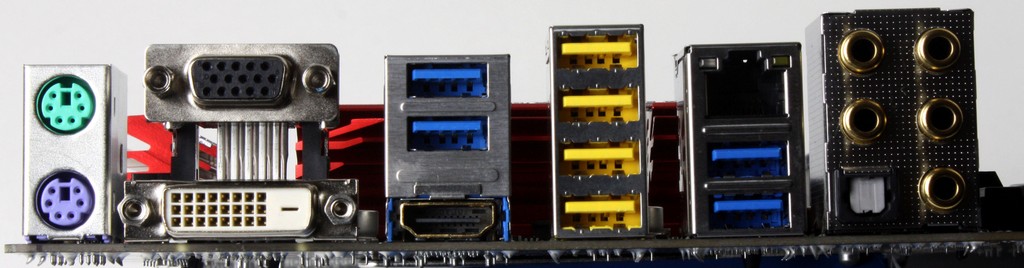
- PS2 keyboard/mouse ports
- 4x USB 3.0 Ports
- 4X USB 2.0 Ports
- Optical SPDIF connector
- Gigabit LAN port
- Dsub Port
- DVI Port
- HDMI Port
- Up to 7.1 Channel HD audio via Realtek ALC1150
The Connectivity is nice here but I would like to see an easy to access Clear CMOS button, the only option for this is the pin header down near the front panel area.

Click Image For a Larger One
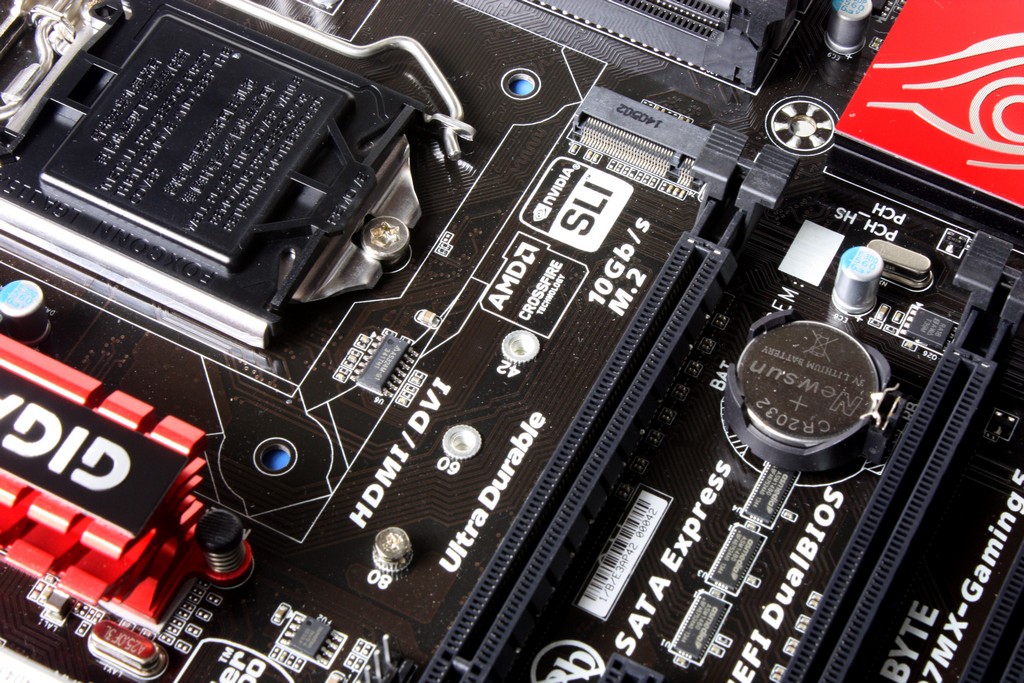
The lower left corner as you can see has the whole audio section. You can see the Nichicon caps used here which shows some solid quality components. Also worth noting is the metal codec cover, and above that you have the gain control switches for giving that boost when using high Impedance speakers or headsets. Lastly at the top edge of the image you can see the replaceable OP AMP which allows a great level of fine tuning of the sound coming from your system.
The M.2 port you can see below the CPU socket and as you can see there is 3 different mounting locations for different size drives which can be installed into the board.