Overview of the MSI R7870 HAWK
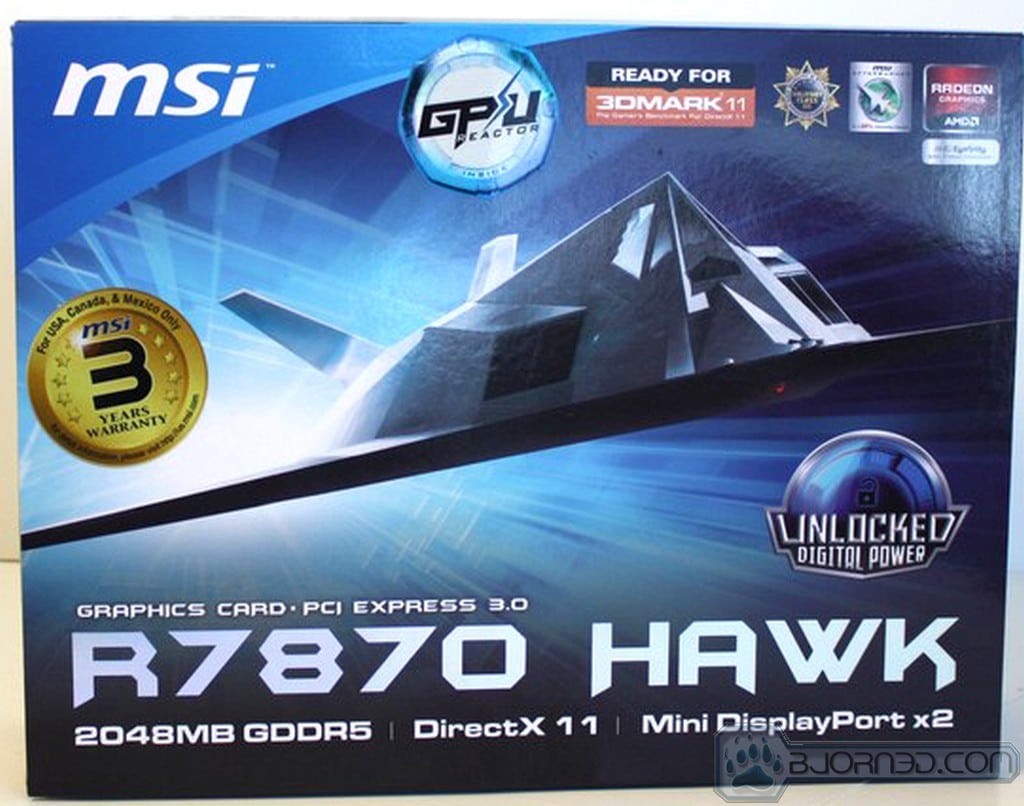
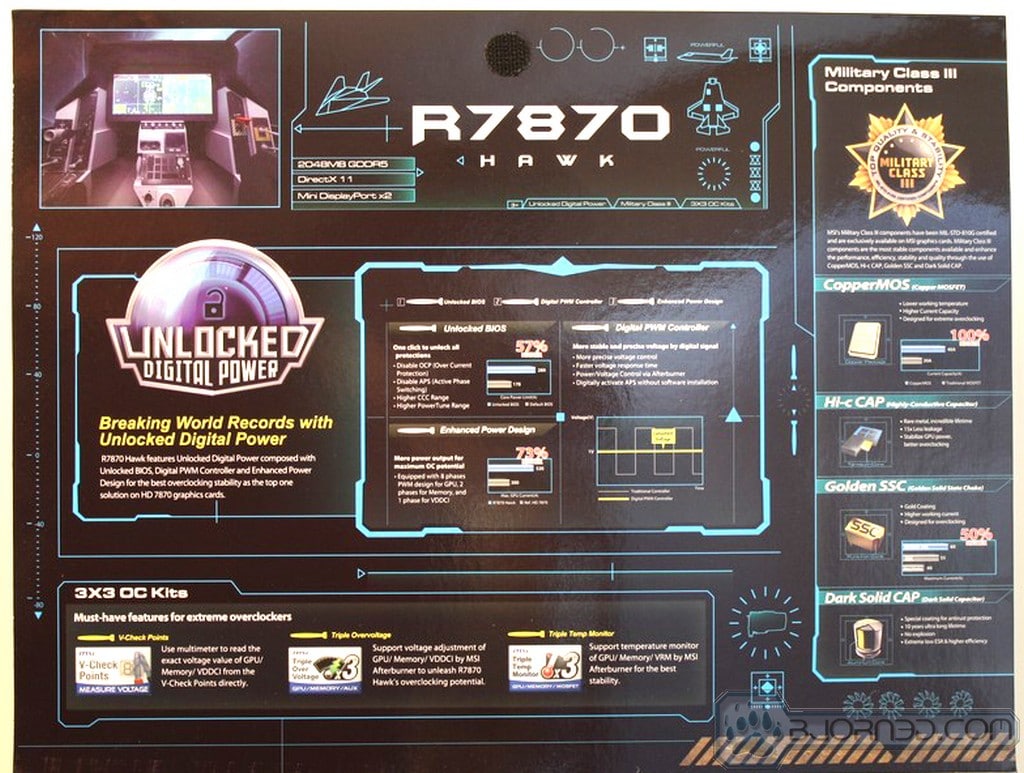

The packaging for the R7870 HAWK is bold and loud with a large stealth fighter on the front. Only a few pertinent icons grace the front; most are saved for the front flip up panel. Once the panel is flipped open you are thrown face first into detailed descriptions of most all of the features we discussed previously. The rear covers alot of the simply text based spec and feature data along with compatibility information.

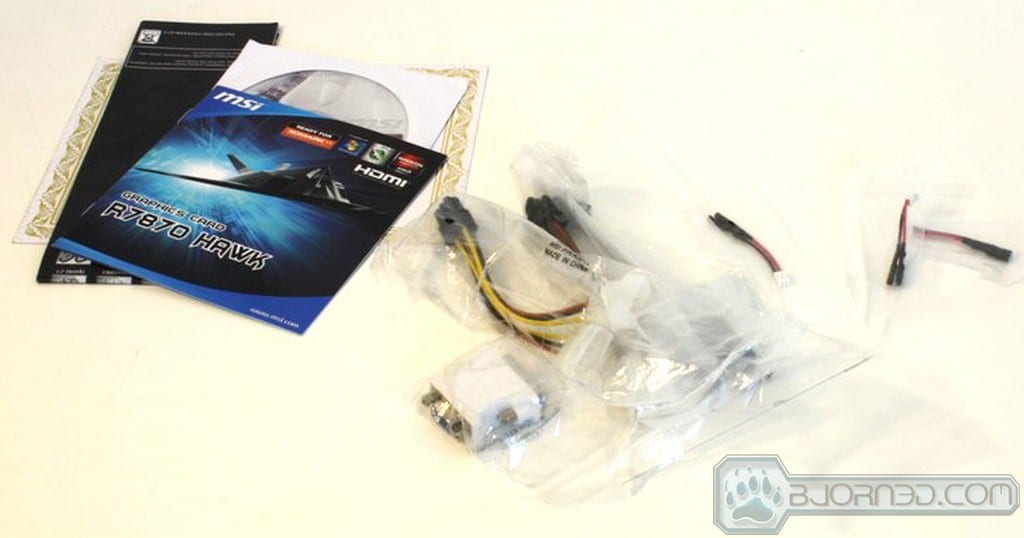
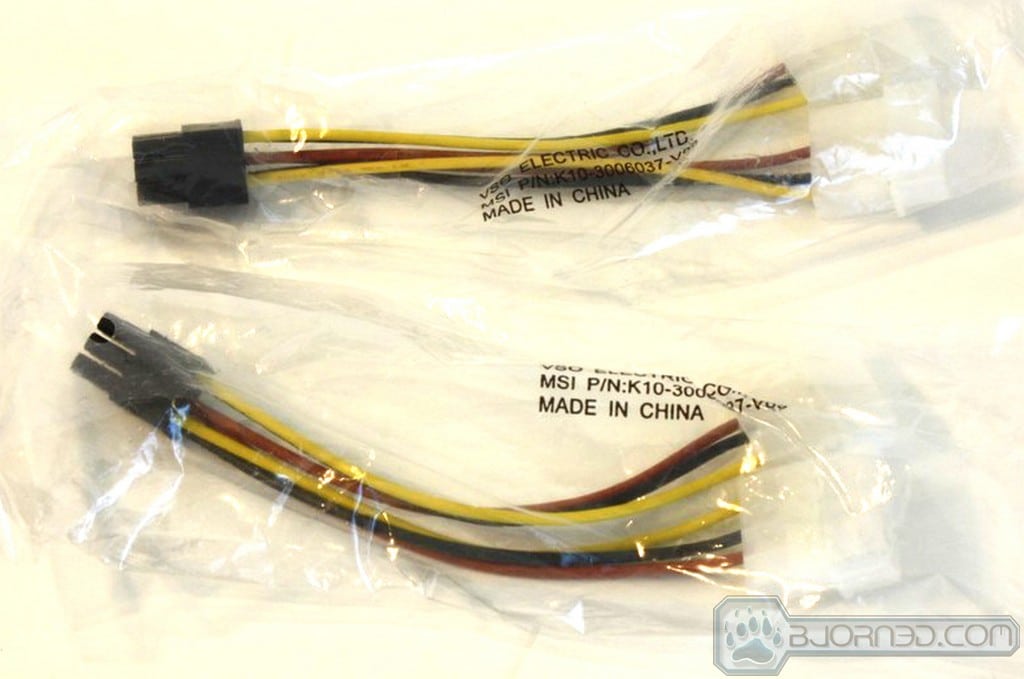
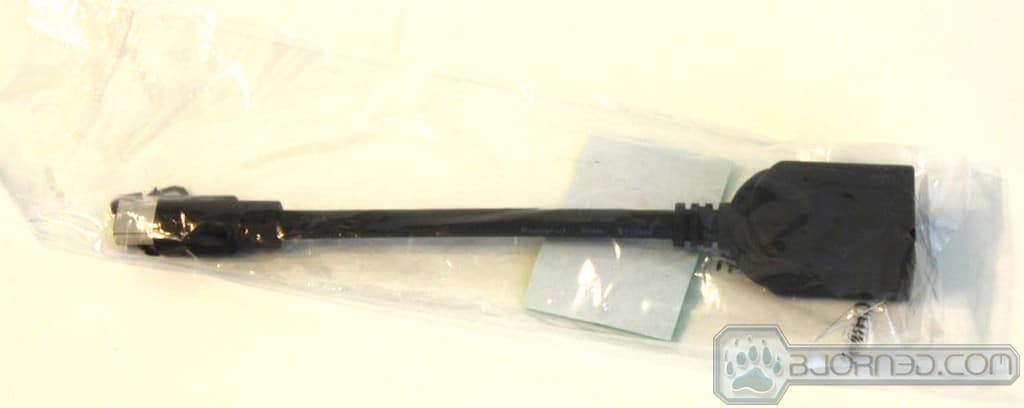
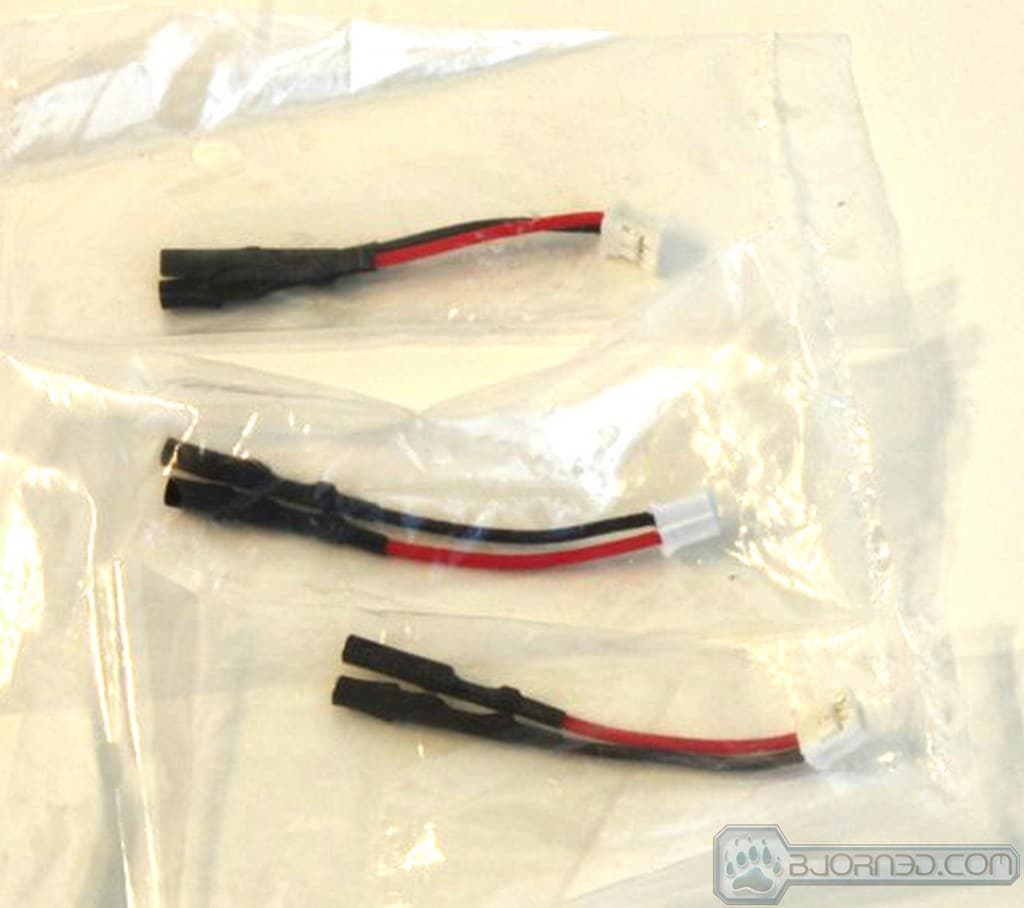
Here is a list of all items included in the accessory pack:
-
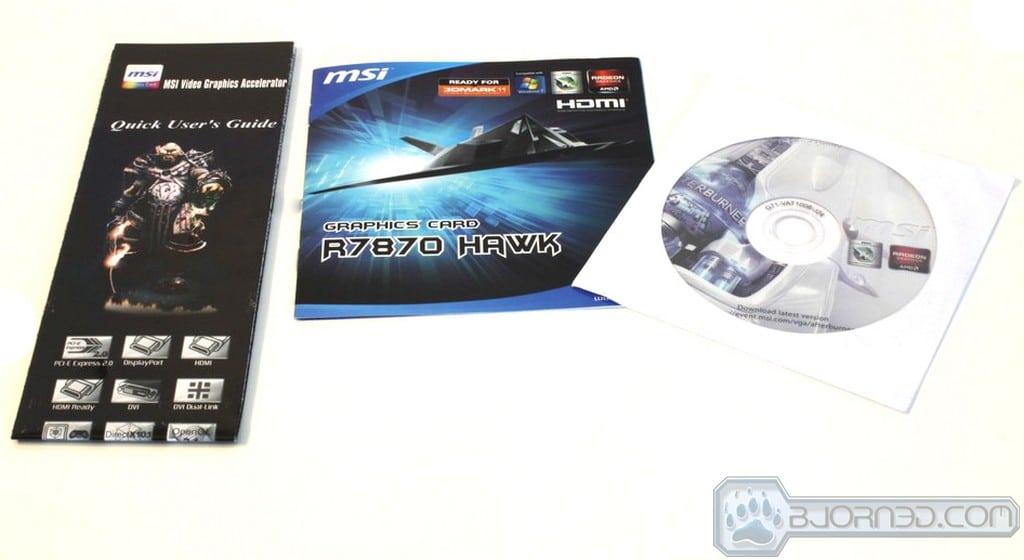
Installation Disc
-
Dual 4 Pin Molex to 6 Pin PCI-E Power adapters
-
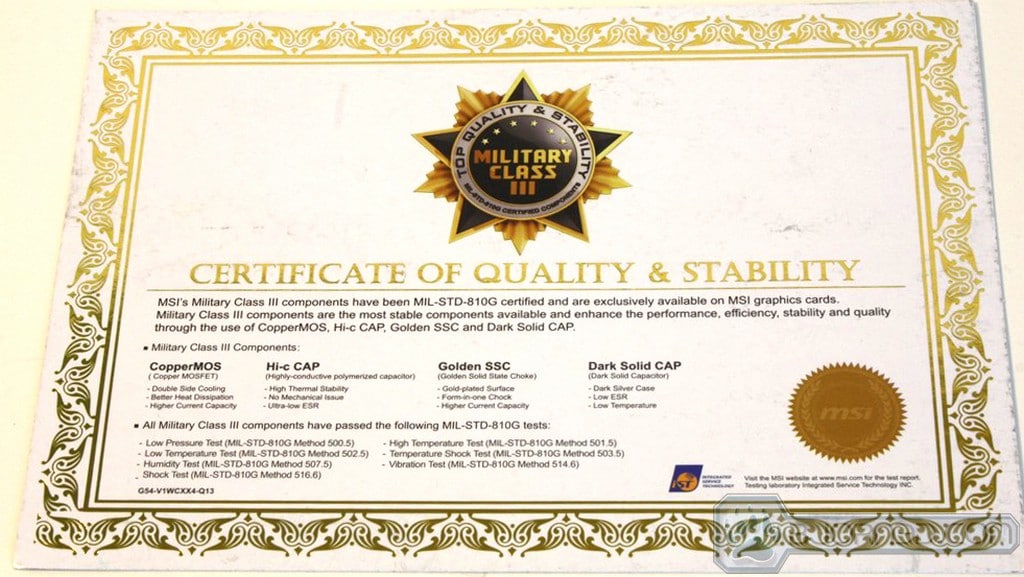
Military Grade III components Certificate
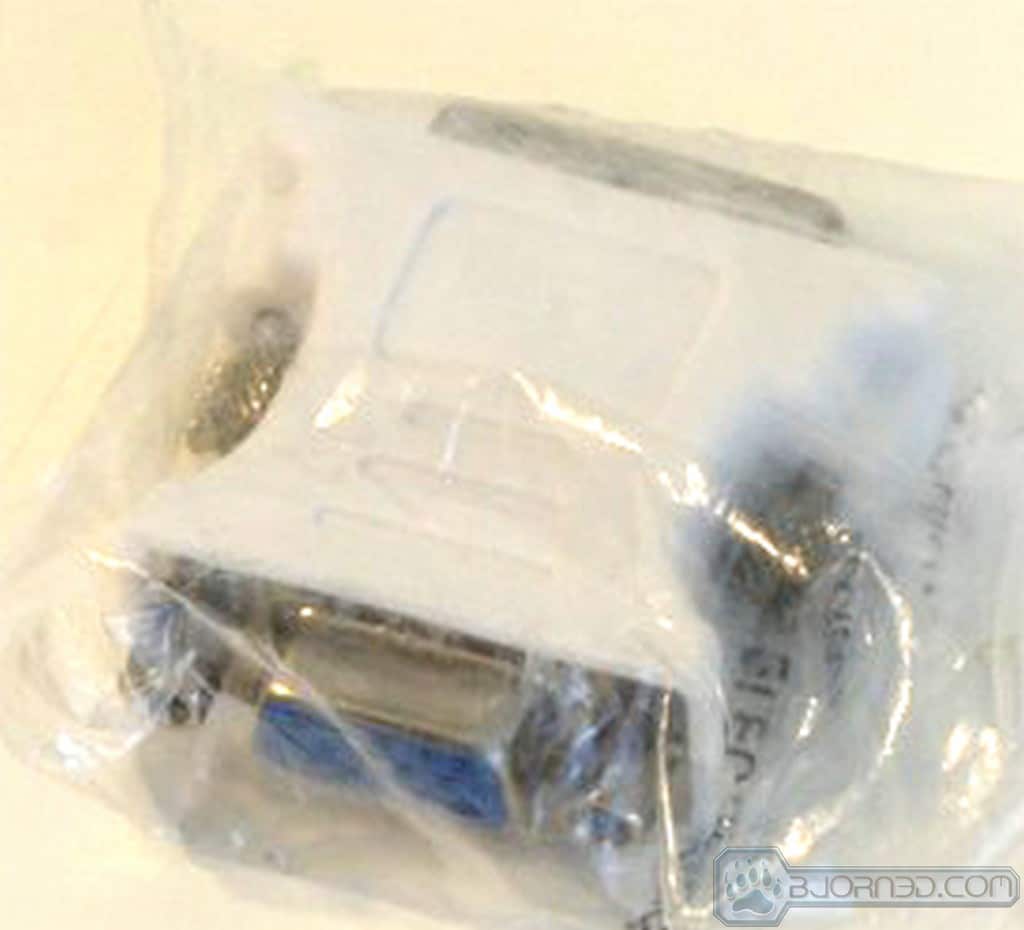
- DVI to VGA Adapter
- Mini DisplayPort to DisplayPort Adapter
- V-Checkpoint Cables
The accessory package is enough to get the card hooked up, and it even comes with a mini-DisplayPort to DisplayPort adapter tossed in.

Click Images to Enlarge
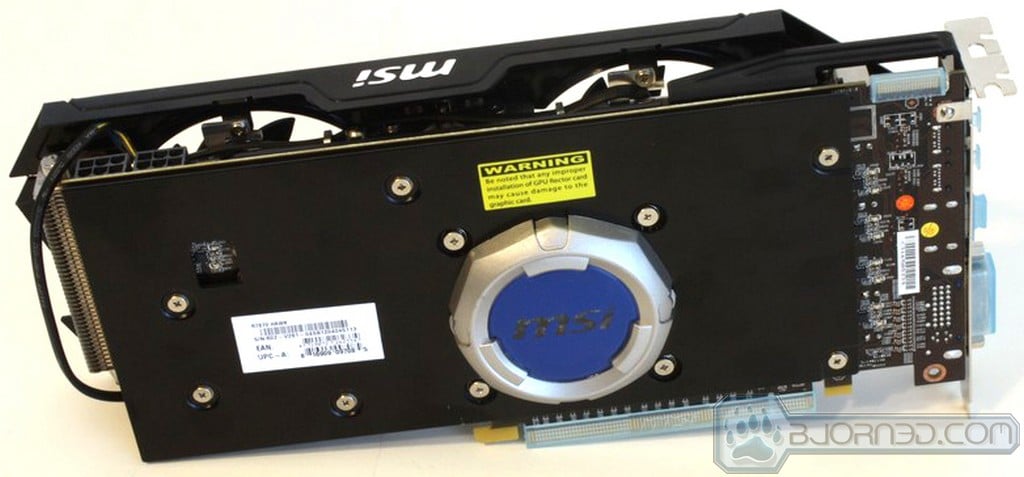
Here is the card: simple yet mean looking, and with some pretty unique looking fans as well. We see the single CrossFire connector up top which will allow for connection to another card for a multi-GPU setup. The heatsink also includes a stiffening bracket which ensures that the custom cooler in design does not allow the PCB to flex. Since the Twin Frozr attaches to the PCB at the GPU point, the cooler itself does not support the PCB like the reference model. The supportive bracket helps in that regard to ensure optimal PCB rigidity. Flipping the card around we have a full backplate covering almost the complete PCB; this also helps reinforce the PCB to avoid bending. One unique thing we see here is the GPU Reactor cover which lights up blue when powered on and looks pretty cool for anyone with a windowed chassis.

Click Images to Enlarge
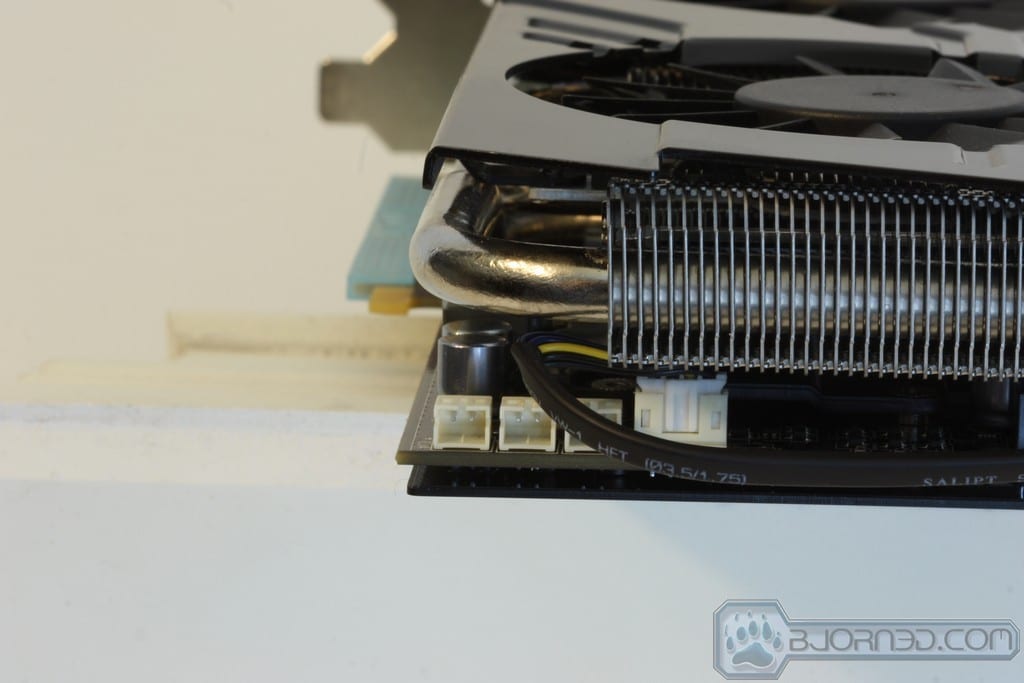
The edge of the card gives us a look at the densely packed fin array for the cooler along with the V-Check Point connections. These connections are placed so as to be readily accessible in a bench top configuration. Here also we see the fan connector which is for both fans as they both pull from the same header; this ensures equal fan speed to both.

Click Images to Enlarge
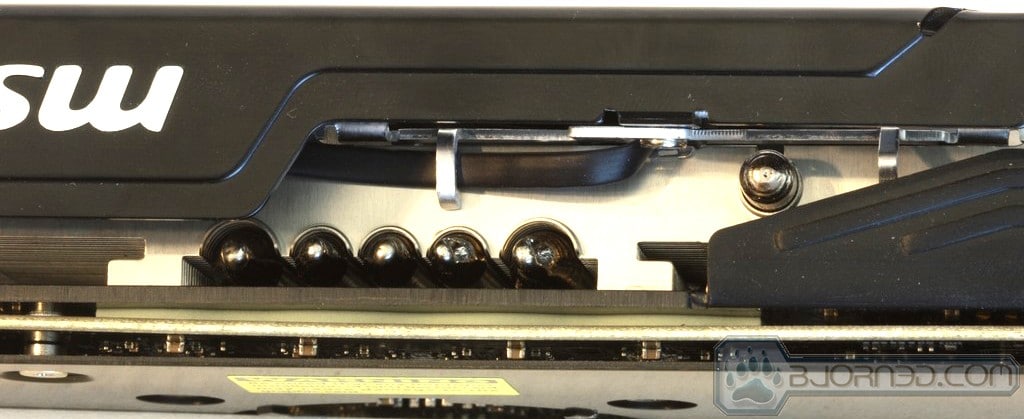
The connectivity continues with the dual 6 pins ready to push power to the card and even provide some additional power fi overclocking is necessary.
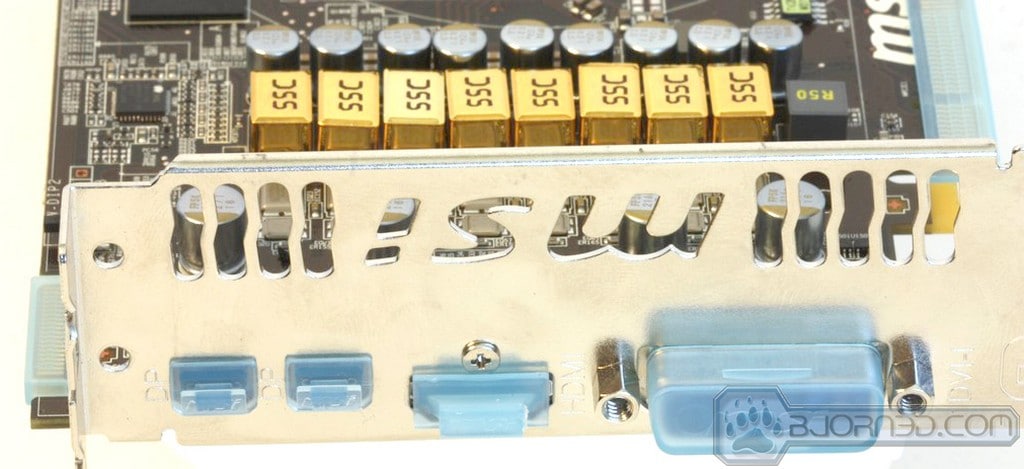
The rear IO supports multiple connectivity options including:
- DVI
- HDMI
- Mini-DisplayPort (x2)
This is enough connectivity to control a nice array of displays should the need for an Eyefinity setup arise.
Click Images to Enlarge
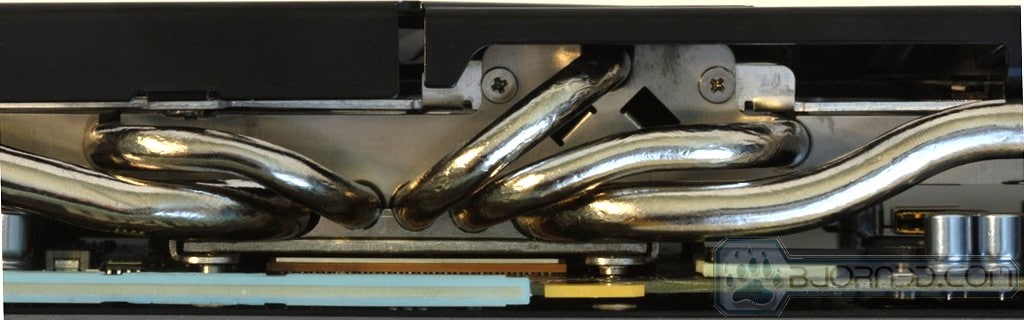
The cooler base as you see here is a web of heatpipes all fighting for space in the baseplate to wick away heat from the GPU to ensure nice and cool temps even under the heaviest load.


Click Images to Enlarge
The GPU Reactor cover as you see here simply clips onto the backplate and keeps objects from touching the power components on the reactor which could cause issues if metal was to come in contact with that area. Once removed we have full access to the GPU Reactor module, which simply pulls off the card with a slight amount of force. One thing to note is that the bulge caused by the GPU Reactor cover might interfere with multi-GPU setups if the cards are cramped together.


Click Images to Enlarge
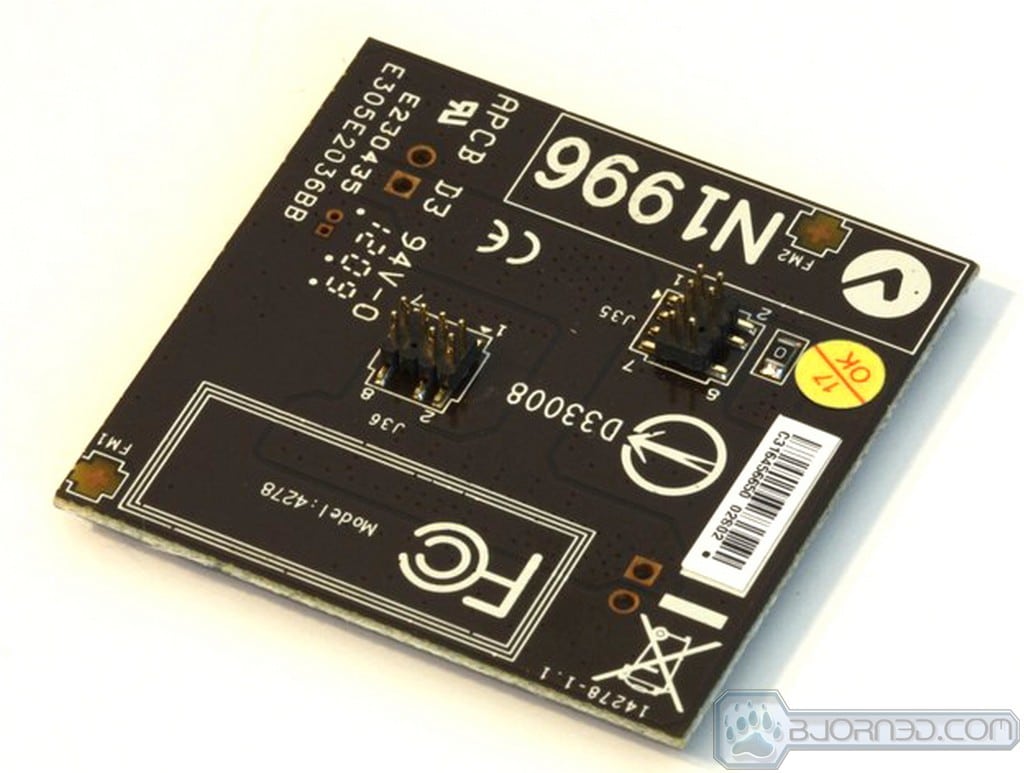
Here we see how the Reactor is attached to the card itself. There are 2 pin headers placed in such a way that it would be practically impossible to install it incorrectly. This is good thinking by MSI, as we could only imagine the nine kinds of hell this could cause if it was installed in the wrong direction.
Inside the HAWK Edition

Click Images to Enlarge
The heatsink pulled off rather easy with 4 screws removed, under which we find that the stiffening bracket is dually used as a heatsink for the VRM and memory components of the board. This is a good design, and it really did help make the card much more solid feeling along with moving heat away from critical components quite well. In the middle we found the 7870 GPU sitting in place waiting for action.

Click Images to Enlarge
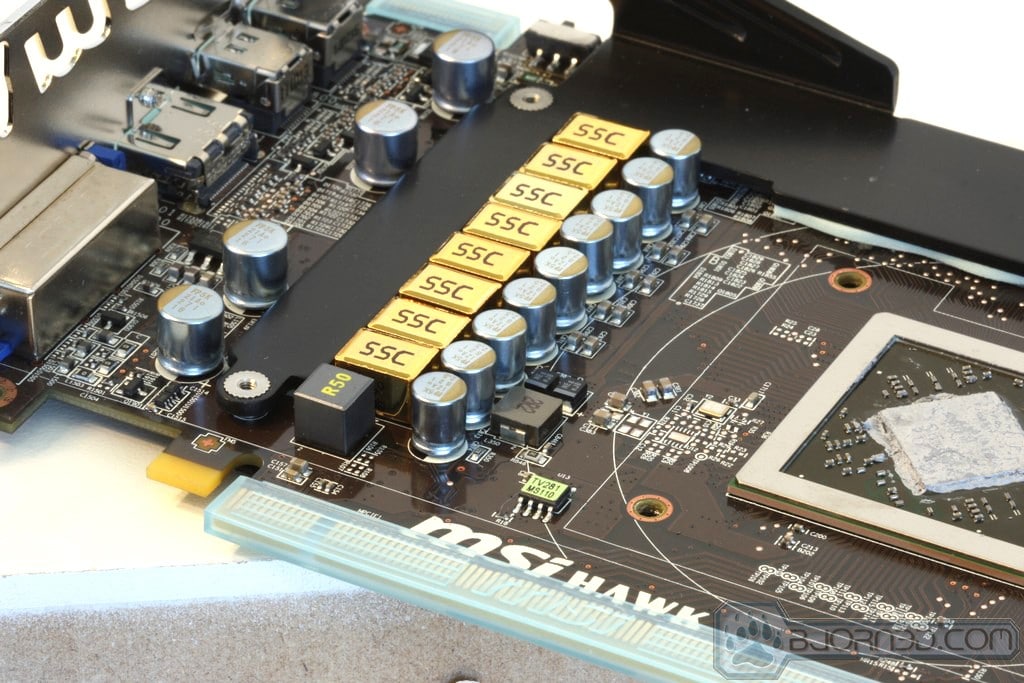
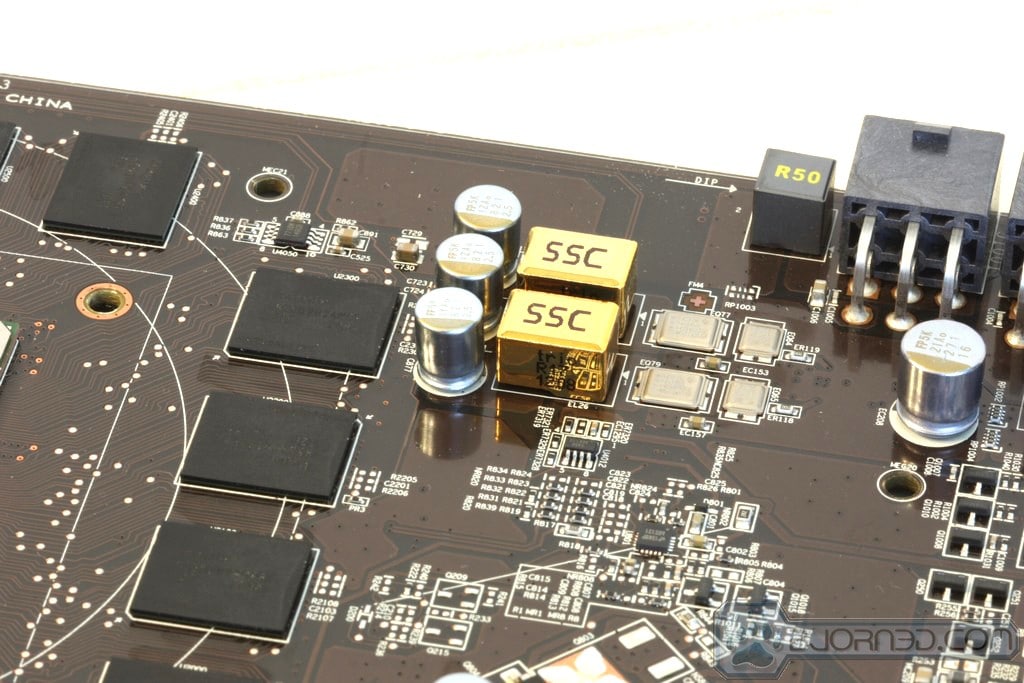
Here, after removing the stiffening bracket/component heatsink, are the Military Class components explained above. The CopperMOS components are very unique, and it does not seem right to see a metal driver/MOSFET without a composite capsule cover. As you see, the high class components are all around the board to support the various components power circuits.