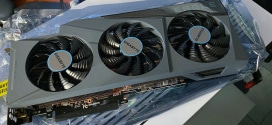
Overview of the ASUS GeForce GTX680 DC II TOP
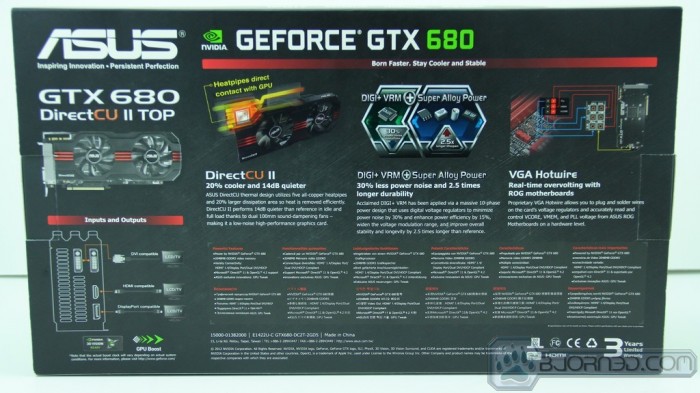
The packaging is simple yet has the extreme flavor with the tear at the front of the box showing this is meant to be one mean card. Also listed is some key specs such as the uber high max boost clock out of the box at 1201MHz. Also the DIGI+ VRM components which offer immense levels of voltage control along with very good stability and efficiency.
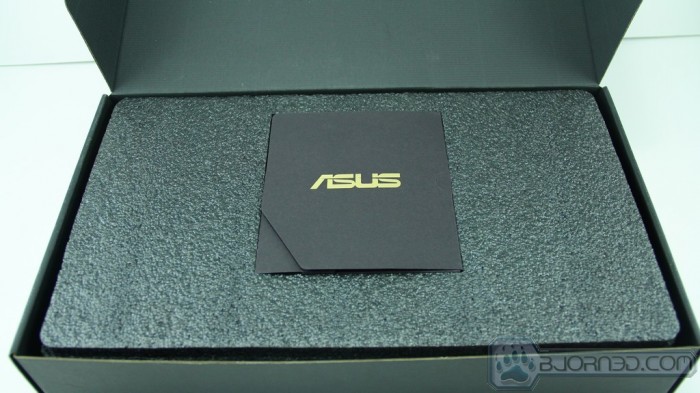
here is what you see when we open the box.
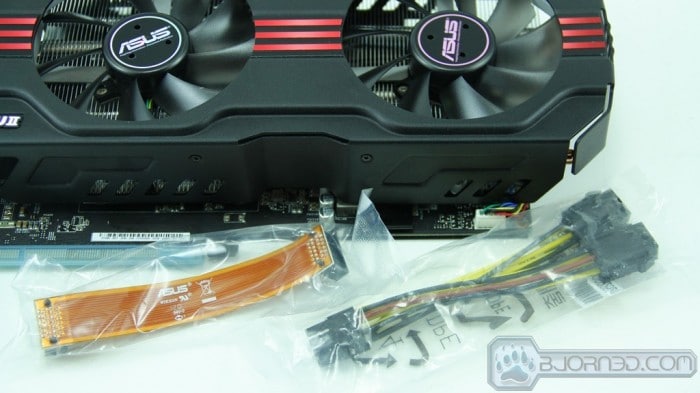
Here is a list of all items included in the accessory pack:
-
Installation Disc
-
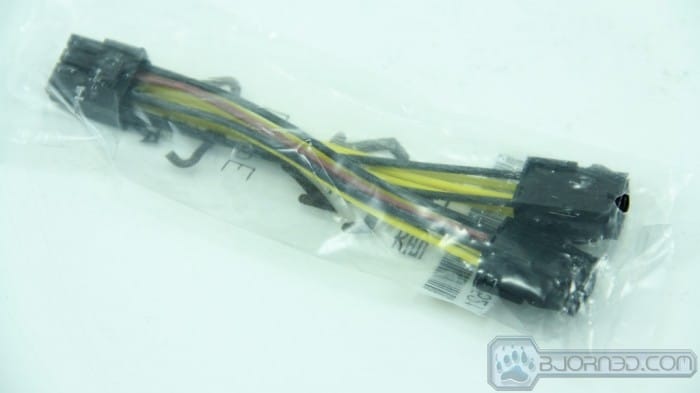
Dual 6 pin PCIe to 8 Pin PCIe adapter
-
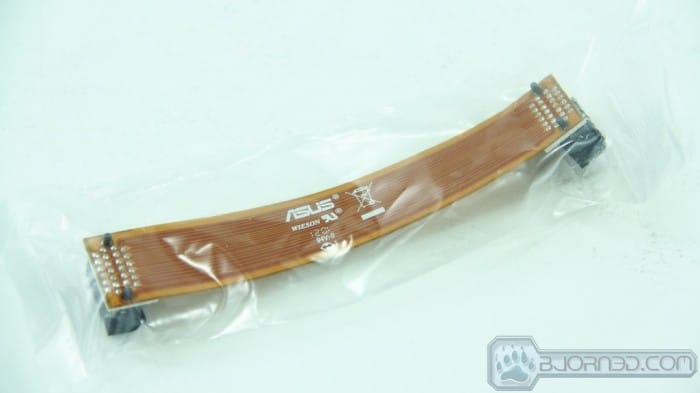
Extended length SLI Ribbon
The accessory package is quite small but covers everything needed to get this card hooked up and running. One thing we would have liked to have seen is some wires included with connectors to hookup the VGA Hotwire function, but front panel case wires easily fill that demand with ease so users can cannibalize these parts from old cases.
Click Images to Enlarge
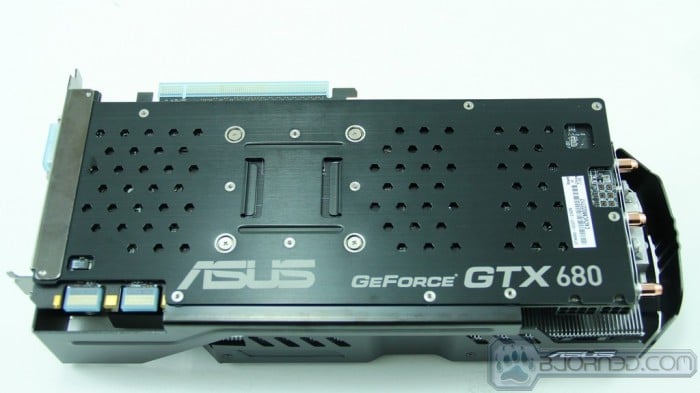
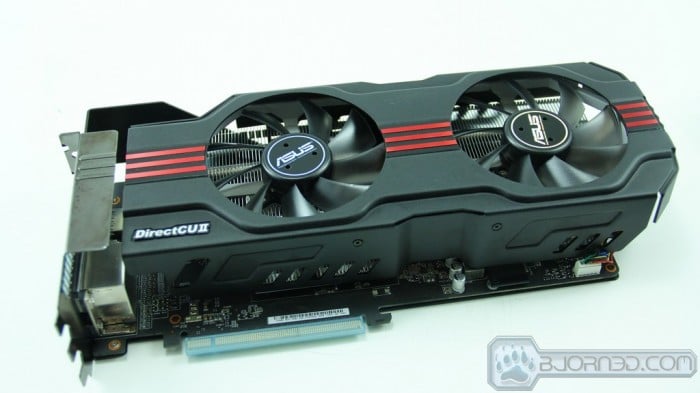
Here is the card out of the box and ready to go. The cooler is mean looking and built to handle some crazy overclocking and extreme gaming load. The card comes with a full length backplate which looks really awesome and also stiffens the card to help avoid flex.
Click Images to Enlarge
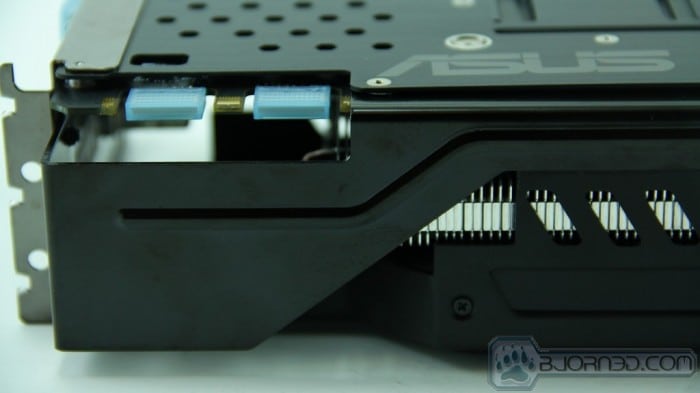
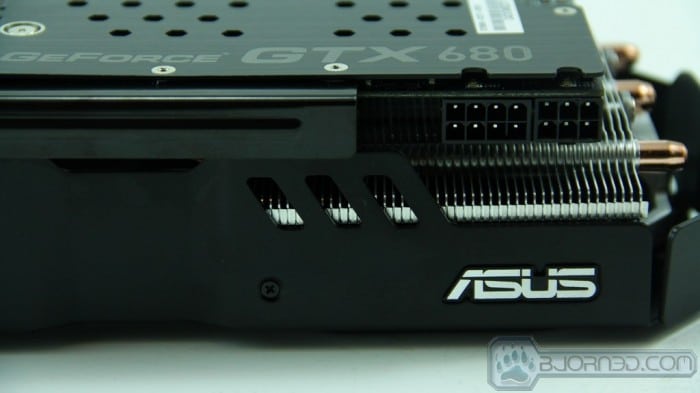
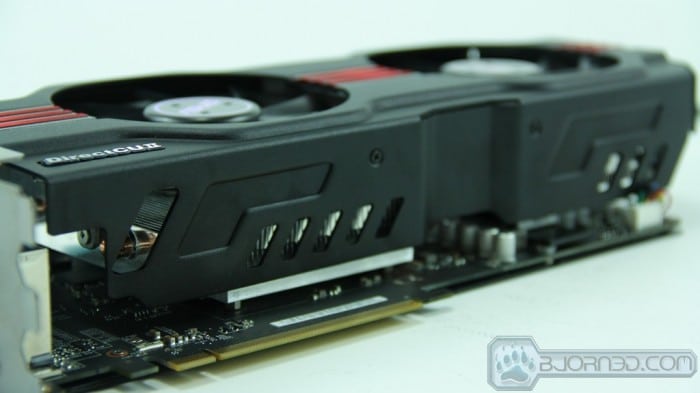
The 680 DCII TOP has dual SLI connectors for 3 way and even 4 way SLI capability but with triple slot coolers I think you will have a tough time getting 4 way together without some bridge magic and some flexible PCIe extenders. The reference GTX 680 utilizes a stacked dual 6 pin PCIe power configuration. The DCII TOP uses a 8 Pin + 6 Pin configuration to give more power available to the GPU which should help with the cases when overclocking to the limit and past is called for.
Click Images to Enlarge
The cooler itself is a triple slot design with really thick and dense fin arrays which help keep the GTX 680 GPU well in check even at the obscene out of the box clock, not to mention there is alot left on the table as the temps are great so overclocking you definitely have some room on the temperature side of things.
Click Images to Enlarge
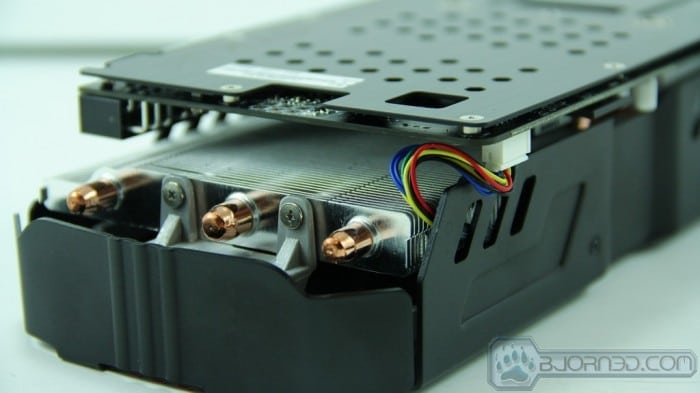
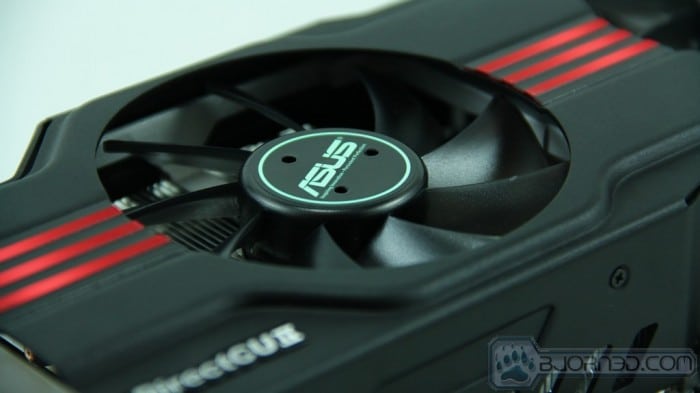
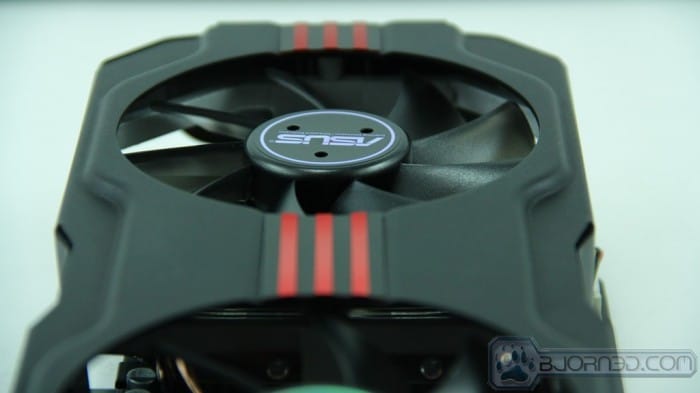
The cooler uses direct touch heatpipes which we see coming through the edge of the fin array here. The dual fans are setup and profiled to offer optimum cooling with minimum noise for an awesome gaming or benching experience.
Click Images to Enlarge
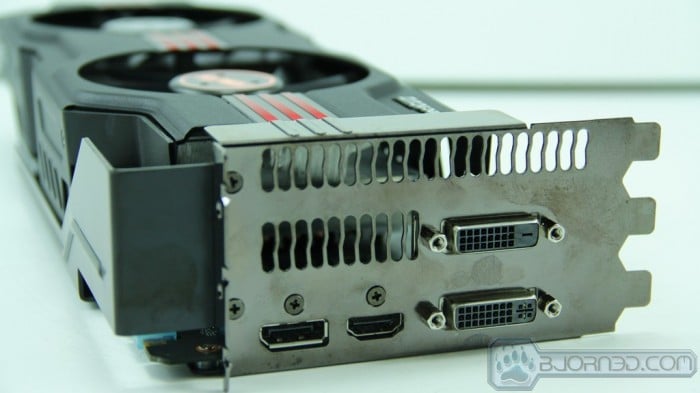
Here we just see a few detail shots of the card/cooler in preparation for removal.
Popping the Top off the TOP
Click Images to Enlarge
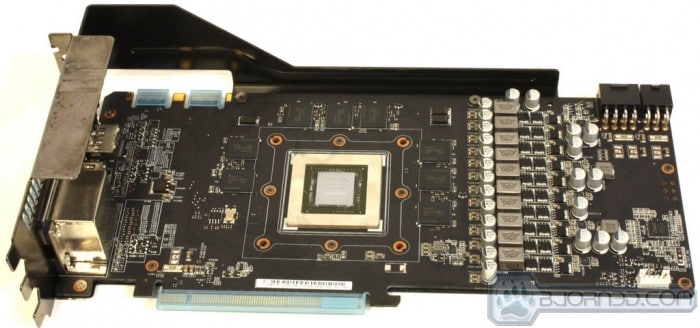
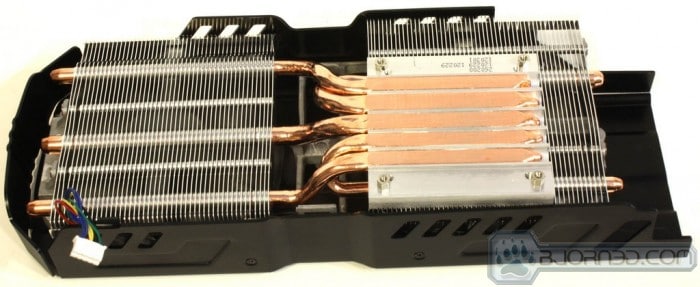
The heatsink came off rather quickly, and we see a lot of the bulk simply is the massive amount of cooling power strapped to the custom PCB. The reason we mention custom PCB is because it is much taller off of the moterboard surface than a standard GPU PCB. Next to it we have the direct touch heatpipe base for the cooler. This is the area that directly contacts the GPU itself and makes sure things stay nice and cool.
Click Images to Enlarge
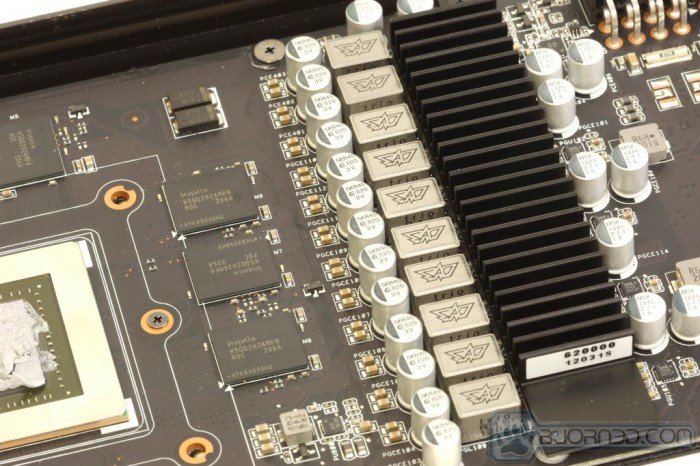
Here we have the VRM first covered by the passive sink which in itself covers the mosfets/driver components which are the hottest components in the VRM section. But honestly it is not passive at all since the dual GPU fans actively blow air from the cooler over the VRM cooler keeping things well in check to ensure no toasty components or instability are even within possibility. After removal we see a nice neat layout of all of the VRM components neatly stacked and ready to work on delivering insane levels of power to the GPU when needed whether it is during game or pushing for records in a benchmark.
Click Images to Enlarge
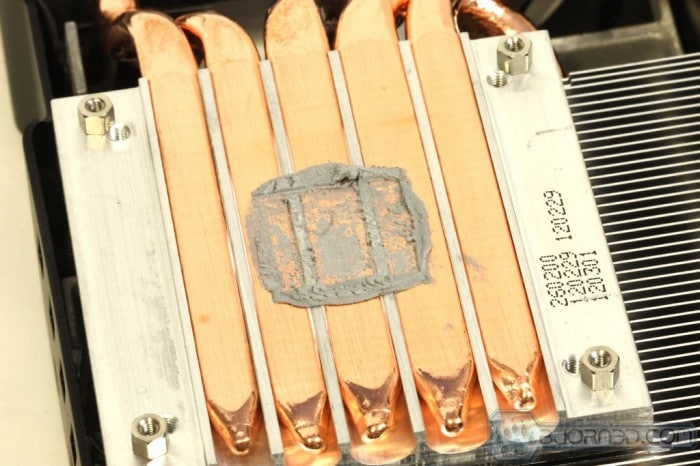
Here we have what DirectCU II is all about. These are the direct touch copper heatpipes which are what makes sure the GPU stays nice and cool. You will notice that the heatpipe array is lapped very flat to ensure best possible thermal conductivity and excellent performance.
Click Images to Enlarge
Here is where the magic happens the VGA Hotwire connectivity points. The small holes are where you will run a wire through then solder it up and you will have a nice solid connection and full control over your cards vitals and really unlock some extreme overclocks when going under LN2 or other subzero cooling methods.
 Bjorn3D.com Bjorn3d.com – Satisfying Your Daily Tech Cravings Since 1996

