A Closer Look
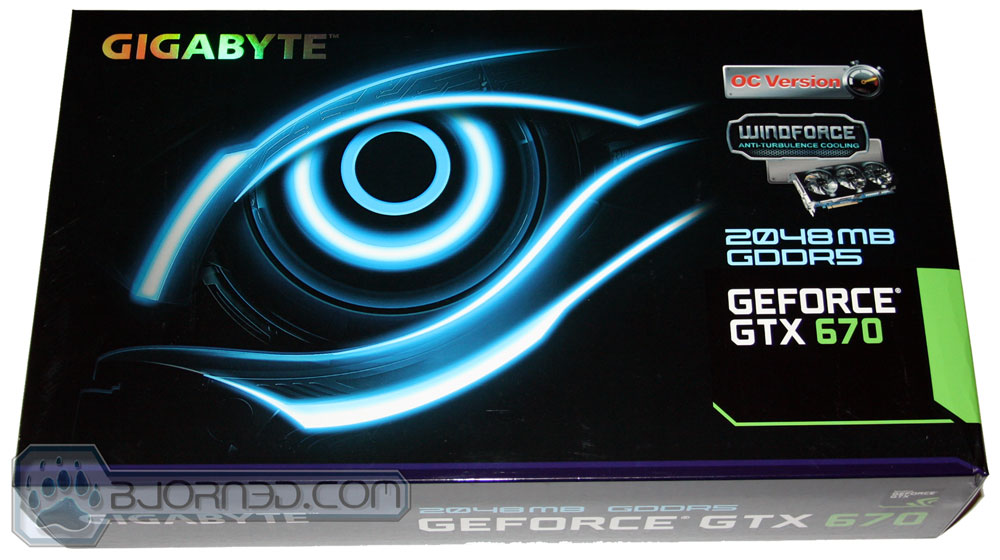
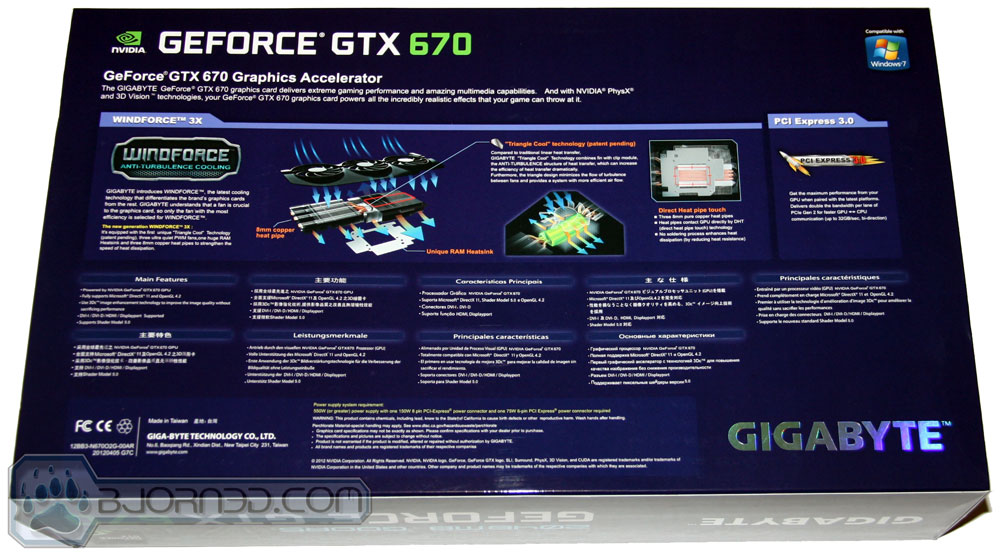
The GIGABYTE box is graced with the menacing neon eye, while the back of the package is where they showcase the fan and cooler technology. Not shown (but included in the box) is two power adapter convertor cables (for turning standard Molex plugs into the 6 and 8 pin power adapters needed) and a driver disk.
Click on images for larger view.
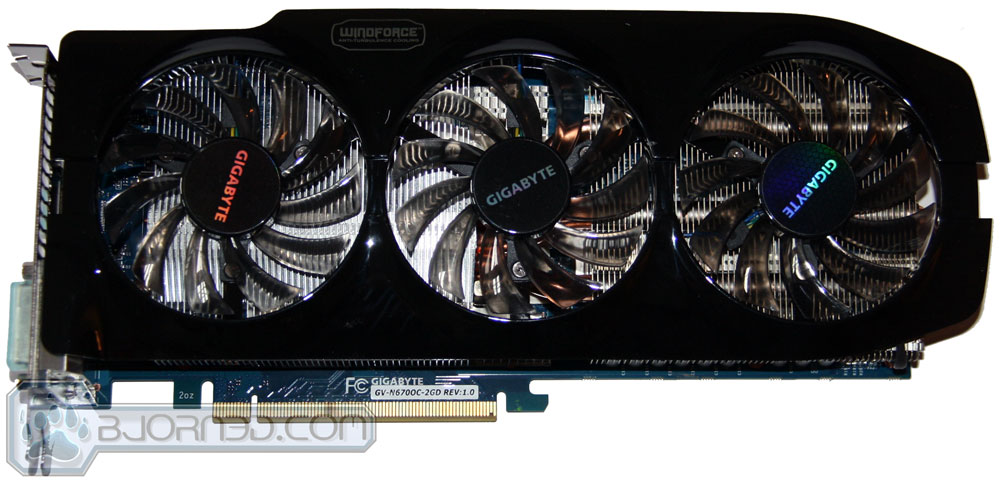
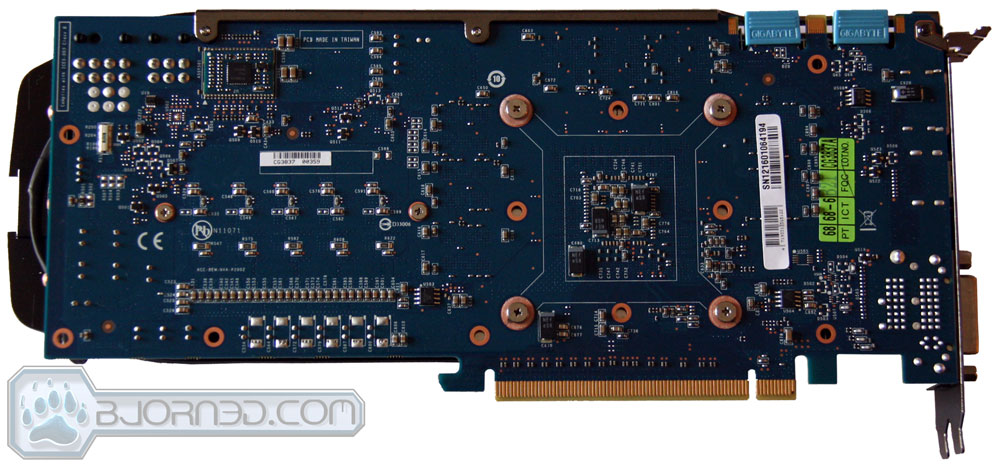
GIGABYTE uses a significantly different board design for their card than NVIDIA’s reference design. As you can see in our review of the reference card, NVIDIA’s design has most of the crucial circuitry, including the power circuitry, concentrated around the GTX 670 GPU, allowing for conservation of space. However, GIGABYTE has opted to build the card in the traditional sense, with the circuitry spaced out over a longer PCB. Instead of squishing the circuitry together and having a separate (detachable) segment of the board for a powerful fan, GIGABYTE has left the card’s components spread out over the board and used a full-length heatsink topped with three 80mm fans.
The three 80mm fans use a special 11 fin design, and are screwed right into the top of the heatsink via 9 tiny screws. The shrouding is very unique in the way it is mounted, with plastic spreader-pins intersecting throughout the edges of the heatsink. The heatsink shroud is very thin (on purpose), so care is required when handling.
The differences between designs aren’t just aesthetic. The reference card is around 24cm long with the fan on and around 15cm with the fan removed. GIGABYTE’s card, on the other hand, is around 27.5cm, including the part of the shroud hanging over the PCB. The reference design allows users to fit the powerful card into a small form factor chassis, such as a portable gaming system or powerful HTPC. On the other hand, the GIGABYTE card is much longer, and would be more suitable for mid-tower or full-tower gaming systems.
Click on images for larger view.
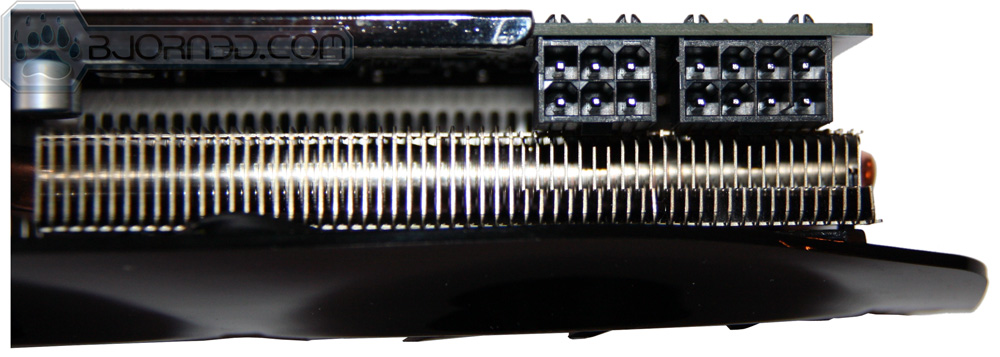
The entire mid-section of the card is completely dedicated to the cooling solution and considerable effort was put into it as shown. Unlike the reference card, which uses two 6-pin connectors, the GIGABYTE card uses a 6-pin and an 8-pin; we assume this change is due to the factory overclock on this card. The 6-pin power connector draws a maximum 75 watts and the 8-pin draws 150 watts; however, only a 550 watt power supply is needed. Also, since NVIDIA shifted all the circuitry to surround the GPU and left the right side of the PCB as a removable fan attachment, the power connectors on the reference design had to be shifted to the middle of the PCB. We found this placement rather inconvenient, as power cables would have to be stretched longer and over more hardware, making cable management more difficult, especially in smaller cases like mid-towers. Thankfully, GIGABYTE chose to leave the power connectors at the corner of their PCB, making cable management easier in cramped conditions.
The small tab in front of the PCI-E slot connectors is marked “2oz”, indicating that GIGABYTE has used their 2oz copper PCB design, now standard fare in most of their products.
 |
 |
 |
Click on images for larger view.
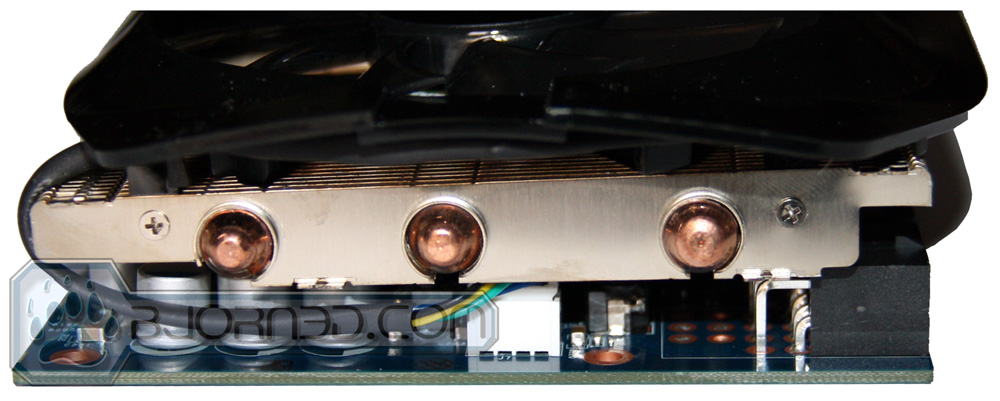
In addition to using a different design for their PCB, GIGABYTE has also opted to use a different design for their GPU cooler. Whereas NVIDIA uses a small standard copper-plated heatsink, GIGABYTE has opted to use a larger heatsink with three large 8mm heat-pipes. In addition, GIGABYTE has eliminated the copper contact plate on the bottom; instead, the three heatpipes make direct contact with the GPU, allowing for better heat transfer. In addition, the part of the heatsink that first comes into contact with the heatpipes is triangular, allowing for better airflow.
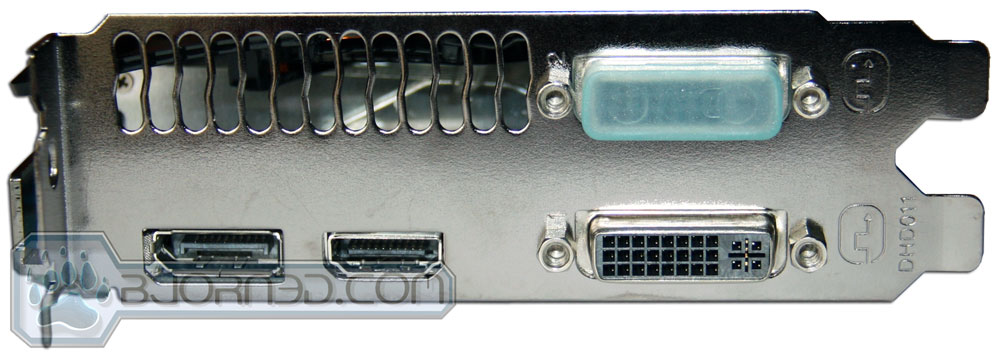
The rear I/O connectors on this card include DVI-D and DVI-I (both dual-link), HDMI, and DisplayPort.
 Bjorn3D.com Bjorn3d.com – Satisfying Your Daily Tech Cravings Since 1996


I don’t notice the fan being to loud with in an inclosed case til around 65%, but the cooler is so good mine rarely ever gets to 50%. Hottest my card gets i 70-75c and that is with +60mhz OC so 1260mhz with boost and ram is overclocked from 6ghz to 7.2ghz.