Installation
The installation manual included is all graphics with no text or any instruction. The instruction is separated by the socket type and while it is fairy easy to follow, I cannot help but feeling that a little description could be helpful. For example, the first page lists the pieces with A-U label and the same letter labeling system is used throughout the manual. However, the individual bags with the screws and the mounting brackets are labelled with the socket type and lack the same A-U labels. During the installation, I had to double check a few times just to make sure I am picking the correct standoff and parts for the build. My suggestion to anyone installing the cooler is look through the manual first entirely for the particular socket that your system uses and lay out all of the necessary pieces beforehand.
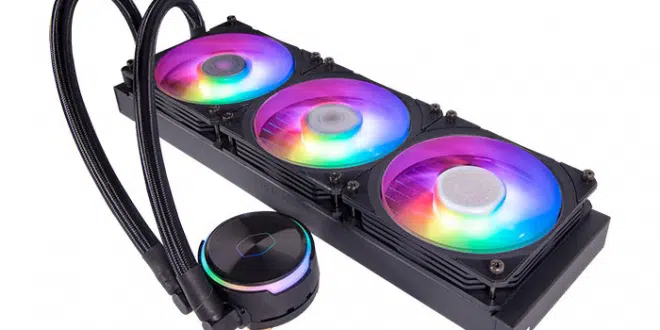
I am installing the cooler to an Intel LGA 1700 socket. Follow the instruction, I attached the two retention brackets on the pump unit and screw the backplate to the motherboard. Then apply the thermal paste to the CPU and the pump unit can be secured to the CPU socket via the retention bracket with four screws. No issue here. Same goes with attaching the fans to the radiator as well as installing the radiator to the case except the tedious job of screwing all 24 screws.
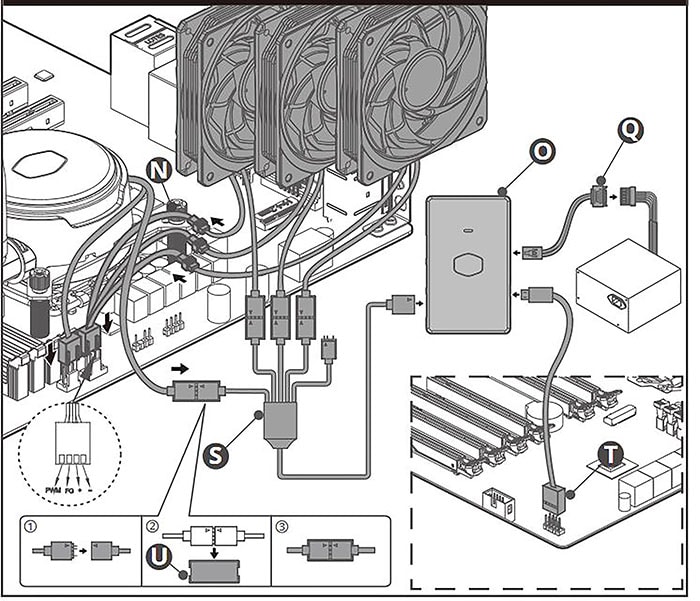
Connecting the cables for the fan and the RGB lightning is where thing gets slightly confusing. There are two ways to connect the cables and due to the fact that the manual lacks description, you have to trace the cables with the provided diagram to figure out where to connect them. For the fan headers, you first connect all three fan cables to the included splitter. Then, connect the splitter’s female connector to the motherboard’s PWM fan header such as CPU fan header. You would want to connect the fans on the radiator to the PWM fan header so its speed can be controlled. While the manual does show the diagram of the PWM header, it may not be too clear to someone who may not be familiar with the pinout of the header. Finally, connect the female connector from the pump unit to another fan headers on the motherboard, preferably the AIO pump header if your motherboard has one.
There are two ways to connect the RGB cables: directly to the headers on the motherboard or into to the provided RGB controller. Either way, you first connect the RGB cable from the fans and the pump unit to the splitter. If you choose rely on the motherboard to control the lightning effect, then you would connect the female end of the splitter to the motherboard RGB header. Alternatively, if you opt for the included RGB controller, you would connect the splitter female connector to the RGB controller and attach the RGB cable from the controller to the RGB header on the motherboard. Finally, you would connect a SATA power cable to the RGB controller for power.
Despite our small complaints, the installation process largely is a smooth process. We are able to get the unit up and running in probably less than 30 minutes once we figured out where all of the cables go. One thing I would appreciate Cooler Master to include in the manual is a few recommended mounting position. We know that there are quite a lot of confusion as to how to mount the radiator and the pump to both optimize the cooling performance and the longevity of the pump. Having the official recommended position from the manufacturer would cut down some confusion and making it easier for the first time buyer of AIO to install their cooler.


