BIOS
When it comes to creating the perfect BIOS, ASUS is no stranger and when you add in the involvement of ASUS’s ROG division, you end up with a UEFI BIOS that is critically acclaimed and offers several advanced features that are ROG specific like RAMCACHE and USB UEFI FLASHBACK.
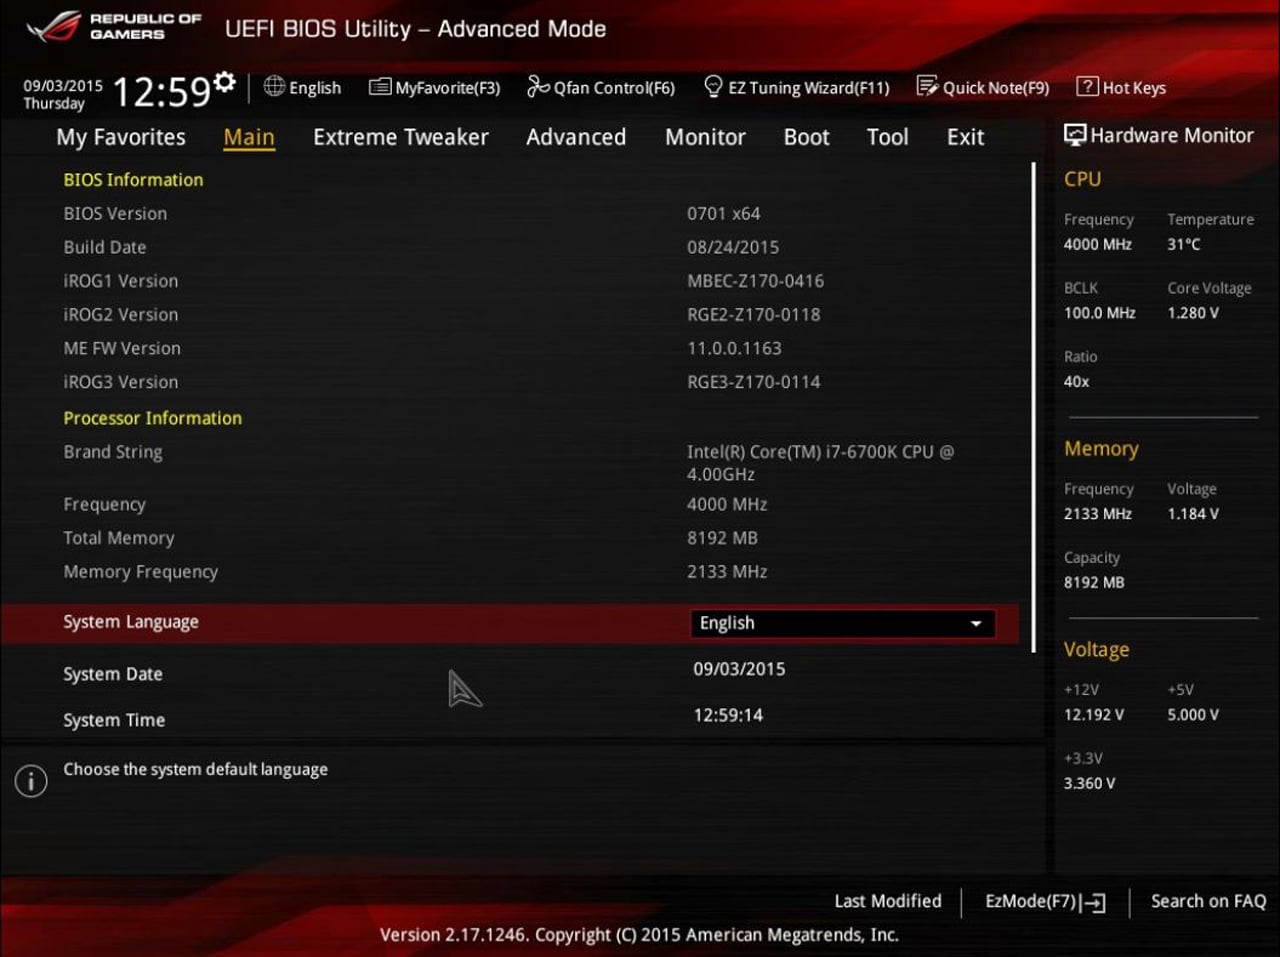
The first menu within the BIOS contains basic information regarding the BIOS version, build date, memory, language, date and time.
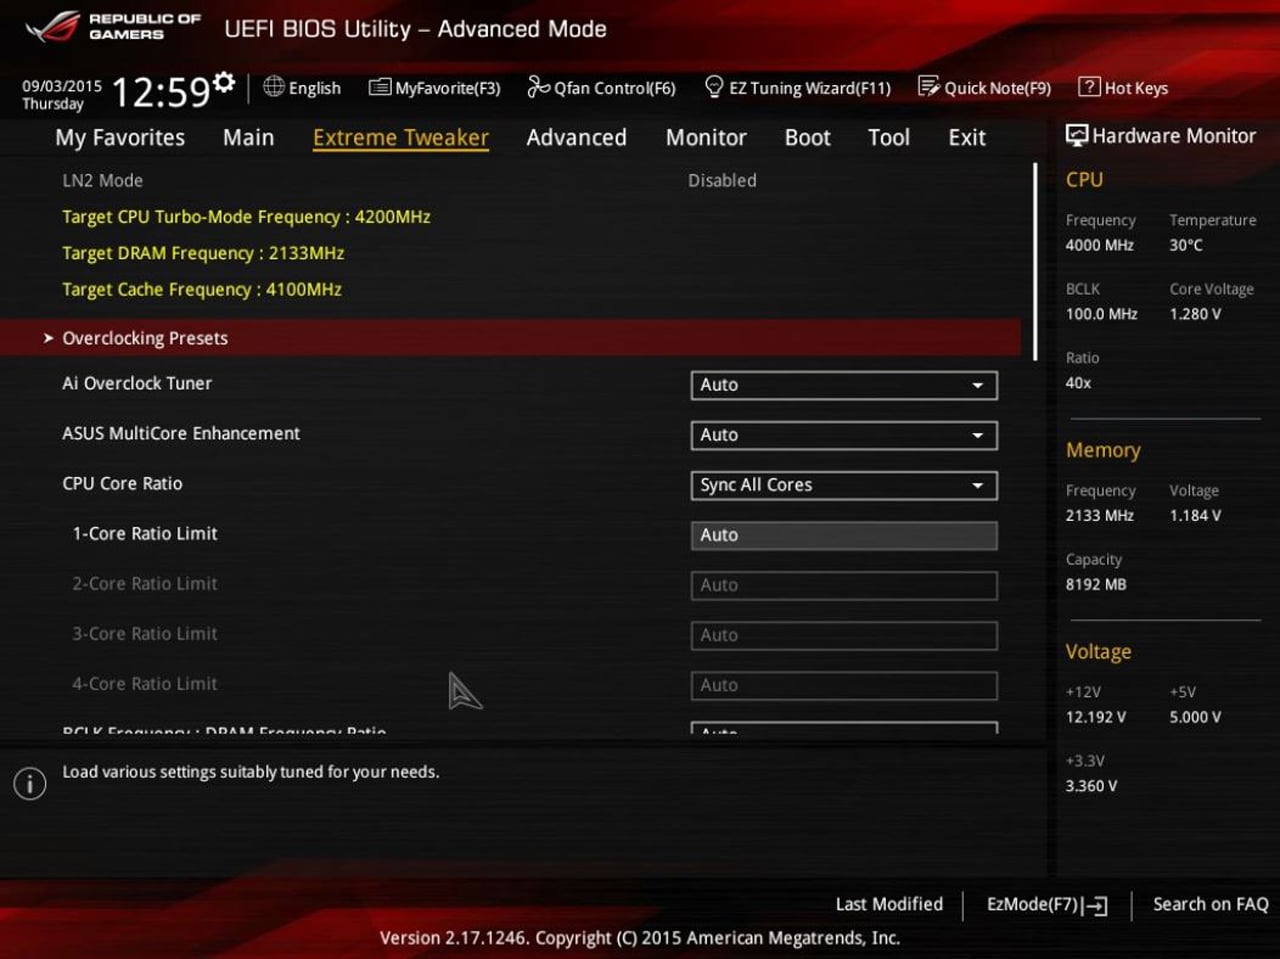
In the Extreme Tweaker menu we find the options for overclocking presets, tuning selections, and MultiCore enhancement CPU core ratios allowing users to alter settings to their liking.
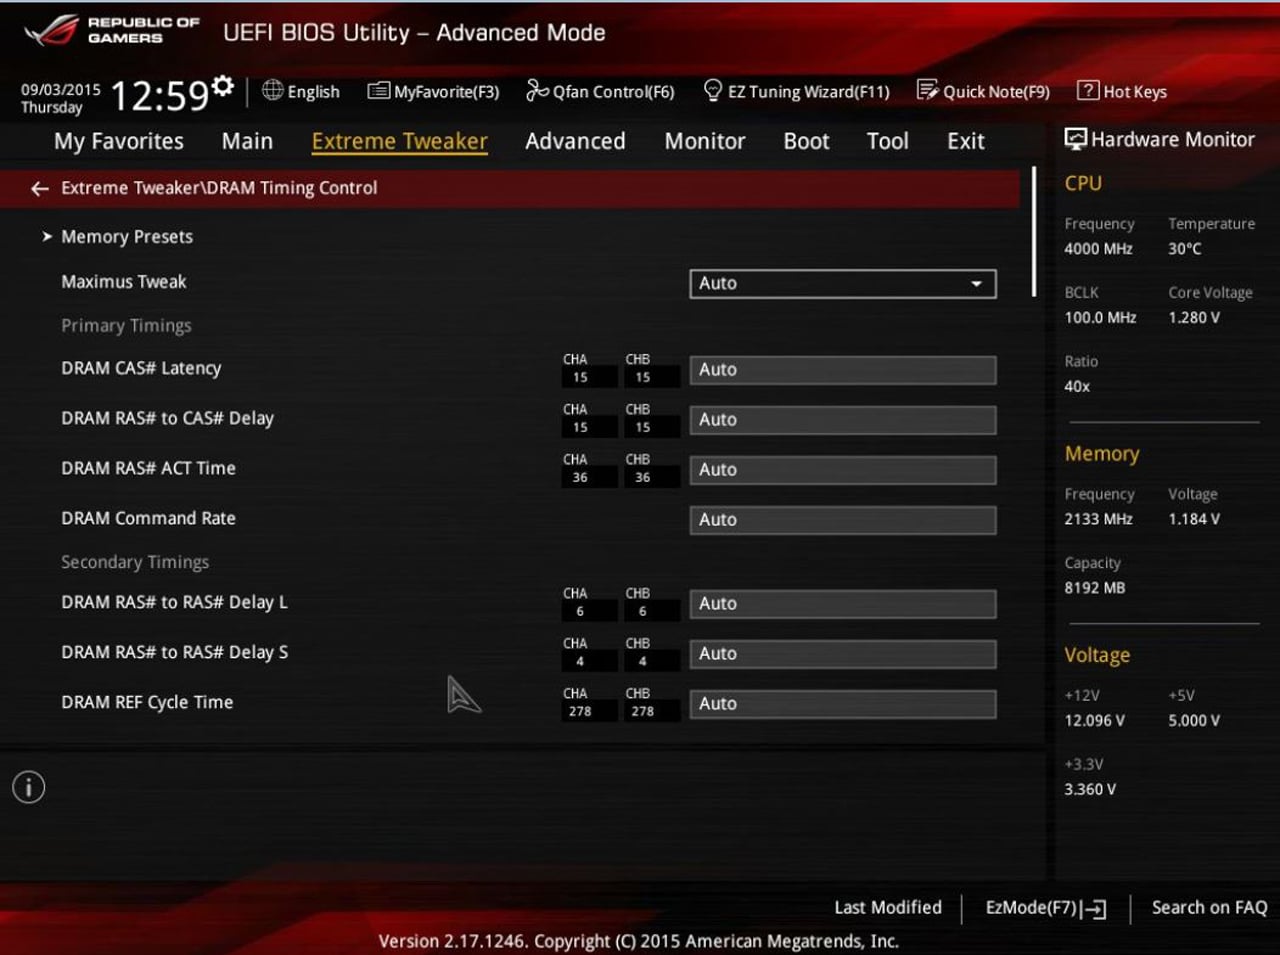
Here we see the configuration menu for overclocking the memory and making adjustments to the DRAM CAS timings.
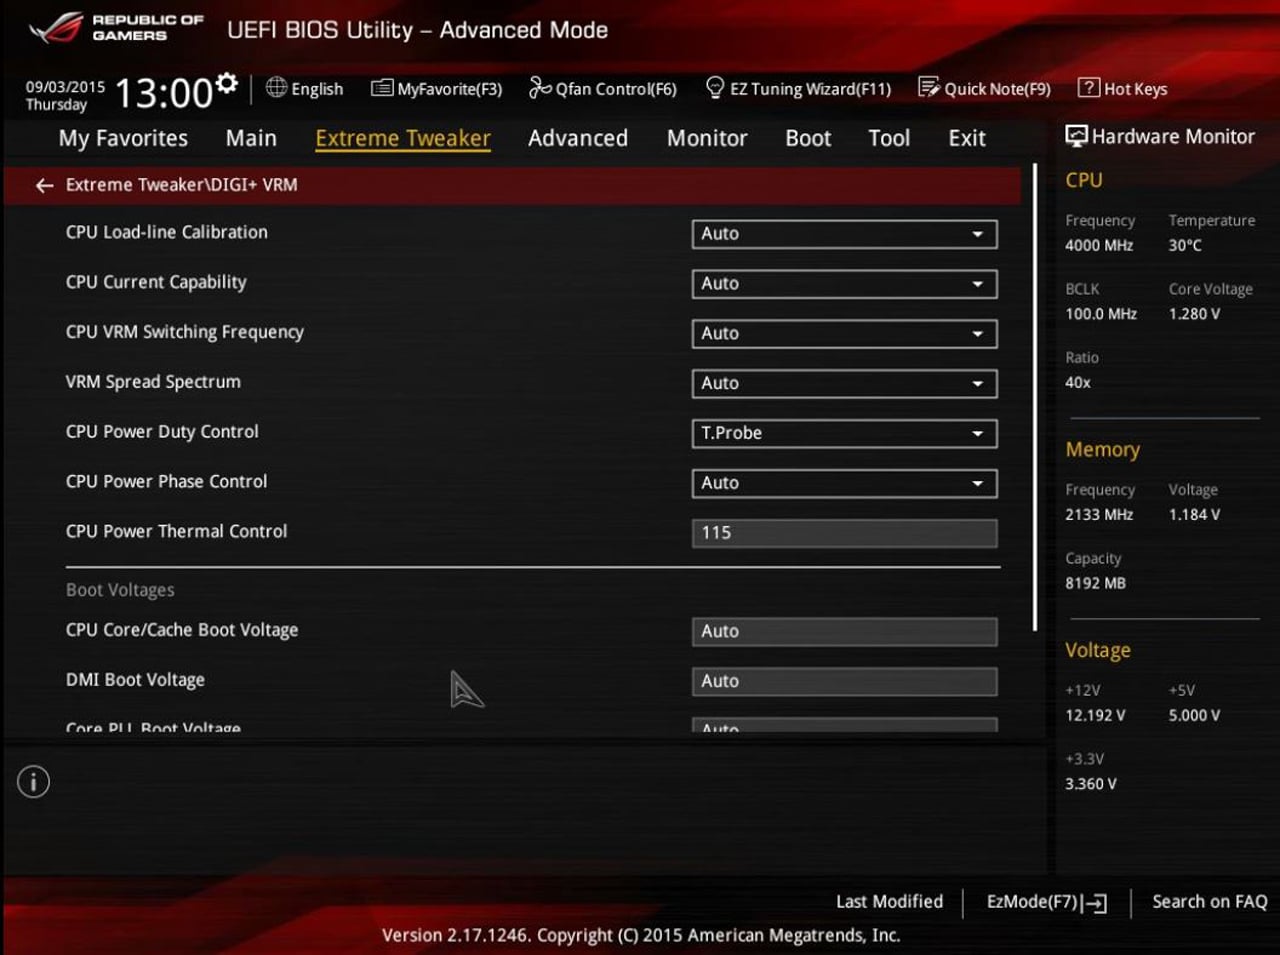
The next menu we open is the Extreme Tweaker/ DIGI+ VRM. These settings allow the user to change the settings of the DIGI+ chip that was mentioned in the features section. Here the user can configure different presets like load-line, current, VRM switching and various power control options.
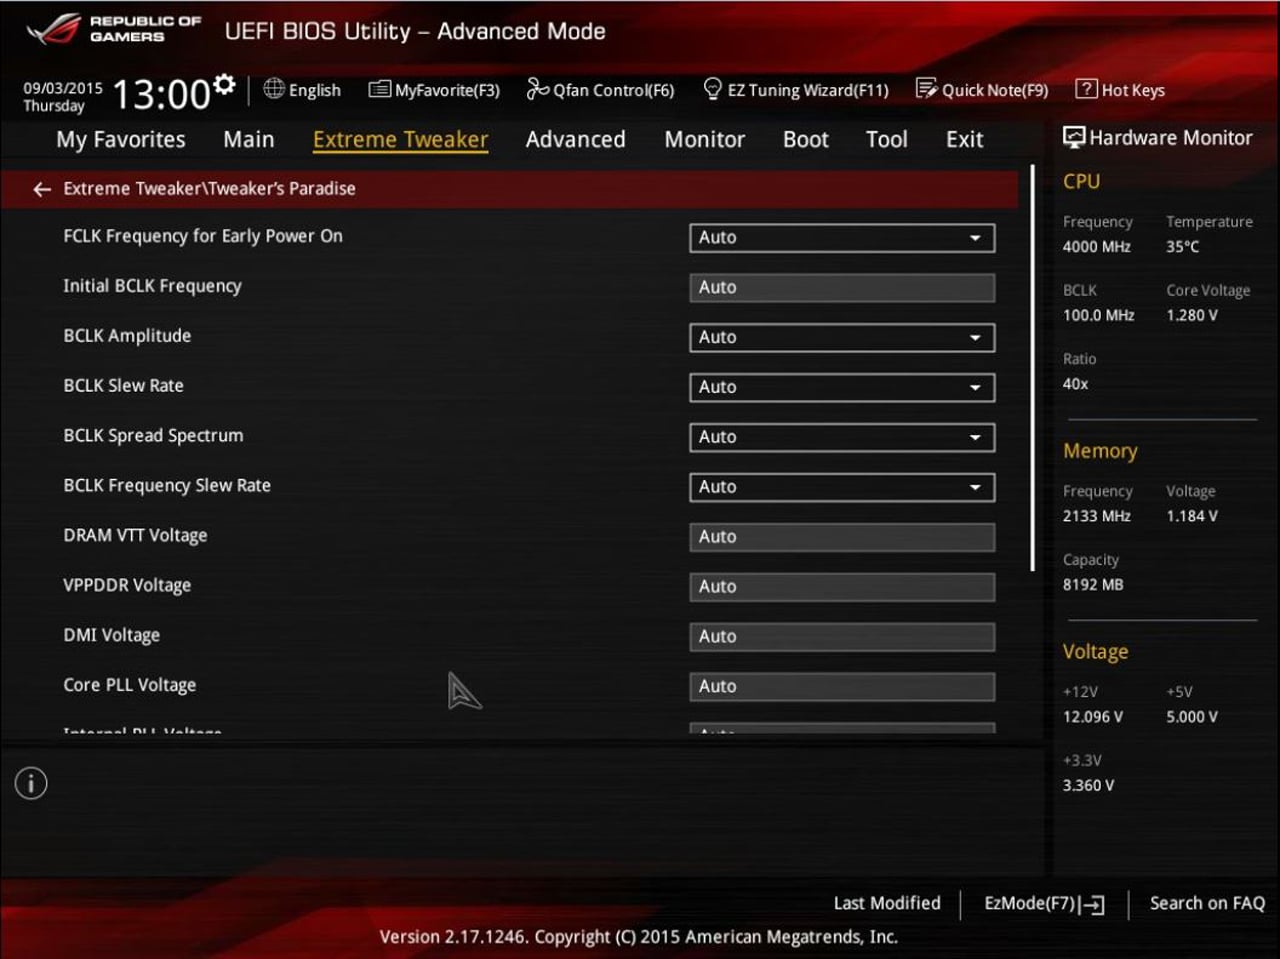
The next menu shows a little reflection of the humor of the people within the ROG department when they named this menu Extreme Tweaker/Tweaker’s paradise. Sticking true to its name this menu is a Tweakers paradise, with its advanced tweaking options that allow you to adjust all aspects of the BCLK and voltages for different overclocking aspects.
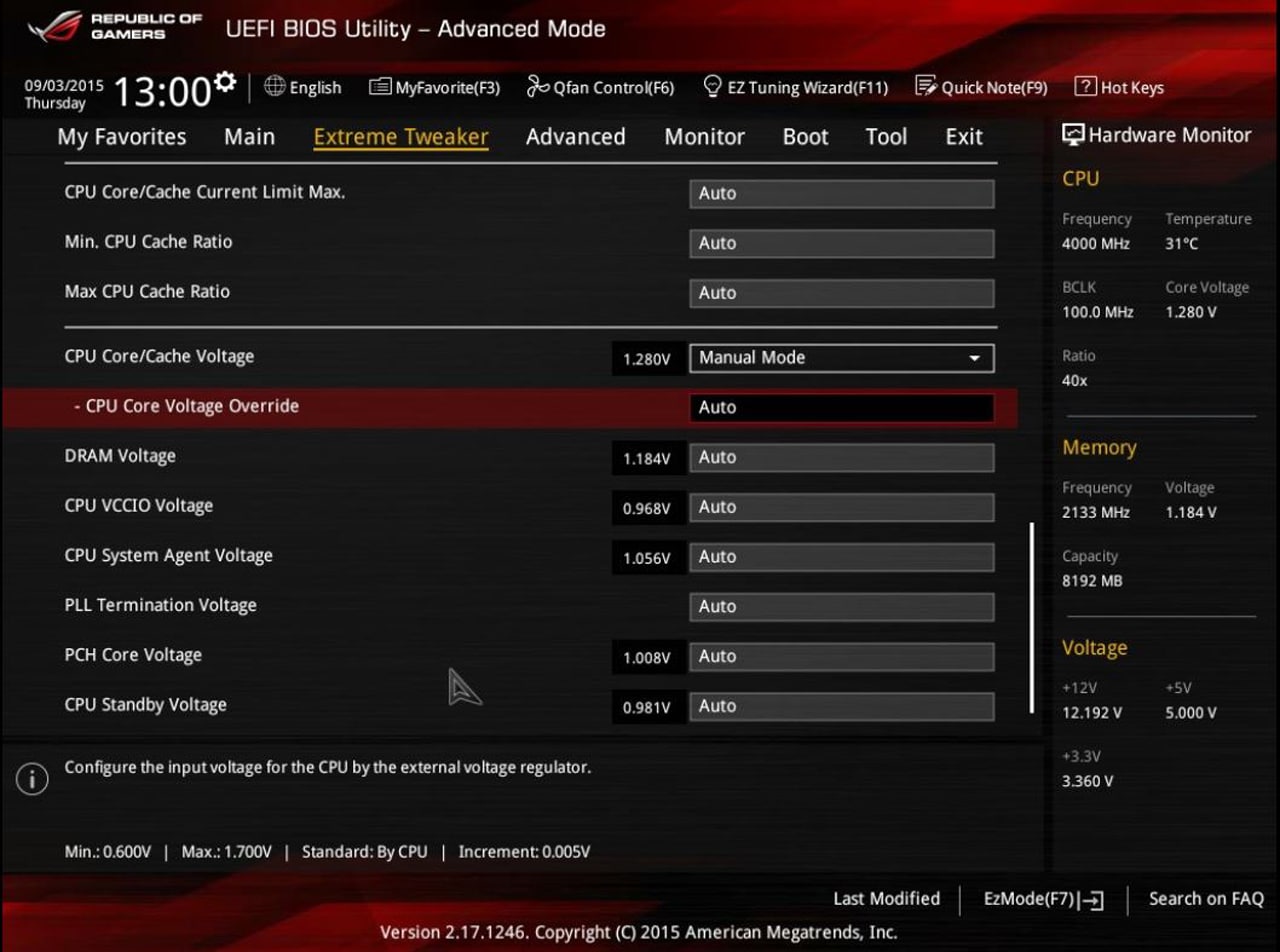
Within this next menu we find more options and possibilities for making adjustments to voltages in order to maximize overclocking potential and stability by allowing the user to make adjustments as small as .005V and thus allowing the user to squeeze every last drop of MHz when they are overclocking.
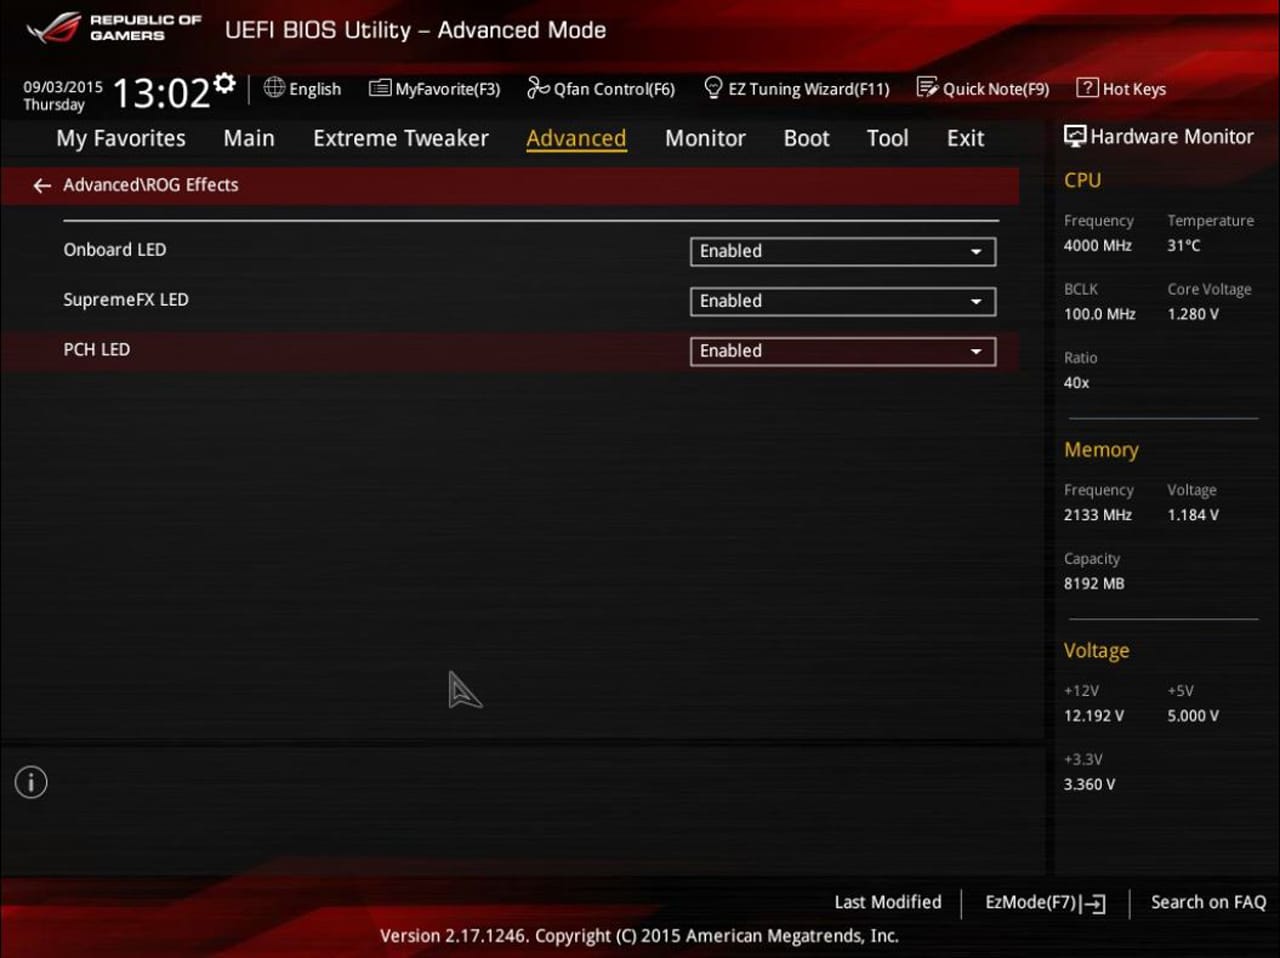
In this menu we can see the three different lighting options for the onboard LED SupremeFX and PCH LED’s. If you recall, in the features section these were the sinister red LED’s that added to the character and overall look of the board.

In the monitor menu we find the configuration options for the thermal sensors and fans. This menu gives the user a myriad of options to configure various sensors and tie them into fans and/or the water pump header that is featured on the MAXIMUS VIII GENE. Through playing with the options that are available, we found this menu to be extremely helpful and useful.

The final menu relates to the Q-Fan control and the different options and settings it gives the user. Now while there are several other menus and sub-menus available for the user to go through and in all honesty you could probably make an entire review just of the ASUS UEFI bios, we feel that these are pretty self explanatory and will now get to the testing.