Installation
| Test Rig | |
| Case | Windows 7 Home 64 bit |
| CPUs | Intel i7 2600k @ 3.4Ghz |
| Motherboard | MSI P67A-G43 |
| Ram | Patriot Gseries DDR3 1600MHz 4GB |
| GPU | Nvidia GeForce GT 220 1GB GDDR3 |
| Monitor | Asus VK222H 1680 x 1050 |
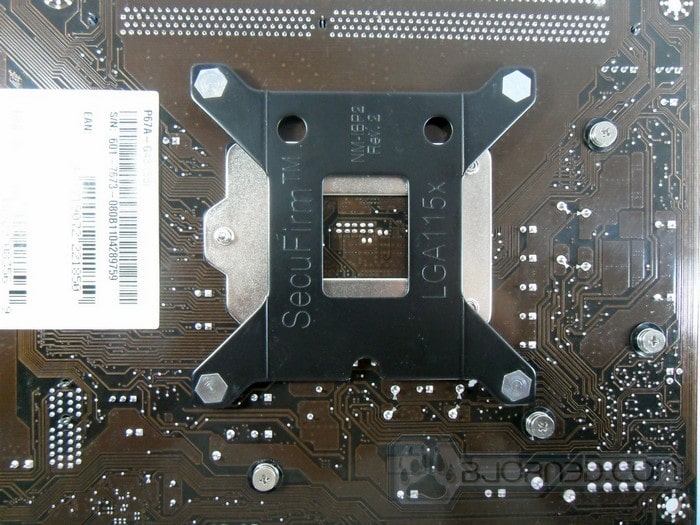
The following instructions are shown with a socket 1366. Instructions were fairly straightforward and easy to follow. A big down side is having to take out the motherboard to attached the back plate, but that is to be expected with most CPU coolers. This of course depends on the case as in some cases you can access the back of the motherboard even if it still is in the case.
Click Images to Enlarge
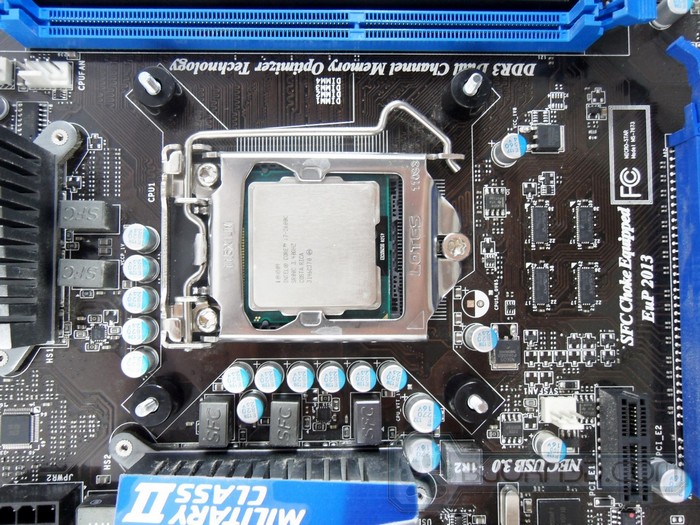
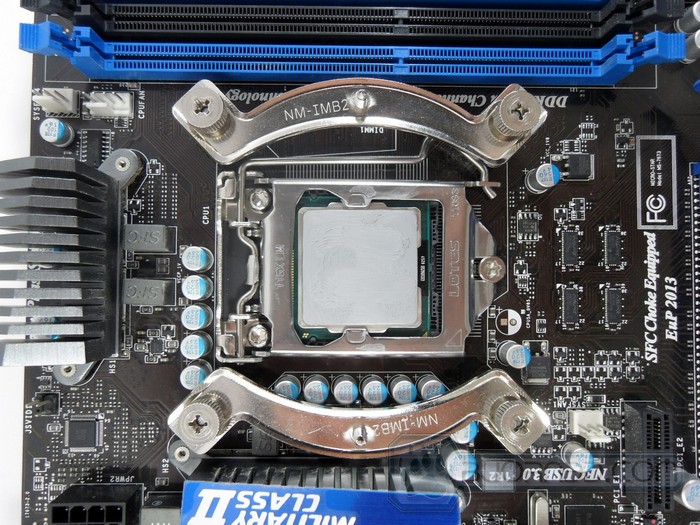
After installing the back plate, add the black Intel spacers.
Click Images to Enlarge
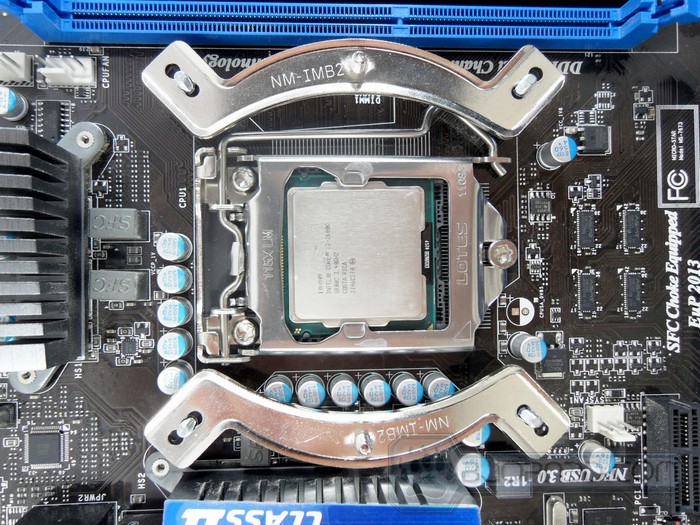
Then the mounting arms,
Click Images to Enlarge
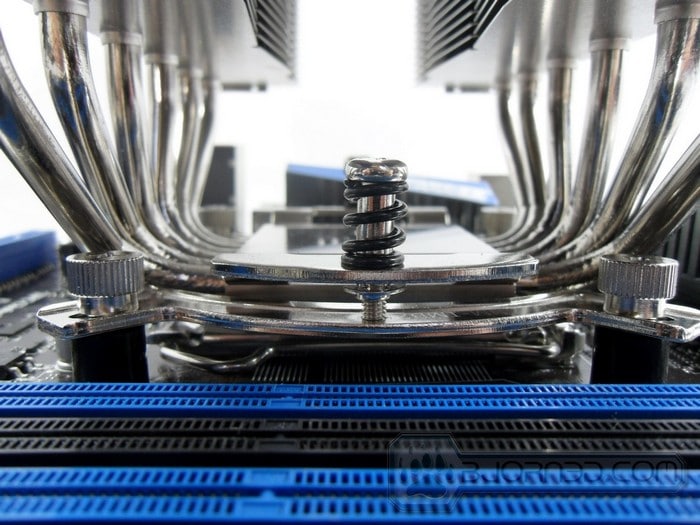
After putting on the thumb screws, apply the thermal grease. Some people like to put a dime sized dollop on the CPU, but I personally like to spread it out thinly across the whole face. I feel that it distributes the heat better.
Click Images to Enlarge
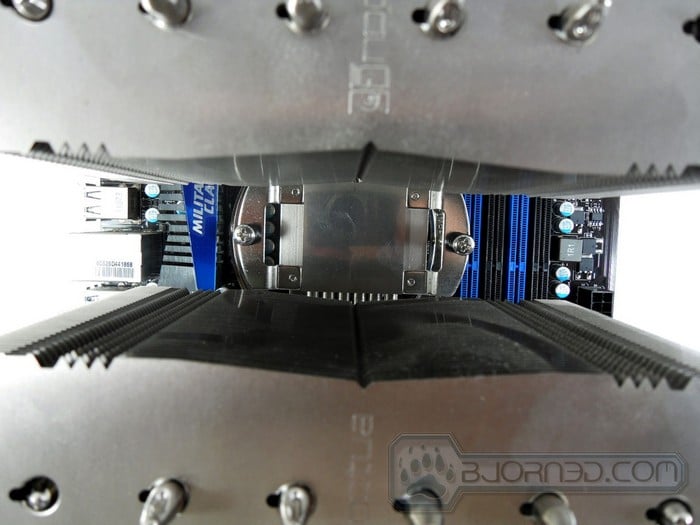
Now place the heat sink so it lines up with the mounting arm. There was a major annoyance of having to remove the attached fan in order to screw in heatsink, but the fan was easy to remove and reattach.
Click Images to Enlarge
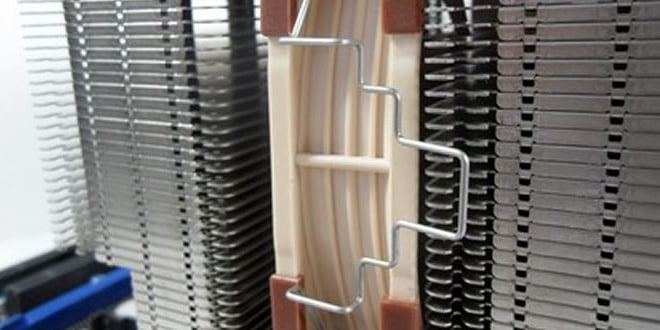
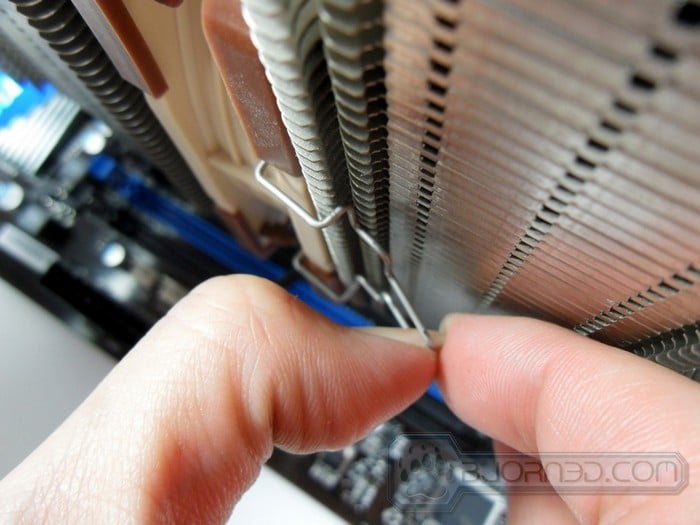
When reattaching the fan, you do have the pull the thin metal fan mounting bars almost uncomfortably far in order to get it to snap in place in the divot of the metal blades. The fan should hardly wiggle at all when properly done. This can be done with the second fan too
Click Images to Enlarge
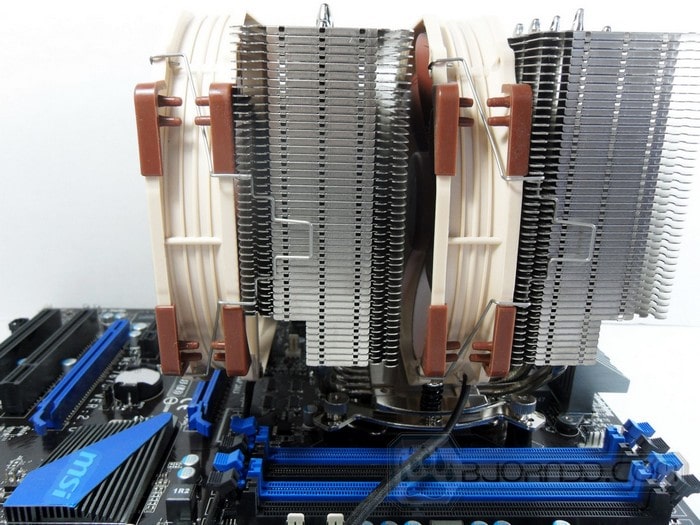
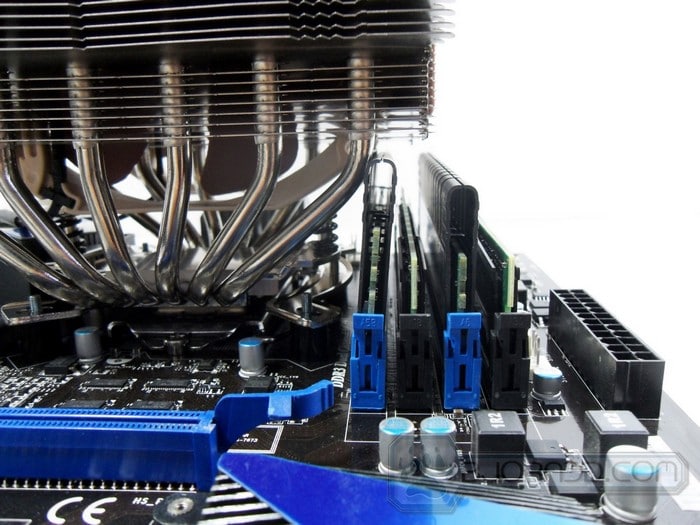
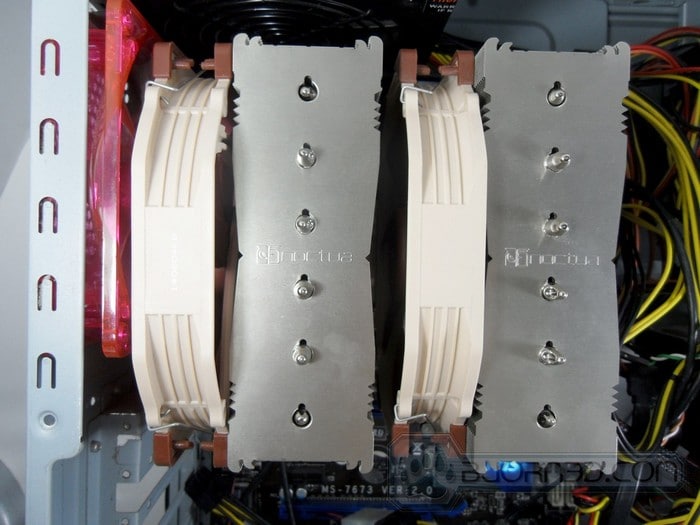
Now here is where the size really hurts the NH-D15. The fan was so high, that I was not able to close the side of my case without having to remove the side panel fan, and even after that, the bolts at the top are still pressed against it. What’s worse is that the supportive bars of the heatsink pushes the ram slightly
Click Images to Enlarge
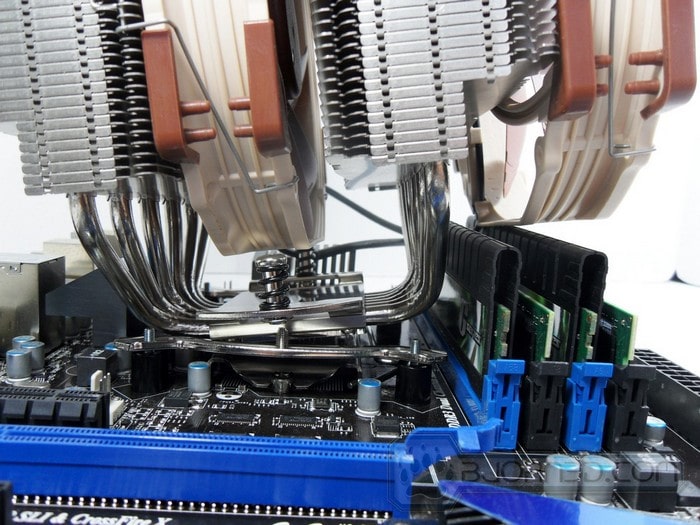
When turning it the other direction, the second fan sat on top of the ram, making it impossible to mount the heatsink
Click Images to Enlarge
Flipping it around seemed to have solved the problem, but I was wrong.
Click Images to Enlarge
After a frustrating half an hour of trying to install it different directions, there wasn’t any way to have the second fan attached. Seeing that I’m working with a mid-sized tower and a standard ATX motherboard, it’s hard to tell if it was a huge oversight on Noctua or poor design on the case, but either way, it was such a disappointment not to be able to use the fan’s full capabilities.
Review Overview
Value - 8
Quality - 10
Features - 10
Innovation - 8.5
9.1
Noctua NH-D15
The Noctua NH-D15 is easy to install and it lives up to its reputation, but the size is extremely encumbersome and is not aesthetically pleasing. This is great for overclock enthusiasts who have a full tower and maybe even larger than a standard ATX motherboard, which probably most do.
 Bjorn3D.com Bjorn3d.com – Satisfying Your Daily Tech Cravings Since 1996
