Overview of the MSI Z97 Xpower
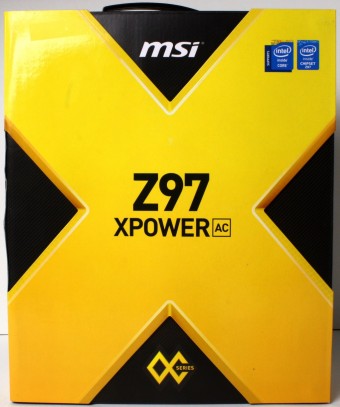
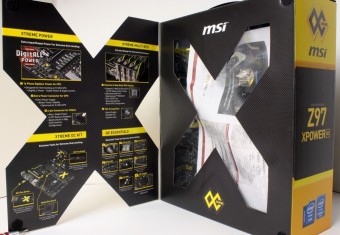
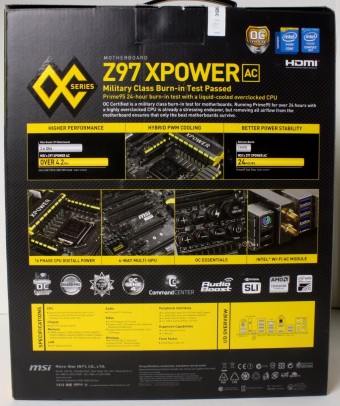
The packaging for the Xpower is quite cool with the front door of the box being a X and when flipped open you have an X shaped window that you can view the board. On the backside of the X shaped door you have some key feature data pinpointing the key benefits of their feature implementation and explaining what each feature offers as a benefit to the user. The rear of the box has a bit more in depth info and also specific spec based info to round out the packaging.
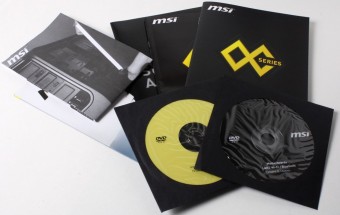
- User Manuals
- Installation Discs
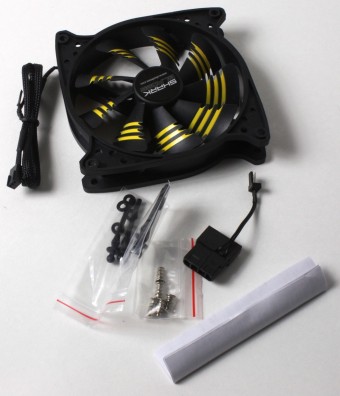
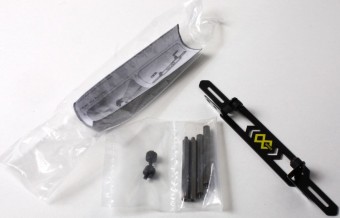
- MSI OC Fan Bracket
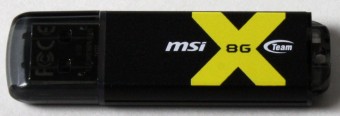
- MSI OC Pen Drive
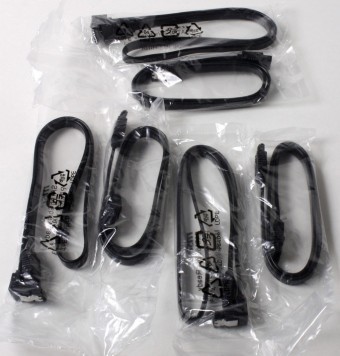
- SATA Cables
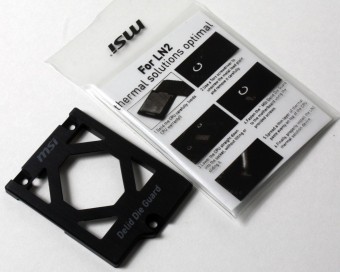
- Delid Die Guard
- eSATA rear panel breakout pod
- Quick Connect Front Panel Connectors
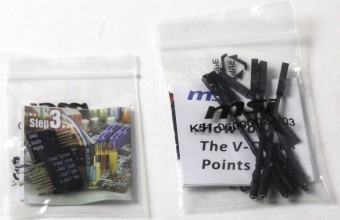
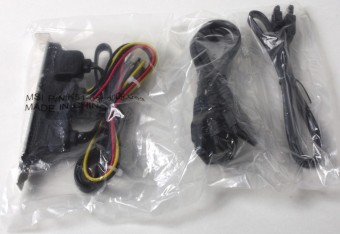
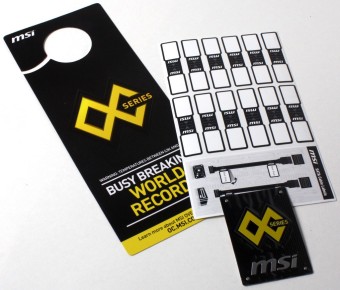
- V-Check Point Leads
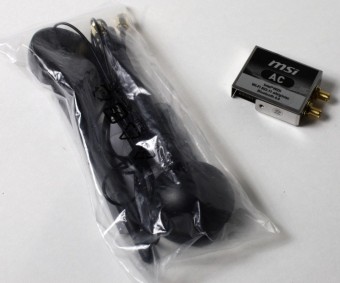
- WiFi/WiDi module
- 2x WiFi Antennae
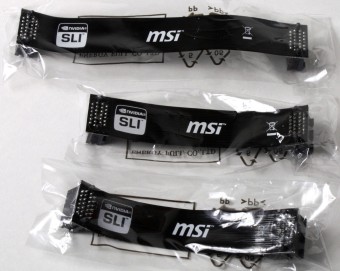
- SLI Ribbons (2x short, 1x large) for 2/3/4 Way SLI
- IO Shield
- MSI Gaming shield Case Badge Decal
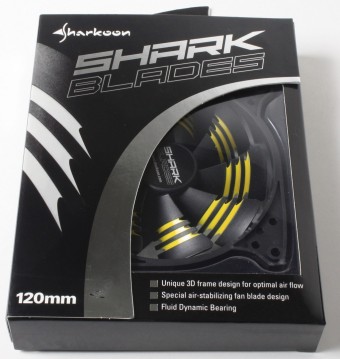
This board comes with more than enough to get you up and running but do keep in mind that the fan shown here does not come with the board and is actually something sent just to show how it can be accessorized with the fan stand for the complete MSI OC series look.
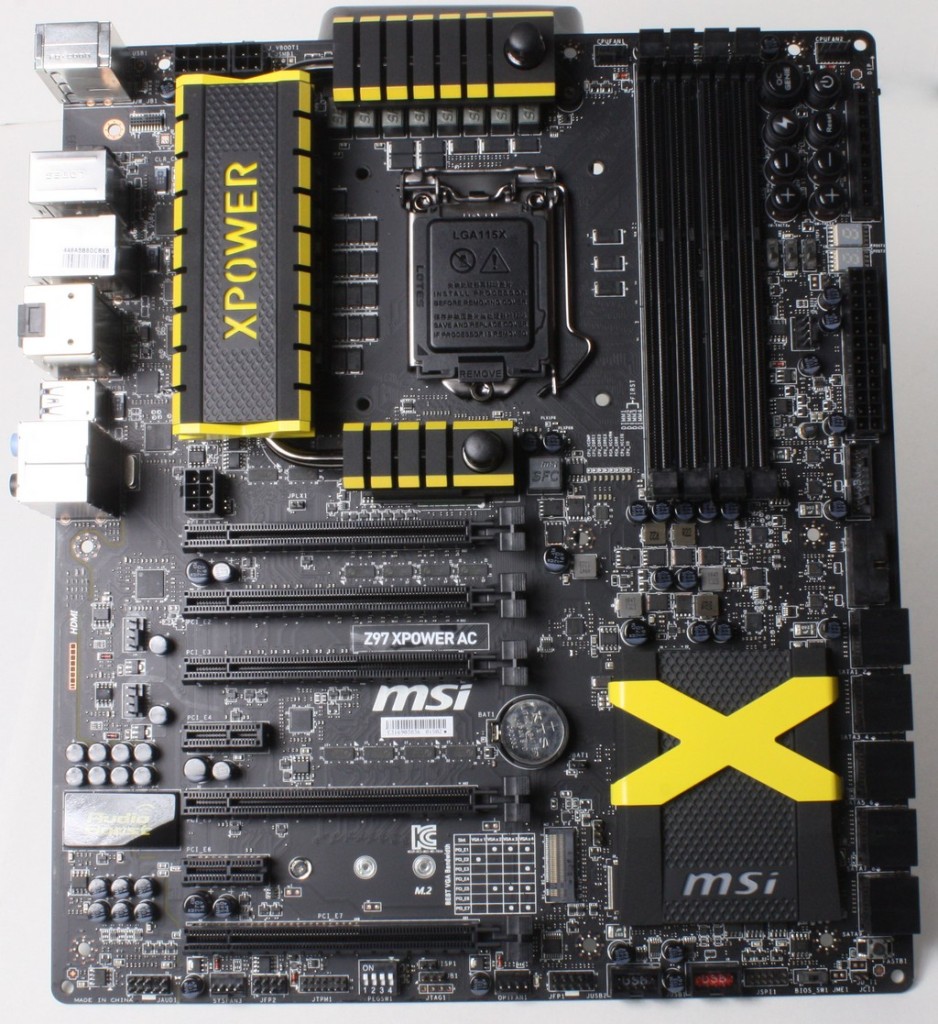
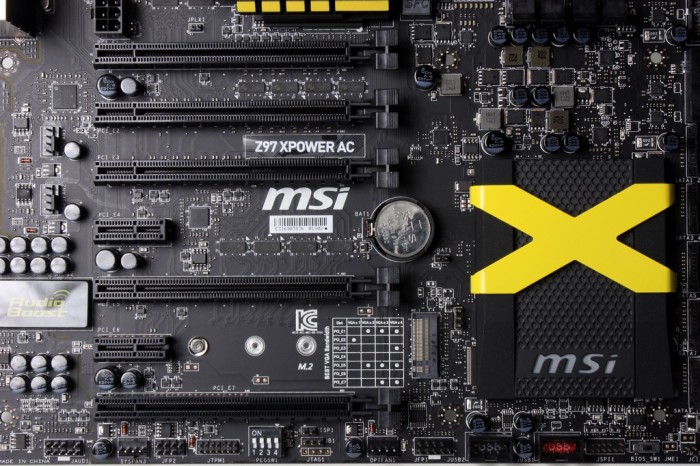
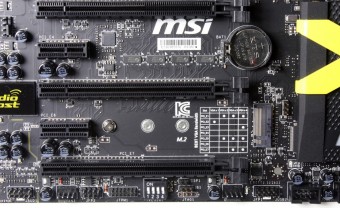
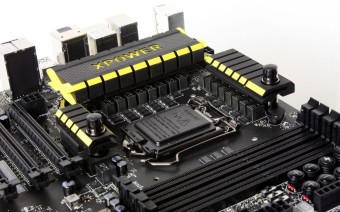
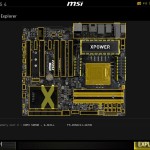
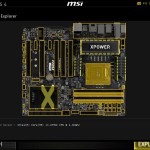
Here you can see the whole board and the Matte black PCB simply looks awesome. the board layout is about what we have come to expect from an OC based board with everything being down to business and readily accessible for quick control during a bench session. I would have liked to see the 6 Pin PCIe power connector at lower board instead of mid board so you dont have an errant cable laying across the board during a bench session I would much rather see it right angled at the lower board edge similar to what EVGA does which allows the cable to be out of the way. I do like that MSI puts a recommended install guide actually sikscreened to the board so that you know exactly what slots should be used for a specific card configuration.
Click Image For a Larger One
Click Image For a Larger One
- PS2 combo keyboard/mouse port
- 2x USB 2.0 Ports
- WiFi/WiDi module pin header
- Clear CMOS Button
- Optical SPDIF connector
- 8x USB 3.0 ports
- Gigabit LAN port
- Displayport Connector
- HDMI Port
- up to 7.1 Channel HD audio via Realtek ALC1150
The connectivity is plenty for high speed usage however do note that much like the Gaming 9 board the Xpower uses a very fragile pin header so extreme caution should be observed when installing the WiFi module, and my opinion would be that MSI should just install the module directly in the future and use a stronger pin header.
Click Image For a Larger One
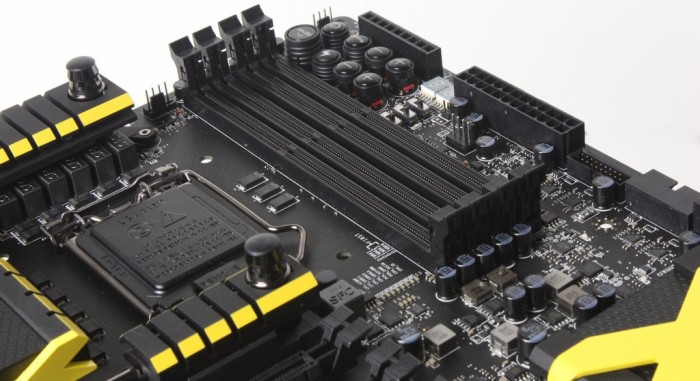
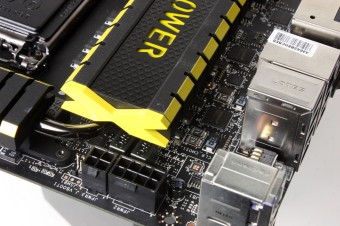
Moving to the far right near the 24 Pin ATX connector you can see the V-Check Point cables connector which is where you can take direct readings from the board for voltages which will give you some idea of how things are running and also help with diagnosis in the case problems arise.
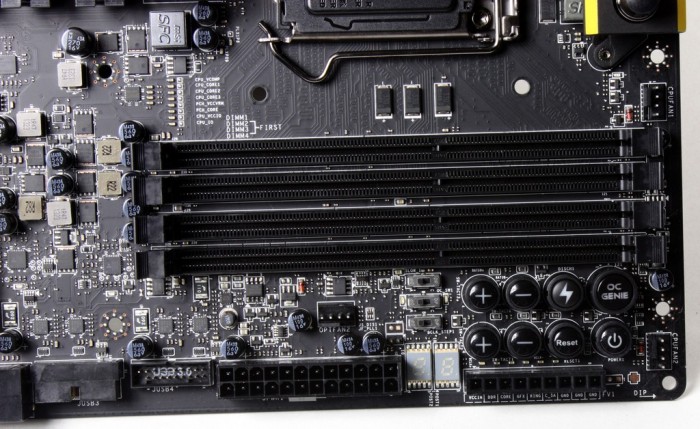
The control buttons are much more involved here as unlike the gaming series board we recently took a look at, this one has many direct Overclocking buttons. You have the OC Genie button which works as we previously talked about by providing a proven stable overclock to the system including the iGPU to give overall better gaming performance. There is also dual sets of +/- buttons which control both BCLK and CPU Multiplier control and even a switch to change the scaling from 1MHz on BCLK to 0.1MHz for even finer granularity when tuning.
The real star as we see it is this button with the lightning bolt which is called the “Discharge Button” and is basically a much deeper version of a Clear CMOS. It not only clears the BIOS settings but it even clears the training on the board which allows for clearing of the PCH and everything similar to what you get by removing the battery for several minutes to let the board clear. Some may ask why this even exists, but anyone who has ever benched subzero and had the board freak out knows that having that same capability by simply pressing a button for a few seconds knows this is a lifesaver so to speak. If you have a board sitting at extreme subzero, and you have to power it off, the whole board will begin to freeze up and frost over very fast. Letting the board sit there with the battery out is not an ideal solution.
you also have 2 more toggles which control the OC Genie “Gear” where in standard mode you get basic OC Genie and when ticked up you get extra performance for those using better coolers such as AIOs or custom liquid cooling.
The last toggle would be the “Slow Mode” switch which is used to turn the speed way down in order to ensure safe posting at extreme clocks and even for some quick validation attempts where the speed may only be stable for a very short time you can tune in slow mode for stable operation and slick it over to a higher speed for the validation purpose.
Click Image For a Larger One
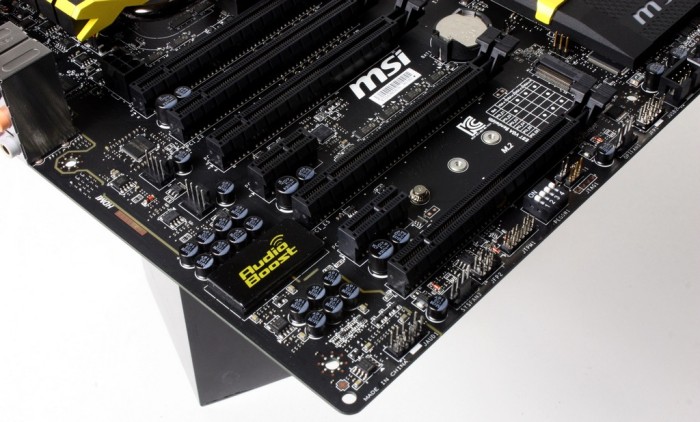
The audio boost audio solution has the PCB separation line in place which is backlit yellow to match the theme of the MSI Xpower overclocking series of boards, but more importantly what this highlights is the fact that the PCB area for audio is separated on its own island of PCB. This allows for less signal interference and better audio quality overall due to having the audio components on their own private paradise island on the side of the board. The yellow backlighting just adds some character and extra bling to the application.
Click Image For a Larger One
The lower edge of the board you can see the “Cease Fire” switches used to disable PCIe slots along with all of the pin headers to allow connectivity to the board.
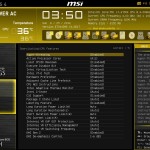
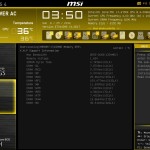
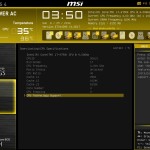
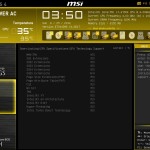
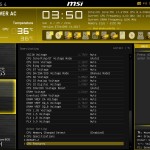
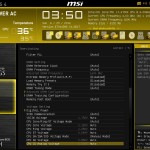
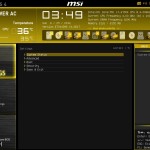
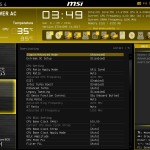
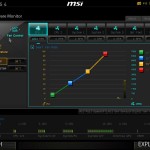
BIOS Overview
Click BIOS 4
Review Overview
Performance - 9
Value - 8
Quality - 9
Features - 9
Innovatgion - 9
8.8
The MSI Z97 Xpower AC has some upgrades from the Z87 model including better form factor, now its a question of does it fit your needs.
 Bjorn3D.com Bjorn3d.com – Satisfying Your Daily Tech Cravings Since 1996
