Overview of the ASUS X79 Deluxe

Click Image For a Larger One
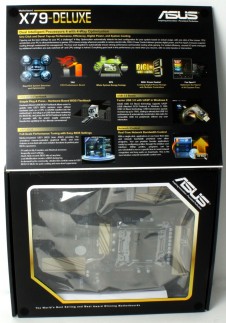
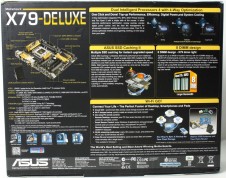
The packaging for the X79 Deluxe mirrors closely the Gold Z87 boards but just for a X79. Overall as many features are similar you can expect that minus the X79 only features much of the usability icons are similar as well.
The flip up front door allows you to see the board albeit through a static bag and the flap shows some key feature data for extra support on why this board may be a good value for you.
Te rear is pretty standard with a bit more feature detailing and some compliance info.
Click Image For a Larger One
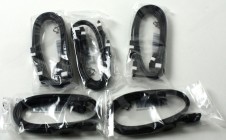
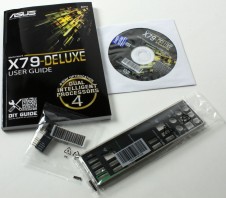
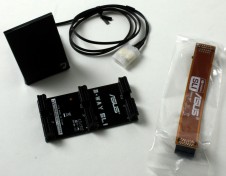
Here we see the complete accessories included.
- SATA Cables (10)
- WiFi/BT 4.0 Antennae
- Qconnect front panel connectors
- IO Shield
- SLI Ribbon Cable
- 3 Way SLI Bridge
- Installation disc
- Owners Manual
The accessories are more than enough to get you moving without too much hassle including the WiFI Antennae to handle the wireless duties quite nicely. Also I will take this time to note that I do like the new Wifi Antennae design much better than the dual antennae version used previously.
Click Image For a Larger One
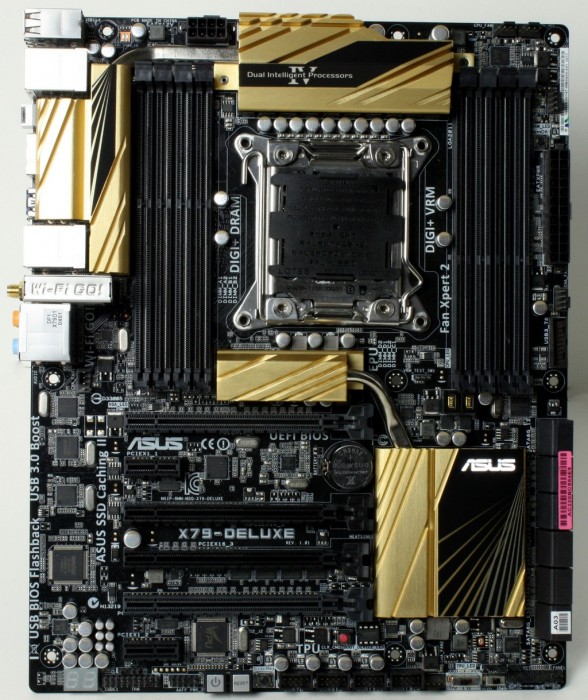
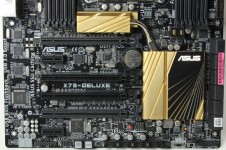
Here you have it, the X79-Deluxe in full gold-colored glory. No I am not necessarily sold on the gold color heatsinks as I like to see some very clean builds and the gold just seems to be an odd color for trying to match into a custom build but overall the appearance aside the board is functionally from a layout perspective quite solid with every single connector at boards edge and even the power/reset switches at the bottom of the board which even with a dual slot GPU in place should be easily accessible.
Click Image For a Larger One
Looking at the IO it as well as the board is stuffed quite well with features.
- WiFi AC/BT4.0 Card
- Intel Gigabit (10/100/1000) LAN Port
- Realtek 8111GR Gigabit Ethernet port
- USB BIOS Flashback Button
- 6x USB 3.0 ports (6x Asmedia ASM1042)
- 4x USB 2.0 Ports
- 2x Powered eSATA 6G ports (Asmedia ASM1061)
- Optical S/PDIF Port
- 8 channel Realtek ALC 1150 powered audio connections
The connectivity for the X79 Deluxe is very strong with super high speed WiFi AC, newest power saving Bluetooth and a whole host of other high speed connectivity lying in wait for your very need.
Click Image For a Larger One
Here we have the memory slots which support up to 64GB Tested and even up to 128GB per ASUS confirmation and speeds up to 2800MHz + but that all depends on the components at play and also the strength of the IMC on the chip you have. I have seen some which pull 2.8GHz+ with ease while others have had a bit of a struggle to get there and also the quality of memory IC has a huge impact on capabilities here as well.
The slot layout is great for running two Triple slot cooled cards or even triple dual slot cards although it is worth noting that since some PCIe Lanes are used for other devices such as Wifi and whatnot the X1’s qould be disabled in favor of the add on features. The triple SLI will run at lane widths of x16/x8/x8 which at PCIe Gen3 spec should be of no issue and will easily feed even the most hungry system although I think many will favor a single or dual card setup with maybe a HBA for a super strong storage raid array since the native Intel ports for X79 only support 2x 6G SATA ports.
The onboard SATA solution has the standard PCH six ports with two of these being 6G capable and the other four supporting up to 3G speeds. now ASUS added six more (Brown colored) ports coming from two different controllers and unfortunately the color of these add on ports are all brown so you have to look at the silk screening of the board to figure out which are which. Just for note the ports taht connect to the Marvell controller for the SSD Caching II feature should you want to use it will be the four brown ones labeled SATA6G_E1, SATA6G_E2, SATA6G_E3 and SATA6G_E4 which also happen to be the four closest to the PCH ports, leaving the other two ports lowest on the board being the Asmedia based.

Click Image For a Larger One
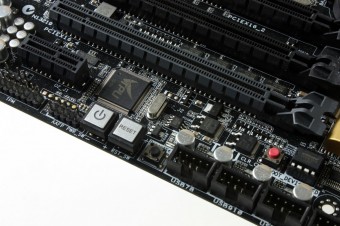
Here you can see the lower edge of the board which is where almost all of the internal connectivity happens. This board has a ton of internal USB headers more than I have ever seen on any chassis which is good since so many devices now use USB internally such as Digital PSUs or AIO coolers and the like all use an internal pin header so having the four across the bottom really is a good thing. Here you will also find two toggle switches which enable the TPU for Automatic overclocking or the EPU for power saving optimizations on the board. lets not forget the front panel connections which also can be found on the far right of this. Mid board you will see three button two of which are large silver squares for power and reset along with a smaller black button for “Directkey” usage which allows from a power off state to enter directly into BIOS instead of spamming DEL hoping not to miss it, and with present day fast boot on systems this is an awesome feature. The small red button you see a bit above this bottom row is used for CMOS clear in case things go sideways when tuning the board you can reset all parameters to start fresh and get things back to normal default operation. To the left of these buttons you will see two headers of which there is AAFP which is the front panel hi def audio header and also the TPM which is the Trusted Platform Module header used for integrating a high security cryptography processing module onto the board which is a necessity for some more secure workstation installs.
Also there’s a two pin header labeled DRCT which I feel needs some love here as this allows for an external switch or even the rest switch to be connected to this header and this allows for “Directkey” fucntion to boot straight into BIOS via an external switch rather than needing access to the motherboard or once again having to spam the DEL key.
Last but not least is the left had side of the bottom which is the 2 Digit post indicator and this can really save your skin should you have a posting issue as it gives you a code along the posting process which will let you know where its hanging. Now one thing I see is many users will look at the code as a end all tell all solution or diagnostic measure when in reality its more of a head start in the diagnostic process and needs to be observed as so since many times it will hang on an unrelated code to the issue but by observing the posting steps and what happened before or what would be next in the sequence may need to be looked at as well in the diagnostic process.
Click Image For a Larger One
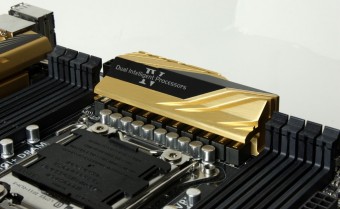
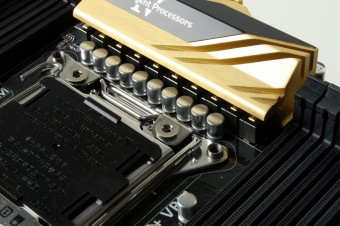
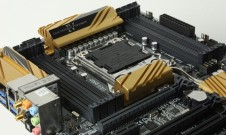
The VRM on the X79 Deluxe is a stout 8+2 design which is not anything huge for such a powerful and power hungry chip as the six core chips slated for these boards but overall knowing ASUS component quality choices this all digital VRM should easily handle the loading you place on it. also it is worth noting that the DRAM gets a 2+2 design as well to ensure maximum power delivery capability along with good stability for better overclocking capabilities. The large gold color VRM sink is in place to keep temps in check and although the CPU socket area is admittedly crowded the height of surrounding components and coolers is rather low which should allow for good fitment compatibility with most coolers.
It is also worth noting that the 2+2 on the DRAM is especially nice since implementation of T Topology memory designs on this new X79 model means more performance capability as the traces are now optimized to allow signaling to be much more efficient and equal length traces all signals should reach the DIMMS at the same time!
Software Overview
AISuiteIII

ASUS has completely redesigned the AISuite Software with the AISuite III software. A completely new user interface is now available and with that comes a much smoother function.
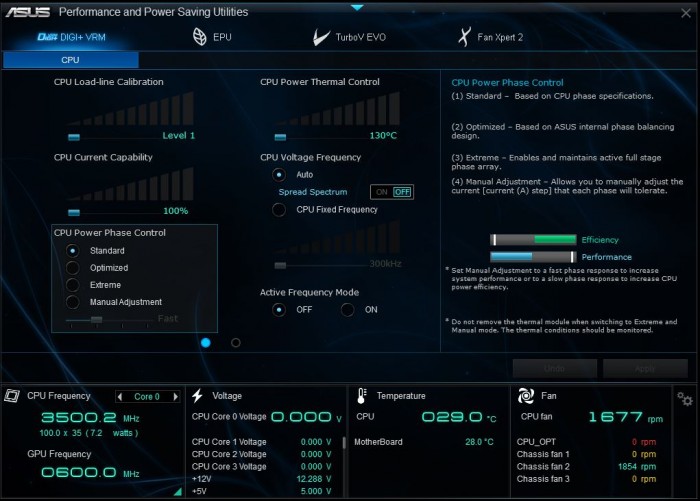
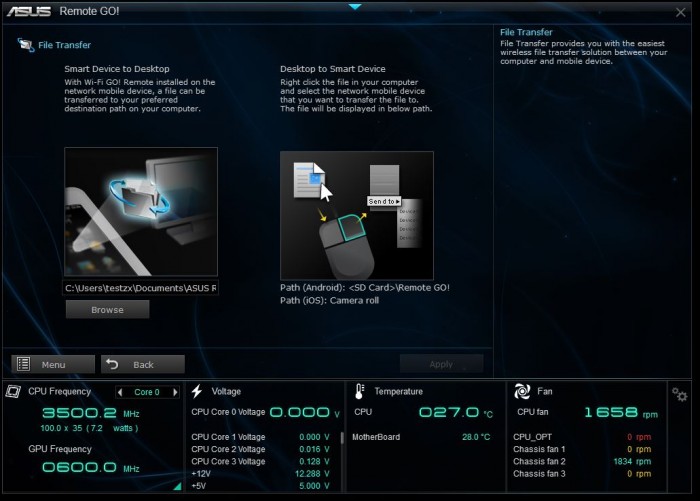
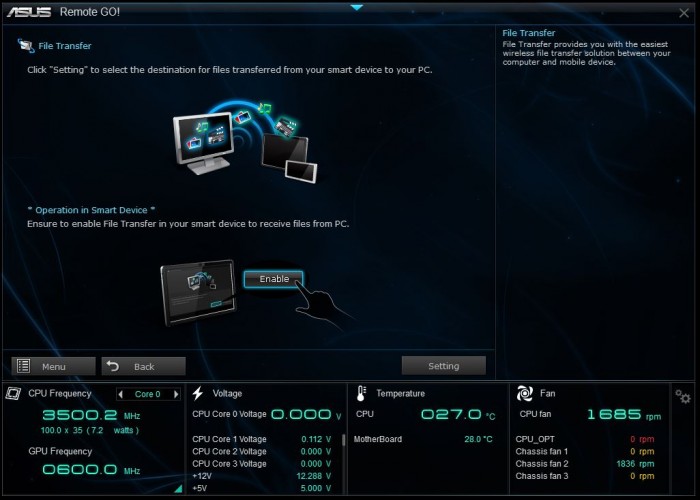
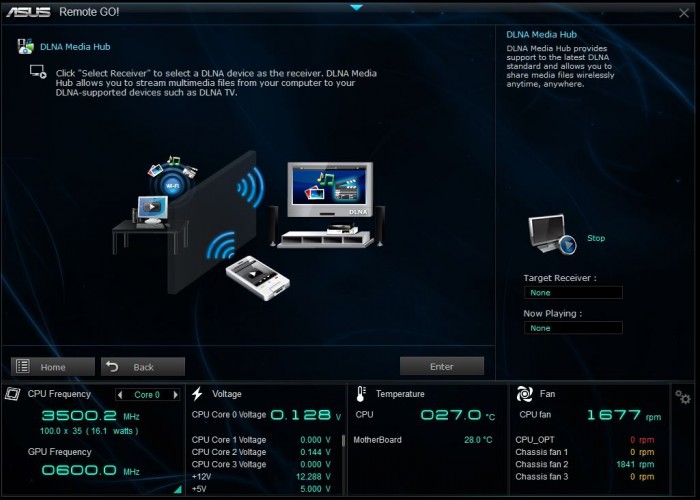
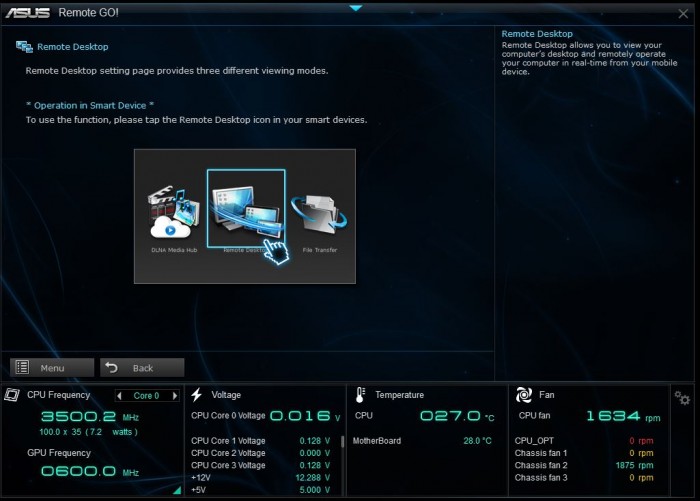

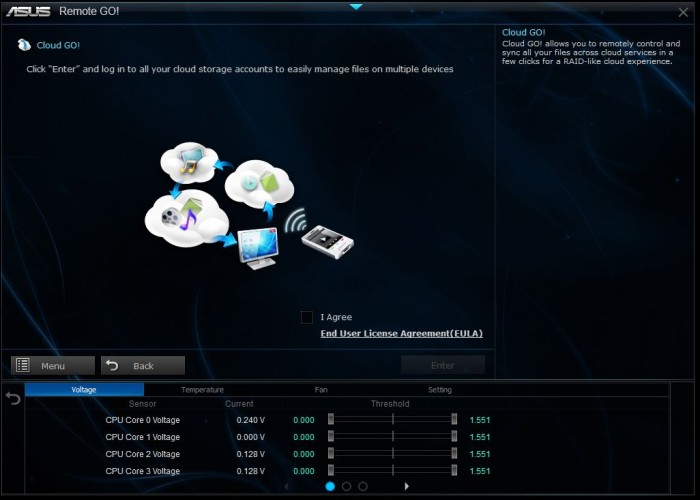
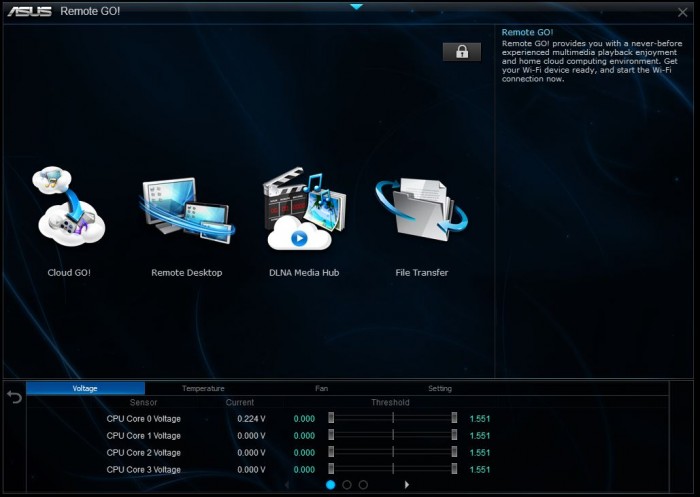
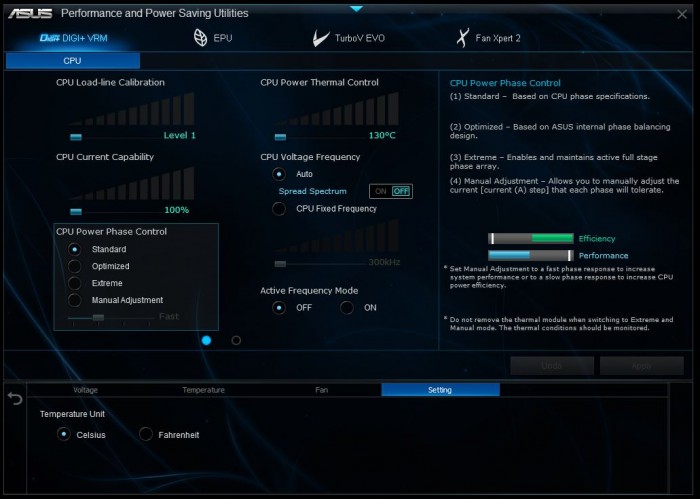
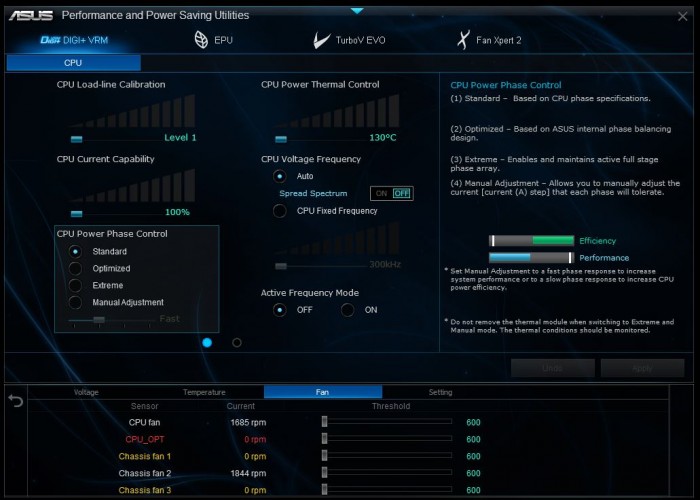
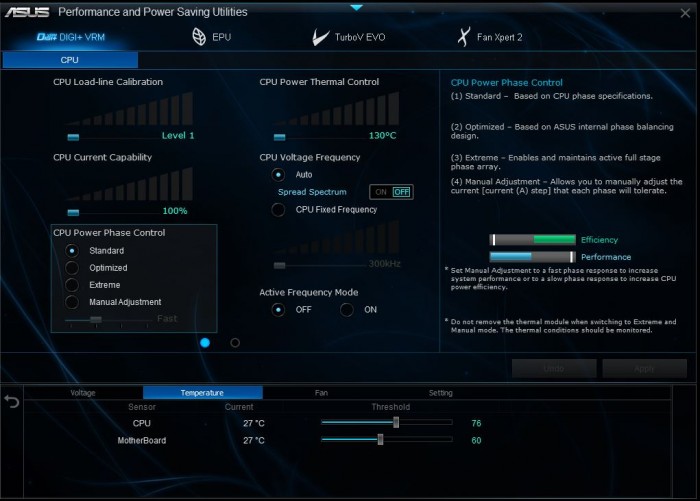
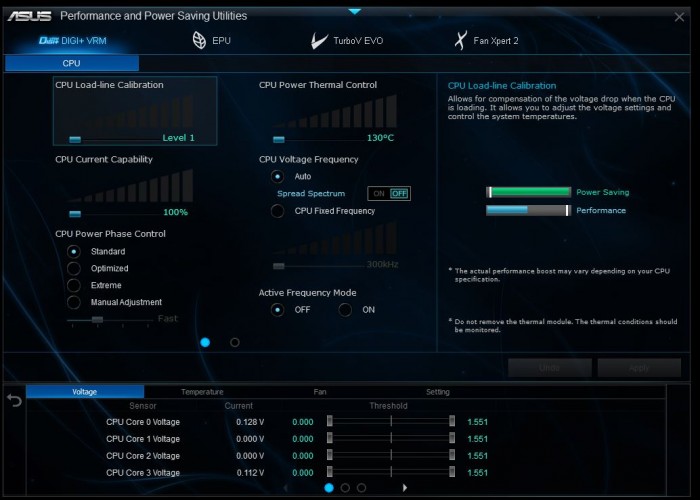
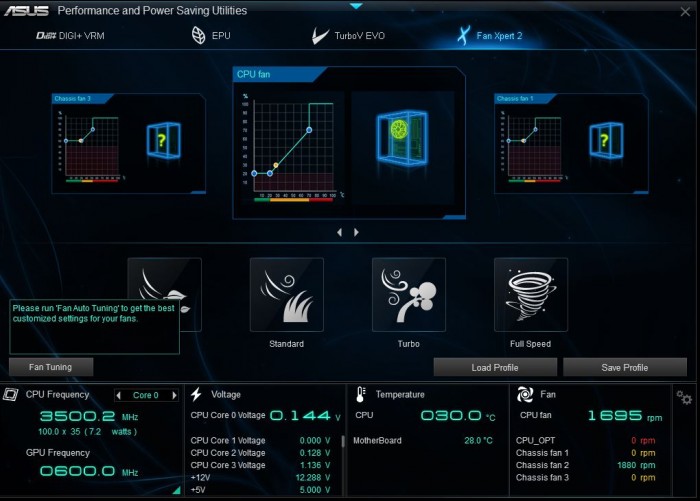
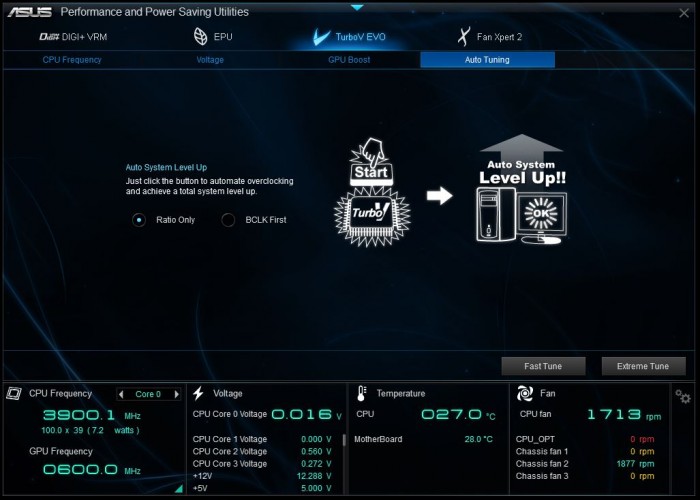
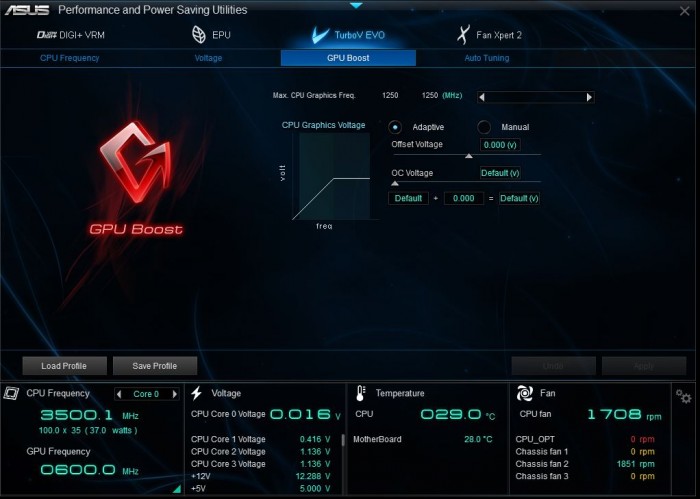
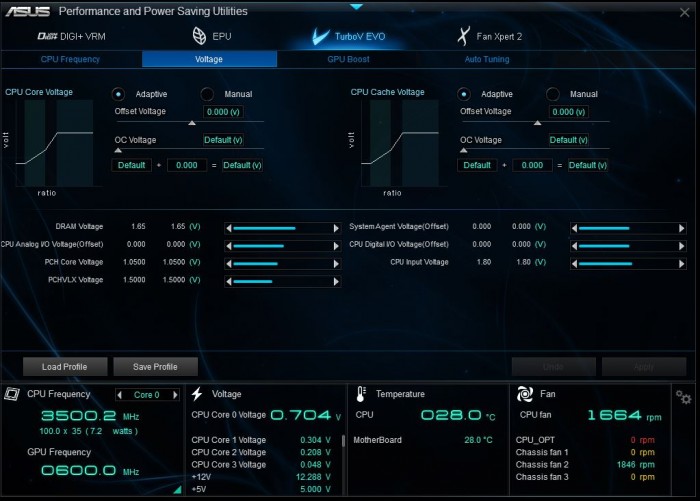
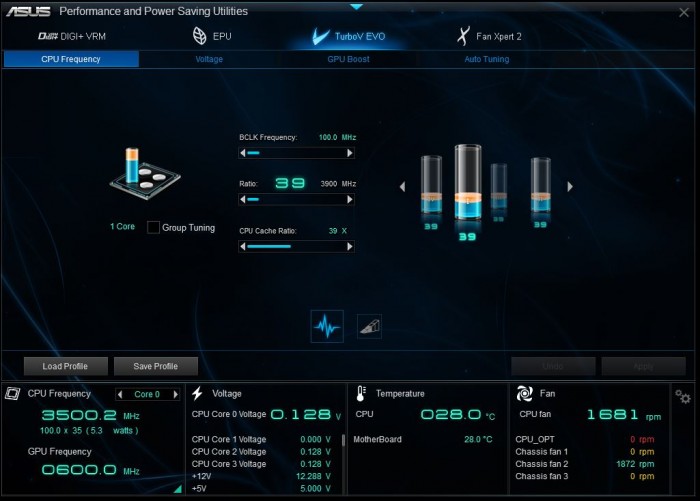
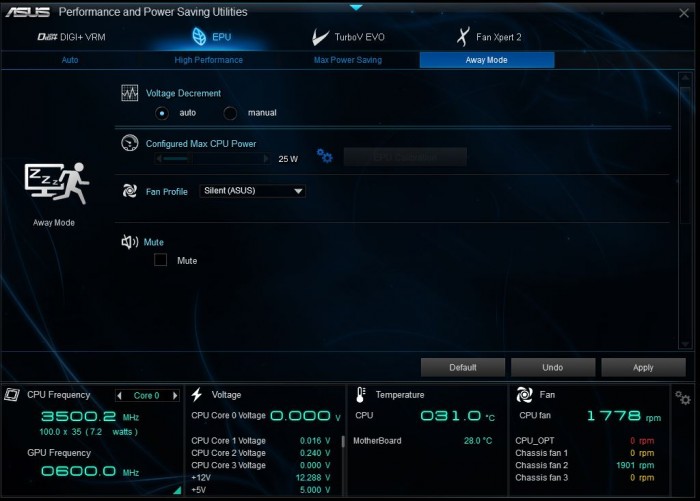
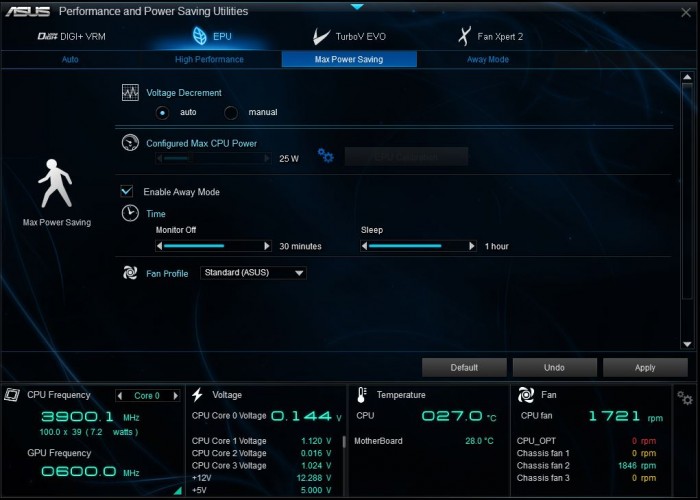
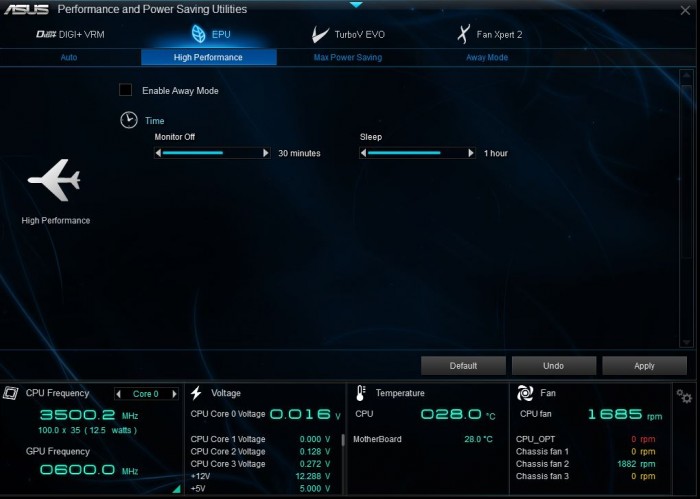
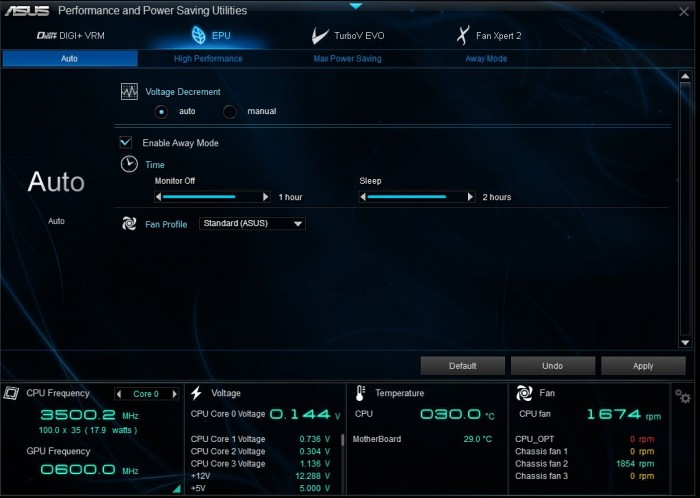
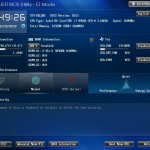
Overall the AISuite III software has been completely reworked for a cleaner looking interface. As you can see there is a lot more information available in each section as the upper screen gives you the controls of the section you are in and the bottom area can be tabbed through and has a load of different monitoring areas to cycle through and help you see exactly how your board is behaving in real time. Also this is a significant change so it may take you a few minutes to figure out where everything is at but in the end it is quite easy once you get the hang of it as the system has changed from a selector bar or taskbar driven software to a larger screen driven software.
TurboV Core
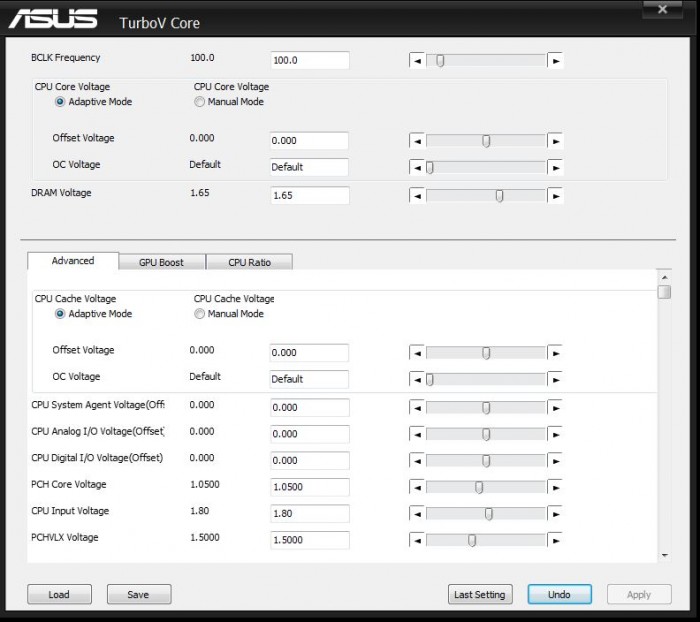
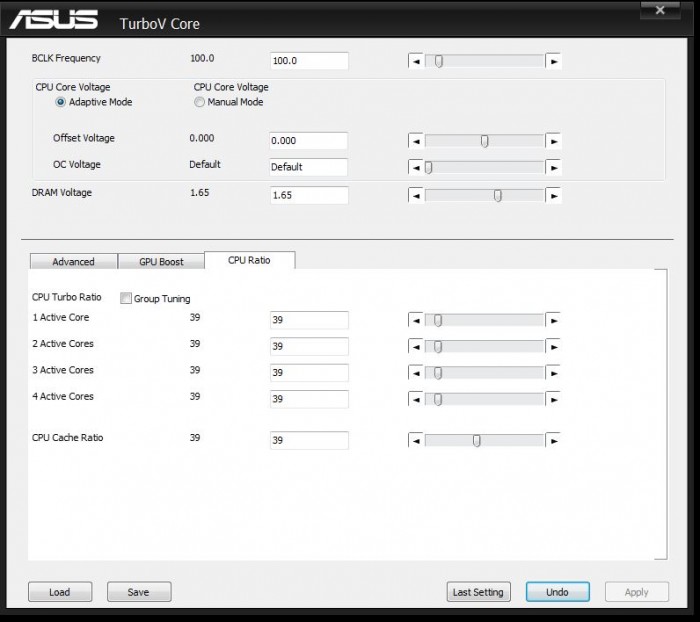
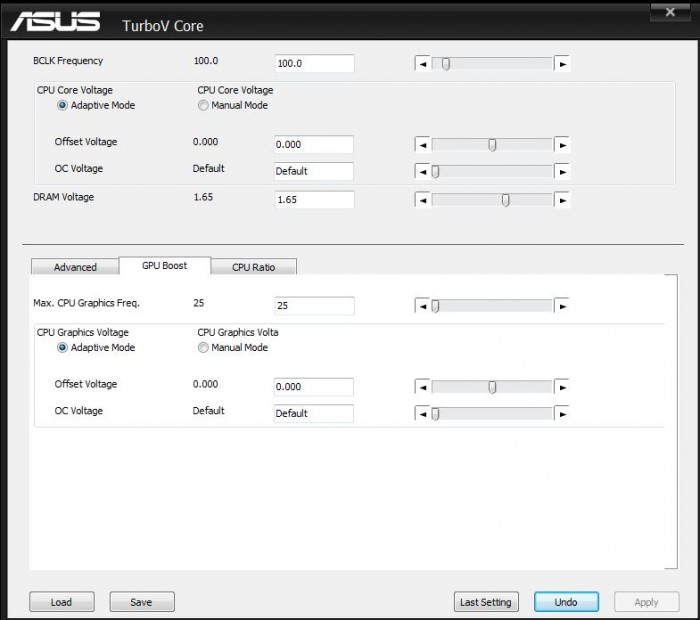
Turbo VCore is a super lite program made for quick and easy board tuning within the OS. We have seen many companies starting to realize that their included software is a bit too much or a bit too heavy for users who need a super light easy to load program that also loads quickly as being on the ragged edge overclocking you cannot wait for a huge program to load just to make a quick change.
The Turbo VCore program is just this and it fits the bill nicely as it loads very fast and load or overhead on the system is very small which is exactly what you need when running in such extreme conditions.
BIOS Overview
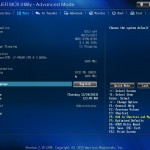
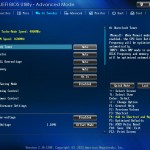
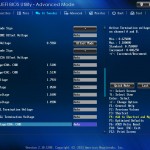
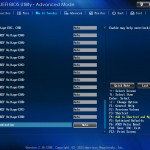
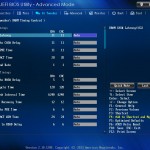
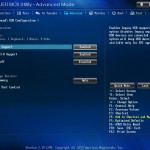
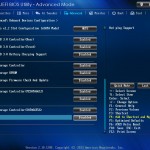
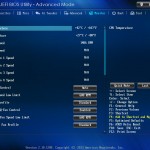
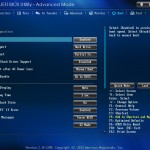
The BIOS of the X79 Deluxe very closely mirrors that which we have covered in the Z87 boards and ASUS basically adopted everything from the features to the entire layout for these new X79 models. The layout is very smooth and settings are easy to find, then add to this the ability to set favorites or shortcuts to your most commonly used settings and it makes digging for settings a thing of the past. Also the ability to take notes in the BIOS allows you to keep tabs on things you notice from setting to setting. also one thing I really like is when you go to save and exit BIOS it gives you a small recap of all of the settings you have changed so that you can review them before saving the settings in case something was incorrectly entered you can catch it before suddenly hitting a post hang from a simple mistake.
Performance - 9.5
Value - 9
Quality - 9.5
Features - 9
Innovation - 9.5
9.3
The X79 Deluxe aims to breathe new life into the aging enthusiasts platform and with its optimizations and feature set it really makes a difference!
User Rating:
4.71
( 3 votes)

 Bjorn3D.com Bjorn3d.com – Satisfying Your Daily Tech Cravings Since 1996














I have to say that the reason I went for a z87 rog board, is cause the colors were beautiful on the board and it was in my price range. It was good timing also cause the gold asus bards are fugly as hell. What were they thinking with that super ugly gold fake looking color. I was actually thinking of going back to ripoff gigabyte that never sent me my 20 dollar rebate those scammers. MSi was also in the stars but to many complaints on quality.