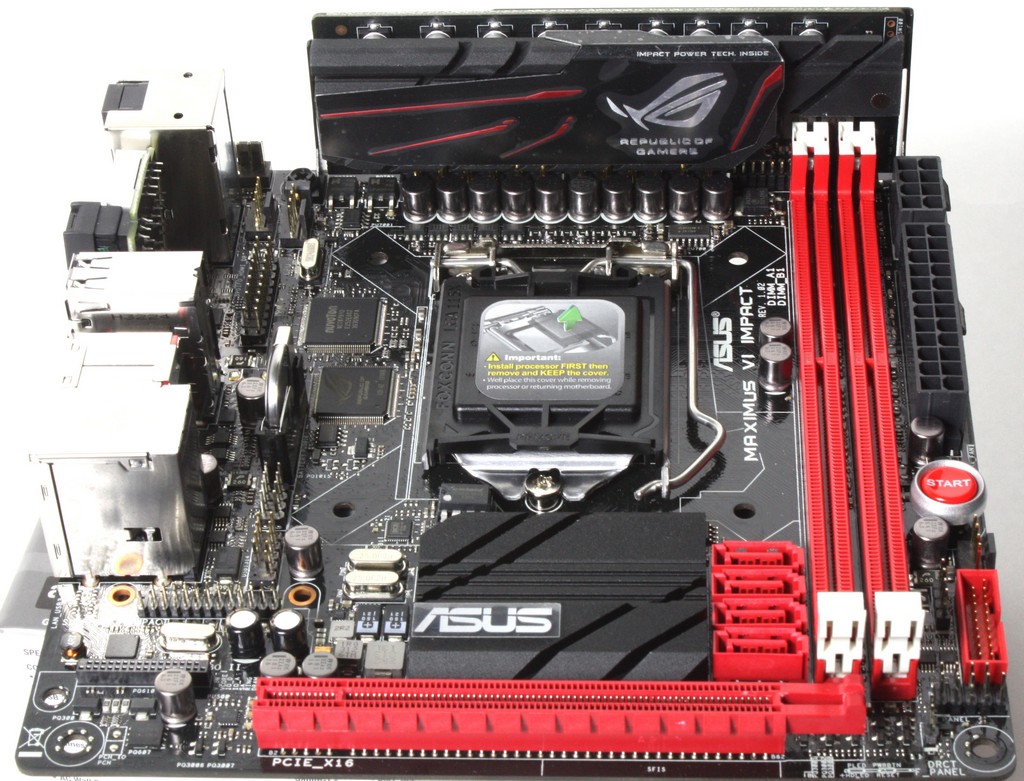
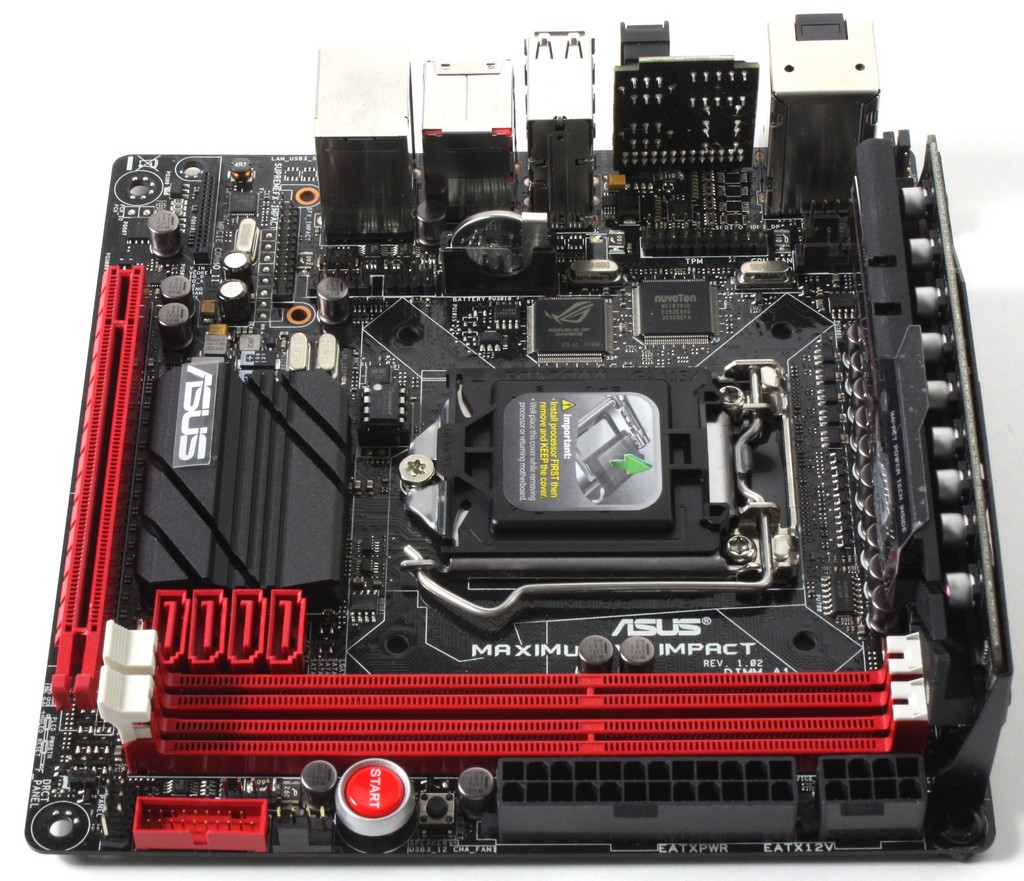
Overview of the ASUS Maximus VI Impact
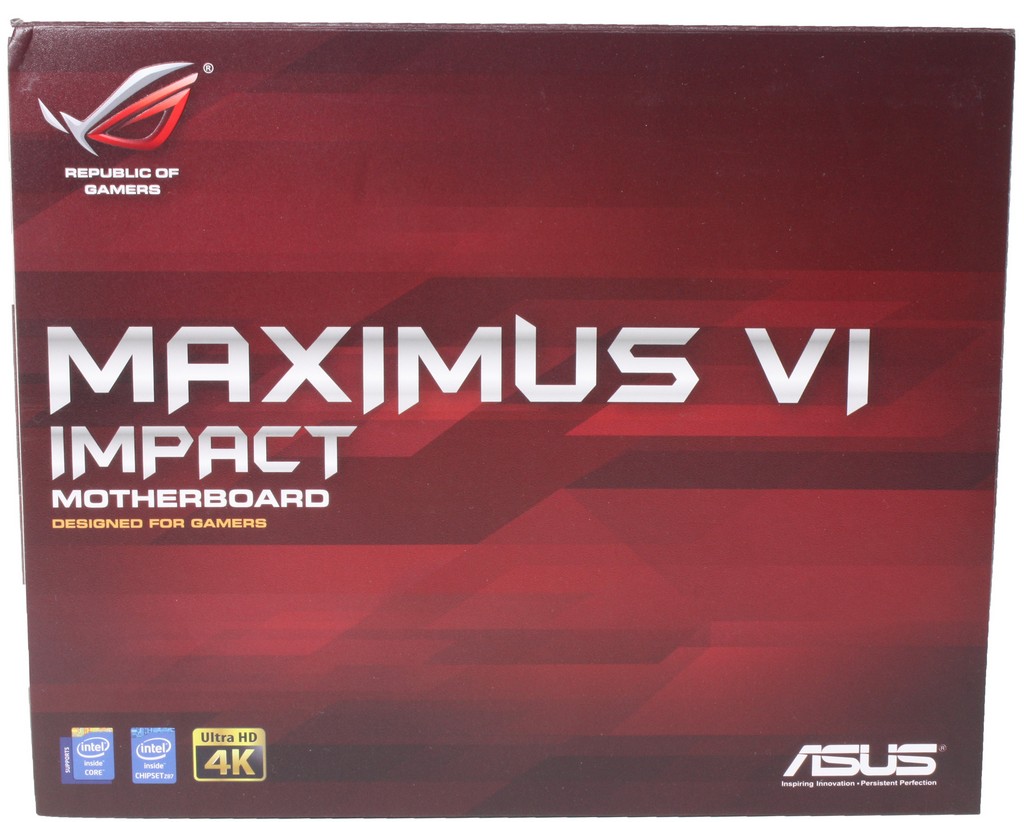
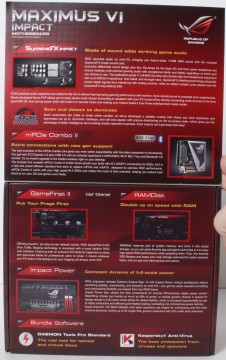

The packaging is a basic ROG design albeit smaller. The flap opens like you are used to but instead of a sight window we get more spec feature coverage and on the rear a bit more in depth.


Click Image For a Larger One
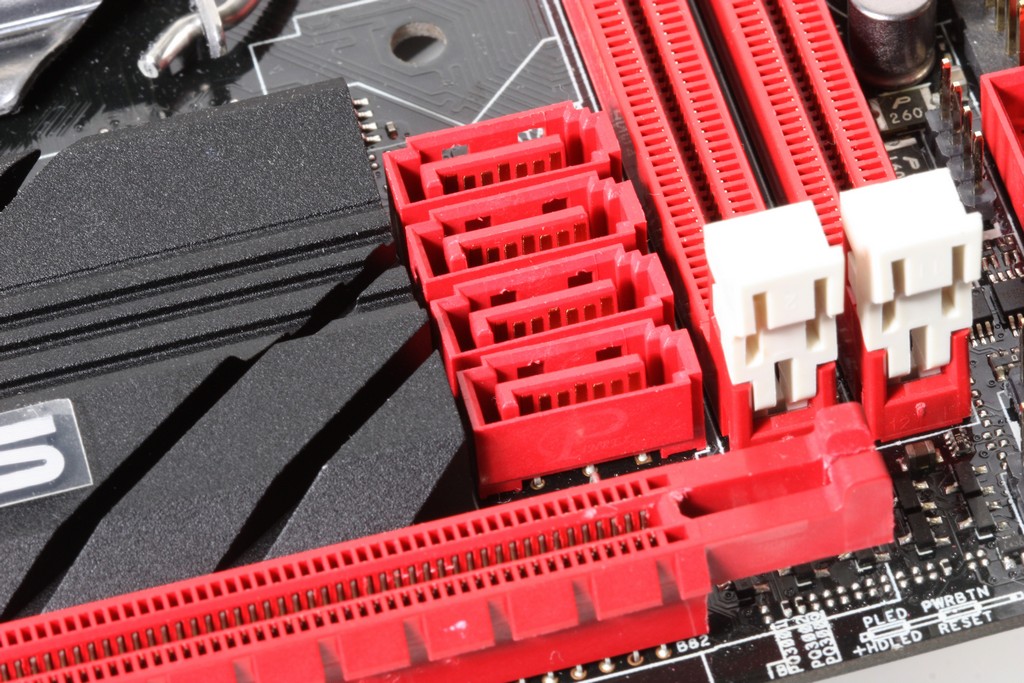
- SATA Cables
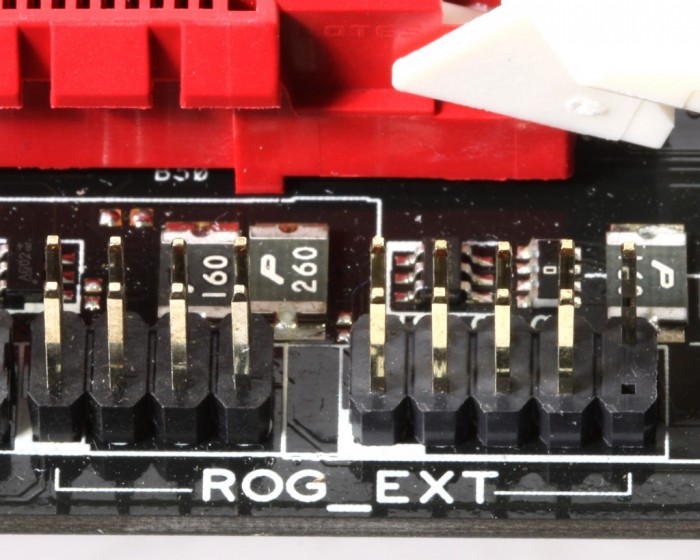
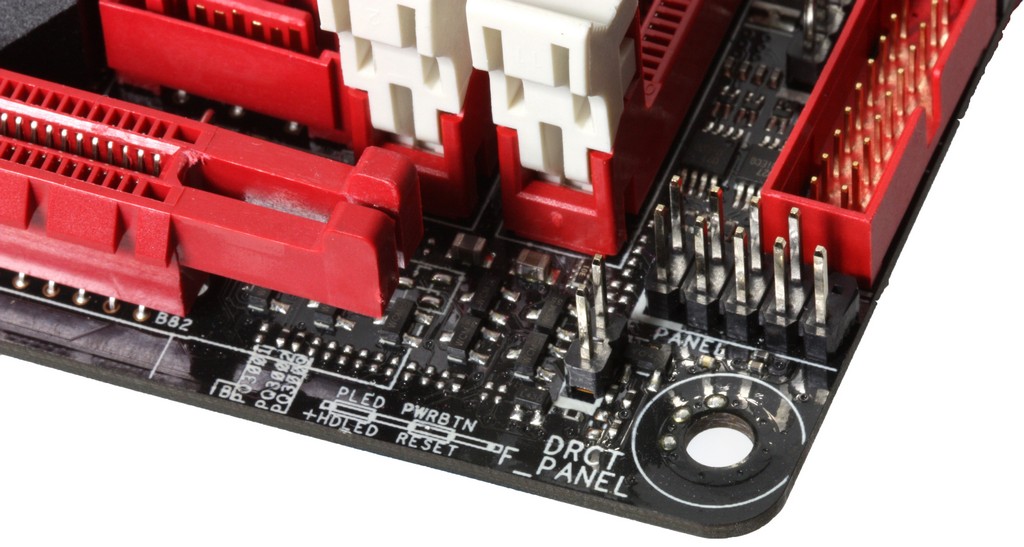
- Qconnect front panel extension connectors
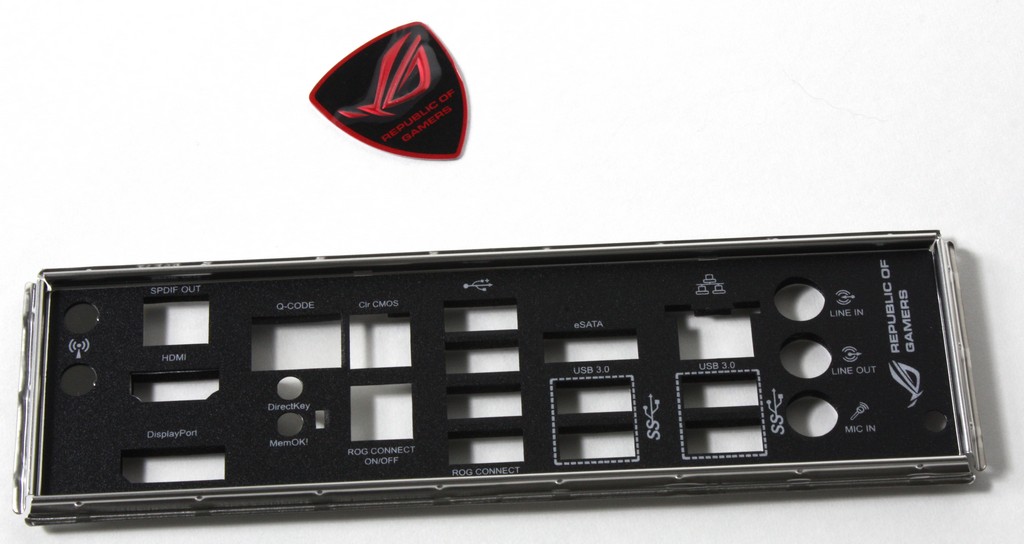
- IO Shield
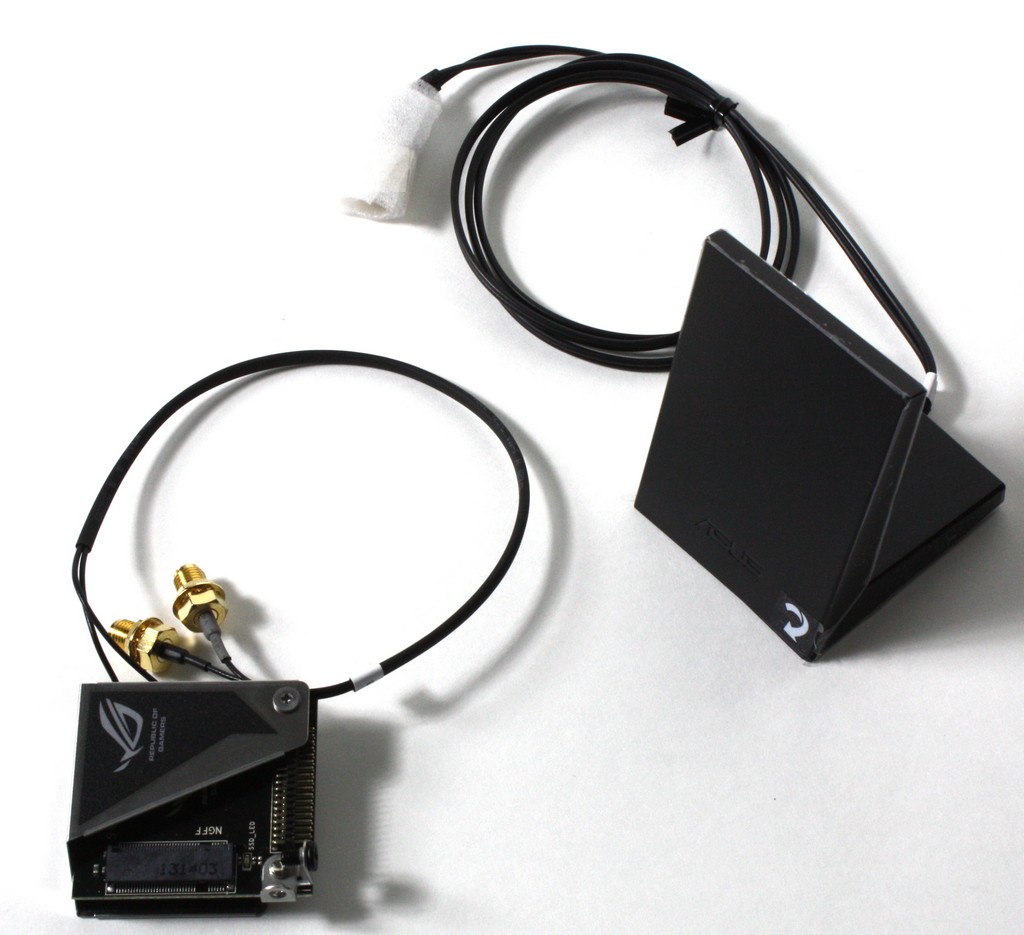
- mSATA/mPCIe Combo Card
- Dual in One Antennae
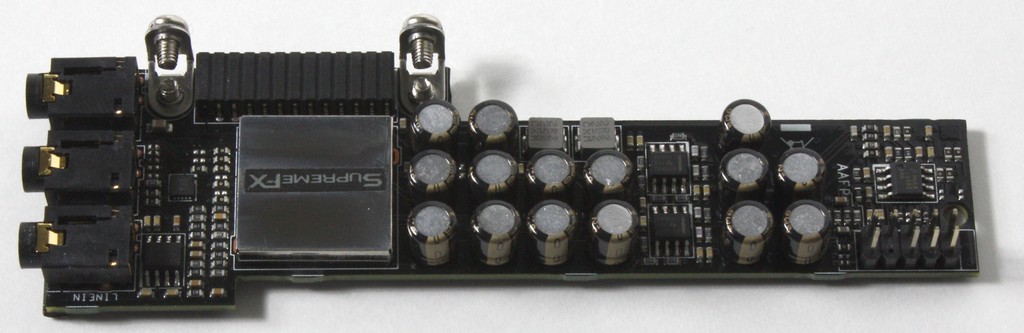
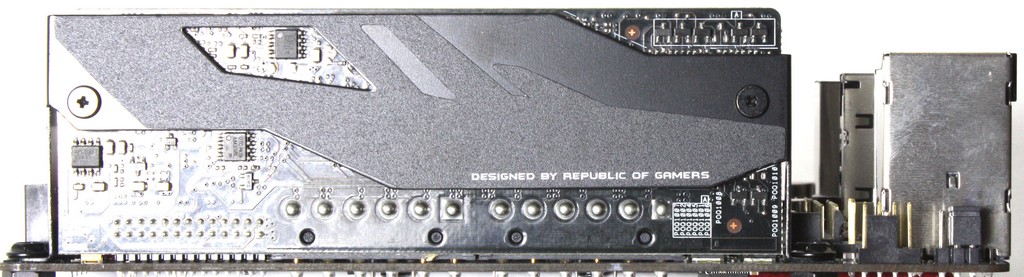
- SupremeFX Daughterboard
- Mounting screws
- Washers for rear of board cooler installation
- ROG Shield Case Badge
- Cable labeling Stickers
- Installation disc
- Owners Manual
The accessories here are everything needed to get the Impact up and running and I do like the way that ASUS did the Qconnect front panel connections as it is an extension header which means no fighting with the tight spaces to get the board wired up.

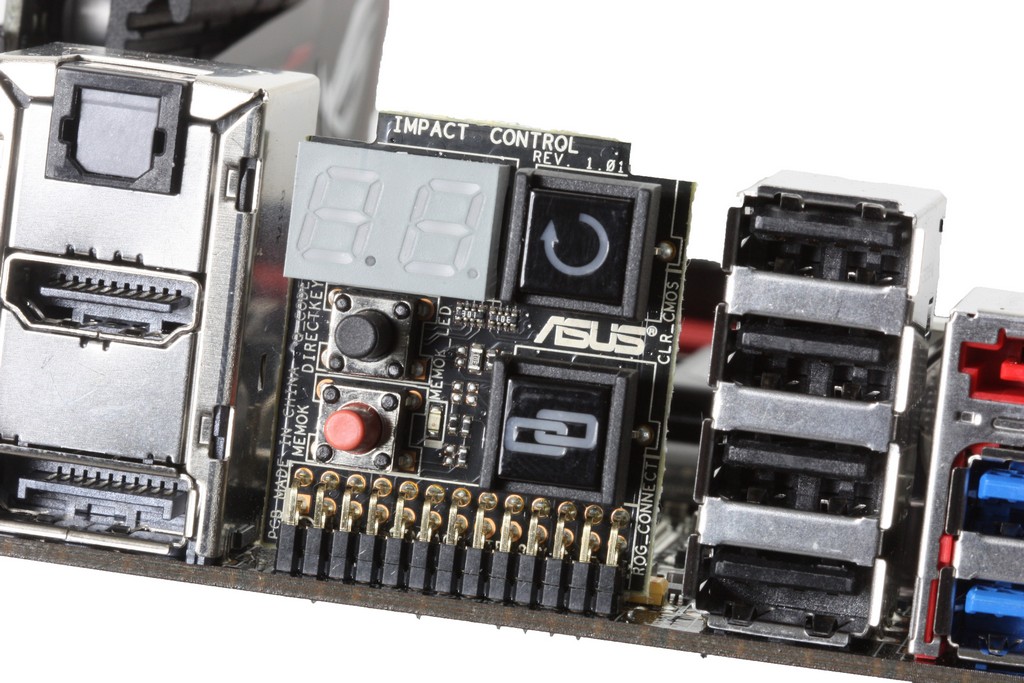
- HDMI Port
- Displayport Connector
- Optical SPDIF Connector
- LCD Poster
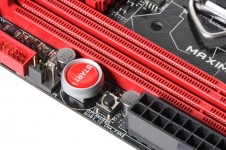
- Directkey Button
- MemOK Button
- BIOS Flashback Button
- ROG Connect Button
- 4x USB 2.0 Ports
- eSATA port
- Intel Gigabit (10/100/1000) LAN Port
- 4x USB 3.0 ports (4x Intel Z87)
- 8 channel SupremeFX powered audio connections (With Daughterboard Installed)
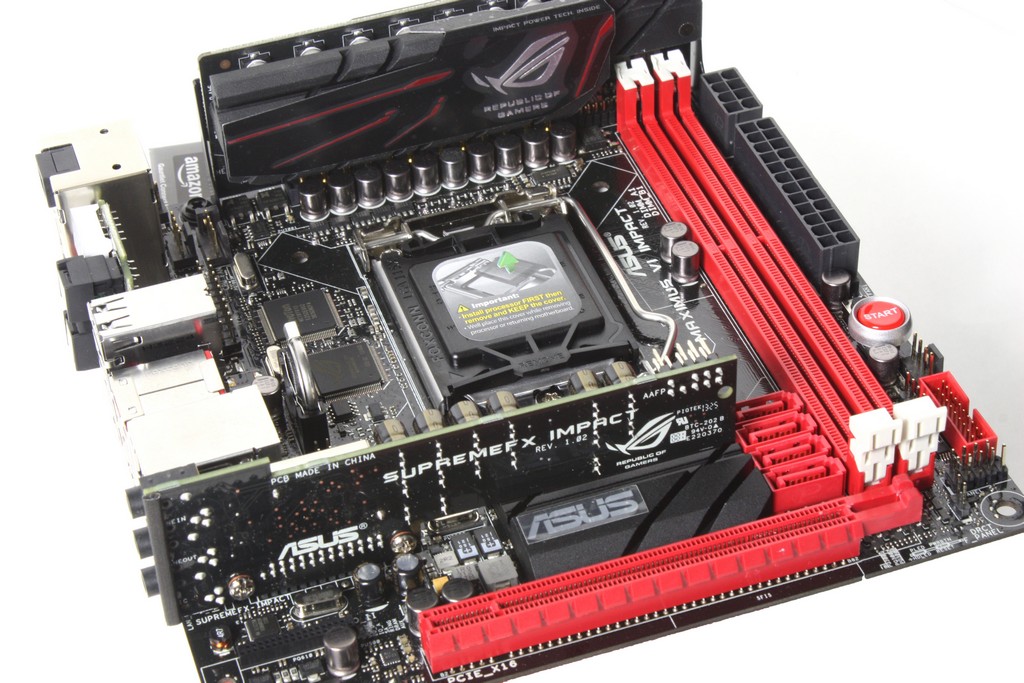
The sheer amount of connectivity made available on this ITX board is amazing and I do not know how they have done it.


Software Overview
AISuiteIII

ASUS has completely redesigned the AISuite Software with the AISuite III software. A completely new user interface is now available and with that comes a much smoother function.


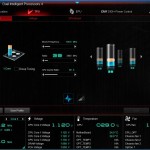


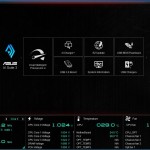

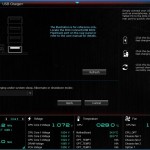
Overall the AISuite III software has been completely reworked for a cleaner looking interface. As you can see there is a lot more information available in each section as the upper screen gives you the controls of the section you are in and the bottom area can be tabbed through and has a load of different monitoring areas to cycle through and help you see exactly how your board is behaving in real time. Also this is a significant change so it may take you a few minutes to figure out where everything is at but in the end it is quite easy once you get the hang of it as the system has changed from a selector bar or taskbar driven software to a larger screen driven software.
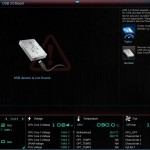
Mem TweakIt
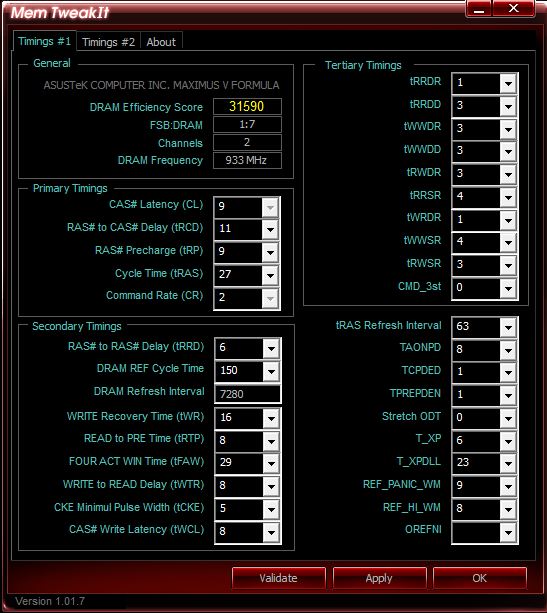
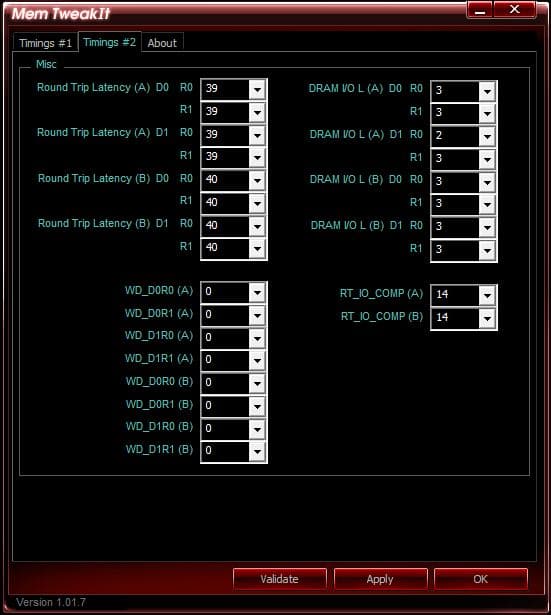
Mem TweakIt is a great program for extreme overclockers or tweakers as it allows real time adjustment and tweaking of the memory for the system which can make the difference between a high point run and a world record run.
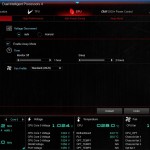
TurboV Core
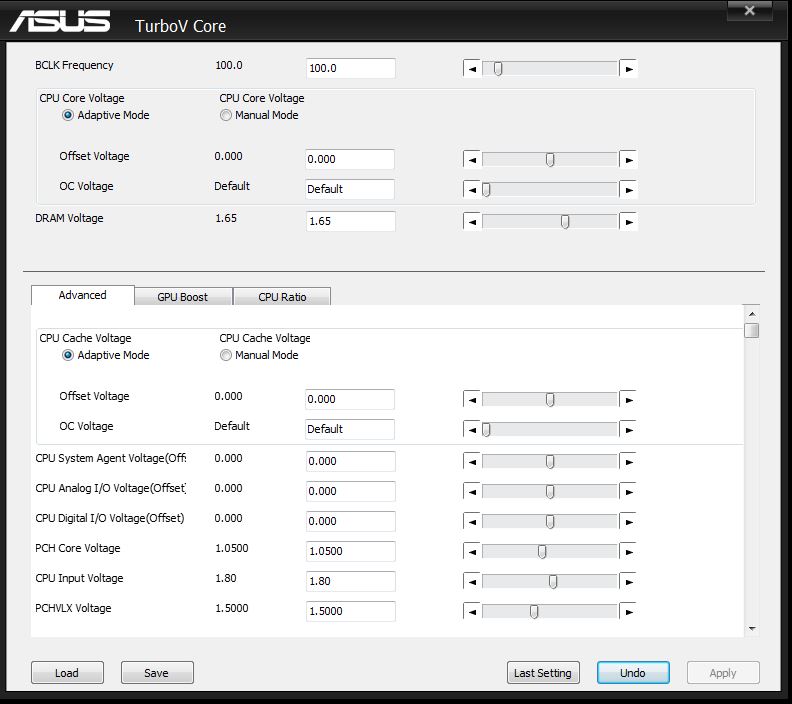


Turbo VCore is a super lite program made for quick and easy board tuning within the OS. We have seen many companies starting to realize that their included software is a bit too much or a bit too heavy for users who need a super light easy to load program that also loads quickly as being on the ragged edge overclocking you cannot wait for a huge program to load just to make a quick change.
The Turbo VCore program is just this and it fits the bill nicely as it loads very fast and load or overhead on the system is very small which is exactly what you need when running in such extreme conditions.
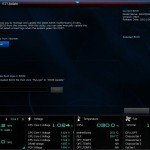
BIOS Overview

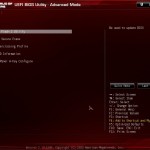


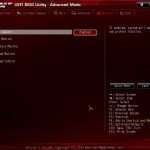


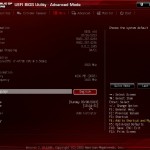


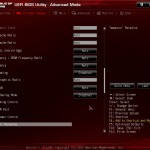
The BIOS of the ASUS Z87’s still carries the same fluidity that the Z77 and Z68’s carried as ASUS has done very well on the overall UEFU/I code which means the only think they have really needed to add was updates based on features or tuning of the board. Well all of that aside ASUS did add some very interesting features which we think will help some users especially those who like to tweak their boards and try to squeeze a bit more performance from them. The ability to take notes within the BIOS is very cool although I am old school and always keep pen and paper near by, we guess you could call this a “Green” alternative as you take notes on adjustments, although I would still keep a paper backup of any notes or at least a screenshot (F12) of the notes before flashing the BIOS as a bios update that goes deep enough could clear those notes and they would be gone forever.
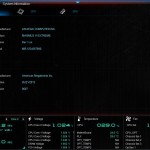
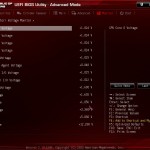
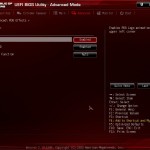
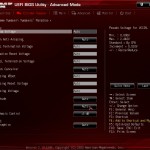
Another neat feature would be the Last modified section which basically just logs any changes you made in the BIOS so that if you run into an issue you can go back and look at what your changes were all dated and with a timestamp so that you can revert changes and test again without starting over. This is a interesting feature and I am not saying everyone will use it but well for the target audience of this board (Extreme enthusiasts and overclockers) we think it could ultimately be very useful.
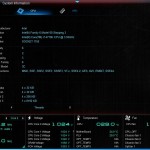
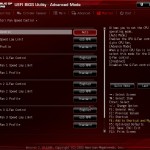
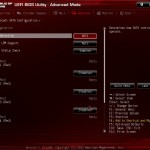
Another cool addition is the my favorites page which allows you to earmark certain settings within the bios to be placed on this page where you can go to and have access to your most commonly used settings without having to go through all of the other settings as there are quite a lot on this board.
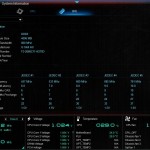
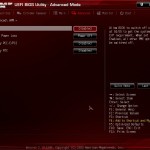
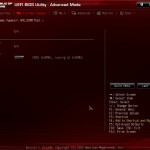
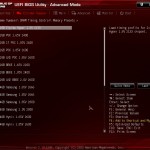
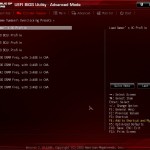
The memory presets like we have grown accustomed to show here again and from various testing I can say with utmost certainty that the Impact is proving to be one awesome memory clocking board so im sure these will be of good value to those who are looking to enter the memory benchmarking or frequency race.
Review Overview
Performance - 9
Value - 8.5
Quality - 9.5
Features - 10
Innovation - 10
9.4
The Maximus VI Impact is an extremely impressive entry as the ITX market has been waiting for a board of this caliber and ASUS finally made it happen and in traditional ROG form and flair!


This really looks like a great board and a perfect buy for my needs, but I really dislike that you need Java installed on your machine to be able to configure it. Besides screwing up the DPC (which is critical as I produce and DJ music) it is also the biggest backdoor and security risk you can have.
It is almost beyond stupidity and carelessness for security and their customers that Asus forces you to install such software package with such a bad track record as Java. When almost all vendors and websites has stopped using it (for very good reasons) – Asus does the oposite and starts using it. Wierd.
I was almost sure this was the perfect fully featured board for my mini-ITX build until I read that it needs Java installed. Too bad I have to search for another board, and I am not sure I will find anyone this such good hardware as this one (looks really awesome otherwise).
br,
martin
you dont need java installed, dont know where you got this from. that is just for
the software from asus that installs new drivers when available which really
you dont need and can search manually on their site. In fact this is the best
m-itx board available!!!