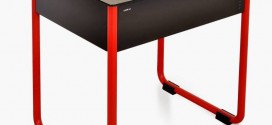
Lian Li PC-Q06 is probably one of the best looking test bench that I have seen. Its small footprint takes very minimal space but can it compete against the large test bench? Let’s find it out.
INTRODUCTION
For computer users who swap hardware, gaining access to all the hardware inside a case is an issue that causes headaches and cut fingers. This is especially the case for reviewers, who are constantly changing their hardware and tinkering with parts.
Those who shop for computer testbenches use two main critera when looking for their product: it must be sturdy enough to withstand the constant abuse of swapping hardware components while keeping the parts safe. In addition, it must be designed in a way that facilitates easy hardware changes. Many test benches on the market use an open-air design, with a metal scaffolding frame that offers easy access to the various components. These types of cases often prioritize function over fashion. Lian Li aims to change that with their latest case, the PC-Q06.
| Lian-Li PC-Q06 | $93.49 |
CLOSER LOOK AT LIAN LI PC-Q06
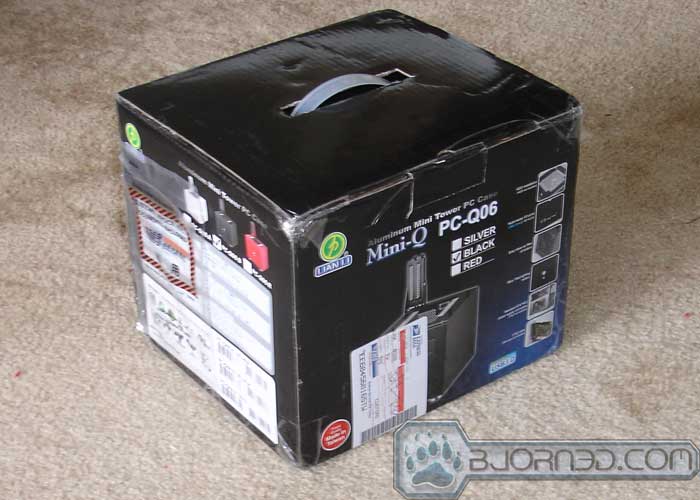
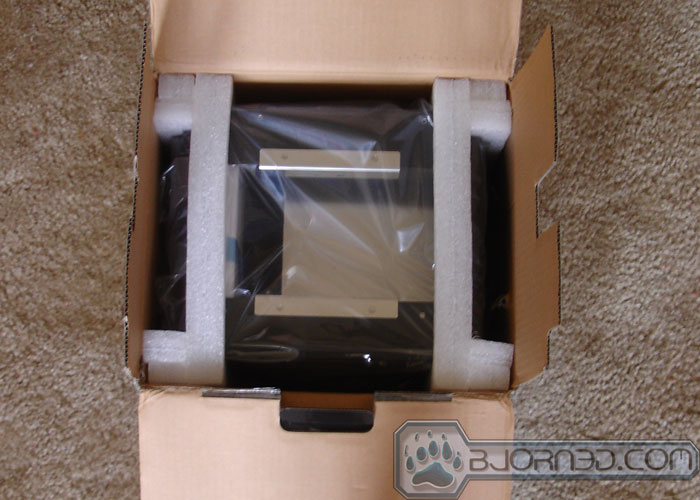
The shipping box is in poor shape, which is to be expected considering the review sample was shipped from Taiwan. However, Lian Li did an excellent job securing the test bench with plenty of padding so that nothing was damaged.
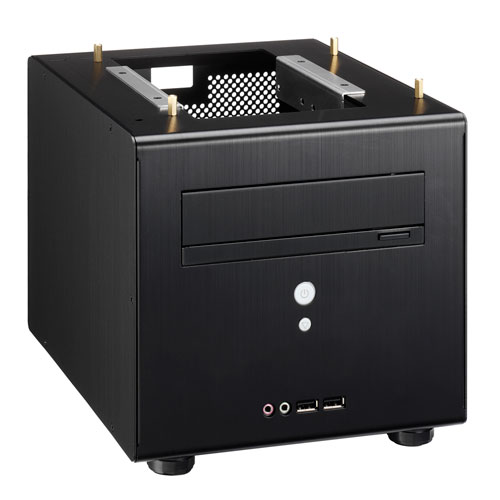
The Lian Li PC-Q06 looks a lot like a two bay NAS server or HTPC. The aesthetically pleasing case comfortably houses the power supply, optical drive, and a single 3.5’’ hard drive. Users can choose from three colors: red, black, or silver. We were sent the black unit for this review.
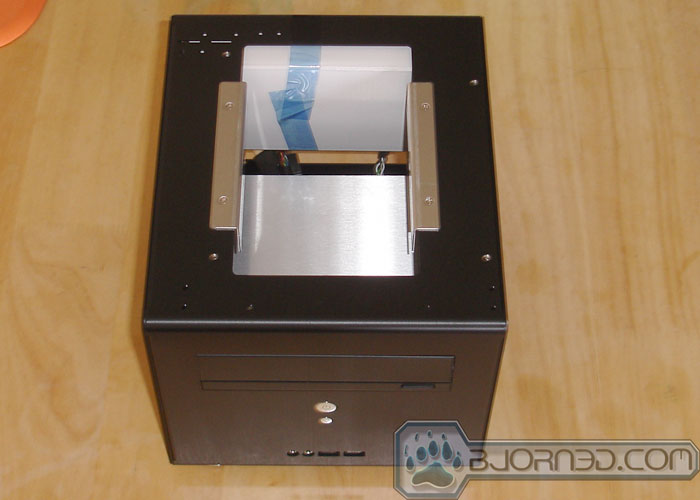
The top of the case has a cutout for routing cables. Users install the motherboard right above the case. By default, the test bench supports ITX motherboards but users can use an ATX/M-ATX motherboard tray to accommodate boards of various sizes. The case is made with high quality brushed aluminum. With the exception of the opening on the top, the case looks very similar to the company’s mini-ITX PC-V351 and PC-Q08 models.
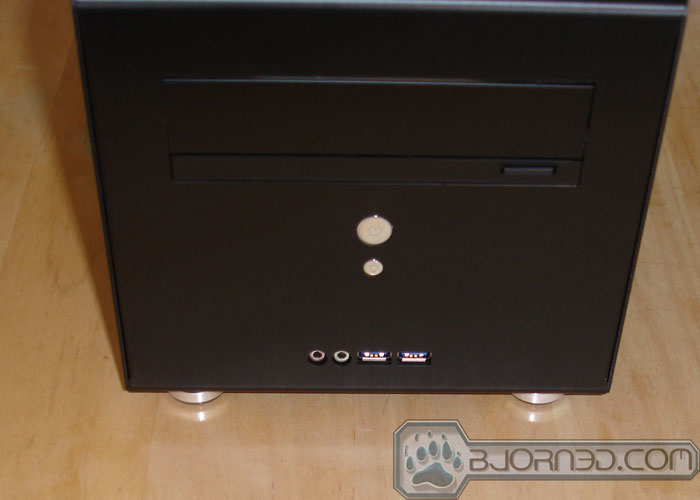
On the front, you get the usual external optical drive bay, a power and reset button, two USB 3.0 ports, Mic and Headphone jacks. The USB 3.0 ports provide a very nice addition to the test bench for those who need to test USB 3.0 devices.
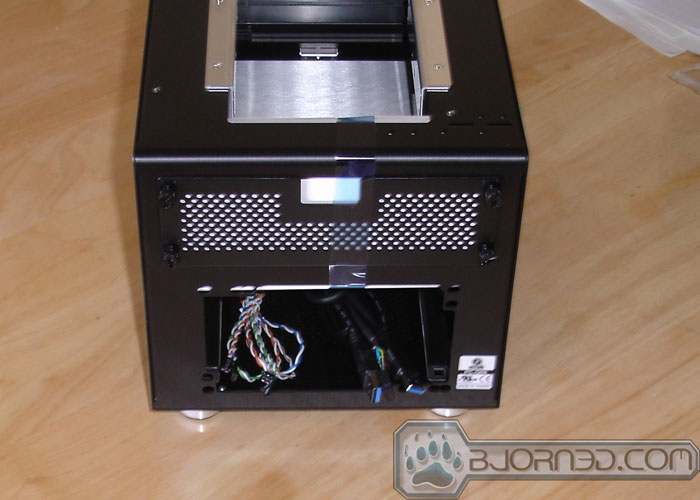
On the back, is the PSU opening. Here we can see that the power supply is mounted to the bottom of the test bench. Above it is the standard ventilation plate (this can be removed, exposing the inside). The ventilation plate has a small opening for better cable management.
The case is optimized for motherboard, video card, and memory testing. The test bench is not designed for quick swapping of the power supply, as it is installed inside the case.
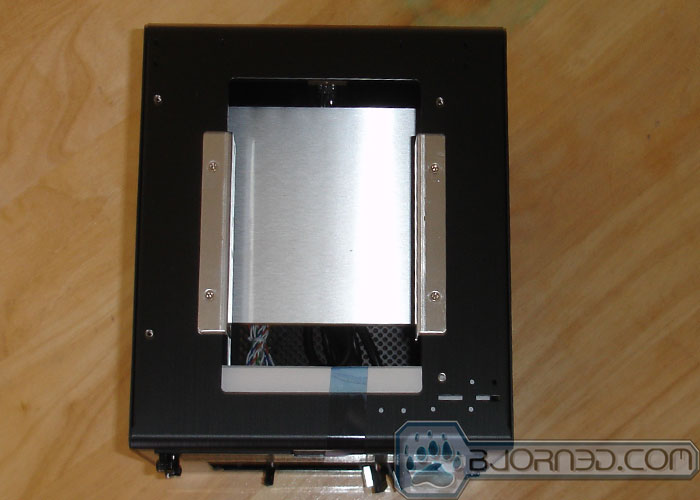
The motherboard is installed on top of the case where Lian Li had pre-drilled holes for the motherboard standoff for an ITX case. As we mentioned earlier, the unit will also work with ATX or M-ATX motherboards if they are used with a tray (sold separately). Lian Li provided us with a tray to test the system. Oddly enough, the image on the web and the actual tray we received differ slightly. However, the provided tray works with both ATX and MATX boards.
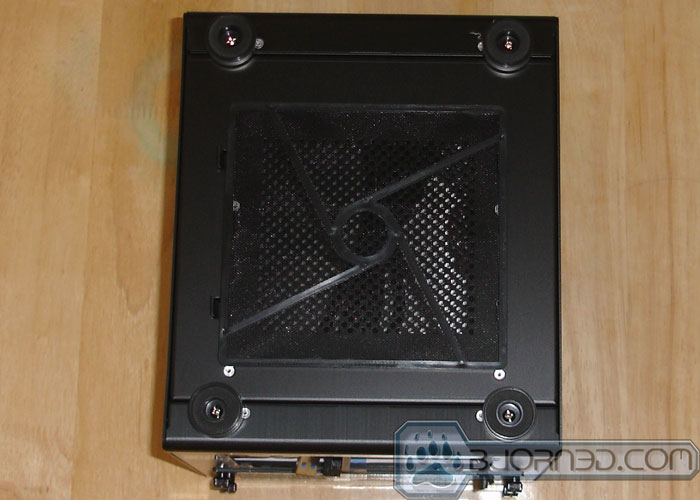
A removable dust filter on the bottom of the case.
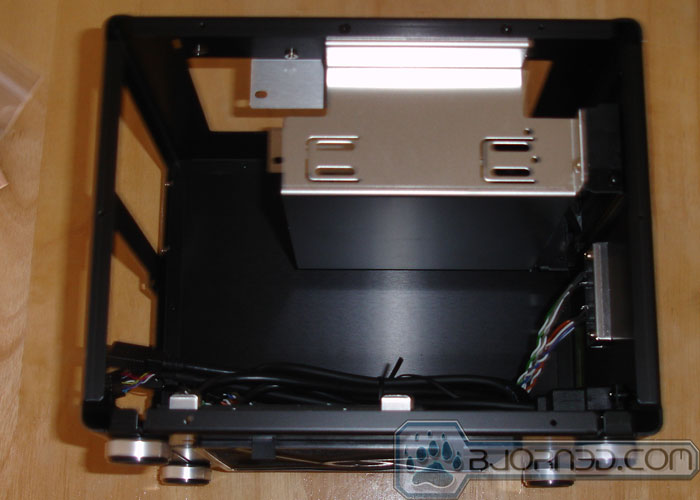
The inside of the case is somewhat cramped. Here, Lian Li offers space for the power supply, a single 5.25″ optical drive, and a single 3.5’’ hard drive. Underneath the power supply, Lian Li also provides air vents. Between the power supply and the case, is a bit of padding to protect against scratching. Flipping the case over, we see that there is a removable dust filter for easy cleaning.
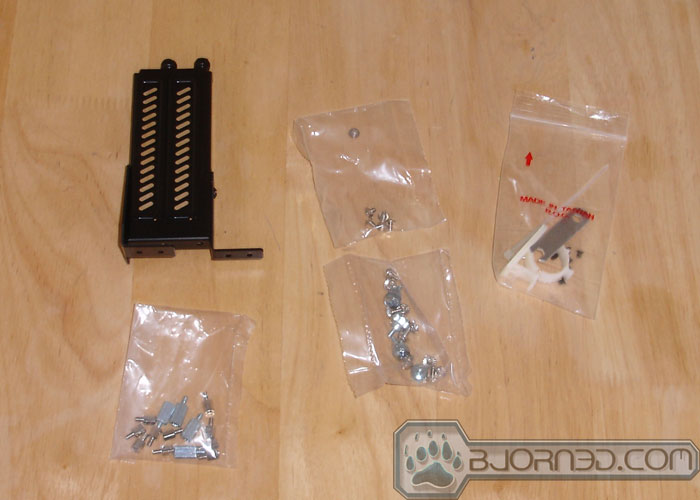
All the screws are packaged separately. An expansion bracket is included for those who are using the test bench with an ITX board.
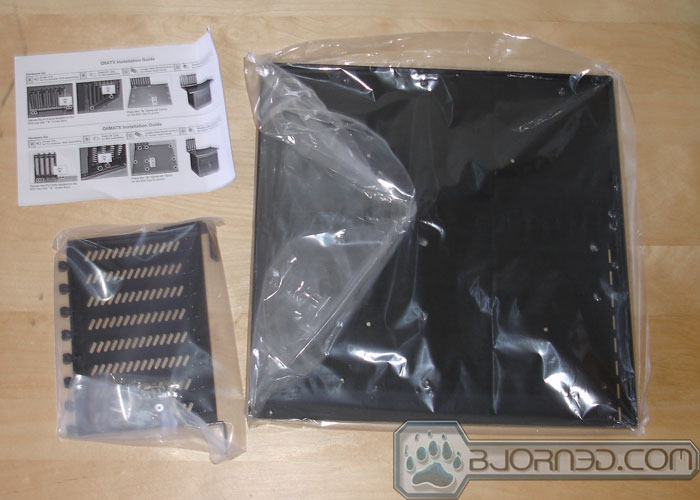
Lian Li supplies us with an ATX/MATX motherboard tray that will mount on top of the PC-Q06.

A quick view with the motherboard tray mounted
Most test benches are ugly at worst, and boring at best, but the manufacturers succeded in making the Q06 elegant. The question now is, how well does the PC-Q06 hold up as a test bench? Let’s find out.
INSTALlaTIoN, IMPRESSION AND FEEDBACK
Installing components onto the Lian Li PC-Q06 is somewhat challenging. Part of the problem is the insufficient information provided by the manual. Despite our considerable experience in assembling computer hardware, we found it difficult to install parts into the case. Lian Li should provide a better manual, especially for a system that requires so much tinkering.
For example, the manual does not provide any information on the installation of the ATX motherboard tray. We originally installed the motherboard to the tray without first screwing the motherboard tray to the case. This turned out to be a big mistake because the unit does not offer an easy way to install the motherboard tray with the motherboard installed. The manual should clearly state that the tray goes on before the motherboard.
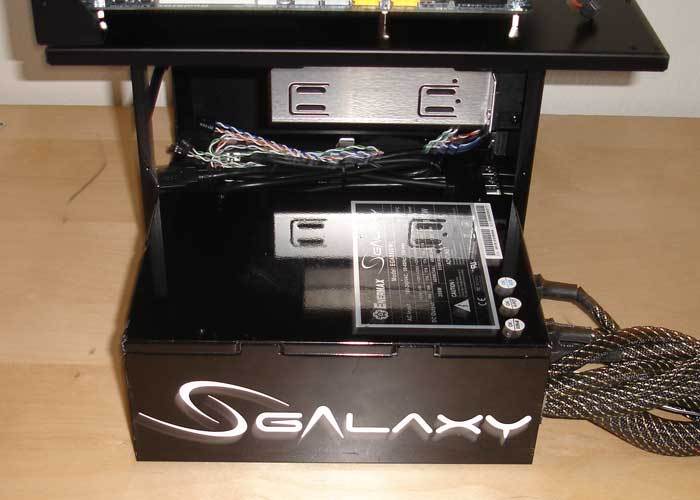
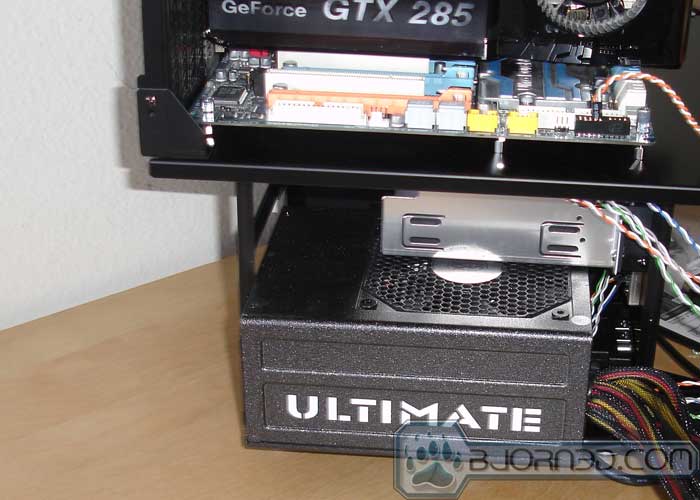
We cannot get either the Enermmax Galaxy 850W or the Cooler Master Ultimate 900W power supply into the test bench.
The manual also does not specify the length of the power supply the test bench can accommodate. Although we knew we would not be able to install a large power supply, we still started by testing our gigantic Enermax Galaxy 850W PSU. As expected, the power supply will not fit. Even some of the mid-tower case cannot accommodate such a large unit, so we did not expect it to fit into the test bench.
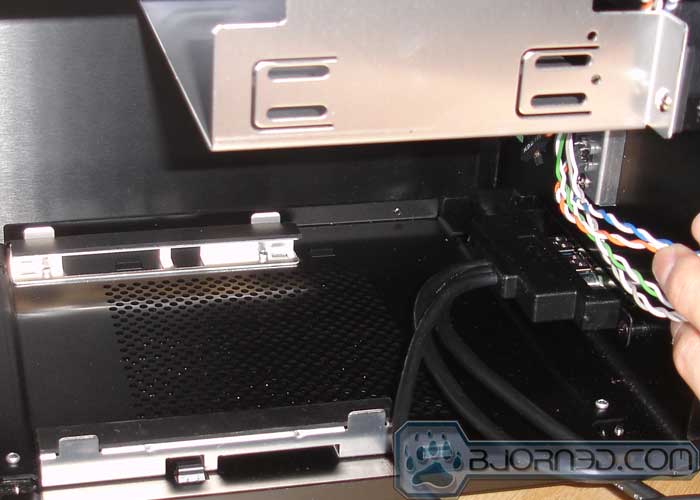
The bulky front panel connector prevents installation of larger PSUs.
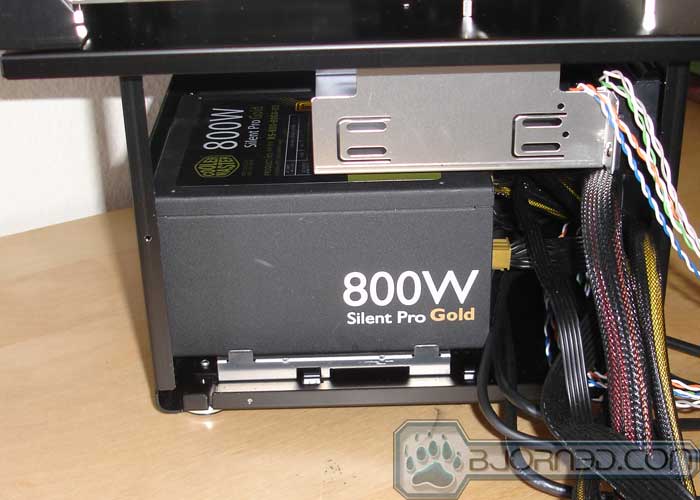
Finally, the Cooler Master Silent Pro 800W fits tightly into the test bench.
We then turned to a smaller Cooler Master UCP 900W power supply. To our surprise, even this power supply would not fit. The length of the power supply is 19 cm, which is smaller than the space provided. However, the front panel adapter that has a plastic casing that prevents us from installing the power supply. We settled for the Cooler Master Silent Pro Gold, which is 16 cm long. Because the test bench really does not offer an easy way to swap a power supply, most people who are thinking of buying the Q06 would simply put in the biggest and most powerful unit they can find so they do not have to change it for future tests. Unfortunately, the case probably will not accomodate power supplies higher than 900W, because quite a few 900 watt or higher power supplies are longer than 16 cm.
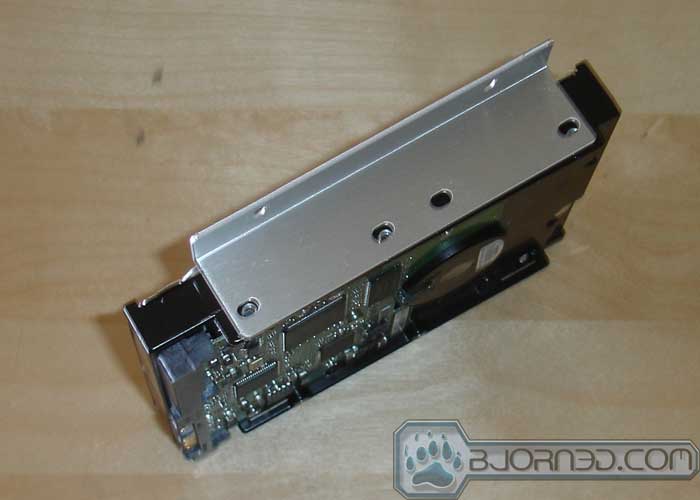
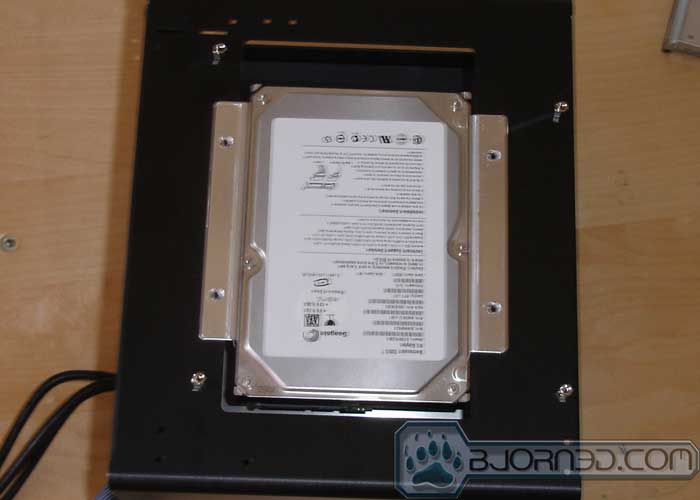
The installation of the 5.25’’ and 3.5’’ drives is straightforward but tedious. We first removed the tray with a screwdriver and installed the drives. We then screwed the tray back to the test bench. The single 3.5’’ drive bay is designed to house the primary OS hard drive, so users should install it with the highest capacity drive they can find. As a side note, we would have preferred a tool-less installation, and easily accessible removable trays.
Once we got the power supply, the DVD-ROM, and the 3.5’’ hard drive installed, we proceeded with the motherboard tray installation. As mentioned earlier, users should affix the tray to the case before screwing the motherboard onto it. Furthermore, users should not install the motherboard tray to the test bench until they have finished installing the PSU, hard drives, and DVD-ROM because the motherboard tray blocks access to these components.
The biggest problem we had with the test bench was the ATX motherboard tray. ITX board users simply have to install four stand-offs and then place the motherboard on the top. ATX and MATX board on the other hand find a lack of a proper direction on how to correctly install the tray. After many trials and errors, we screwed the four standoffs to the case, and fixed the tray to the standoffs.
With the expansion bracket installed, the mother board will not line up with the stand-off because the bracket is pushing against the audio box.
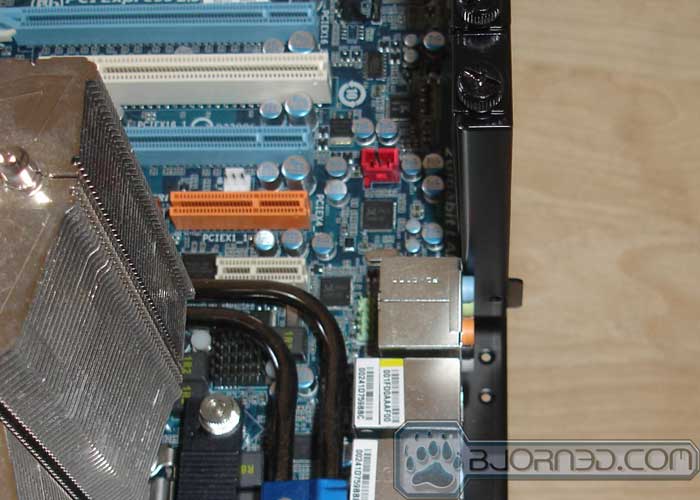
Removing the bracket let us line up our motherboard properly.
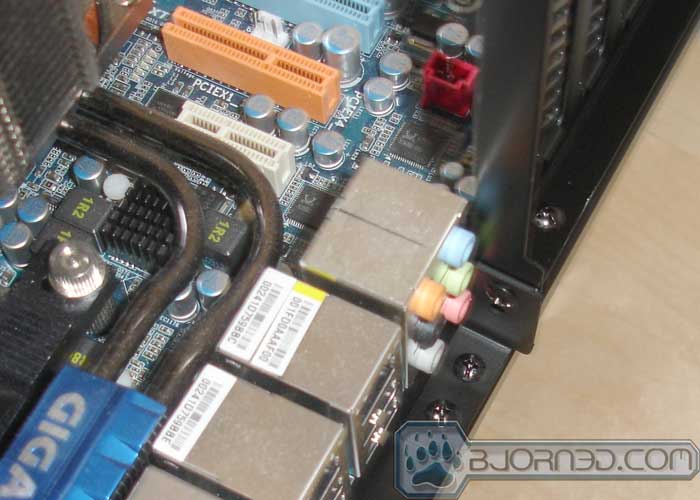
After we installed the motherboard tray, we encountered another problem. The piece of metal that Lian Li uses to hold the bracket to the tray is a bit too wide, and obstructs the motherboard audio connector. This will be an issue for most boards because almost all motherboards place the audio connector interface in this location. We partially resolved the issue by flipping over the piece of metal to secure the expansion bracket into place. Unfortunately, although the motherboard was secured, we found we were unable to plug in any audio connector to the bottom audio ports because the bracket gets in the way. While we do not think most people will be testing audio quality on a test bench, it is nonetheless an oversight on Lian Li’s part. We would hope a slightly modified of tray or expansion bracket would fix this issue.

Here is the test bench with motherboard installed. We had to remove the side panel in order to use the power cable. We originally believed that the unit would provide a way to route the cable so that the side panel could close. However, due to the tight space and the larger PSU installed, we ended up keeping both the left and right side of the test bench open and simply routed the cable through the side of the test bench.
We also noticed that with the motherboard tray installed, the unit wobbles slightly when parts are changed. This is most likely due to the smaller bottom and a rather large flat motherboard tray. In addition, the large heatsink we installed adds weight to the right side of the test bench, and the case does not compensate for it, leading to a weight imbalance. Furthermore, because we had to modify the expansion bracket slightly, it is not as sturdy as we would have liked. When we installed and removed video cards, it wiggled.
Overall, the fact that the motherboard sits on the top of the test bench is an asset, because the power supply provides necessary weight to keep the test bench firmly on the ground. However, we feel that a slightly larger bottom can provide a better foundation case will not wobble as much. In addition, it may also provide extra storage space.
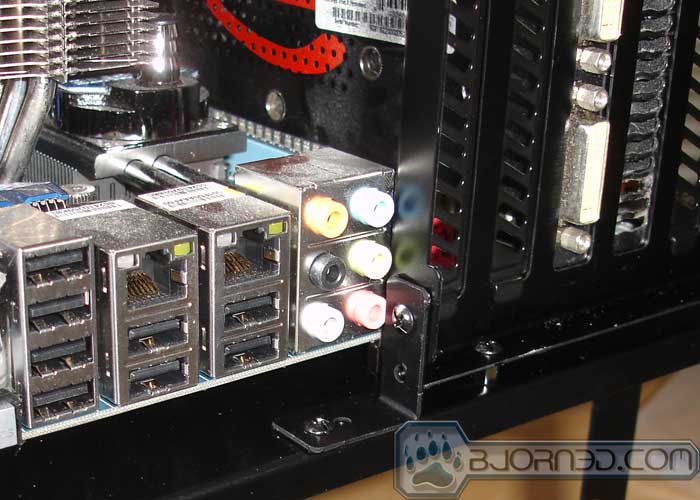
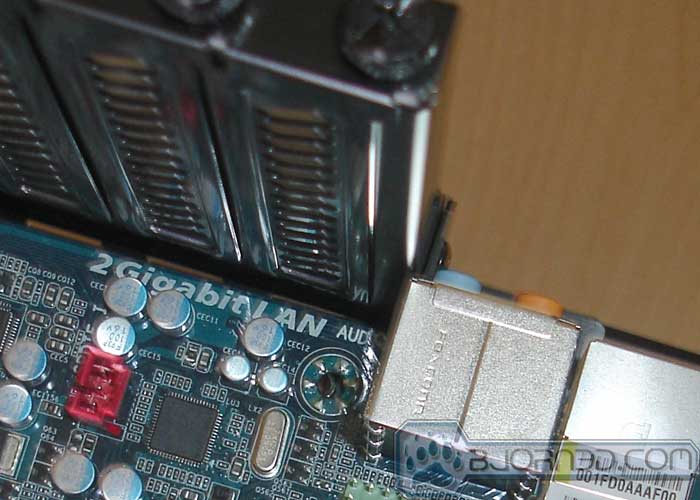
We were able to fix it by reverse the L-shaped metal plate to secure the expansion bracket.
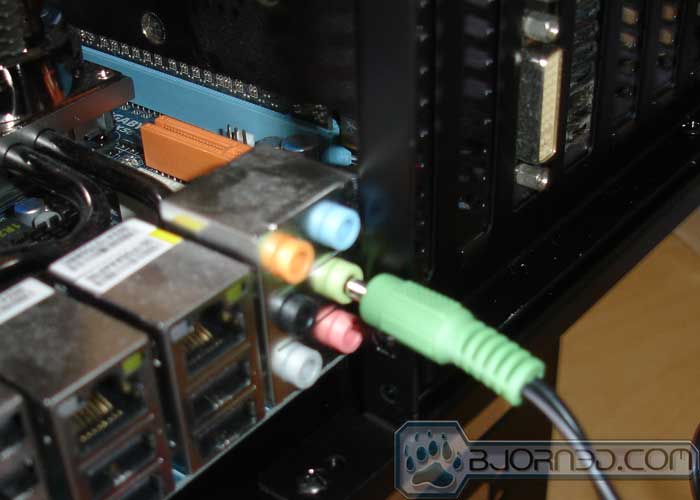
Unfortunately, the bottom audio ports are no longer accessible.
CONCLUSION
A test bench needs to be well-constructed and sturdy enough to withstand constant hardware replacement. It should also allow easy access to its inside components, or it defeats the purpose of having an open air test bench. While the Lian Li PC-Q06 has excellent build quality and pleasing aesthetics, it fails in a few crucial areas that would otherwise make it a great test bench.
The Lian Li PC-Q06 is a great test bench for an ITX board due to its small footprint. While we liked the test bench for its ability to accommodate ATX and MATX board with the tray, we found the design inconvenient. We also found the user manual to be woefully inadequate.
We would rather see a slightly larger test bench, which could accommodate larger power supplies, and maybe a couple extra hard drives with supports for 2.5’’ SSDs. Additionally, having a slightly larger base would ensure the case’s structural stability, and prevent the kind of wobbling we experienced.
For those primarily testing the video cards, memory, and possibly CPUs, this is a great test bench because allows easy access to these components while saving space inside. Users who test more than that, however, should look elsewhere as that is clearly all this testbench is designed for.
| OUR VERDICT: Lian Li PC-Q06 | ||||||||||||||||||
|
||||||||||||||||||
| Summary: The Lian Li PC-Q06 is an elegant test bench but it is primarily designed to be used with an ITX board. It can fit your need if you primarily test memory, video cards, or processors. It’s cute, but does not compete against larger test benches. |