Just when we thought, that an older style case could not be improved upon. We thought wrong. Cooler Master has achieved exactly that! By merging, newer cooling methods with computer towers, with older computer cases. I bring you the Cooler Master ATCS 840 Full Tower.
INTRODUCTION
With the ever increasing sizes of our computer components, we find ourselves trying to find that perfect chassis that can house our most prized components. Cooler Master has come up with a solution to help with our ever increasing “larger” needs, by bringing back an old time favorite amongst us enthusists. It incorporates many new features that are needed by today’s standards of cooling. Simply put, this chassis is huge. It can house some of the biggest computer components available, anything from large motherboards and long video cards, to extremely large air coolers, or for those of us who choose to do so, it can easily accommodate water cooling setups.
I bring you the Cooler Mater ATCS 840 chassis. Let’s turn the page over and see what Cooler Master has in store for us. Warning: Objects Will Appear Smaller than they are when using this chassis.

About Cooler Master
Cooler Master was founded with the mission of providing the industry’s best thermal solutions. Since its establishment a decade ago, the company has remained faithful to this mission, emerging as a world leader in products and services for companies dealing with devices where heat issues must be resolved.
A critical component of Cooler Master’s ability to successfully pursue its mission is an unstinting commitment to quality, as demonstrated by the ISO 9001 certification granted to its main manufacturing plant in Taiwan. It has also enforced ISO guidelines and is in the process of applying for ISO 9002 certification at its second and third plants, located in China. Cooler Master has also implemented a number of analytical and testing protocols to ensure top quality, including at subcontractors, to further ensure thorough quality control. Moreover, Cooler Master’s dedication to quality extends beyond manufacturing to every aspect of its operation, including service.
Cooler Master’s current business encompasses a comprehensive lineup of thermal solutions for a full range of applications. Its products range from heat sinks and fans to component housing, chassis, and ducting for computers, industrial machinery, telecommunications equipment, and many other devices.
In pursuing this mission, Cooler Master is absolutely committed to delivering solutions that precisely meet customer requirements for features, performance, and quality. Moreover, we strive to be a reliable long-term partner for our customers that they can truly depend on. It aims to be the first and foremost name that comes to mind for companies around the world seeking thermal solutions, and seeks to build such a reputation through outstanding technology, sophisticated design, and superior service.
PACKAGING
Now, before I go on to the inner packaging, I want to mention that upon recieving this product from the UPS guy, I made sure that he was present present for a quick look over of the box because I wanted to make sure that there wasn’t any damage. I talked with him for a while about the chassis. I guess he wanted to see what kind of a computer case that needed such a large box. I took the box inside the house and removed all of the components from inside for a visual inspection, making sure that no damage done to the contents. As soon as I gotten the case out and un-wrapped, our dog Sierra (she’s a mini Dobermen), decided it was time to play with the plastic bag that surrounded the chassis and proceded to shred it into little itty bity peices. Dumb dog (It’s funny now when I think about, but wasn’t so funny when she was having a “field day” with the bag.). I would like to show you that there was a plastc bag on the case (with a picture), but I was uable to rewrap the chassis with it because my dog ate it, LOL. I also forgot to put the smaller cardbord box that contained the VGA duct back into the big cardboard box, so you will see it in a couple of these images (it’s the black thing to the left of the big cardboard box and right behind that is the box it came in).
If you want to have a better look, please just hover your mouse over the pictures.
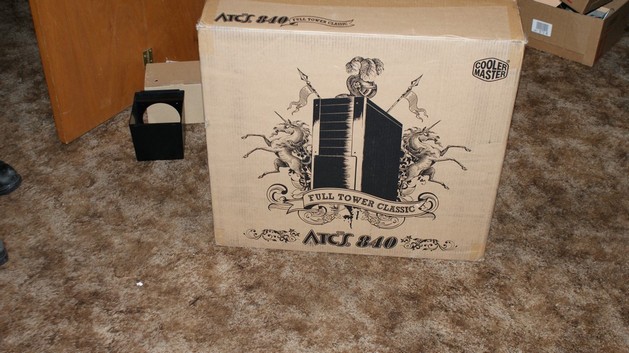
Here we have the front of the box. We can see an image of the ATCS 840 chassis in the center of the box, with Full Tower Classic with the name of the product ATCS 840 written right below the image.
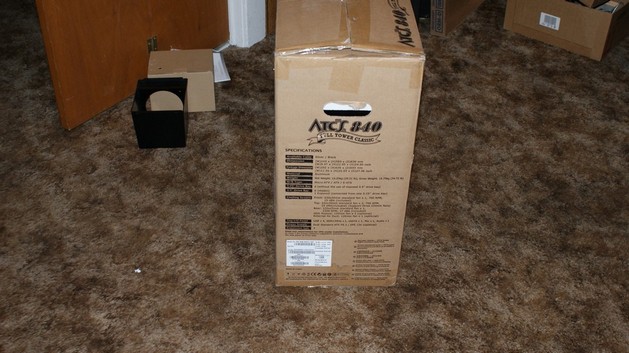
Turinging the box over to one side we have the specifications of this chassis.
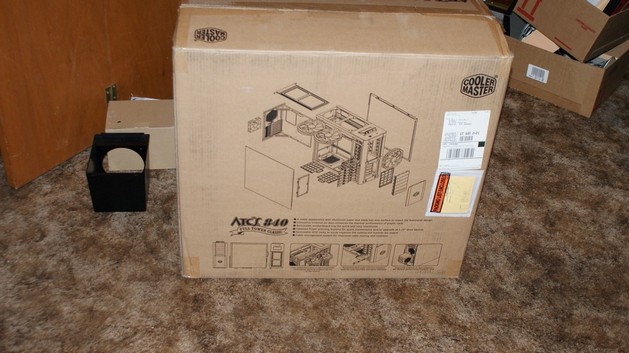
Finally, on the back side of the box have and exploded view of the ATCS 840 chassis with some pictures of the ATCS 840 features.
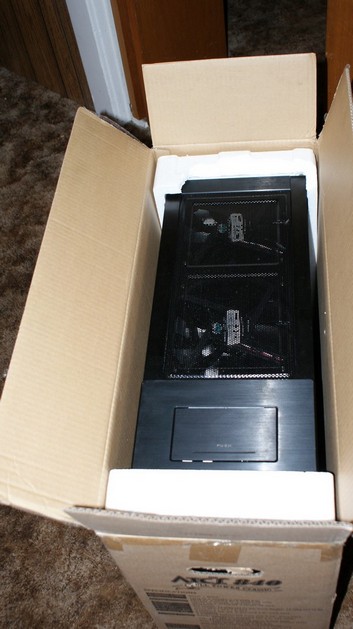
Here is how the chassis looked like inside of the box. Cooler Master didn’t do any thing really significant here as far as packaging.
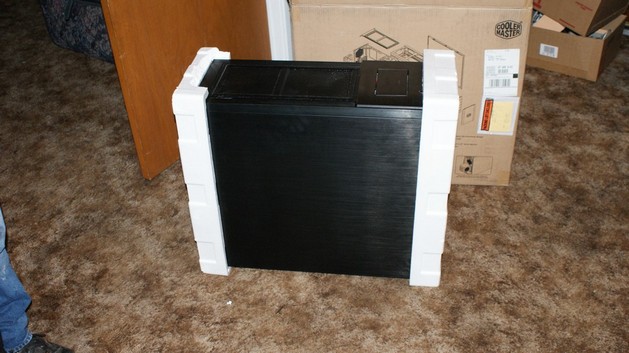
Here is the chassis outside of the box. As we can see, Cooler Master only used two peices of styrofoam on the front and rear of the ATCS 840, then placed it into the box. Of course, they wrapped it in plastic fisrt, but my dog Sierra found it to be quite tasty.
Now, since we are done with the Packaging, let’s see what this looks like.
EXTERIOR
The orthopedic doctor has told me that I cannot lift anything bigger than my self, so I had to get a little bit of help carrying this case downstairs so I could review it. Now, without further ado, let’s get on with the program.
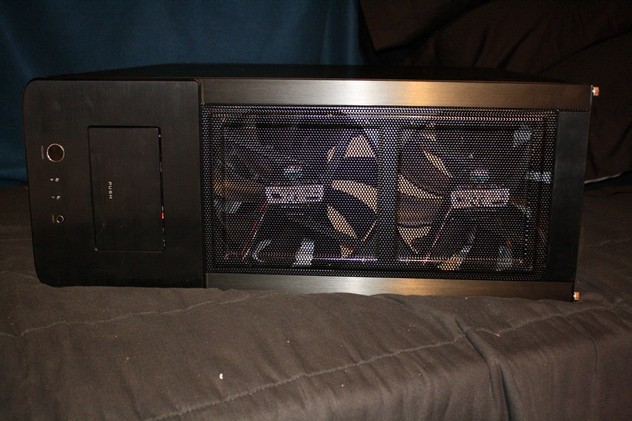
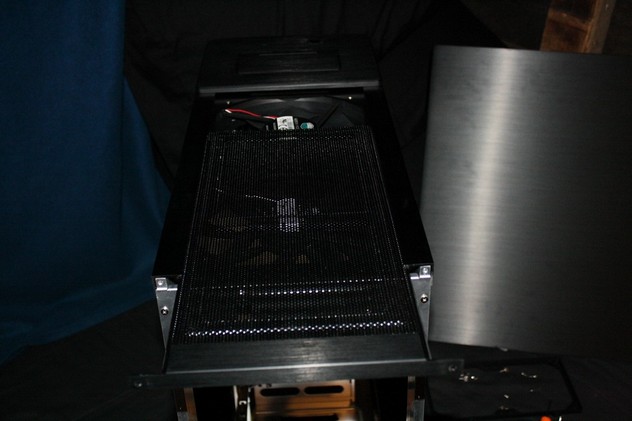
Here’s the chassis on its side looking at the top of it. The ATCS 840 chassis uses 2 230mm fans on top towards the back of the chassis. The fans are covered by a mesh grill to keep prying fingers away from the blades.
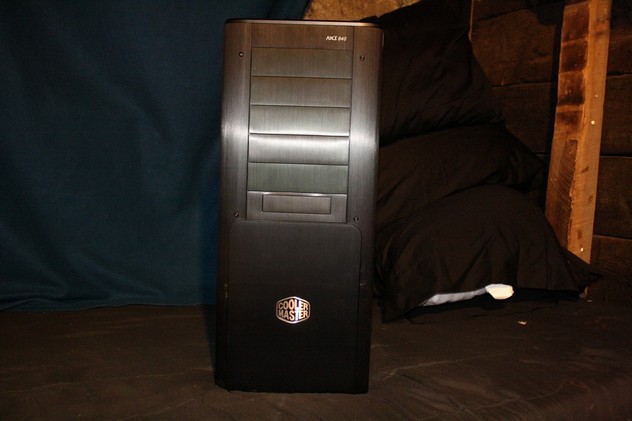
Now here’s the front of the ATCS 840 chassis. As you may already have noticed ,this chassis has a wide stance to it. The ATCS 840 has six 5 1/4″ bays and Cooler Master has included a 5 1/4″ bay adapter cover for those who still use the 3 1/2″ floppy drive. Cooler Master decided to use a brushed aluminum look to the chassis as well.
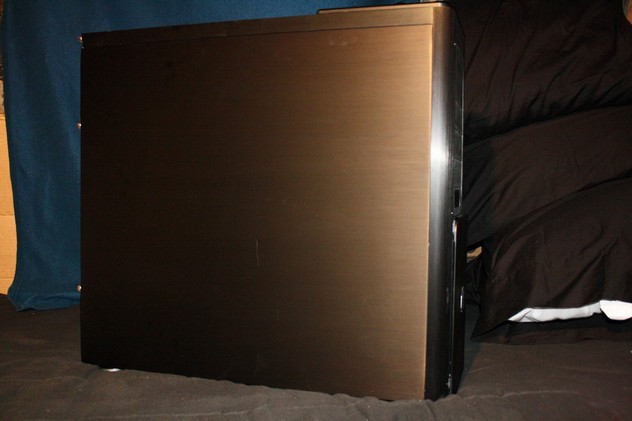
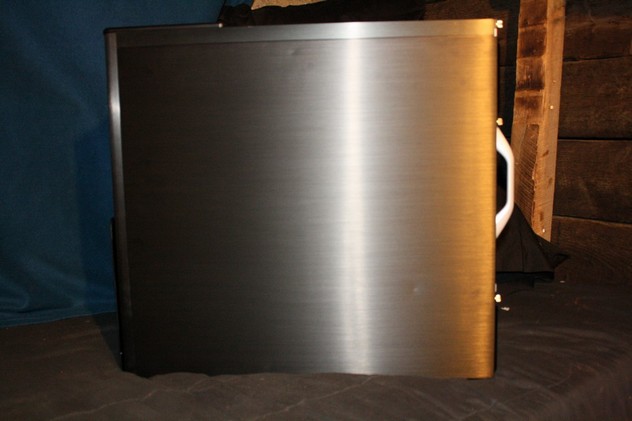
The left side of ATCS 840 chassis, again Cooler Master used a brushed aluminum look to it. (warning the brushed aluminum will attract finger prints)
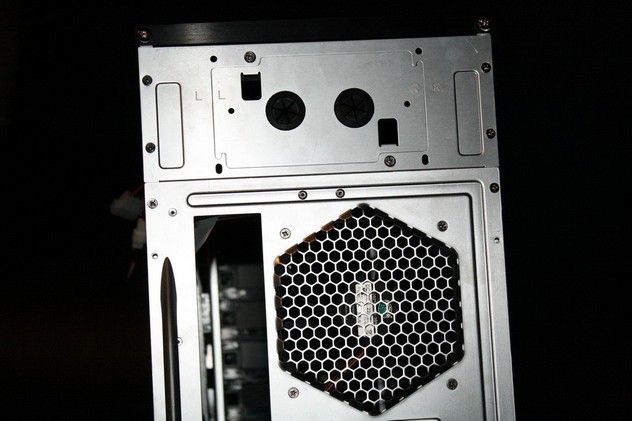
Looking at the upper top back of the ATCS 840 where Cooler Master included two rubber grommets for external water cooling hoses to pass through. There is a plate there and you can remove, which allows you to either put the PSU on the bottom or up at the top of the case. The most rearward upper case fan will have to be removed if you choose to mpunt the PSU here.
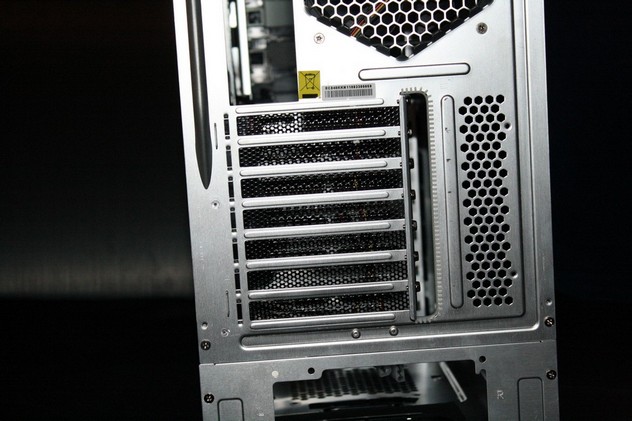
Looking at the center backside of the ATCS 840 chassis, ypu can see that Cooler Master used a mesh style PCI expansion port covers. This will allow air to move from the video cards or other PCI devices being used. Also, if using the included video card duct, it can help remove heat from the PCI cards.
The upper fan mesh grill can also be removed, so that you can gain access to the 230mm fans. The 230mm fans can be removed and they can be replaced with either 120mm or 140mm fans. Or, you can even put a radiator up here. Cooler Master also included a few adapters to accommodate this type of tasking.
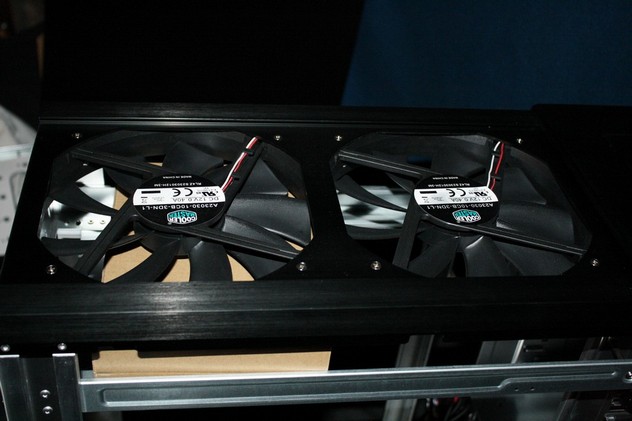
A quick look at the upper 230mm fans without the mesh grill.
On the right side of the ATCS 840, we see a handle attached to the backside of the chassis. I will cover this handle a bit later.
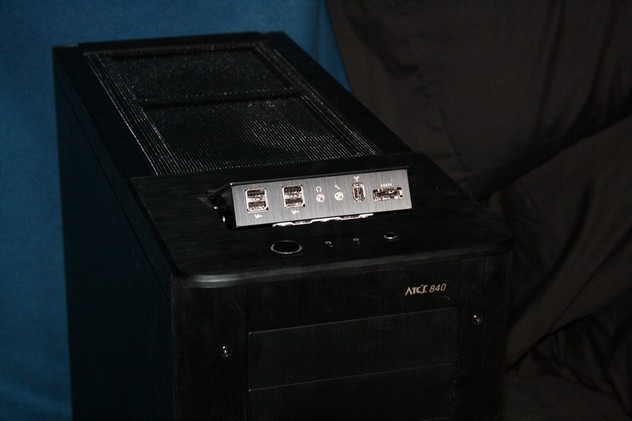
Finally, we get to see the front I/O ports. These were on a little pop up door on the very top of the chassis, right behind the on/off buttons. This little pop up door is a little hard to open up. I had to use some force to open it. It wasnt extremely hard, but then again, it wasnt exactly easy.
Now, since we all done with the external looks of the ATCS 840 chassis, Let’s peek at the chassis’ interior real quick.
INTERIOR
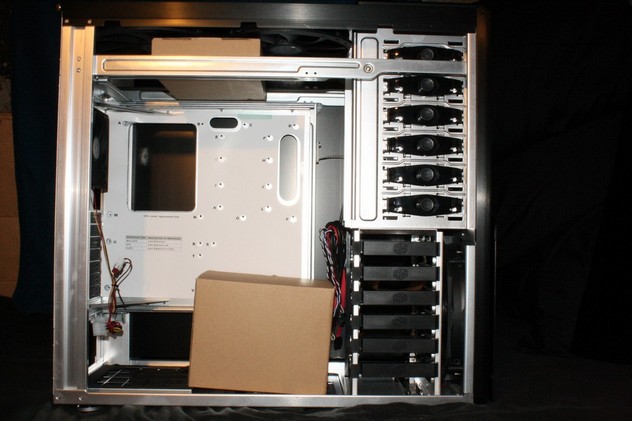
I took off both side panels and took a picture of the chassis. The two boxes you see contain all of the mounting hardware that will be needed to mount all of the components. Because of the limited space that I have, I was unable to lay out all of the included mounting hardware and take a picture to show you. But I will try and give you an idea on what to expect as far as the mounting hardware goes. In the upper box you should have a couple of ziplock bags full of screws and motherboard stand offs, an EPS power plug extension cable (now I remember where I gotten one of them from), and some adapters for you to use if you choose to change the top 230mm fans for smaller fans or for a water cooling radiator. The lower box (the biggest one) has the VGA duct in it. The side panels are little flimsy, so be careful not to warp them or drop them, because they will bend easily.
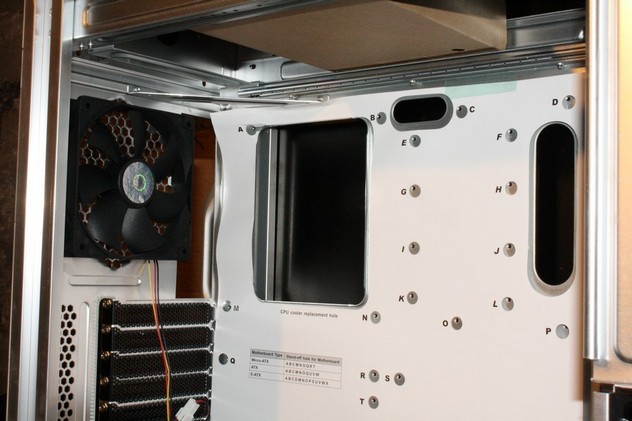
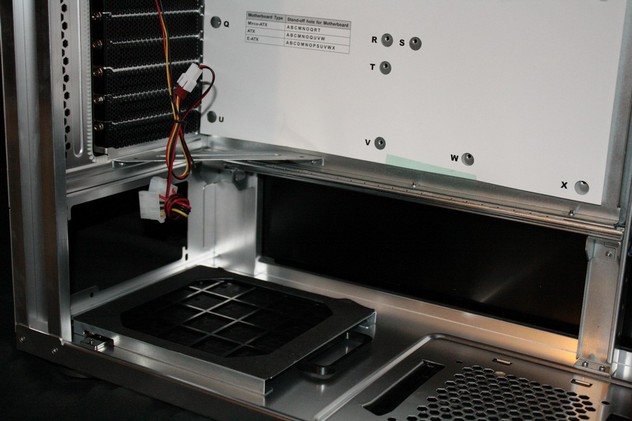
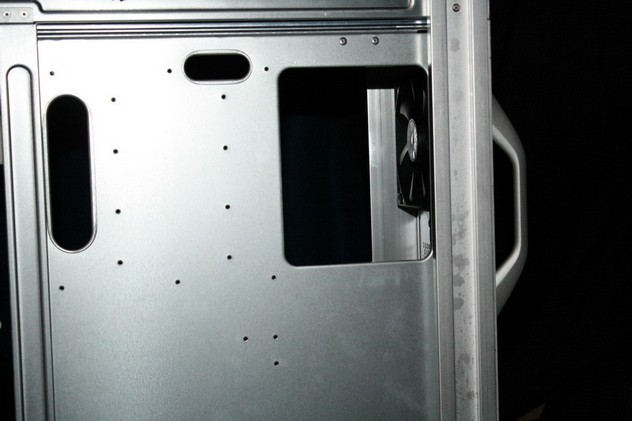
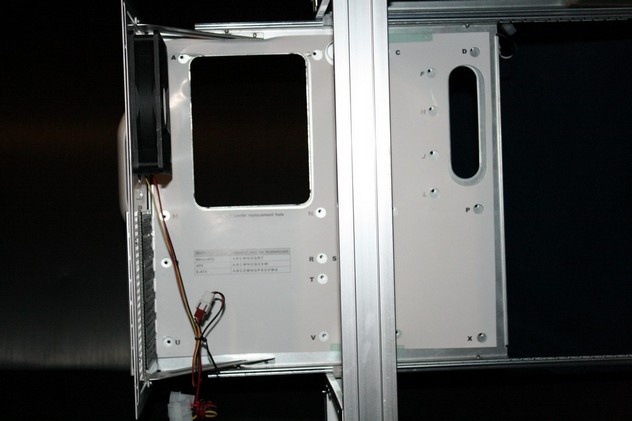
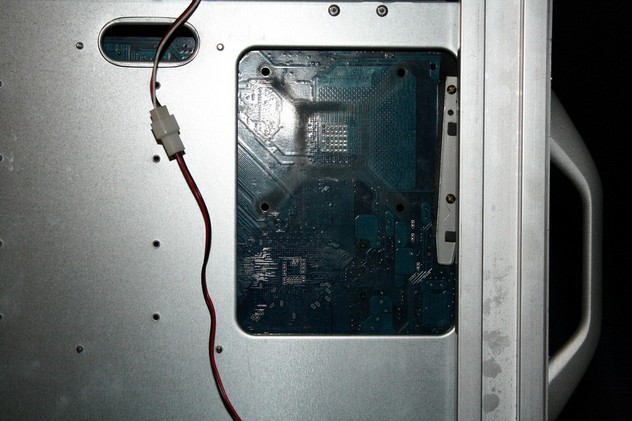
Now let’s start the interior over view. I am looking at the back side of the inner chassis, towards the included inner 120mm fan. We noticed that Cooler Master used a paper template for the placement of the motherboard stand offs for the different types of motherboards that you can use with this chassis. Also, the ATCS 840 chassis has a rear motherboard cut-out right behind the CPU socket area of the motherboard. This will allow for easy access to rear side of the motherboard, in case you need to remove the CPU heatsink. You can do so without completely removing the motherboard. You can also see the vented PCI expansion covers that Cooler Master Used with this chassis.
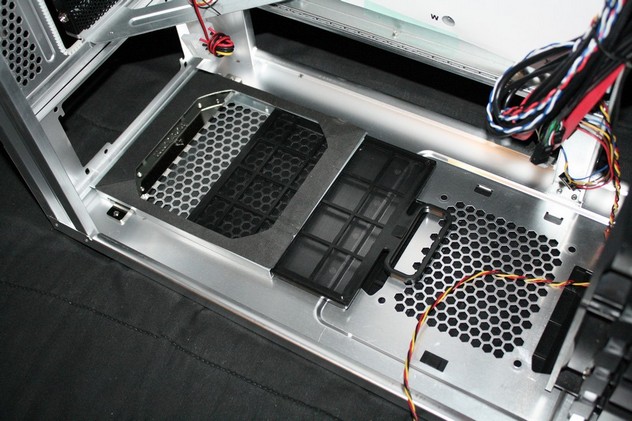
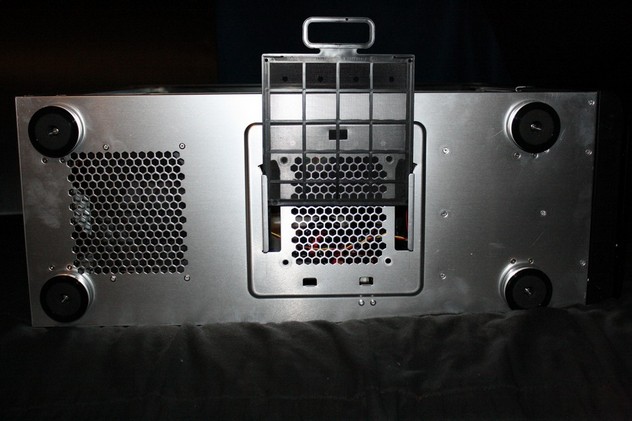
Looking right below the motherbaord tray, we see where the PSU will be sitting, at the bottom of the chassis. Cooler Master used a thin layer of foam rubber on the PSU holder to keep the PSU from getting scratched. Also, we can see a mesh type filter that can be removed for cleaning. Looking to the far right of the picture, we can make out the area where we can use a bottom 120mm fan.
Thia picture is showing the PSU filter can be removed. Keep in mind this, if you place a 120mm fan on the bottom of the chassis, removing the filter would be difficult unless you completly remove the bottom 120mm fan.
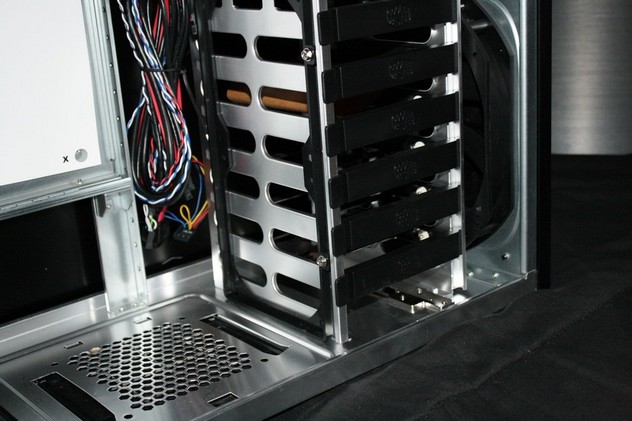
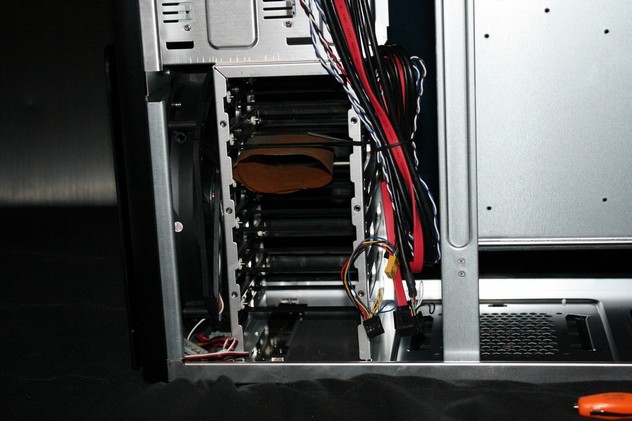
Continuing on, this time I am looking at the dual 120mm fan holder that sits on the inner side of the HDD bay with six HDD holders. This will allow air flow to be moved form the 230mm fan to the rest of case and channel that air a bit better. Also, we can get a glimpse of the front 230mm fan that Cooler Master used.
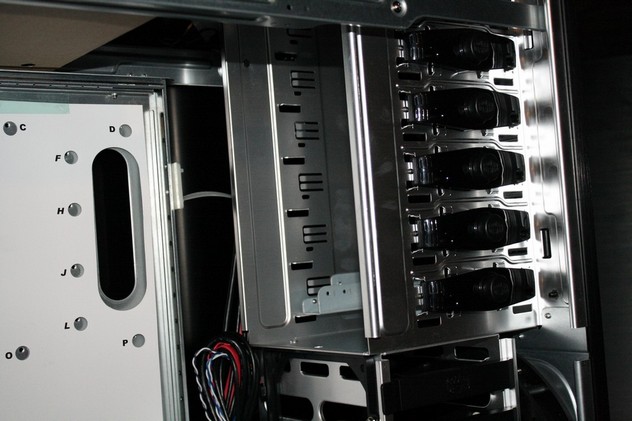
Moving upwards, we get a look at the 5 1/4″ bays for the inner side of the chassis. These are a screwless design. Simply put your CD/DVD drive in and press the button on the side and it locks you drives into place.
Looking at the backside of the motherboard tray. Again, this chassis has easy access to the backside of the motherboard so we can remove the fan or coolers without removing everything first to do so.
Looking at the backside of the HDD bay and its HDD holders.
Remember that handle I mentioned earlier? This handle is so if you want to, you can remove the motherboard tray. Just remove four screws on the back, grip the handle, and slide back. The motherboard tray uses ball bearings to move, so it just glides in and out of the chassis.
Turning the chassis on its side, i wanted to show you the bottom center 120mm fan filter.
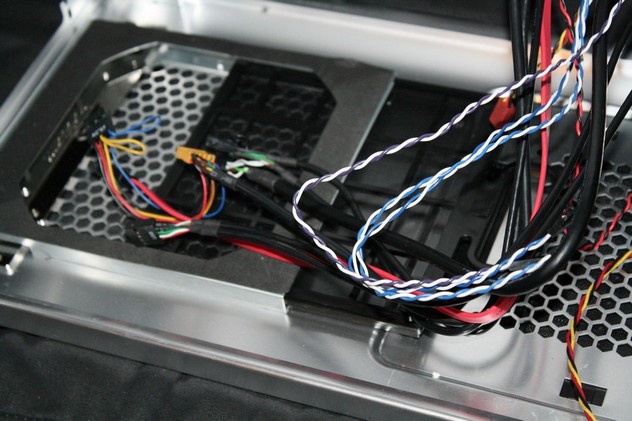
The front I/O port connectors and the on/off plugs with front LED’s.
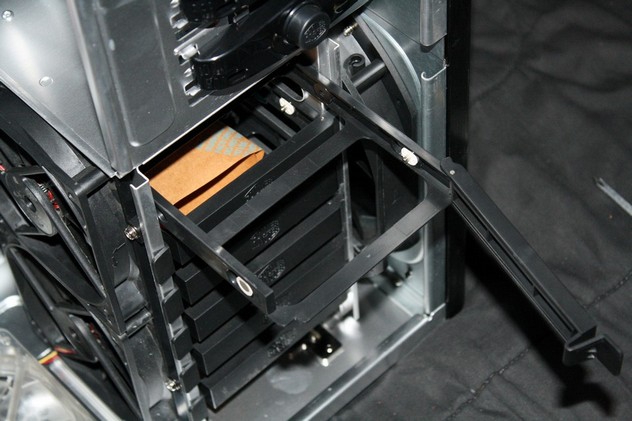
The HDD holders. These are real simple to remove and put back into the chassis. Just unlock the front door, swing it out, then pull the holder out of the chassis. But putting these on your HDD is a bit awkward because you have to bend down on one side to get your HDD in these little holders, and if you’re not carefule, you can easily snap it in half.
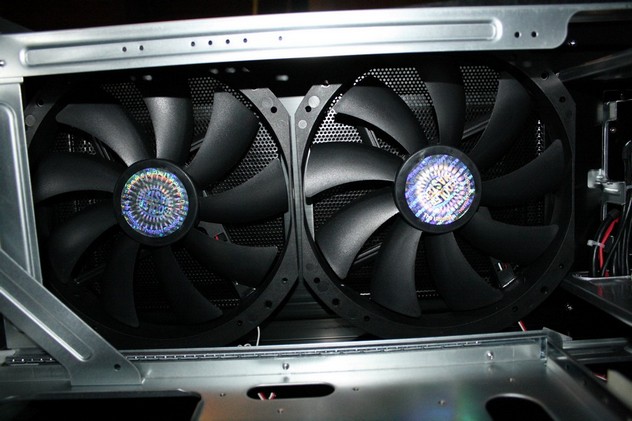
This is the final shot of the interior (for this part of the review, that is). I wanted to show the the top two 230mm fans. One word sums this up. Huge.
Now since we’ve gone over the interior of the case, and no fingers, legs or any other body parts were injured, we can continue onto the installation.
INSTALLATION
Now lets get busy with installation portion of the review. As I stated in the introduction page, Objects Will Appear Smaller Then They Are while using the ATCS 840 chassis.
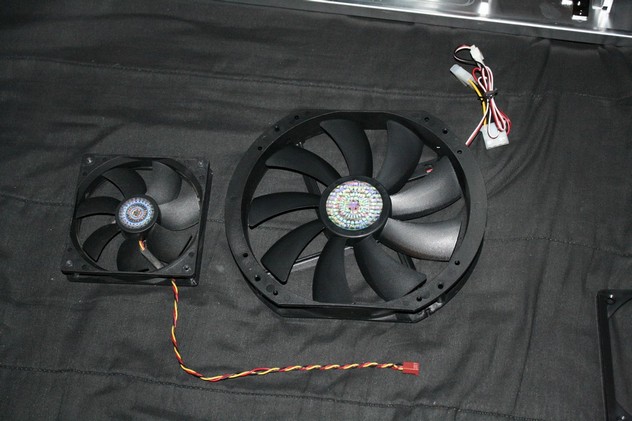
Before I go on bout the installation, I wanted to give some of you guys who’ve never seen a 230mm fan an idea of the difference in size between a 230mm fan and a 120mmm fan.
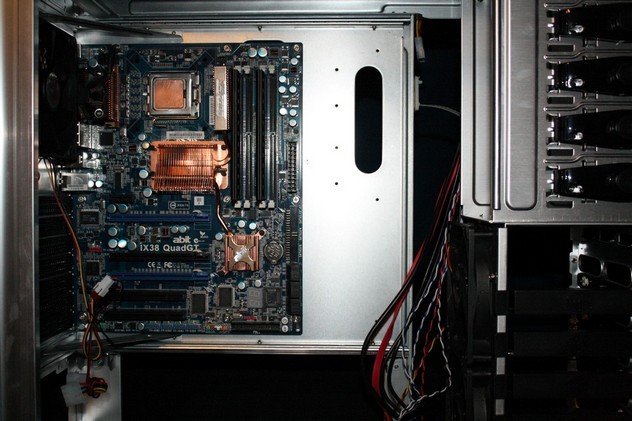
Here’s what my full ATX motherboard looks like inside this chassis. It’s like putting a micro ATX motherboard in a mid tower (I left the CPU cooler off for a reason and will cover this in a few.).
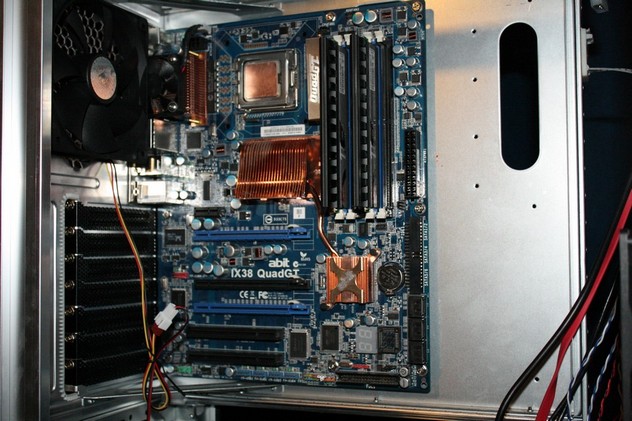
Another picture of the motherboard inside the ATCS 840.
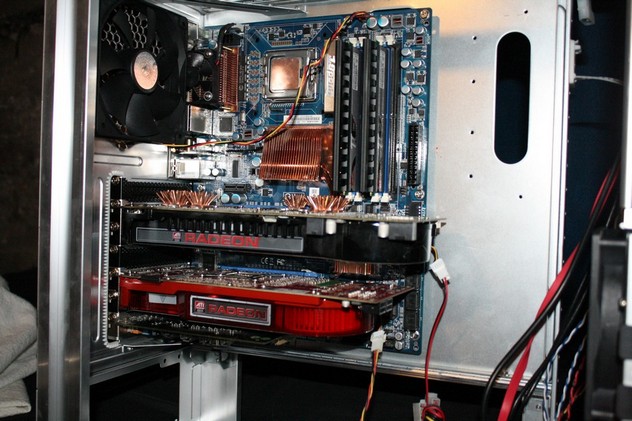
This picture is of my video cards and sound card installed. Still, this case makes these cards look so small it’s pathetic. The ATCS 840 chassis does not use the standard way of mounting the PCI expansion cards. Instead of putting the hold down bracket inside of the case they put it on the out side. That’s why you see an elongated hole right above the expansion slots.
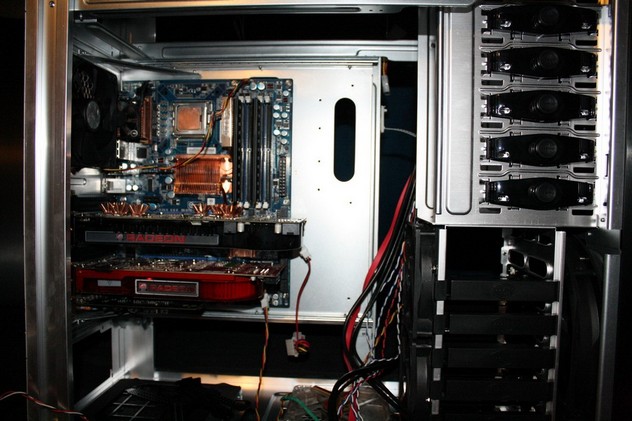
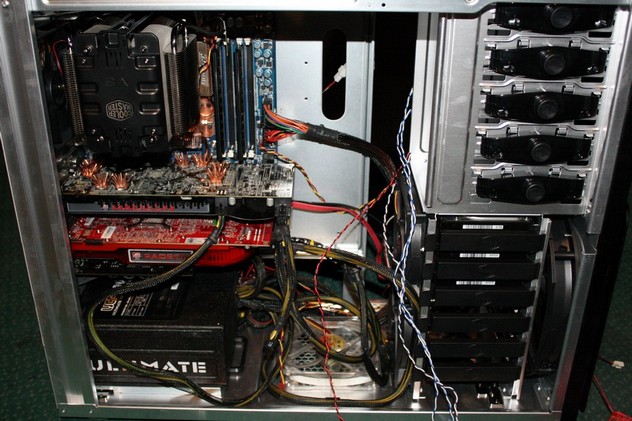
This is a picture of all my components installed in the ATCS 840 chassis. I also decided to mount 2 x 120mm fans on the HDD holder. These fans were not included.
This picture is just before the installation of the CPU cooler. I had got a picture of the cut-out Cooler Master did on the motherboard backplate. It Shows that you do have access to the rear side of the motherboard CPU socket.
Here’s a picture with the final installation of CPU cooler and PSU. Putting the CPU cooler in the case with motherboard being was very simple. Despite my non wire management butt, and also my inability to put the V8 CPU cooler on correctly (it’s upside down), this case has plenty of of room to accommodate a large CPU cooler, PSU, motherboard, video cards, and sleep a family of four comfortably inside. I also had to use the included EPS extension plug and route that on the back side of the motherboard tray because the EPS plug from the PSU just wasnt quiet long enough to reach.
Now since we have gone over the main points of this great chassis, and also put my fingerprints all over it, I need sum things up and call it a day.
CONCLUSIONS
The biggest complaints that I had with this chassis was the flimsy feel of the side panels ant that the front I/O connectors pop up door was a little hard to open up. I also would have liked to have seen a side panal fan near the video cards to help aide in cooling them a bit better. The HDD holders could use a better design, because for those unaware of how they work, one could easily snap one in half.
The Cooler Master ATCS 840 is a well built chassis. It not only allowed me to use a large CPU cooler, it had the room for me to use a large video card without having any interference with the HDD bays and the CD/DVD drives. It also kept my components cool during my testing. My temperatures only increased by a mere 2-3 degrees C from having an Open Bench Test case. None of the fans were loud enough for me to hear them with this chassis sitting just about a foot away from me. Unfortunatetly, I was unable to use the VGA duct for this chassis becaase of the limited space that I have available to me and I couldn’t have the chassis sticking out anymore then what it was.
The ATCS 840 chassis, is simply put, astonishing. This chassis is large enough to handle various types of large motherboards, and video cards, and it can handle large CPU coolers and even the biggest of water cooling setups. And to top it off, this chassis does it with style. Having a price point of around 250 U.S. dollars makes this a fair price to pay for a chassis that has a multitude of abilities.
Pro’s
+Large interior
+Great cooling abilities
+Stylish design
+Having a brushed aluminum look
Con’s
–HDD holders make installing HDD’s a little awkward
–Side panels feel flimsy
–Front I/O port’s pop up door is a little hard to open
Final Score: 9 out of 10 and the Bjorn3D Seal of Approval
 Bjorn3D.com Bjorn3d.com – Satisfying Your Daily Tech Cravings Since 1996
