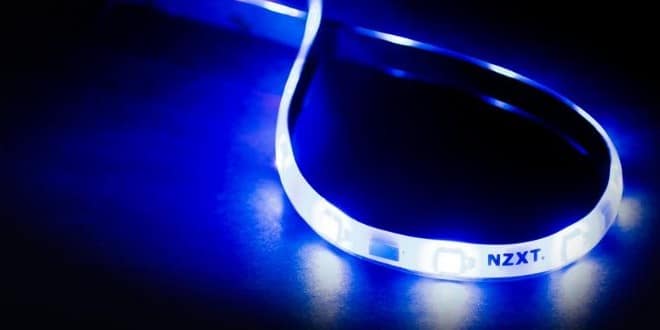
The NZXT’s HUE+ is a dual-channel RGB LED controller that comes with four fully addressable LED-strips. An evolution of their older analogue HUE, this eschews the old optical-drive format and now comes in a more manageable SSD-format making it much easier to install in your system.
The HUE+ can be expanded up to 8 strips which, as it has 10 LED-lights on each strip, means you can blast up to 80 LED-lights in your system, 40 on each channel.
If you prefer your case black and sober without a window then you might as well stop reading now because this is a product that not only wants to make it easy to “bling” up your computer but also have some cool tricks up its sleeve to get the most of the LED’s.
Features and Specifications
So with 40 LED’s in the kit, what does the HUE+ offer in terms of features? What can we do with the LED’s?
- Dual-channel illumination with support for up to 40 LEDs per channel
- Numerous lighting modes and countless customization options
- Digitally controlled with CAM software
- Simple and versatile installation with daisy-chained design
- Smart Lighting mode enables lights to react to changing PC conditions
- Visualize PC’s sound output with Audio mode
Yes, forget about just adding the LED-strips, setting a colour and forget about it. True, this is still an option but honestly that would be a waste of a versatile product. These LED-strips are controllable via the HUE+ coupled with the CAM-software, the same we saw in our Kraken-review. Want to let your PC change color of the LED’s if it starts to get hot? No problems. Want to have it emit a green light while the fps is over 60 fps and then switch to red when it drops below 60? No problem. Want to simulate candle light or why not have it react to music? Again, no problems at all.
Quite simply – this is a kit for people who want to be a bit more creative with their lighting.
| Output Channels | 2 |
| Output LED Quantity | Up to 40 per channel |
| LED Strip Width | 10mm |
| Output Channel Voltage | DC 5V |
| Dimensions | 100mm x 70mm x 23.5mm |
| Included Accessories | 1 x 500 mm Extension cable 1 x 300mm Extension cable 2 x 100mm Extension cable 4 x Screws 5 x Cable ties |
| Material | Steel, Plastic, PCB |
| LED Color | Color changing RGB |
| Form Factor | 2.5″ Drive Bay |
| Connections | 4 x LED Strip 1 x Molex Power 1 x Internal micro-USB cable 2 x 500mm Connection cable |
| Mounting | HUE+ Body: Screws LED Strip: Magnets and 3M Tape |
| LED Strip Length | 300mm |
Closer Look
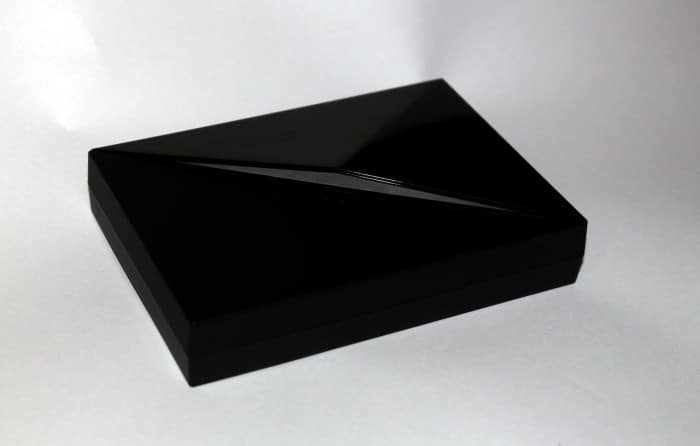
The HUE+ comes in a small compact box. Everything inside is well insulated so there should be no risk that something gets broken in transit if you order it over the net.
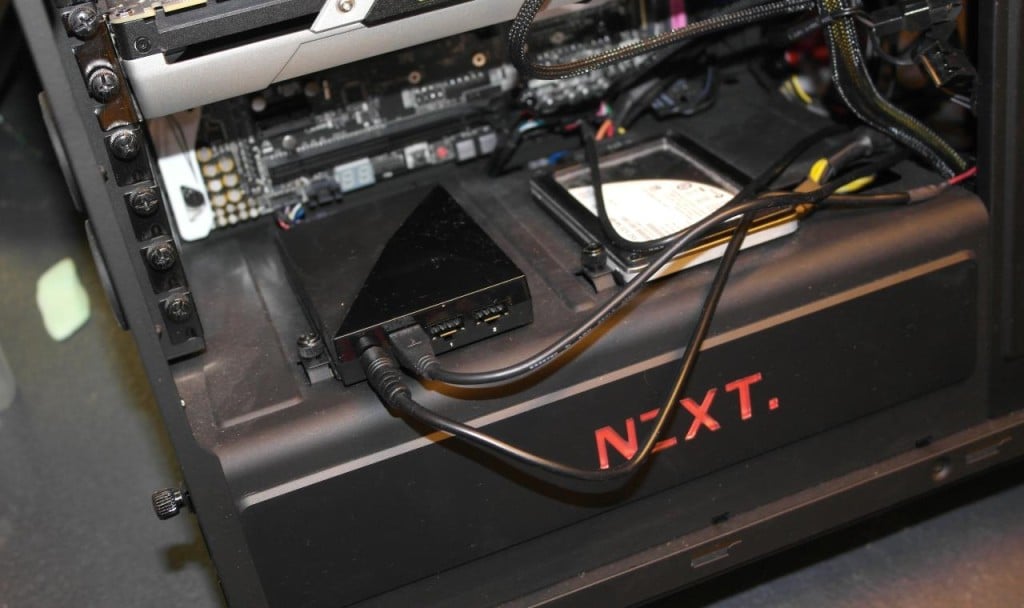
The HUE+-controller is small as a SSD but thicker. It has screw holes in the bottom which mimics the holes in a real SSD making it possible to mount it where you normally would mount an SSD:
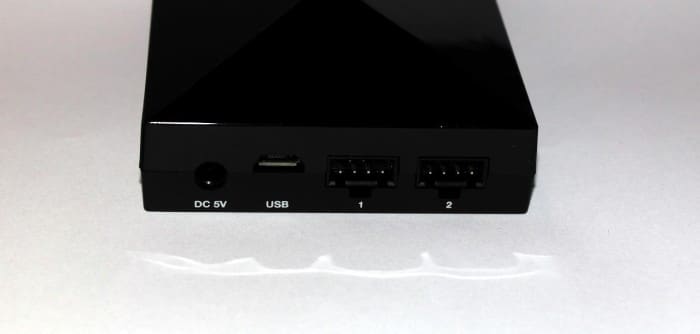
On the edge we find the connectors for the two channels which each can be set up separately. We also find a micro-USB-connector and a power connector. We will talk a bit about the last two soon.
As mentioned you get 4 strips in the kit and can buy 4 more in an extra pack. Each strip is 10 mm in width and 300m in length and comes with 10 LED’s on each strip. On the backside you find 3M-tape that can be used if the place you want them on is not magnetic.
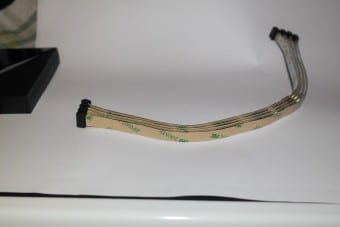
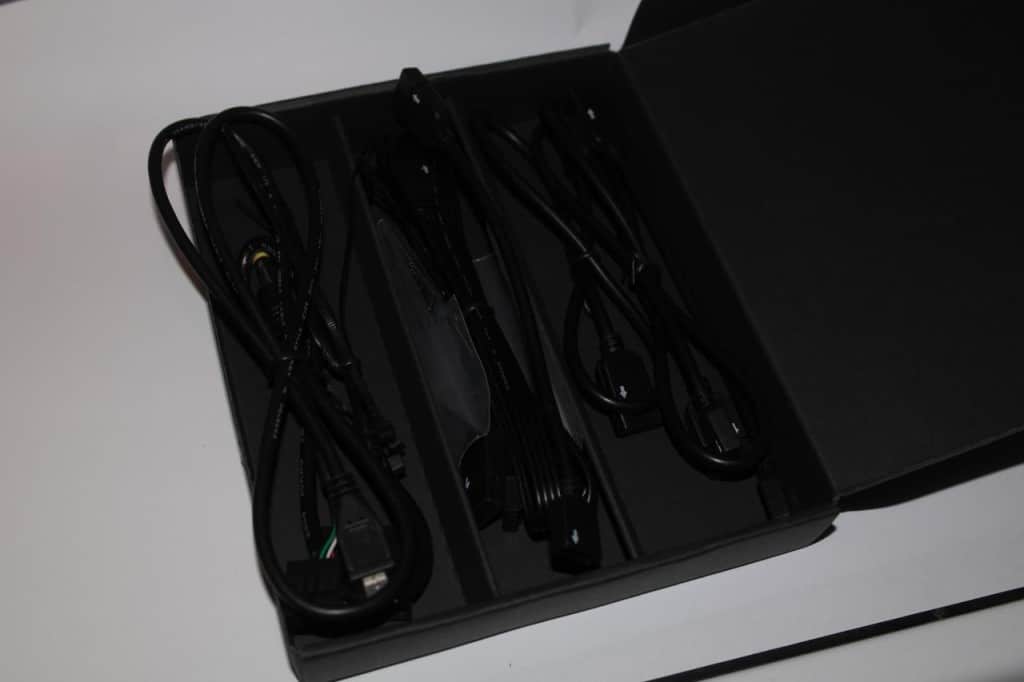
In addition to the strips we also get 1 x 500 mm Extension cable, 1 x 300mm Extension cable and 2 x 100mm Extension cable meaning it should be easy to situate the strips wherever you want them in the case. In addition to the extension cords we find two 500 mm connection cables, one internal micro-USB to internal USB2.0 header cable and a power to molex-cable. Moles is slowly getting phased out so maybe it is soon time for SATA-power connectors. Also while the internal USB-header is useful we actually are seeing an issue here.
We are starting to run out of USB2.0-headers. Most motherboards these days come with at least one USB3.0-header and two USB2.0 headers. If you got a case that has a cable for USB3.0 then fine, you still have two USB2.0 headers left. But then start adding some other goodies in the case. How about the Kraken X61-cooler (yes, needs an USB-connection as it is controlled by the CAM-software). And then add the Grid+ fan-controller. Again, we need to hook it up via USB. Since NZXY already includes so many cables a longer micro-USB to regular USB-cable might have been a good idea so you can loop it to the outside and hook it up there. It’s a minor issue though.
Installation
Installing the HUE+ is pretty simple. As mentioned it can sit in the same spot as an SSD (or 25” HDD). In our case we put it in the NZXT Noctis 450 case, a nice mid-tower with a big window.
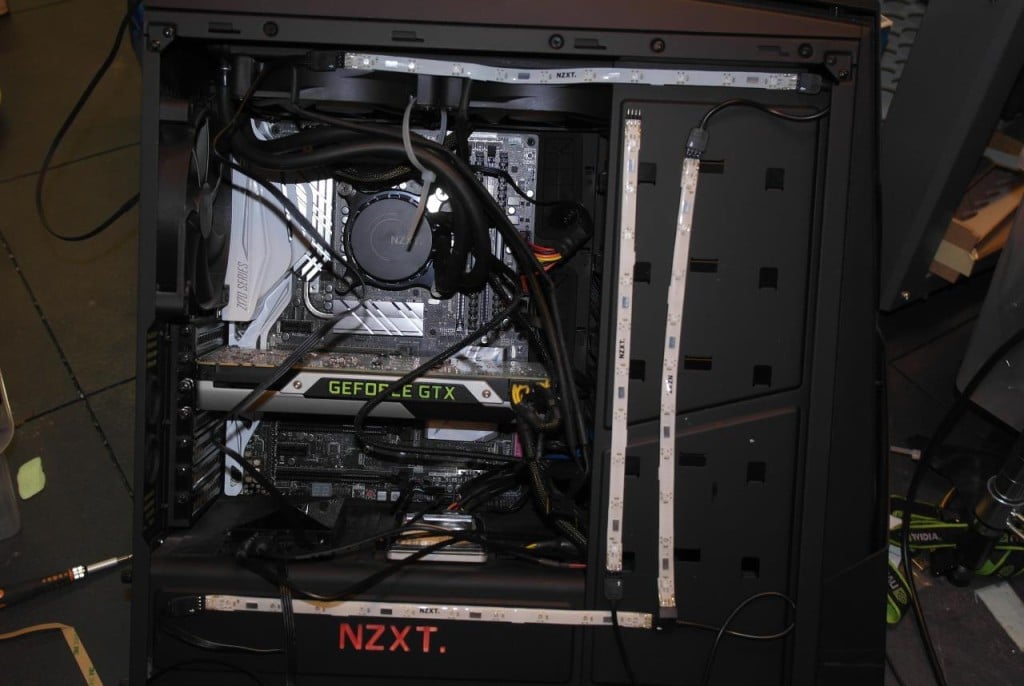
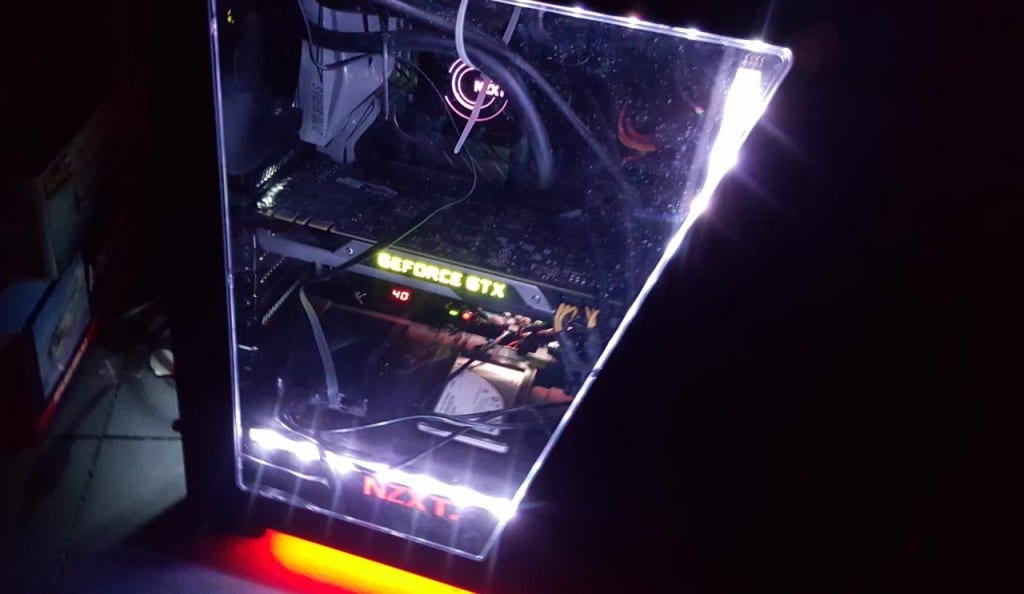
Since we wanted to test all 4 strips we placed then around the open side and the window. The strips are magnetic and thus can be attached to a steel-frame, or of needed you can use the 3M-tape sits on each strip.
The ends on the strips and extension cables with pins are protected with a small plastic cap and it is recommended to keep an eye on those. We always bent a pin by accident by not being carefull.
We know! This is not the optimal placement of the LED-strips but we simply wanted to try them. We noticed the the extension cords were quite inflexible so we had to attach a few of the strips with the tape.
Software
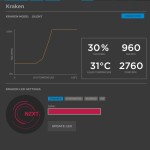
The CAM-software is the same as in our Kraken 61-review except it has been updated a lot. As you install it you can choose which products you want to control (GRID+, HUE+, Kraken).
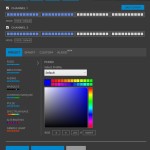
As you can see there is a lot of settings you can change with the LED-strips. Whether it is to simulate candle light (??) or let it show the temperature of the CPU or GPU or the FPS of the game, there are a lot of options. Most options can be set separately to each channel except the Audio-synchronization (in beta) which attached itself to both channels.
HOW IT WORKS
As expected it works great. The LED’s are strong and bright but can be set to a lot of different moods. Some are quite un-useful (setting the LED’s to Spectrum Wave at a LAN probably is a great way to distract other players but also a way to get kicked out).
We tried the audio-synchronization setting and it worked ok without impressive us. It simply didn’t feel a lot happened to the music, regardless if the music had a steady rytm or not. We did see some changes in the LED’s during the music but we think NZXT could turn the frequency up a lot. There are settings for Sync and Gain and it is possible we just did not understand them.
We made a small video for you showing off some of the lighting features.
Conclusion

At 60$ it might not be the cheapest option but the features, especially the way you can control it via the software, are excellent. If we had to complain it would have been nice to get support to control the HUE+ via the CAM-app on mobile to but that should happen at some time as we already can control a Grid+ or a Kraken 41/61 from the mobile apps.
 Bjorn3D.com Bjorn3d.com – Satisfying Your Daily Tech Cravings Since 1996
