Installation

Cooler Master sent us two 200mm Sickleflow 2000 ARGB fans, similar to what is being used for the front intake fans (though the ones on the HAF 700 is specialized tuned for higher airflow). The SickleFlow 200 ARGB Gen 2 square frame fan features customizable LEDS, air balance curve blade that dynamically adjust the speed between 0 RPM to 800 RPMs. The frame of the fan is reinforced to reduce turbulent flow and reduce noise and the two tear sealed bearing structure to enhance life span of the bearing.
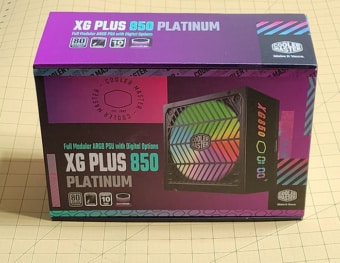
Additionally, we will pair the system with Cooler Master XG Plus 850 Platinum PSU, a fully modular 80 Plus Platinum PSU with digital options. The stand out feature of the PSU is the built-in information digital display panel that shows real time fan speed, temperate, power load, and customized ARGB lightning. It is a neat feature if your case has a glass side panel that you wish to show off the PSU information. The PSU supports Intel ATX 12V version 2.53 and is cooled with a 135mm fan that operates at 1800RPM max while keeping the noise level down at below 25 dBA.

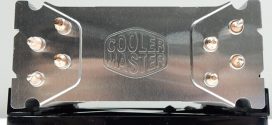
Also, we will pair the system with the PL360 Flux liquid cooler that we have reviewed. It is a great AIO cooler that offers good performance.

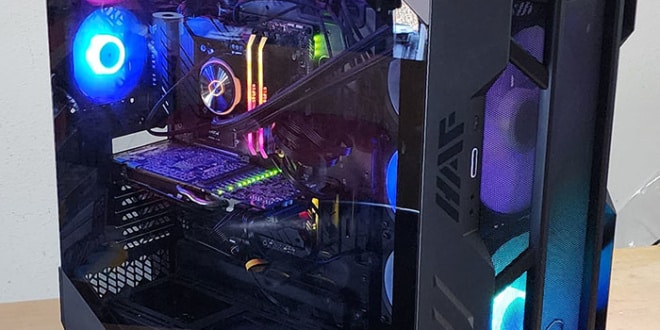
One thing for certain is that space is not going to be an issue with HAF 700. Even without removing the top panel, the amount of space inside of the chassis makes it easy to mount the motherboard, coolers, and add-on cards. With the top panel removed, it is even easier to install AIO cooler or fans on the top.
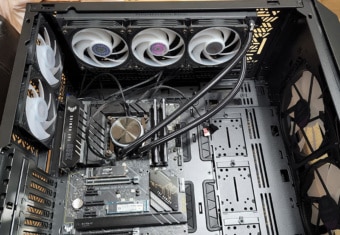

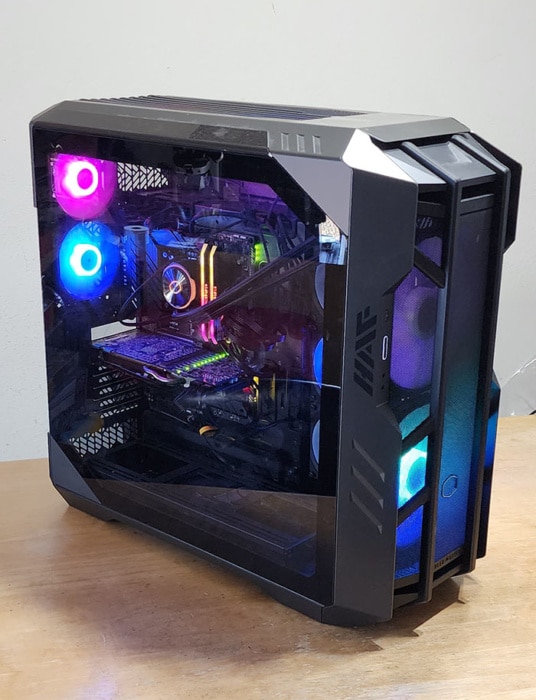
Due to the size of the case, the cable for the radiator is just barely long enough to be installed either on the top or on the front. My preference with AIO cooler is having the cable facing the front top of the case so it is out of the way from the rear exhaust fan. And the length on the MasterLiquid 360 is just barely long enough for the chase. If you use other AIO cooler, be sure to check the length of the cable if you plan to pair with the HAF 700. We ended up installing the two two 200mm Sickleflow 2000 ARGB fans on the top of the chassis and install the radiator for the MasterLiquid PL360 Flux AIO on the front.
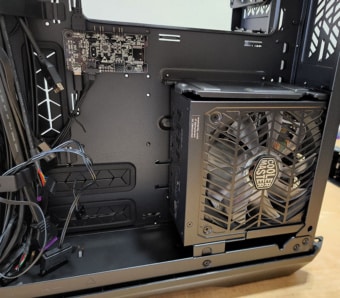
No issue with the XG850 PSU with the dimension of 160 x 150 x 86 mm (LWH). At 160 mm, the PSU is slightly larger than your typical ATX but not the longest one on the market. We do not see there would be any trouble if you have a longer PSU except that it will block the cable routing cutouts. Additionally, the area around the PSU is where we find the ARGB controller and where the cables are routed with the cable clip, so it can get a little busy here. Having the PSU on the bottom of the case makes it easier to secure it. And Cooler Master is making things even easier by having the screws attached permanently to the case. So you just align the PSU and fasten the two screws. You may think that two screws may not be secure enough; however, given to the fact that the PSU is on the bottom of a heavy-duty case, it is unlikely there will be any stability issue. Sadly, the design of the HAF 700 blocks the side of the PSU (and the PSU side panel is not made with glass) so the XG850 digital display is hidden from the view.
When comes to drive installation, there are two options available and either one you pick, the process is quick and easy. If you decide to mount the drive on the back of the the cable cover or on the pump bracket, then you just screw the four feet underneath the drive and the drive is ready to be mounted. This is the same design as Cooler Master uses on the HAF 500 and it is surprisingly secure. Alternatively, if you plan to install the drive on the drive cage, you just slide the 3.5’’ drive to the drive tray which features plastic tabs to secure the drive (or you can opt in for screws). You do need to use a screw driver to secure 2.5’’ drives to the drive tray but it is still an easy job.
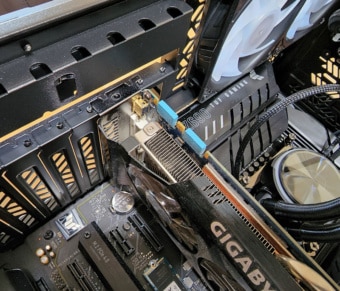
The last time I used a case with “tool-less” design for holding the expansion cards, I was not too impressed with it and ended up not using it and rely on old screws to hold my cards. However, the Cooler Master’s implementation here is a huge improvement. For one, I love the spring-loaded lock. It is secure and deadly simple to use. The lock even has rubber padding to ensure that even if there were minor height differences in the cards’ brackets, it will still able to lock the cards in place. The padding also helps to dampen the metal vibration noise. On the bracket, tiny knobs helps to keep the card in place. If you happen to have a card where the bracket is slightly warped that does not seat evenly or you simply prefer fasten the card with traditional screws, there is no issue here either.

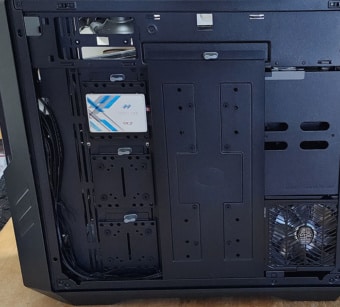
No more messy cable even for lazy person, just put on the cover and all of the mess are hidden away
Cable management is really an easy task with the HAF 700 thanks to the thoughtful cutouts that allows cables to passthrough to the ports. Additionally, the HAF 700 comes with zip ties that along with thoughtful placed cable hook throughout the case making it super easy to keep the case clean and neat looking. Not to mention that the fan cables are already neatly tied and connected to the fan hub, which making the job much easier. Furthermore, even if the cables are not all tucked away neat, putting the cable cover on, and everything would hide behind the cover so it won’t look messy at all. Plenty of thoughts putting into designing the HAF 700 where we see plastic lock used in many removable components. Not only these helps to secure the parts in place, they also make it easier to install components and change configuration. One good example is the rotatable radiator bracket located on the bottom of the case that can be outfitted for fans or radiators. The bracket is removable and it can be angled up to 30 degree to improve cooling. A single 120mm fan is preinstalled to draw in cool air.
 Bjorn3D.com Bjorn3d.com – Satisfying Your Daily Tech Cravings Since 1996
