Installation
Time to start installing.
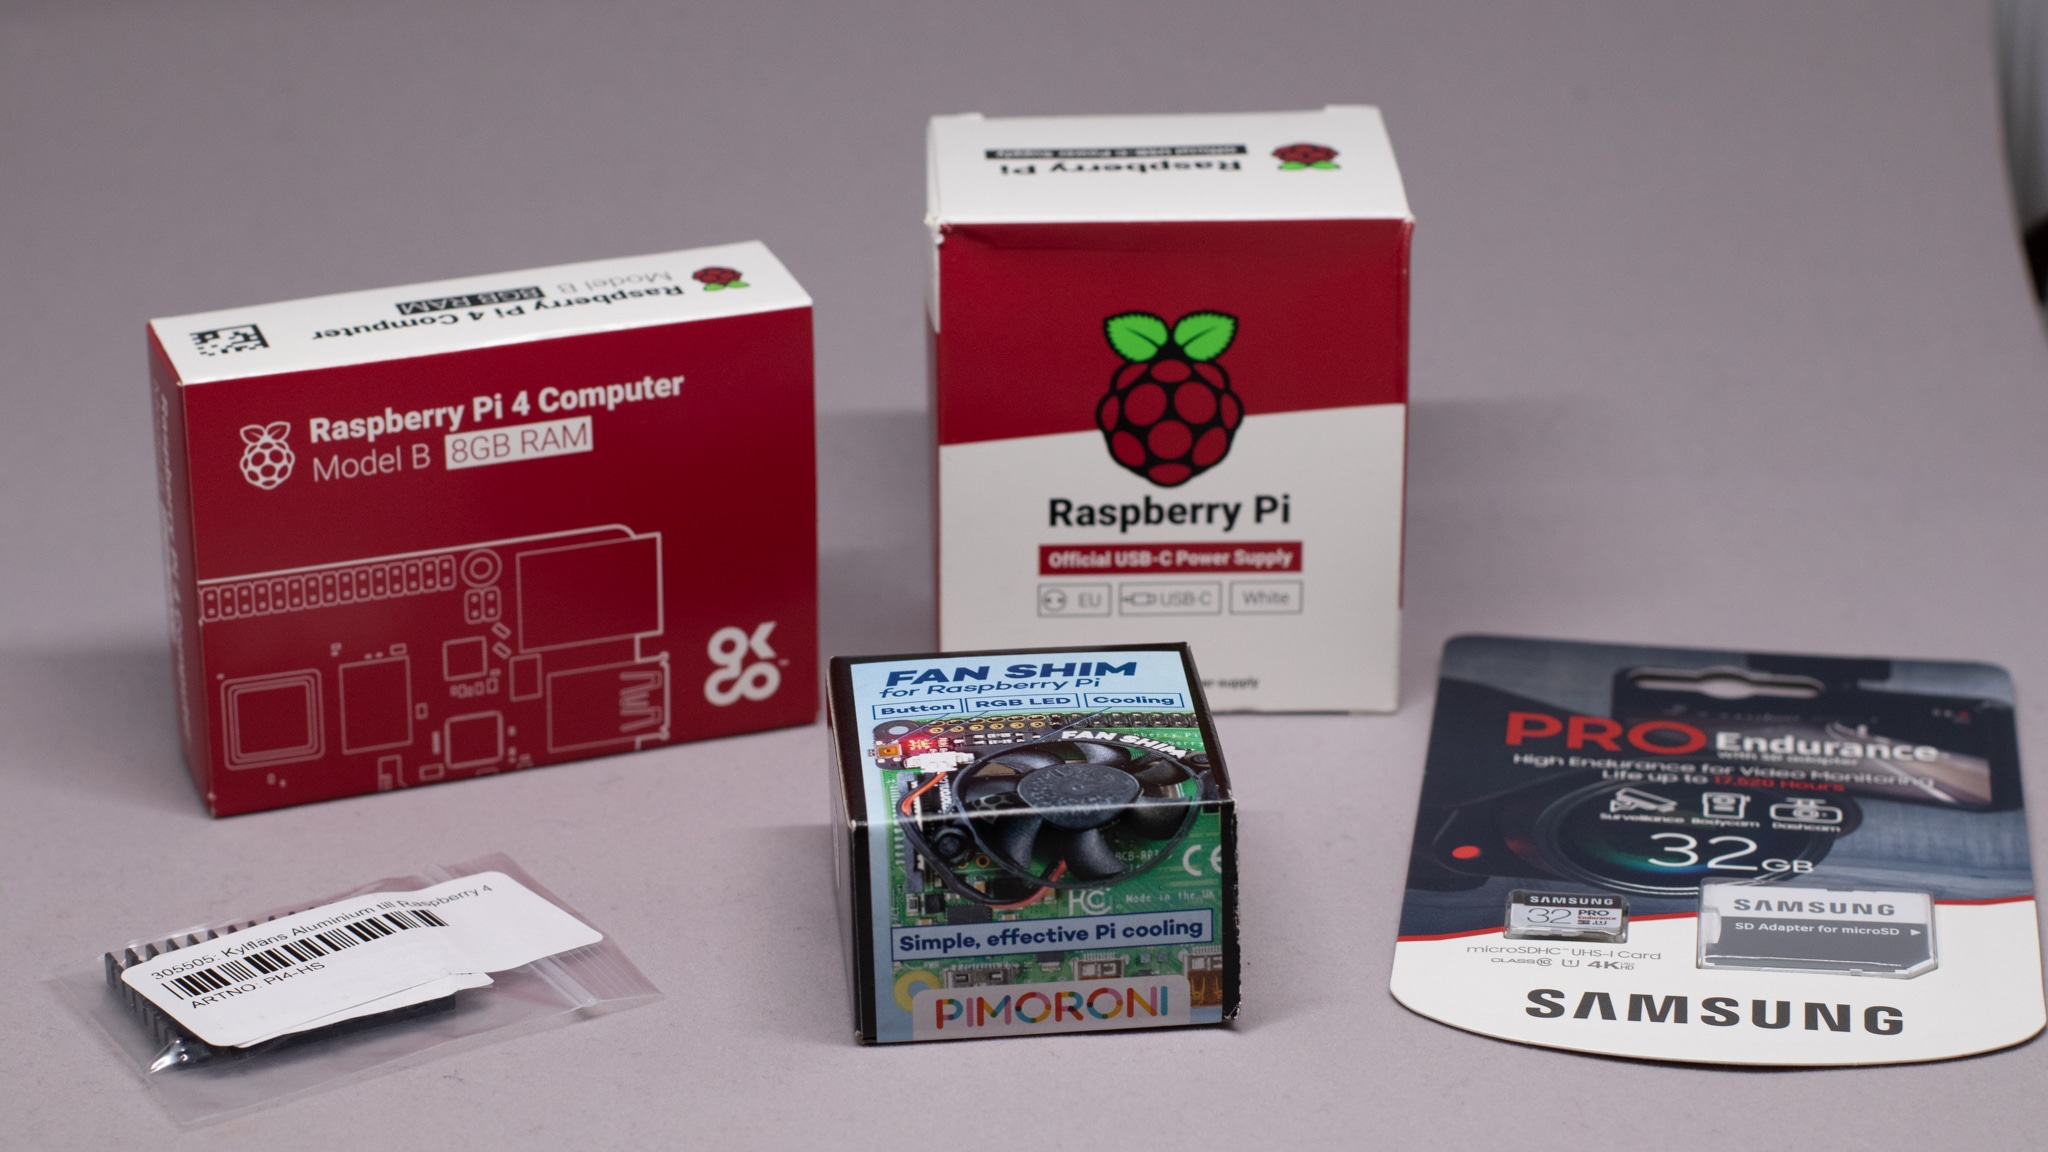
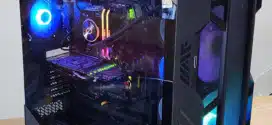
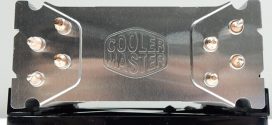
I had already bought myself a Raspberry Pi 4 Model B with 8 GB Ram for my next OctoPi-project. I know I know, a bit overkill but the prices are low enough so that it doesn’t matter to me if I get the best Pi 4 even if a Pi 3 would have been enough. A few of these parts (fan and heat sink) will not be used in this build.
Time to open everything up.

Soon these two shall meet.
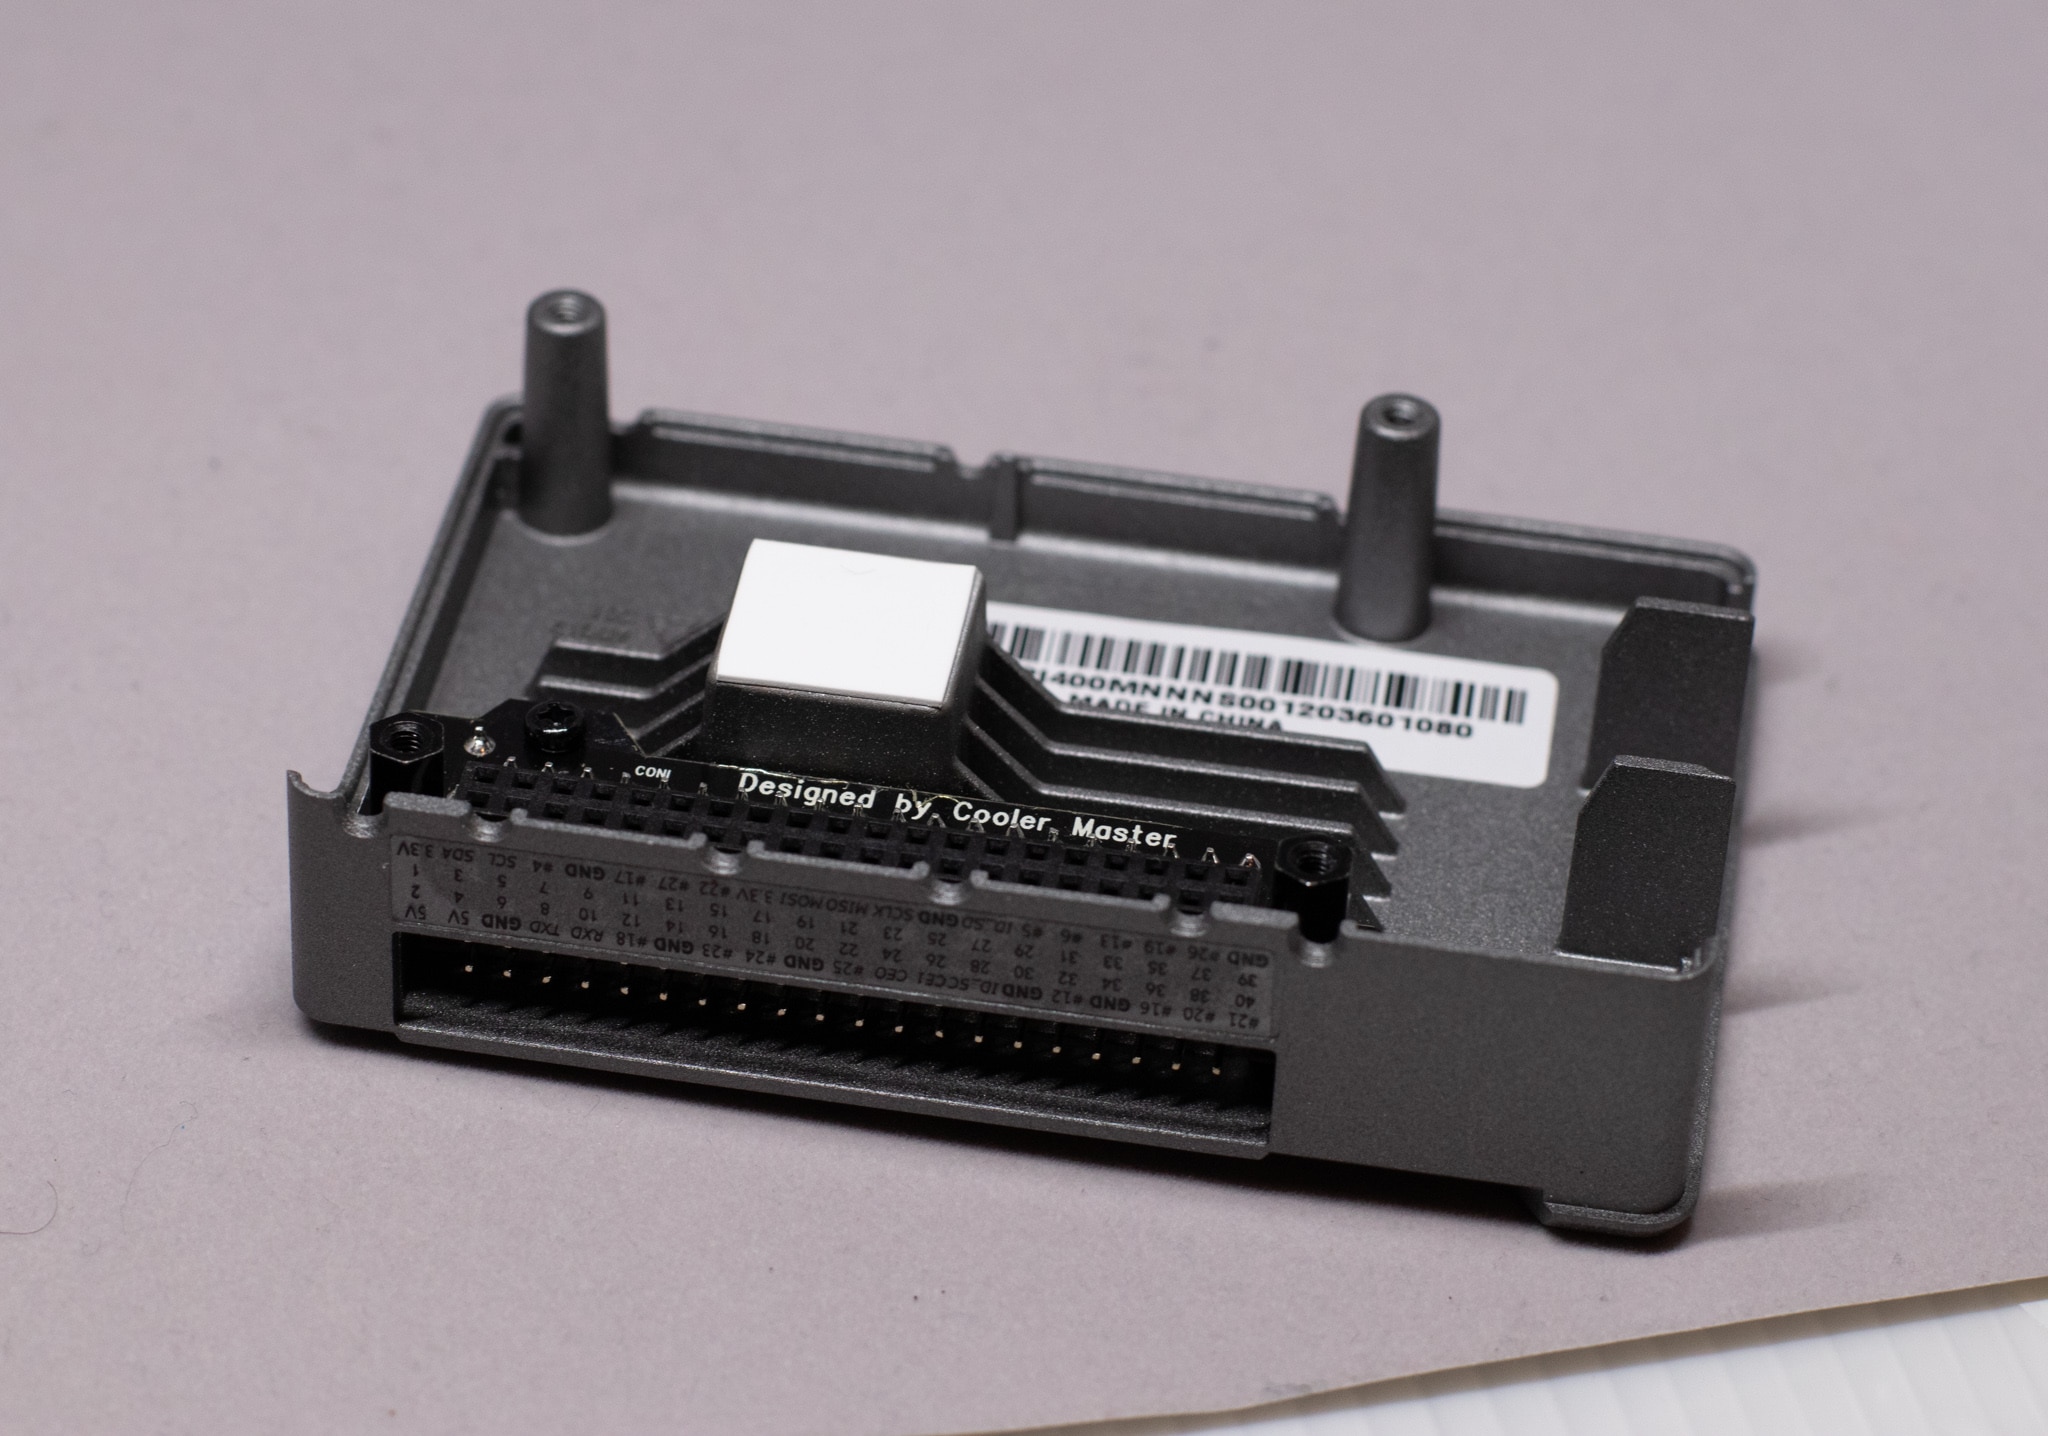
Let’s first add the thermal pad that will help transfer heat from the CPU to the case.
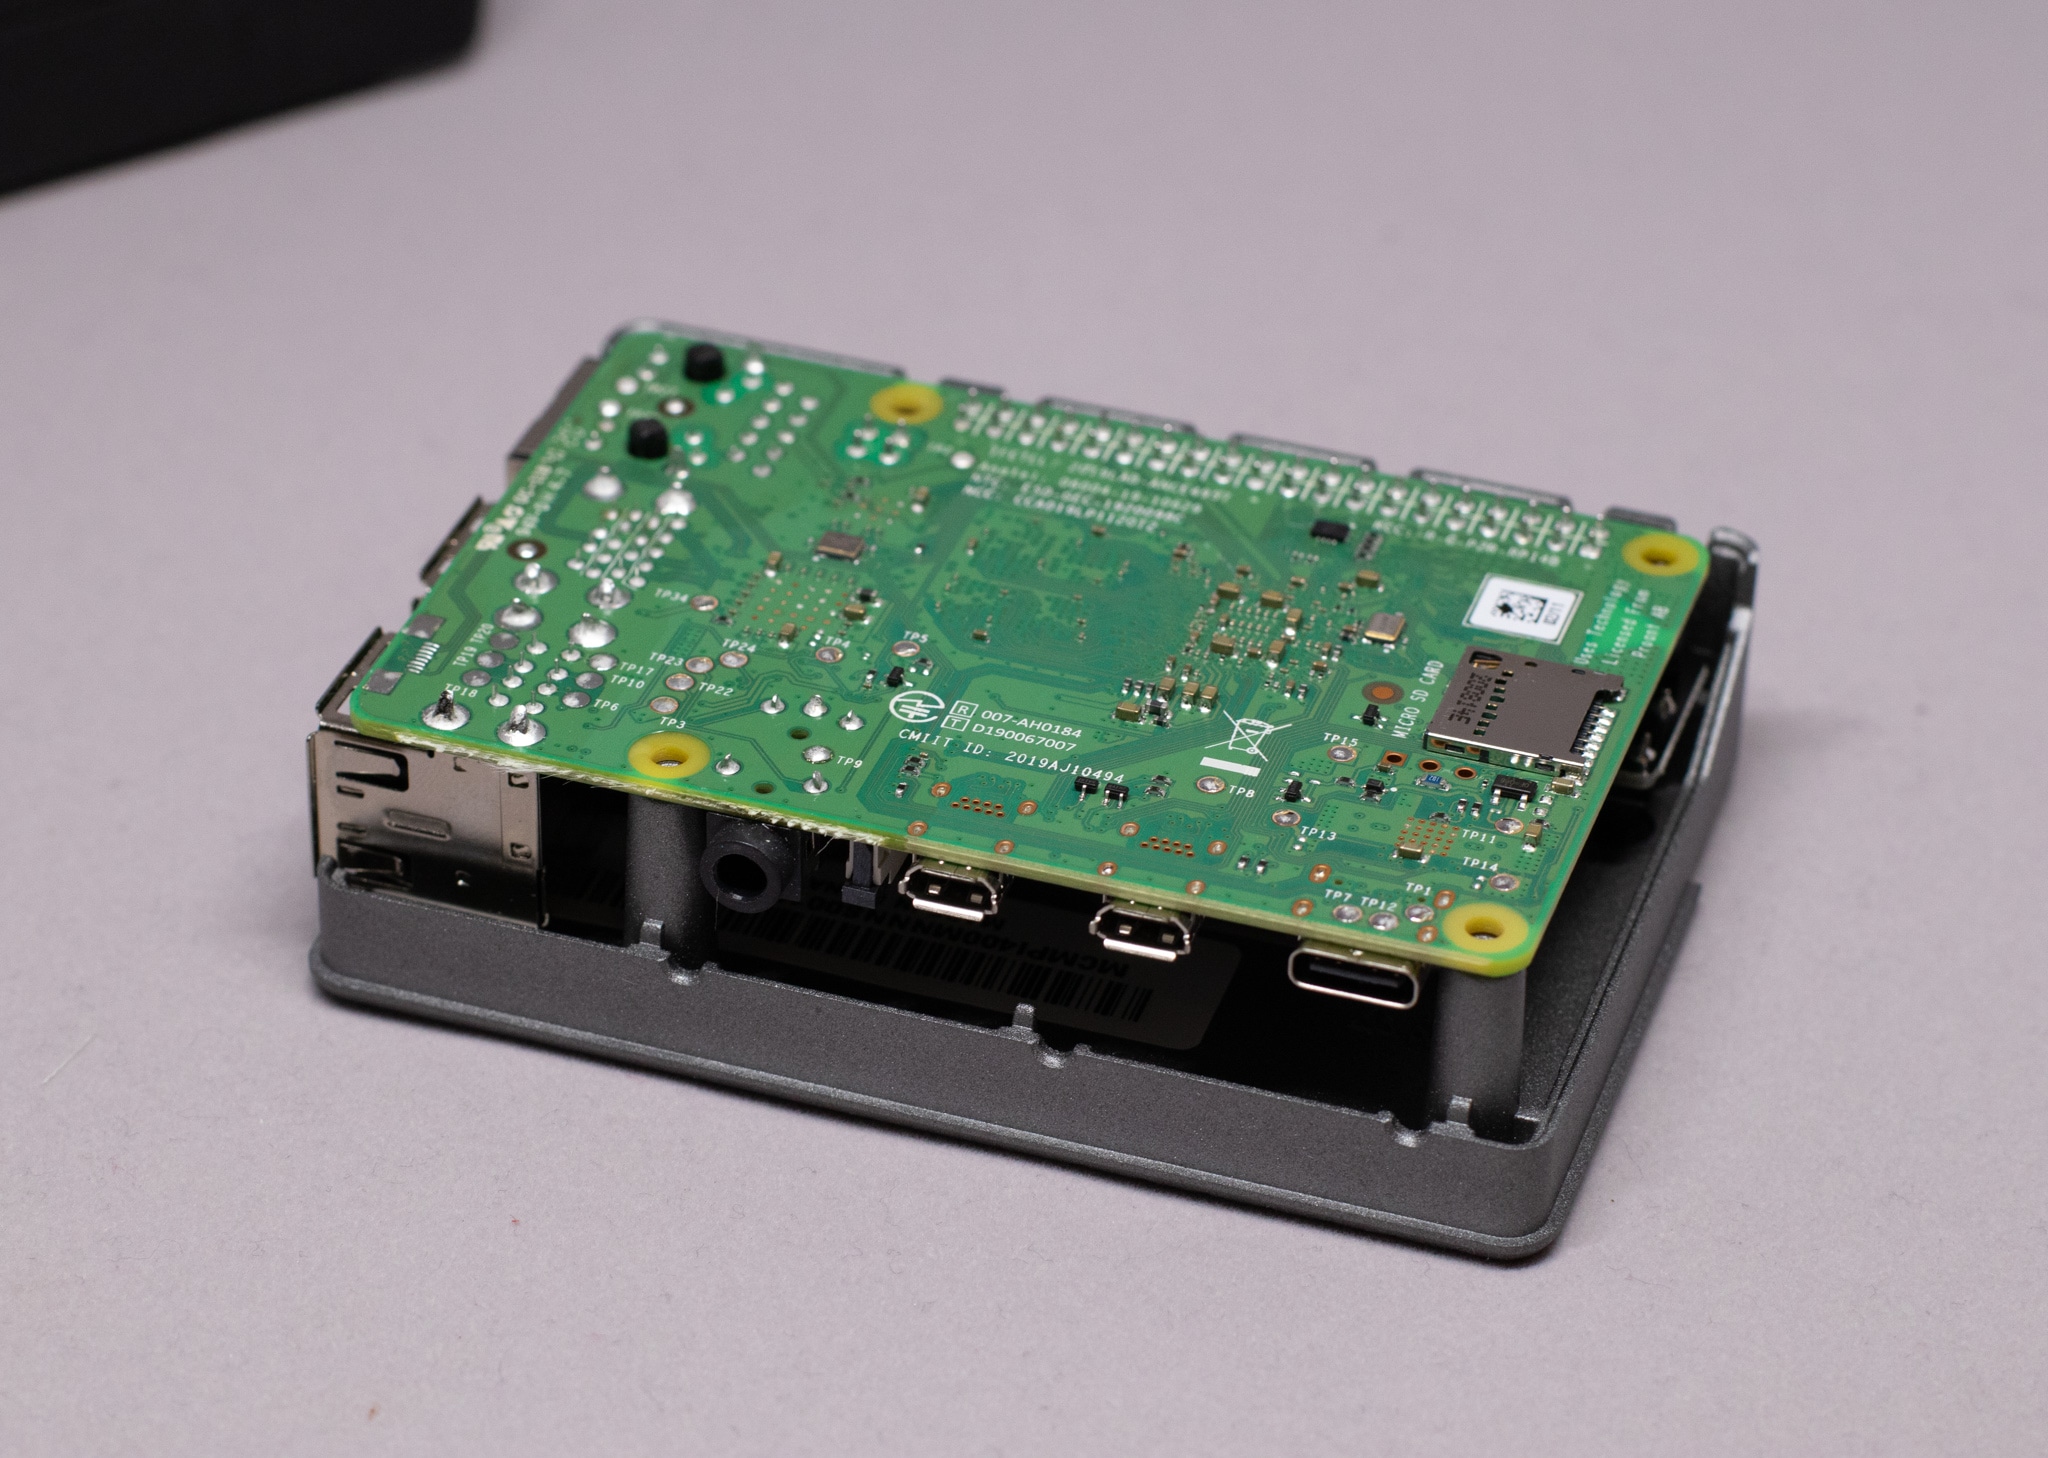
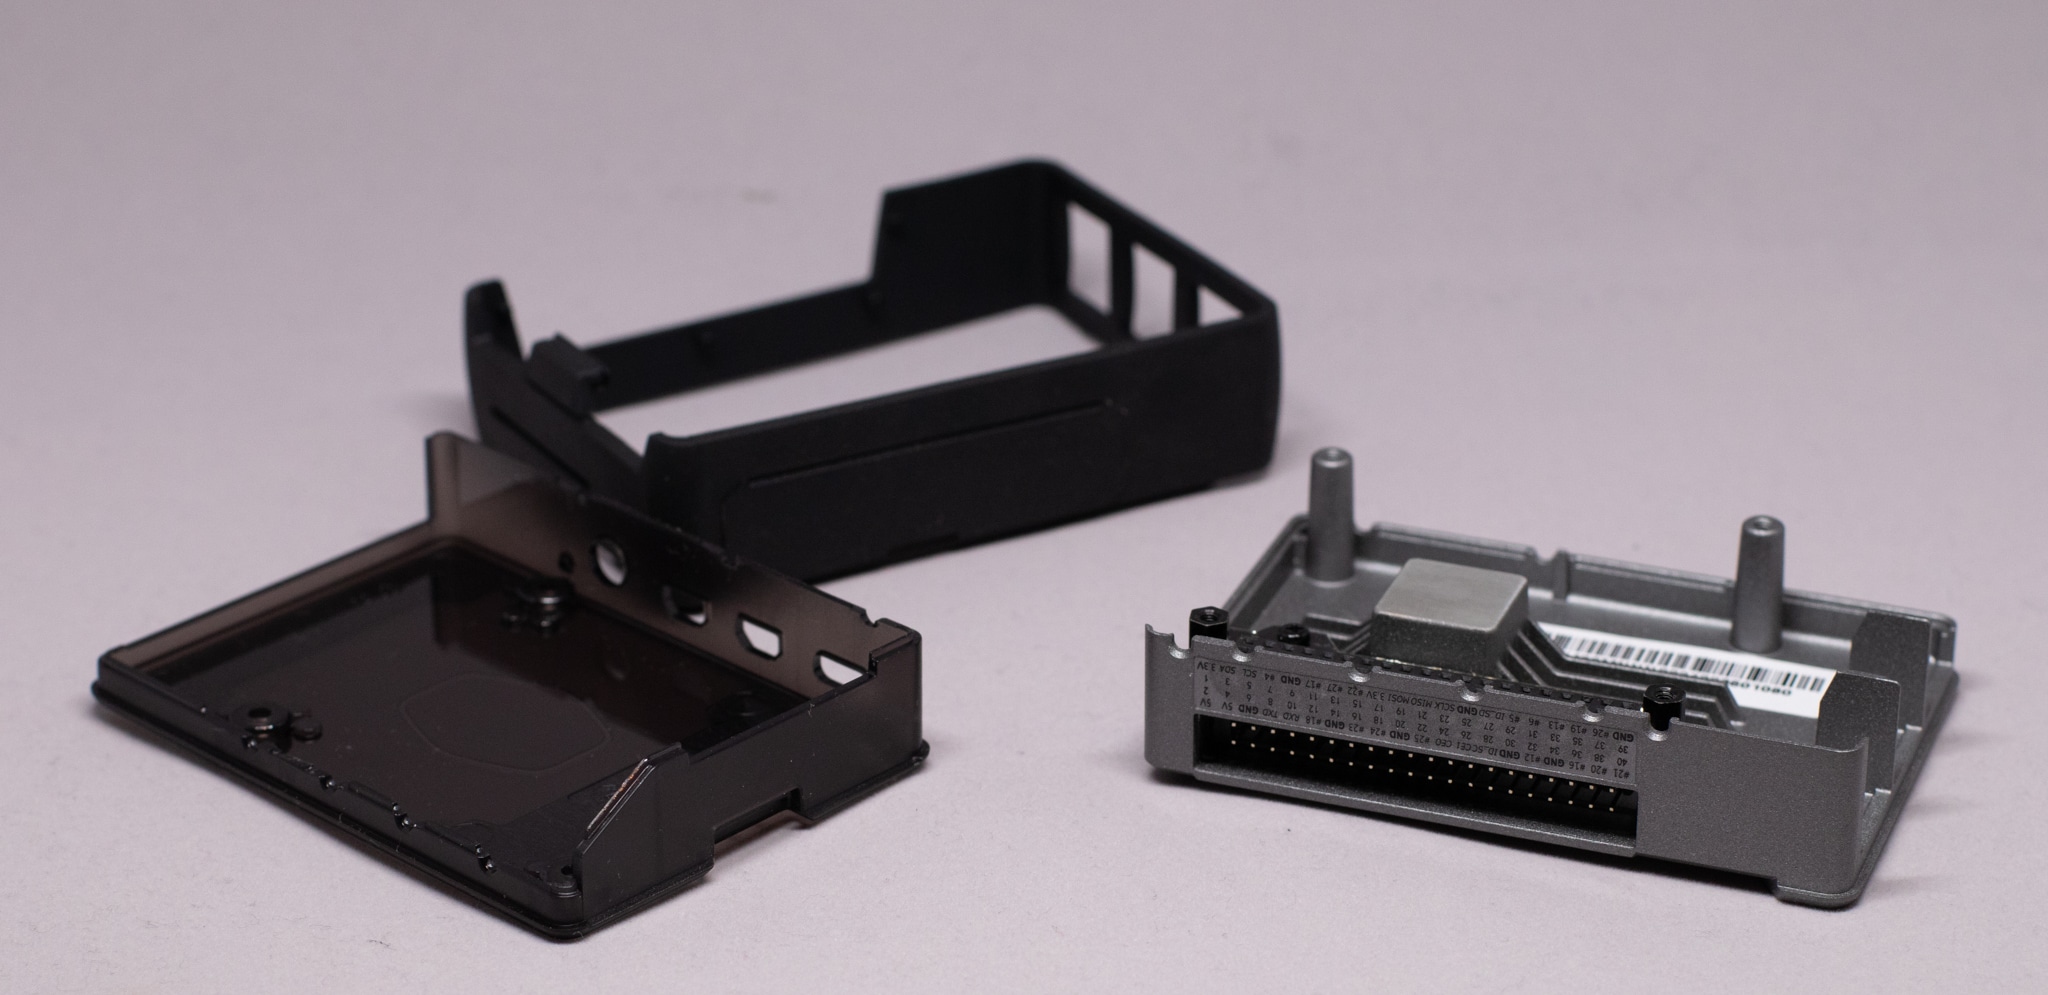
Add the motherboard.

Put back the plastic bottom and screw everything together. If you want to use the VESA-mount that has to be added before the screws.
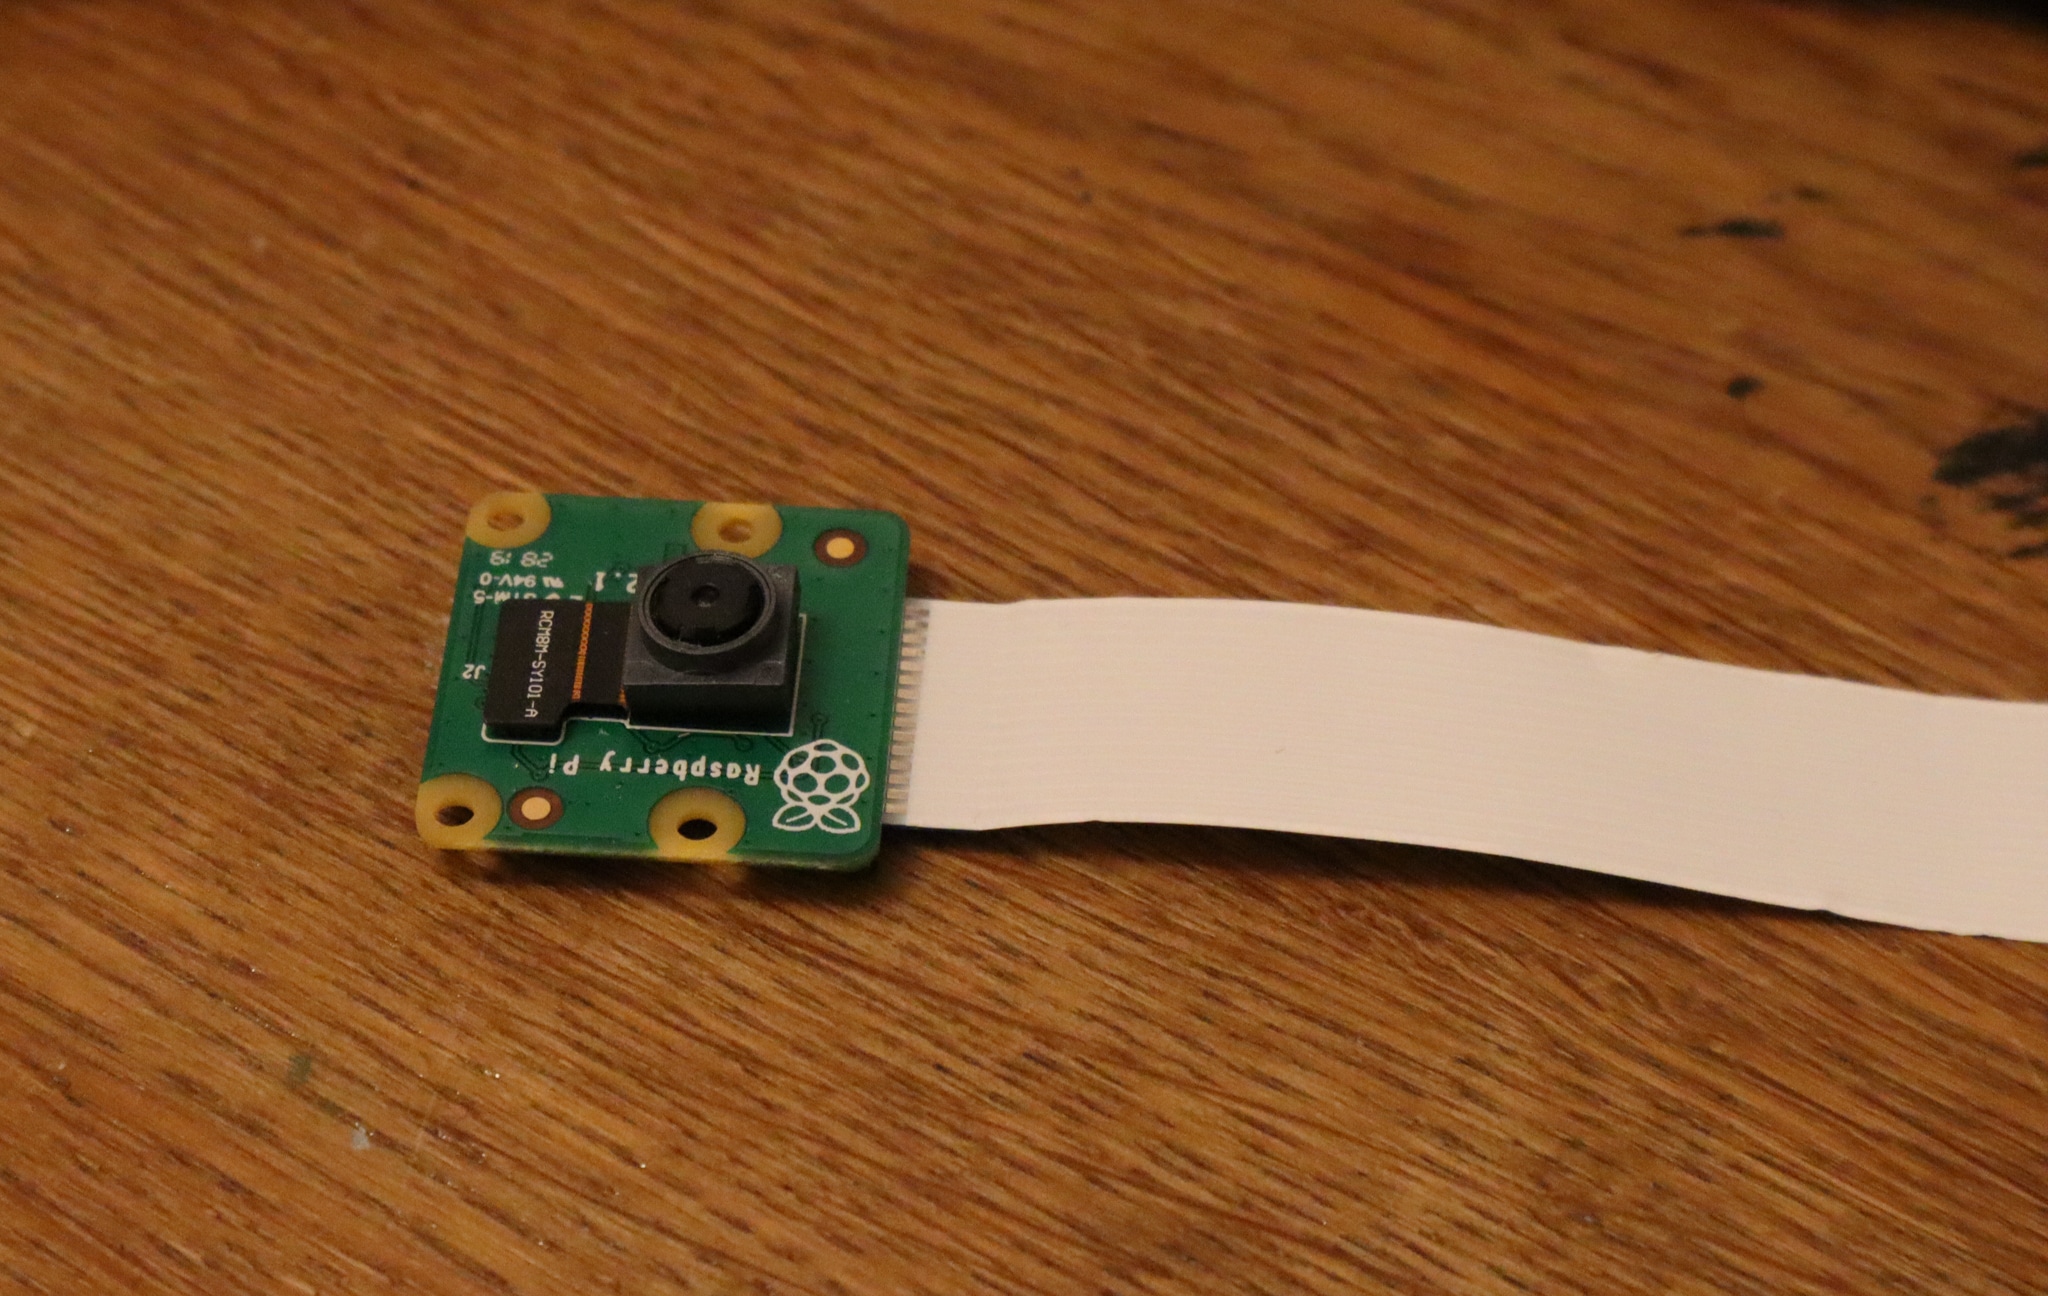
Ahh, I forgot one thing … the pi-camera.

Take out everything again and connect the camera.
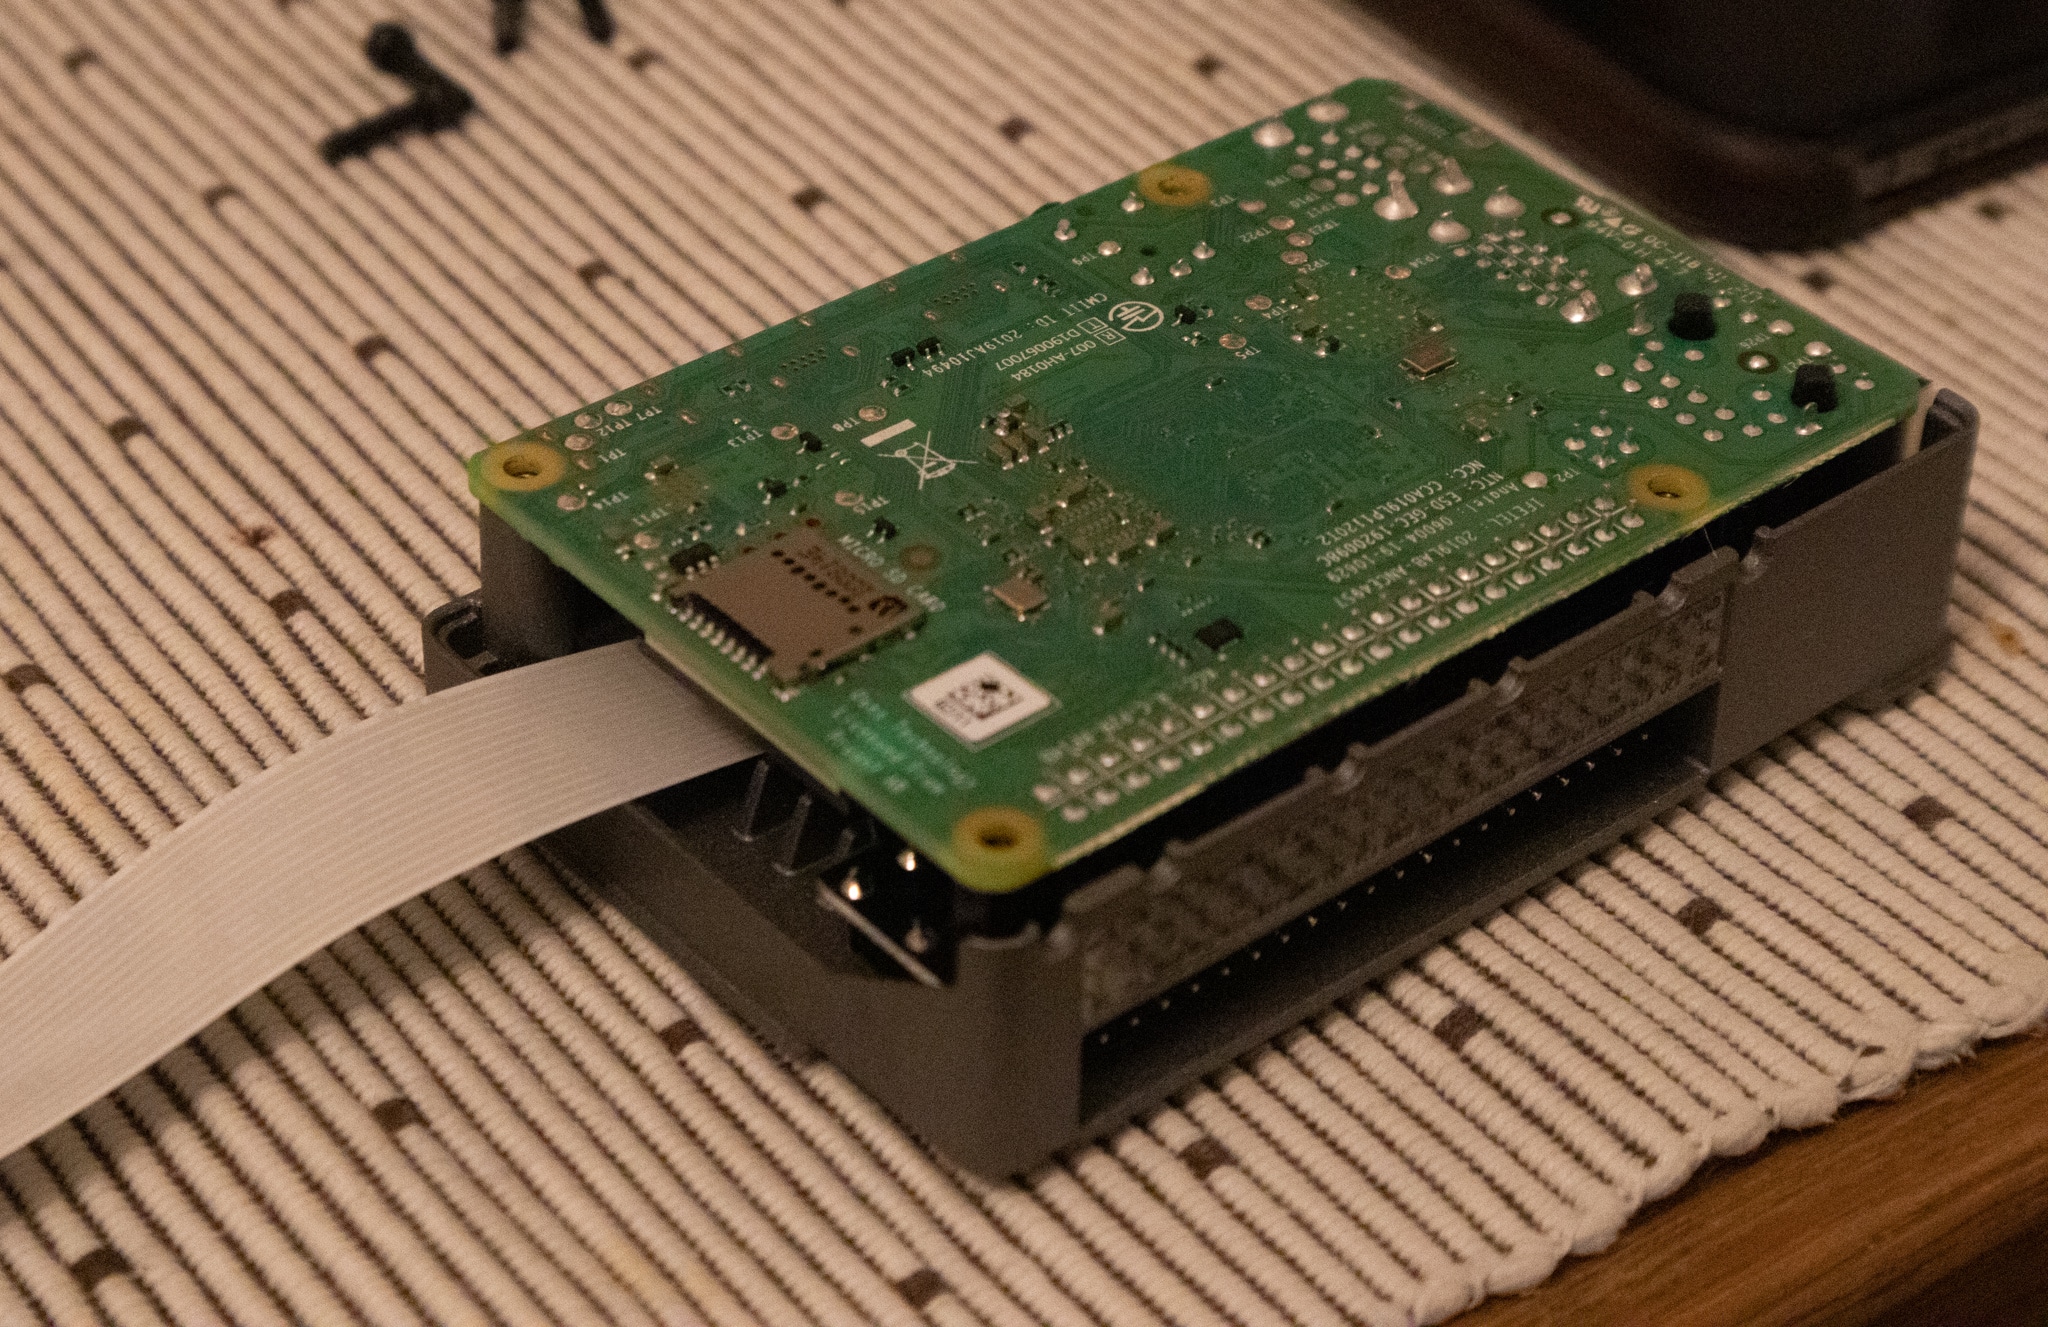
It is easy to route the camera “cable” out from the case.
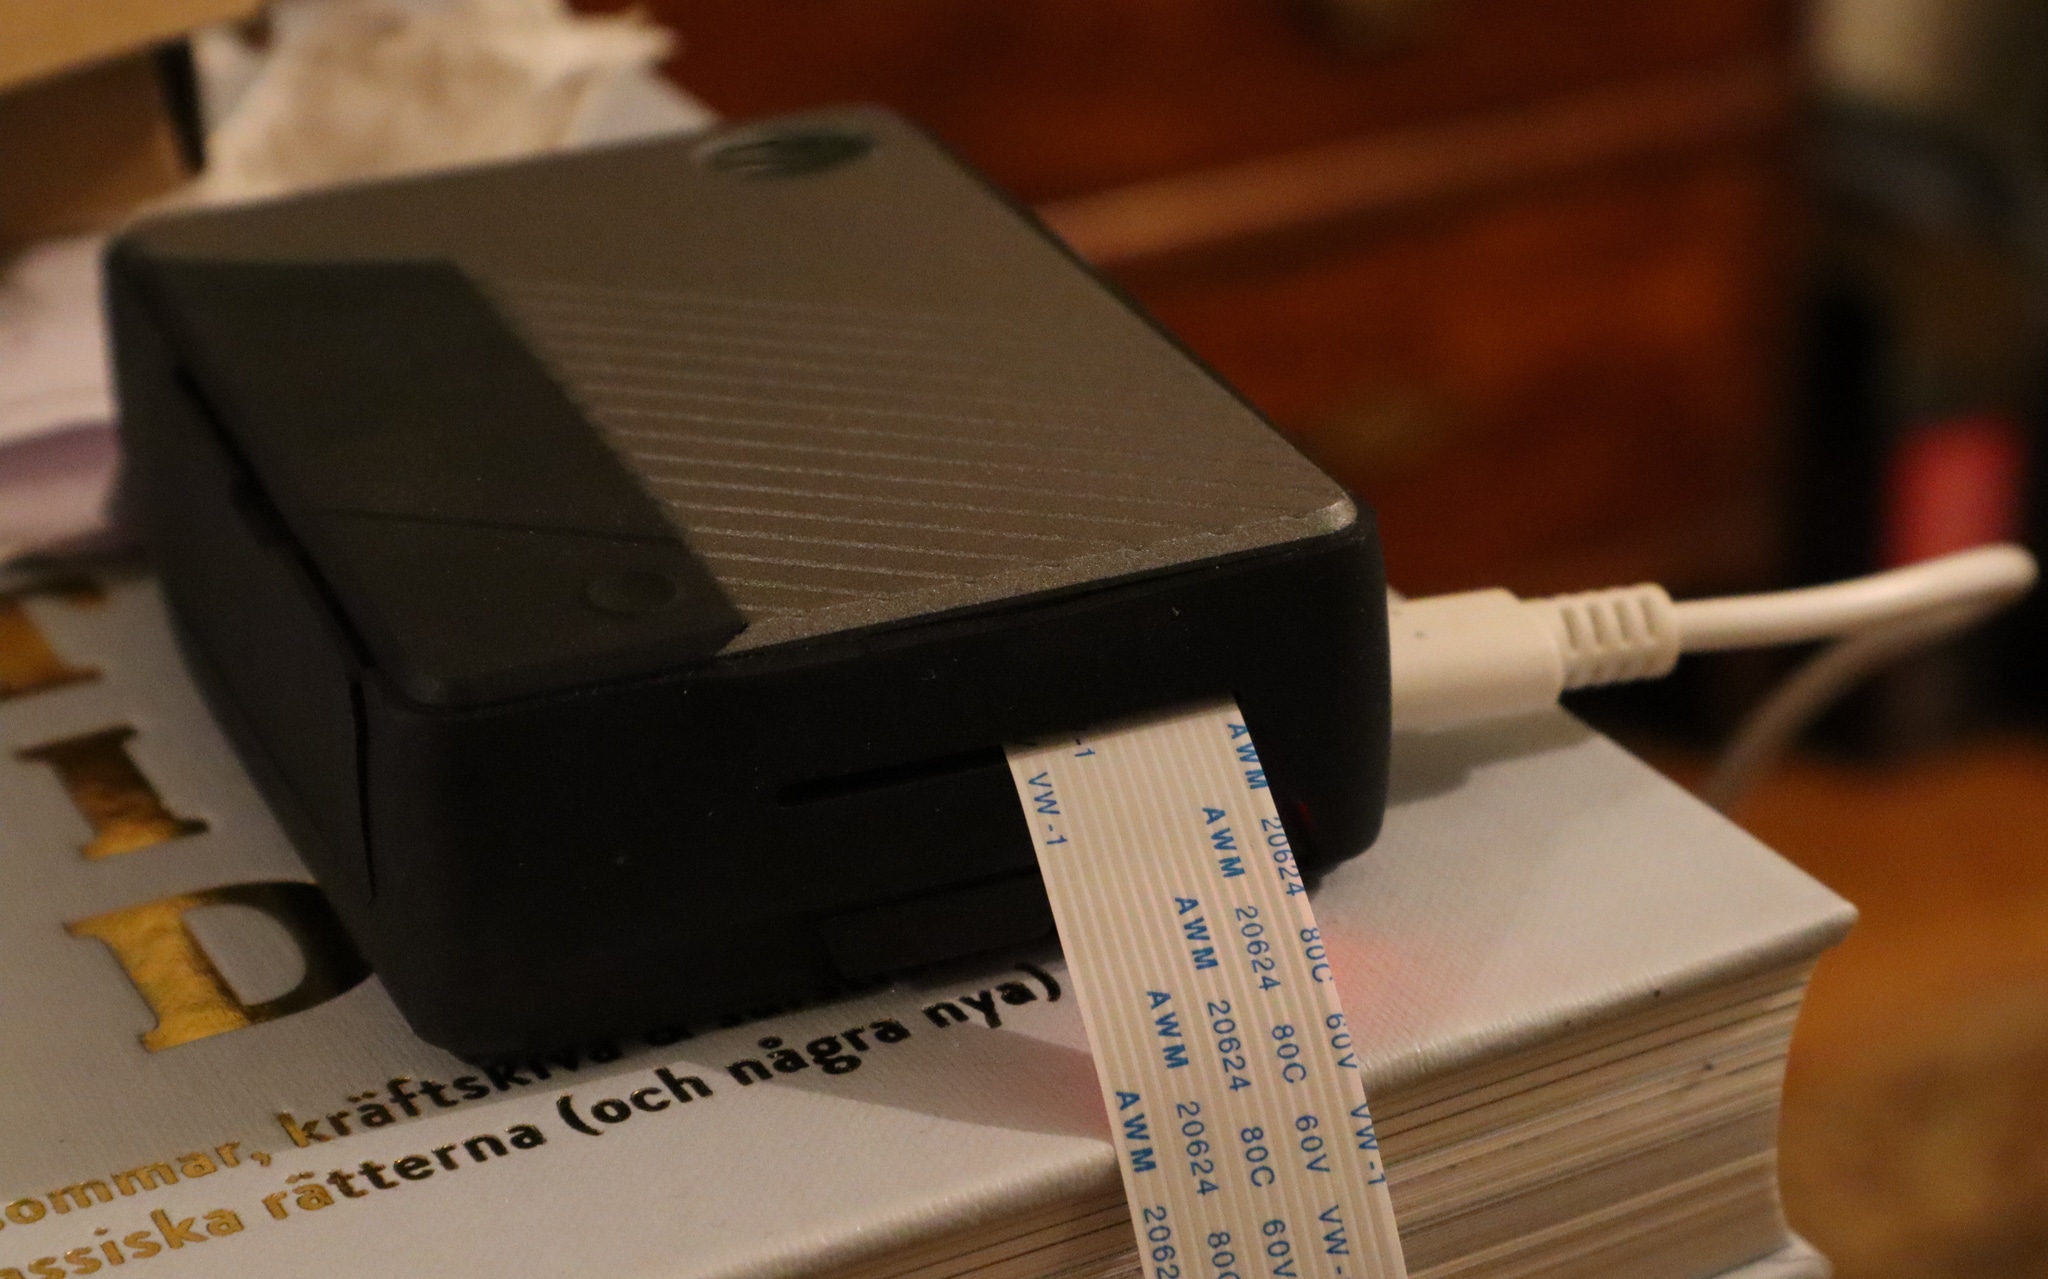
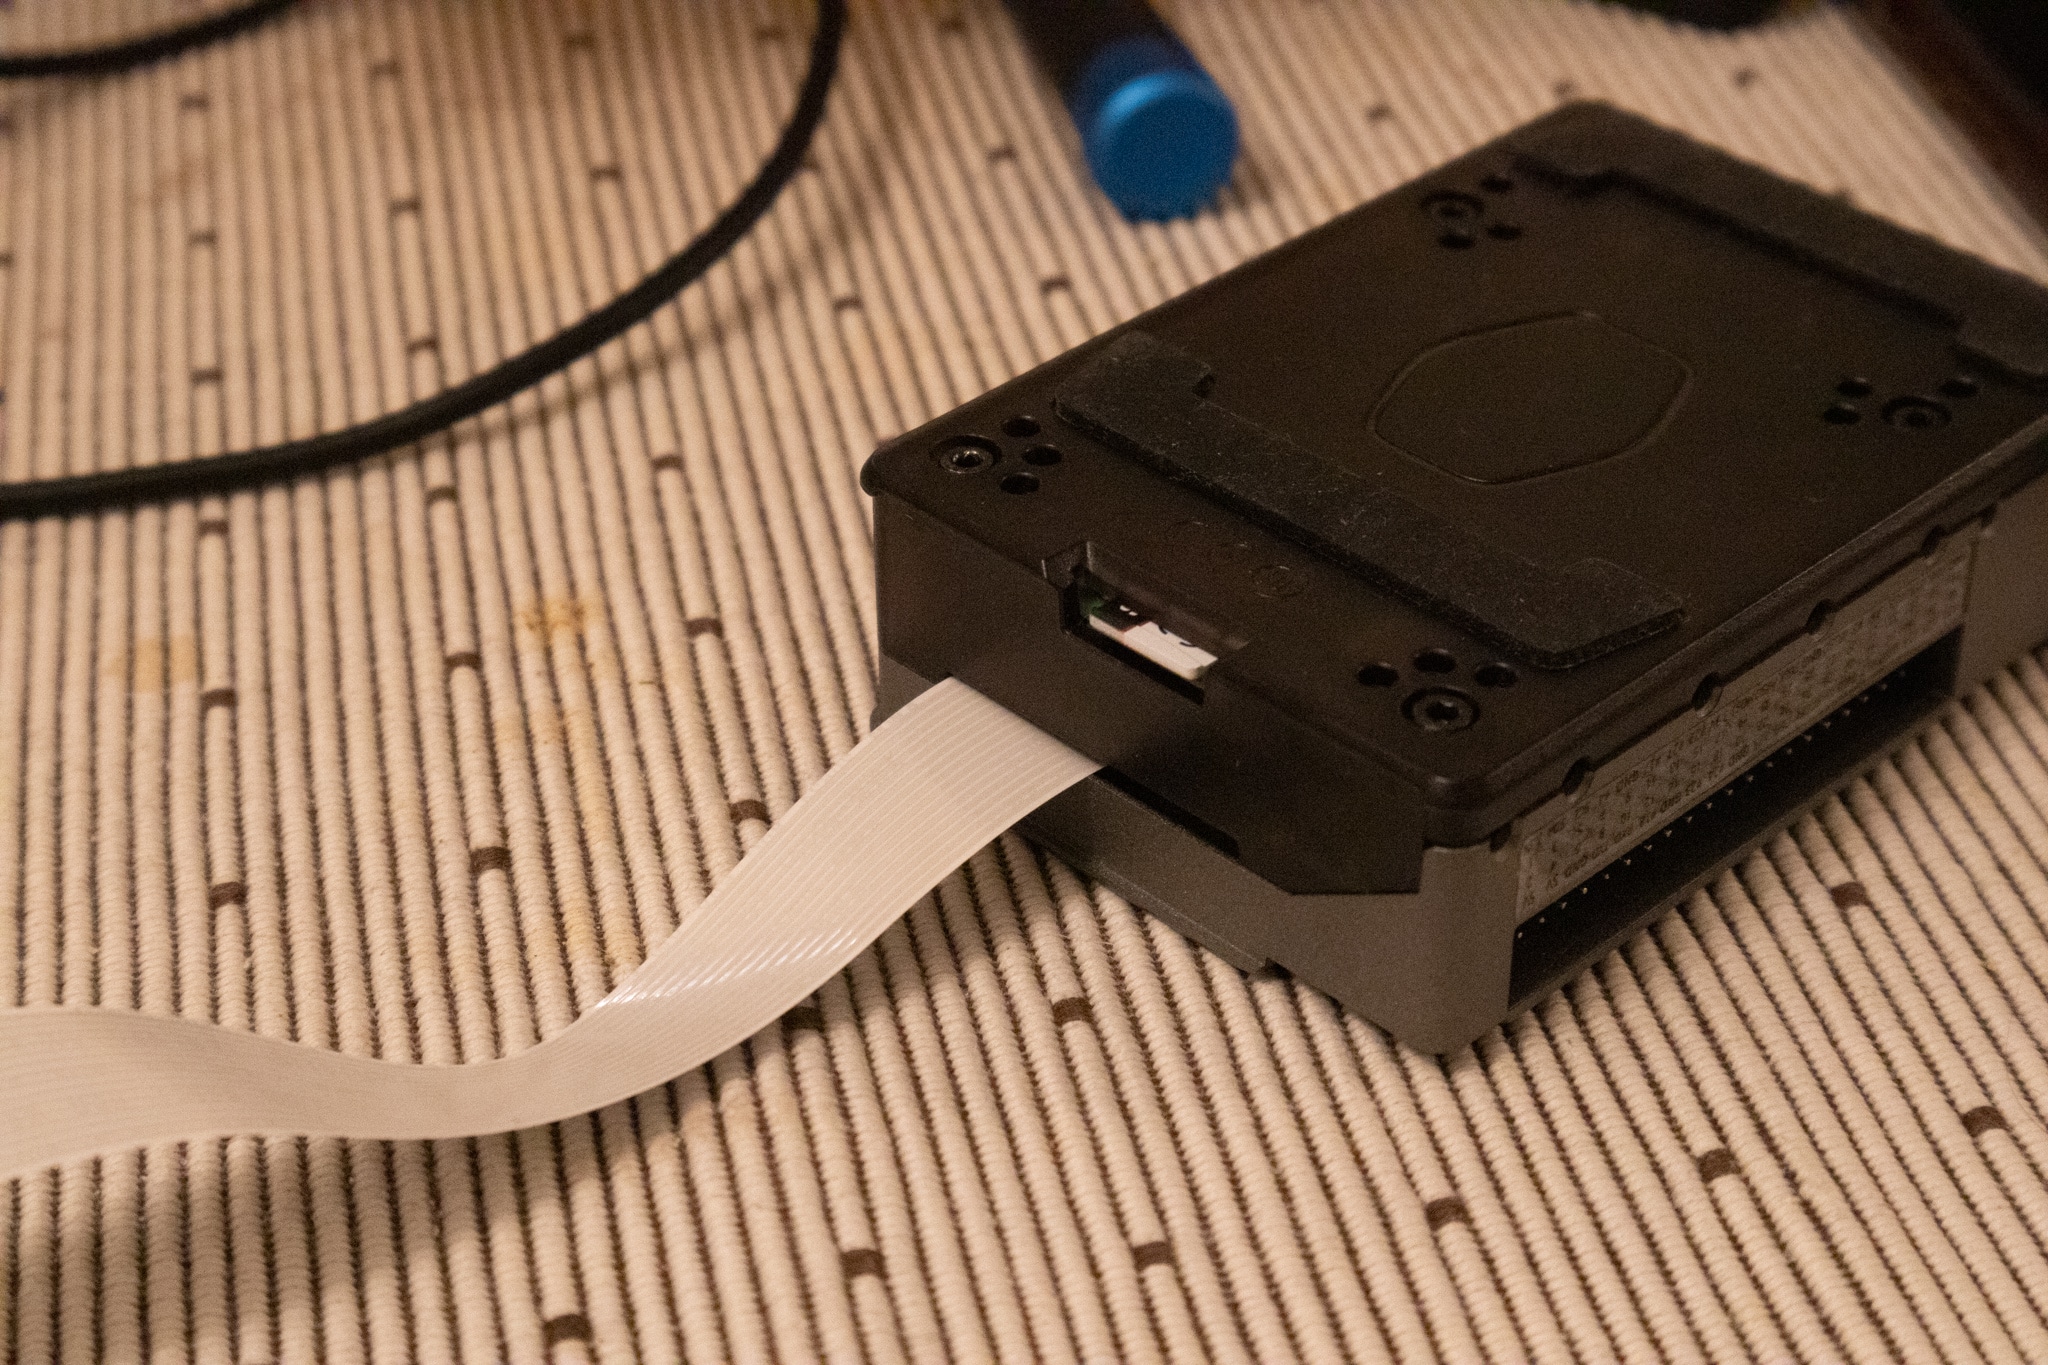
There is a nice slot there to get the ribbon cables out of the case. In the image above you can also see the slot for the memory card. After you slide over the rubber “top” on the case this will be covered by a small flap.
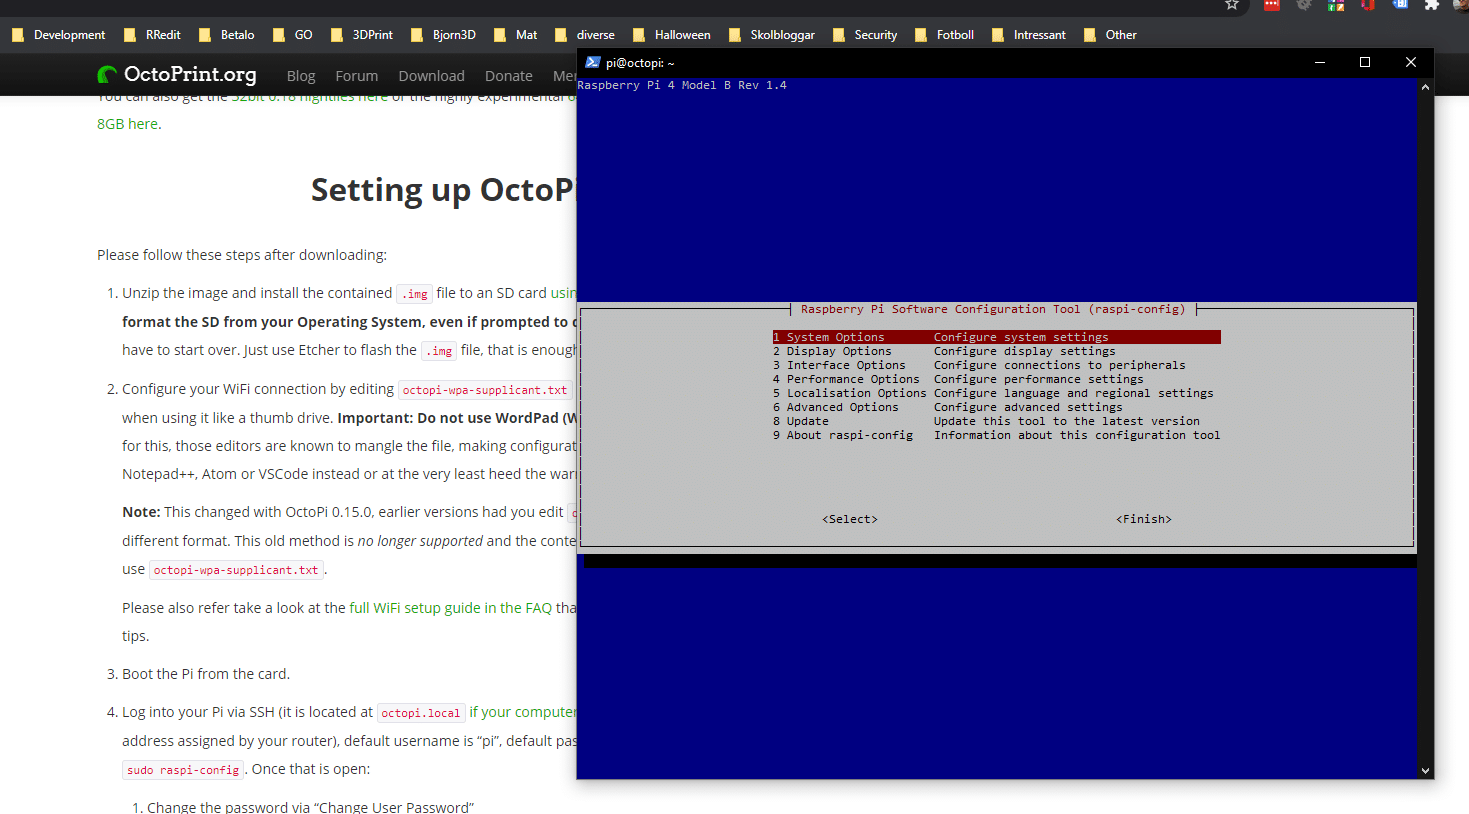
Installing OctoPi is really easy and all you have to do is follow a guide on their page and set up a memory card.
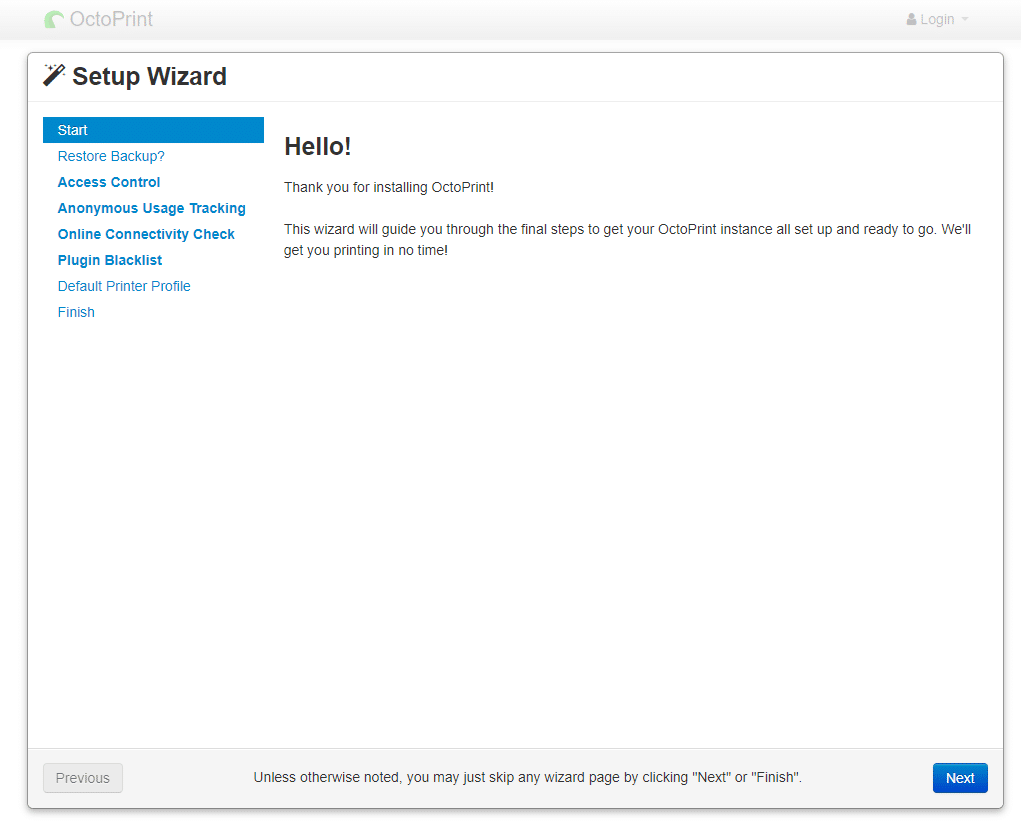
I was up and running quickly and could set everything up for my two printers (Ender 3 pro and Ender CR6 SE).
Performance
OctoPrint is not the most demanding application but the one I had planned to use the Raspberry Pi for. I also installed OctoLapse that allows me to create time lapses of prints. Basically it moves the print head away and takes a photo at certain intervalls (for example every x layer) and then at the end puts those togheter into a mp4-video.
Regardless how long the Raspberry Pi has been on the temperature of the CPU has never been higher than 42-43C. The case my other OctoPi is installed in, the FLIRC Raspberry Pi Heatsink Case, usually gets a bit hotter, around 44-45 C after a long print so the Coolermaster Pi Case 40 easily matches this at a lower pricepoint.
The case comes with the programable button but to use that you need to install Pi-Tool.
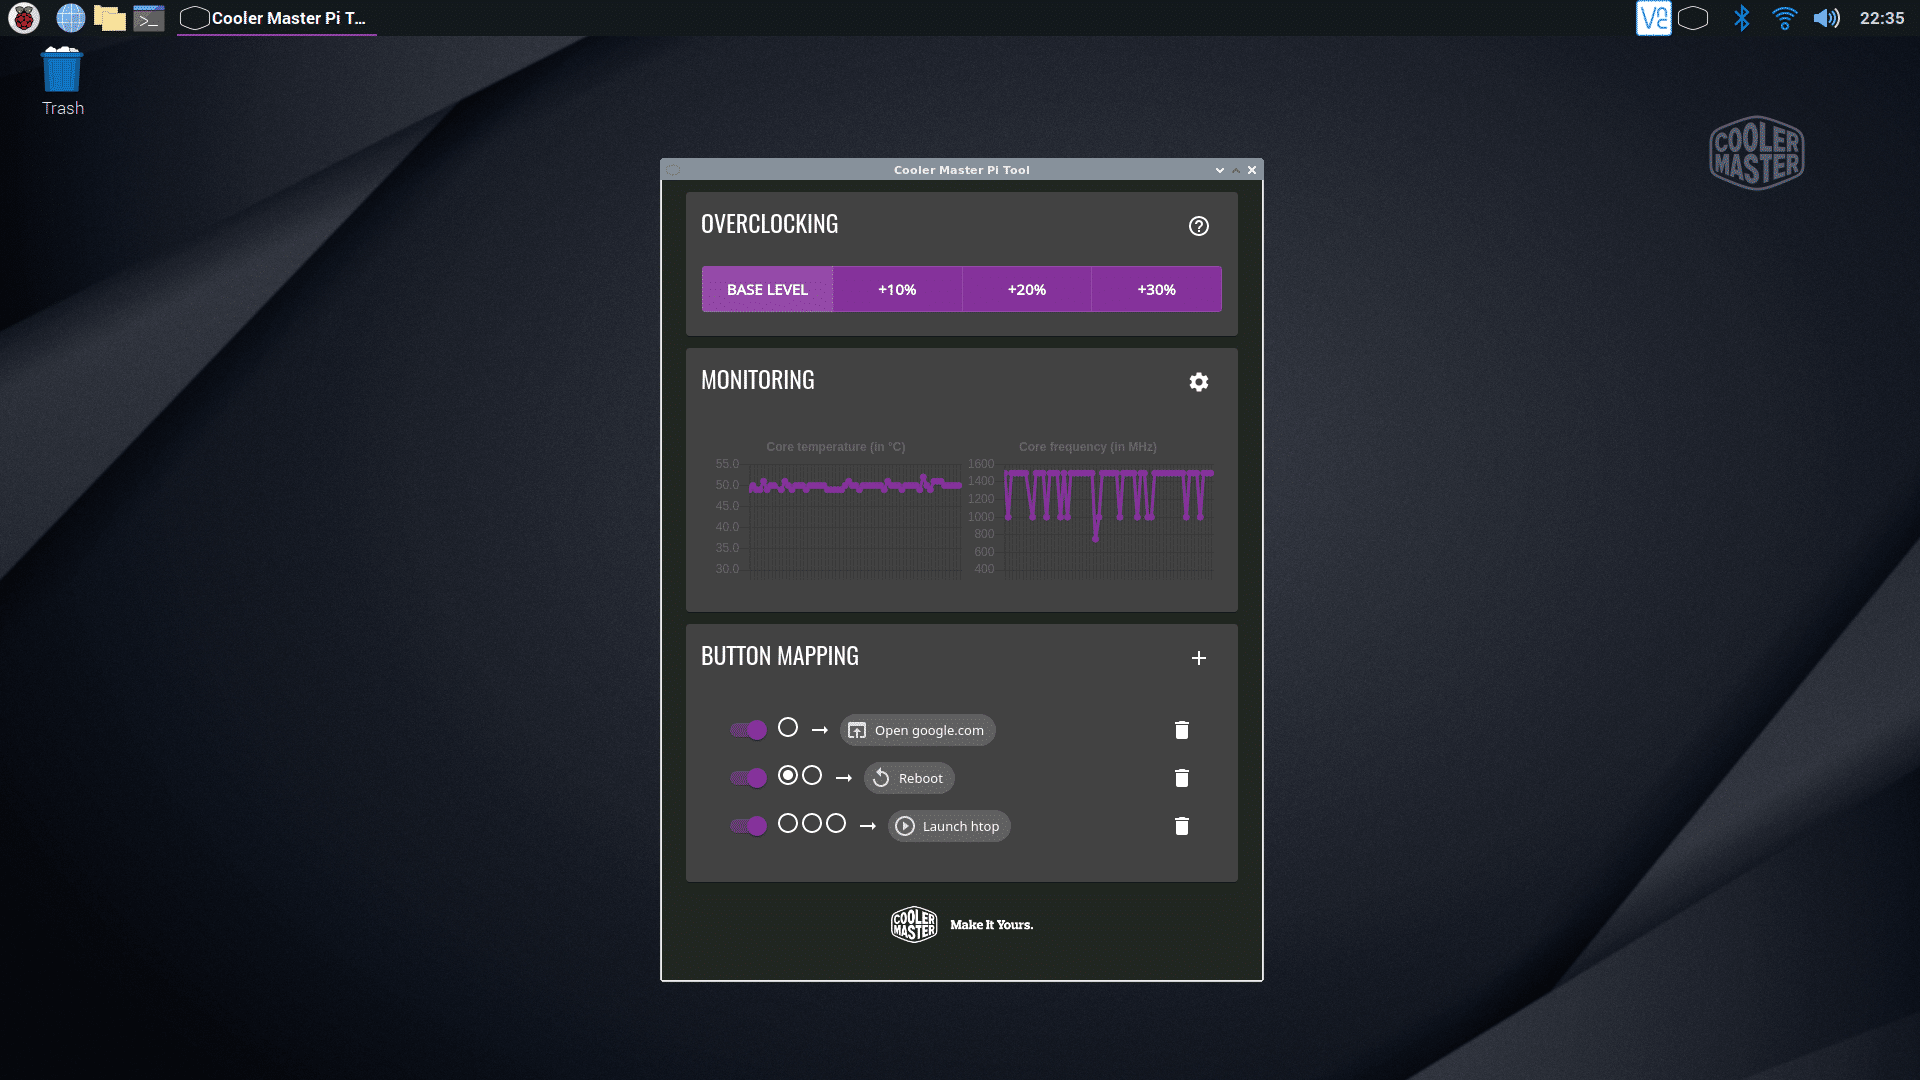
(Image from Pi-Tool GitHub-page)
I did not set this up as I did not feel to figure out how to use it with OctoPi or set up the button manually via a config-file.