Taking a look under the hood
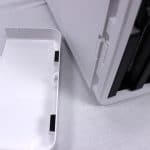
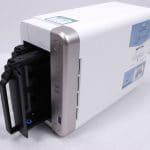
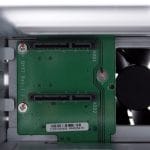
Pulling the front cover and drive sleds, we can see they are plastic and remove easily. They are also toolless which is a plus as it makes drive swaps if needed a quick affair. However, Qnap does include screws as you saw above in the accessories in case you want to more solidly mount the drives. I think this is unnecessary unless this device will be traveling often which then I wonder what’s the point of it. Also of note here is with all of the sleds removed you can see the SATA backplane PCB where the drives connect. This PCB slots into the board so should it be damaged I imagine you could source a replacement, but you would have to check with Qnap on this. One important thing to note is that the Qnap TS-251B does NOT support SAS 12Gb drives as evidenced by the divider in the SATA connector which would not allow them to plug in.
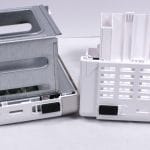
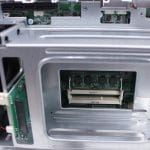
Next up we split the box open which went rather easily once you remove the few screws holding the plastic cladding in place. the main access side which allows access to the drive cage, memory and PCIe additional slot for add-in cards we discussed previously. Do keep in mind that the slot is PCIe Gen 2 x2 so if your device requires more bandwidth you may have a bottleneck there. Also, note that this unit is running DDR3L SO-DIMMS which are accessible through the middle of the drive cage holes. It comes default with 4GB but can be expanded to 8GB, I am not sure if 8GB DIMMs will work even if not “officially” supported as I did not have any on hand to try.
The PCIe slot in place appears to be an open-ended PCIe x1 and a 2x side by side so likely you will need to get the Qnap branded AIC’s to ensure proper compatibility and fitment, although a low profile PCIe x1 should technically fit here.
Now lest get all of the mass amount of screws out and take a look at the main board of the Qnap TS-251B.
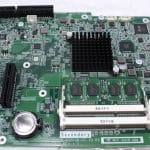
Looking at the board you will notice it strongly resembles an mITX sized board but obviously custom laid out for Qnap to match their specific fitment and component needs.
The Celeron CPU has a small black aluminum cooler attached to it and is passive in nature relying on the rear exhaust fan to draw air across it to keep the chip cool. also, note the vertically placed PCIe slot in between the I/O and the CMOS battery as that is where the SATA backplane slots into the board.
the THGBMDG5 is a BGA flash storage 4Gb in capacity where Qnap OS resides. This is nice and likely very efficient but it makes me kind of uneasy as SATA DOMs are easily replaceable should the flash become corrupted. Unfortunately, with this solution you would be looking at total board replacement or even replacing the entire NAS should it fail. To be fair, I do not know the failure rate on the BGA storage but since its being used here I can assume it is low enough to not be a major concern or they would not use it.
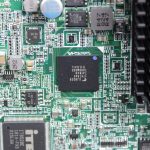
The ASMedia ASM1442K is a level shifter for HDMI, so this basically enables the rear panel HDMI port signaling.
The Realtek ALC262 is the audio codec, which supports 4 channel UAA. It is a quite basic audio codec but will get the job done for the needs feeding the rear panel jacks.
The Intel WGI211AT is the Intel gigabit ethernel (LAN) controller which is one of the most important parts of a NAS as without it you dont connect to the NAS at all. So needless to say, we are happy to see an Intel chipset used here. Both performance and long term reliability should be a non issue in this case.
Now we know how she works, lets get the Qnap TS-251B buttoned back up and fired up for testing.
 Bjorn3D.com Bjorn3d.com – Satisfying Your Daily Tech Cravings Since 1996









Splendid article. Thanks for sharing here with us