Thermaltake was founded in 1999 and while they are a relatively young company in the marketplace they have risen to become one of the powerhouses in the hardware industry. Thermaltake is a major designer and builder of system cases, computer cooling components, Power Supply Unit (PSU), Storage enclosures’, peripherals, Luxa mobile division, and accessories. This expansive product line and combined with their top notch R&D department have allowed them to grow their market share and become a household name among geeks around the world.
So this brings us to the new Thermaltake Lumi Color 256C RGB Magnetic LED Strip Control Pack. This new lighting kit was designed to help users retrofit their system with RGB lighting that is fully controllable and in this review, we plan to go in-depth to figure out if you should install one in your system.
Specifications
- Magnetic LED strips
- Customizable lighting effects
- 7 single color flashing mode
- 3 brightness settings
| P/N | AC-037-LN1NAN-A1 |
| Weight | 145g |
| Dimension | 80 x 60 x 20mm |
| Form Factor | Slim Profile |
| Installation | Magnetic / 3M adhesive sticker |
| LED Color | RGB |
| LED Strip Length | 30cm – 12 LEDs |
| Main Function | RGB LED Strip control box |
| Voltage (V) | 12V |
| Accessories | RGB LED strip x 3 LED connect cable x 3 Power cable x 1 Velcro’s x 1 |
The simple lighting controller box comes with Velcro to allow you to mount it securely once you found the ideal location to put it in your system and the Velcro allows you some leeway over double sided adhesive to re-position it and the controls are simple and easy to use.
Closer Look
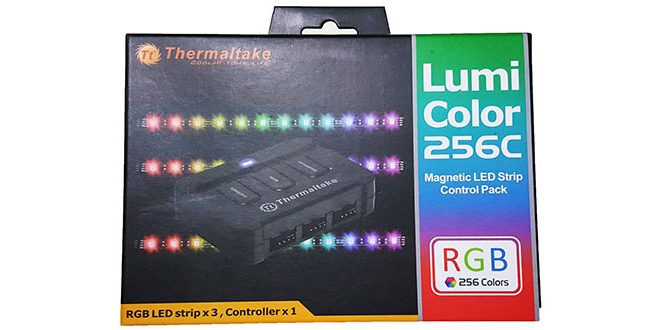
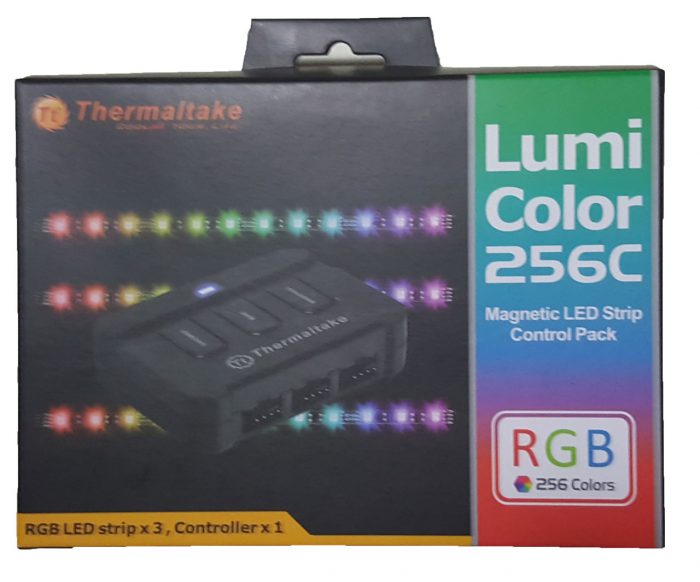
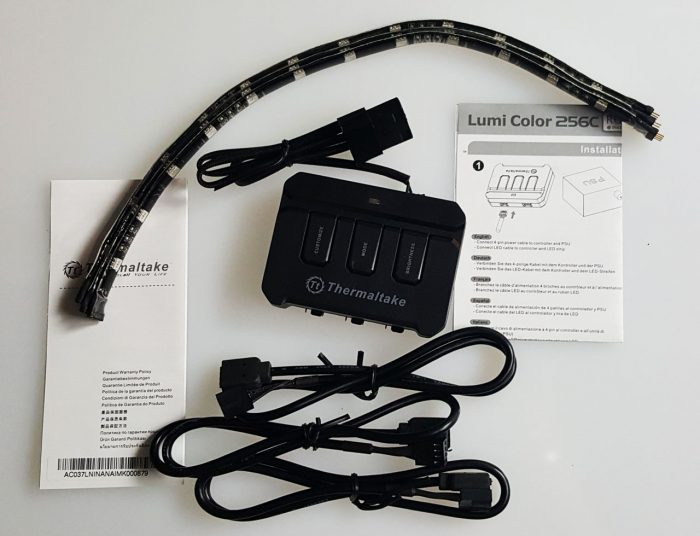
The Thermaltake Lumi Color 256C RGB Magnetic LED Strip Control Pack comes in a small box that shows off the control unit and the LED strips with a rainbow colored graphic to show off the RGB aspects of the kit. Also listed are the contents and the fact that the strips are magnetic in addition to having adhesives to stick them to the case.
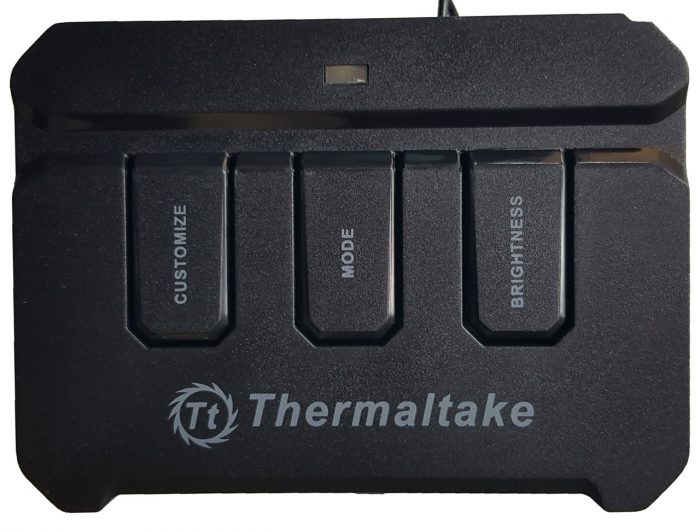
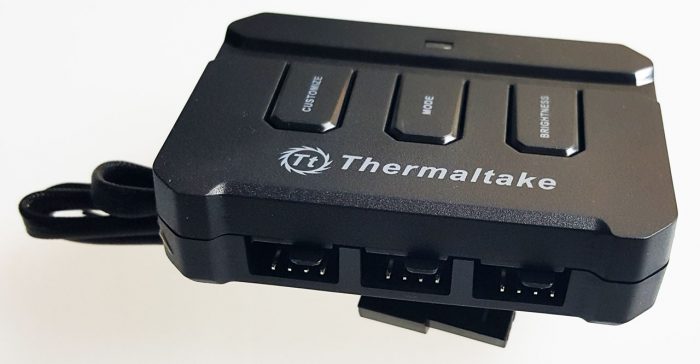
The front sides of the control feature the three interface buttons/controls for the lighting options, the 3 buttons are customized mode and brightness. By pressing the Customize button to start the 256 colors mode and then simply press again to program these lighting effects once you have the lighting you desire.
On the other side, we see the power connector and the other port to daisy chain multiple controllers and add additional LED strips.
The kit includes 3 magnetic led strips that also feature 3m adhesive tape that allows the user to also mount the strips via the adhesive backing in addition to the magnets that are built into the strip. The strips can also be connected to each other and it is possible to add additional strips that are available through Thermaltake. In addition to the strips, we find 3 extension cables and the Molex power cable that provides all the power for the controller and LED strips.
Installation
For the installation phase, we advise you to figure out where you want to place the 3 individual strips, once you have this figured out connect the cables and with this, you can figure out mounting locations for the controller that are within reach of each of the three cables. Also, factor in any cable management plans, since this can result in less distance available and may impact where you mount the control unit.
For our test system, we installed the LED strips where they were the least visible but still yielded the most ambient lighting. The first strip we tucked behind the large XSPC radiator and we found that the red glow reflected nicely off of the case interior. The other two strips we tucked behind of the lip of the compartment dividers where it meets the tempered glass, giving the interior a beautiful glow that looks absolutely amazing through the smoke tinted glass.
Now while the LED controller is capable of reflecting 256 different color variations and patterns, we ended up going with the red to best accent the red dye in the liquid cooling system and as we mentioned previously the smoke tinted glass on the 909 really make the system stand out and accents the hardware components.
While each strip features 6 powerful neodymium magnets to help attach the LED strips to your case it also has 3M adhesive to ensure that it stays adhered to wherever you place them. However, our test rig is the In Win 909 that was constructed of aluminum alloy so the magnets will not do any good if your case is also made out of Aluminum alloy. Also the extension cables we feel cause issues during installation and tended to pull at the adhesive and over time it would then become detached.
Final thoughts and Conclusion
During our install and testing process, we were thoroughly impressed by some aspects of the Thermaltake Lumi Color 256C RGB Magnetic LED Strip Control Pack and other aspects we found to be lacking. We were impressed by the variety of color options, configurability, LED strips with the magnets and the control pack we found were excellent. However, the extension cables where they attach to the LED strip could be done better, with most cases having square angles the connection point usually pulls at the strip and can cause the adhesive to fail.
In our test system, we experienced this issue and we think that had the case been made of steel the magnets would have done their job. Overall we feel that the Thermaltake Lumi Color 256C RGB Magnetic LED Strip Control Pack is worth the $44.99 that it currently sells for and we award it our Silver Bear award and with minor fixes, it could get our Golden Bear.
| Pros | Cons |
|
|
 Bjorn3D.com Bjorn3d.com – Satisfying Your Daily Tech Cravings Since 1996
