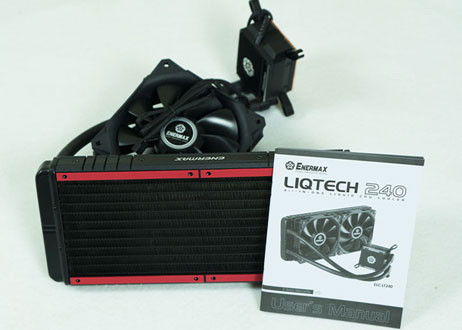
Installing the Liqtech 240
As with any liquid cooler, the first step to installing is to make sure that your case or the case you are going to buy will fit the system. Once we knew that our system would fit the Liqtech 240, the test rig we used was the Fractal R5.

We decided to mount the fans on the bottom side of the radiator and mount the radiator directly to the case and show off the two rubberized red strips that help reduce vibrations. Now if you are going to install the Liqtech 240 in a similar manner, then we would highly recommend installing the fans onto the radiator first. This is because once it is mounted to the case, the amount of clearance available on most cases is minimal and getting your hands and screw driver in there to put the screws in will prove to be impossible. Now if you have a giant case, then you could also do a push/pull setup by adding several more of the same fans but the benefit is minimal when you do this.
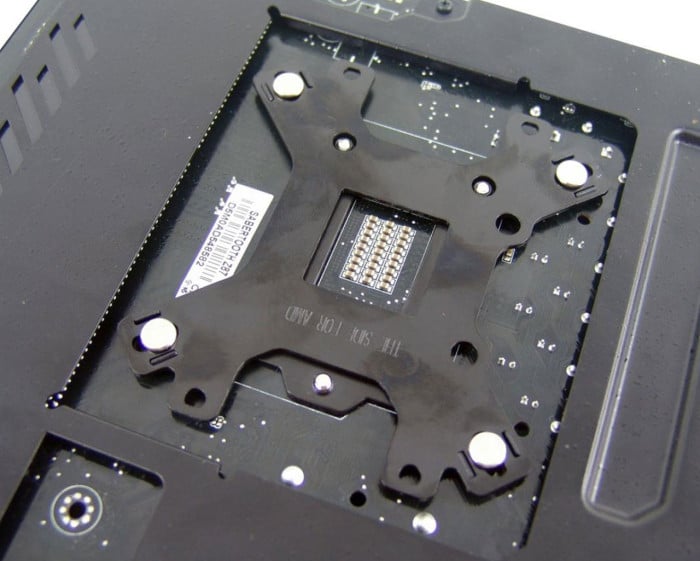
Once you have completed installing the radiator and fans, turn your case around so the back of the motherboard tray is facing you. Where the CPU socket opening is on the tray, use the correct backplate to put the pegs into that bracket and insert the pegs into the four corresponding holes.

Once this is done slowly turn the system back around making sure to keep it in place. Then you will want slide the plastic risers over the pegs, this assists in preventing you from over tightening and applying to much pressure to your new CPU.
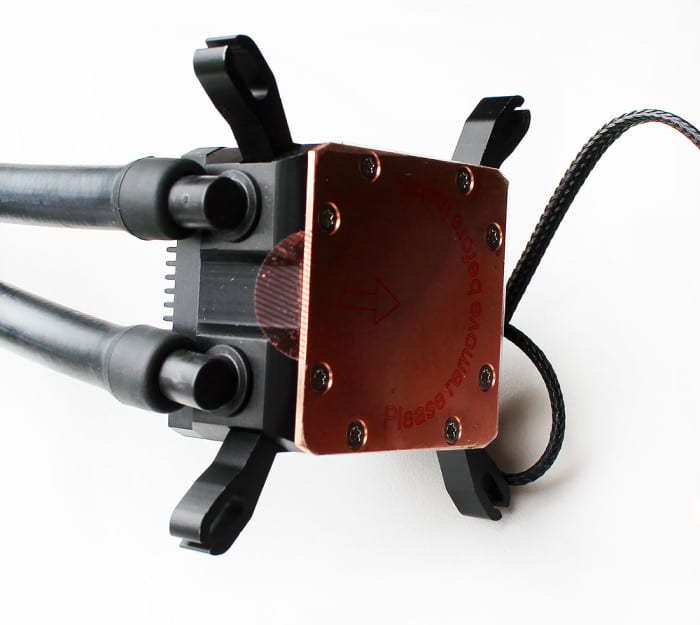
Next you want to remove the plastic sticker that is covering the copper plate and apply a small amount of thermal paste to the CPU. Slide the water block over the pegs and using the spring-loaded screws, tighten it down.
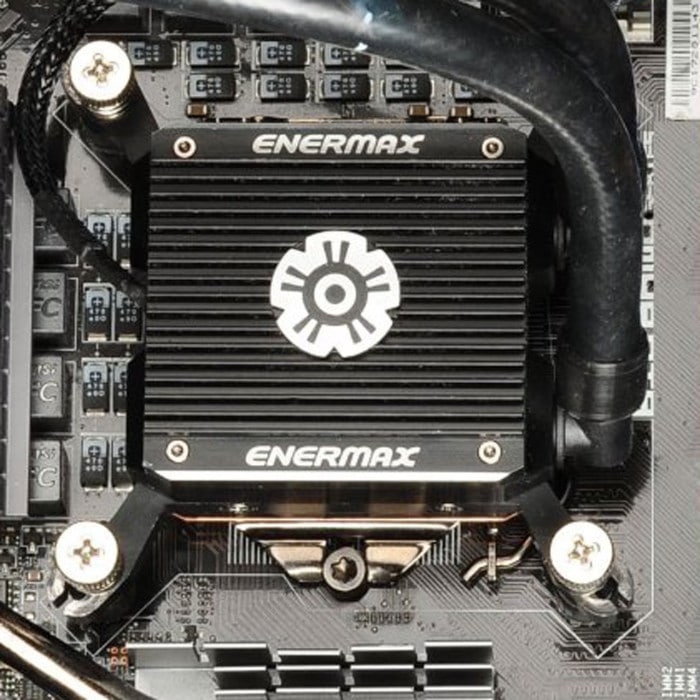
Be careful not to over-tighten the water block down. This is especially important with the new Skylake CPU’s. Once this is complete, all that is left is to plug in the connectors to the motherboard for the pump and the Y-splitter to the two fans and finally to the board fan header.
 Bjorn3D.com Bjorn3d.com – Satisfying Your Daily Tech Cravings Since 1996
