A Closer Look at the GTX 780 DirectCU II OC
Click Images to Enlarge
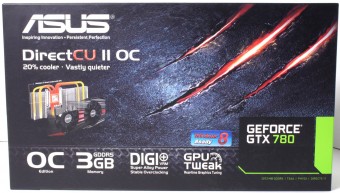
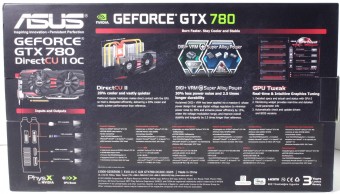
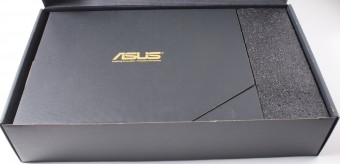
The ASUS box comes like the last few generation of TOP and OC cards with the red claw mark graphic, and a few key spec words to let you know whats up. the rear carries some key spec detailing but all in all pretty simple just some insight as to the key features.
Click Images to Enlarge
The accessories with the card are simple and to the point having a dual PCIe 6 pin to single 8 pin connector. This is in case you have an older PSU with only 6-pin connectors. You will use three total 6 pins to power the card: one with the onboard 6 pin connector and two via this adapter. However most modern PSU’s have at least a combo of one 8 pin PCIe and one 6 pin PCIe connector to service just this kind of setup. also there is an extended SLI bridge in case you are running a pair of these cards on a long spacing board you are ready for that and of course the DVD/Manuals.
Click Images to Enlarge
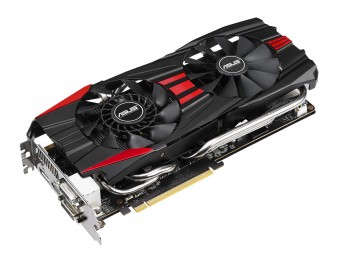
The card overall has the full fan shroud like many other DirectCU II cards we have seen in the past with dual fans ready to blast heat away. You can see some of the huge heatpipes peeking out form the cooler shroud those are used to carry heat away from the GPU and keep the card really cool just remember that alot of that heat goes into the case so have some airflow to get it knocked out.
One thing worth noting is to notice the difference between fans as the one closest to the IO is the Cooltech model which is the one we discussed earlier which is a combo of flower blade and a hub that is a blower fan. The further out fan is a standard blade axial fan which works together for maximum cooling performance.
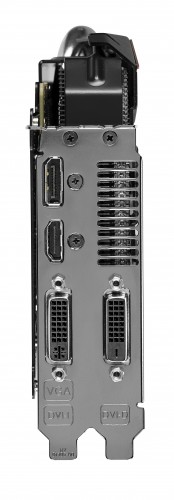
The display connectivity is about standard for what we have seen on the Kepler based lineup:
- 2x DVI
- 1x HDMI
- 1x Displayport
This all-digital connector arrangement allows for maxing out the GPU with up to 4 displays and even a surround plus accessory display array should the need arise.
Click Images to Enlarge
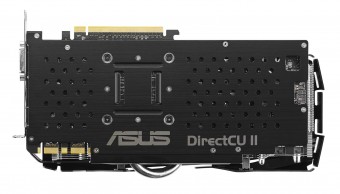
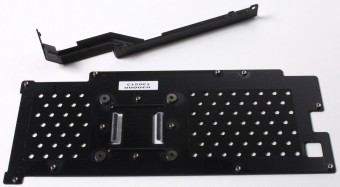
Like the GTX 770 DCII the 780 Comes fully equipped with a functional backplate designed and mounted directly to the PCB itself to offer extra stiffness to the card. By stiffening the PCB it prevents the card from drooping or flexing during operation when installed. Otherwise you can get poor contact with cooling components which will lead to higher temps. Also notice that the cooler screws pass right thru the backplate so that removal of the cooler for cleaning does not require removal of the backplate.
At the end of the card you find a small 6 pack array of holes which are not exactly mentioned much, but these are for the VGA Hotwire function. When wires are soldered into these, a VGA Hotwire-enabled motherboard can control the GPU at a hardware level for more fine adjustments and control than software can offer.
Click Images to Enlarge
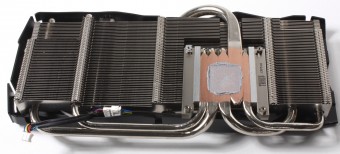
As always, we did a card teardown to see what lay underneath the cooler. Any of you who have seen our teardowns before know that the cooler base of the DCII cooler is very nice with large direct touch heatpipes, and a super smooth and flat cooler base. It is also worth noting that the cooler comes off with just 4 screws, which means if you ever want to remove it, it is not hard at all. Do notice the extra large heatpipe comeing from up top as this has to be one of the largest heatpipes I have ever seen used at this point.
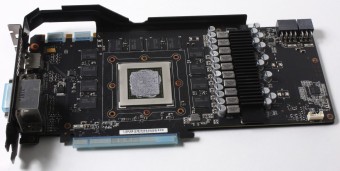
The PCB itself is a custom design from ASUS and you can see the VRM is quite sizable but all we see are caps and chokes due to the large MOSFET cooling in place. This large MOSFET cooler is good since under loads like Heaven-looping the VRM can get quite warm. Having this cooler in place, paired with the airflow from the DCII cooler keeps things much cooler not just the GPU.
Click Images to Enlarge
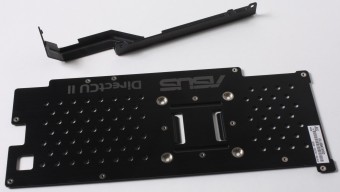
Here you see that after pulling the card apart we took the backplate off just to see how involved it was and how much rigidity it added to the card. It is held to the card at 13 points with specific areas that touch at the rear of the GPU area just to help stiffen it as the cooler is pressing from the other side. A lighter grey silk screening on the backplate denotes the card as a ASUS DCII unit, which is directed in such a way that when installed in a system is readable. We do wish they had actually written the model of the card, for those who like to show off their hardware through windowed cases.
Click Images to Enlarge
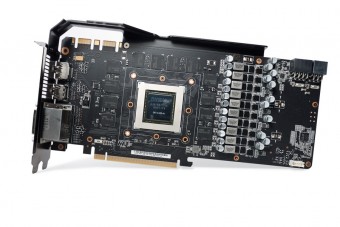
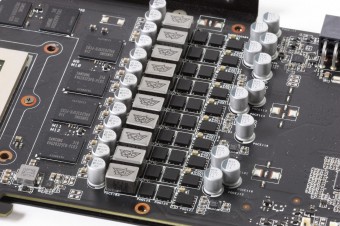
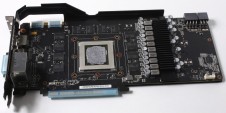
Here you now see the bare card with the MOSFET cooler removed and the backplate pulled as well. You can see the large 10 Phase VRM in place with the top choice components for the DIGI+ VRM and also the placement of the digital controller. All of this is fed by the supplemental 6 and 8 pin PCIe connectors which must both be connected for proper function.
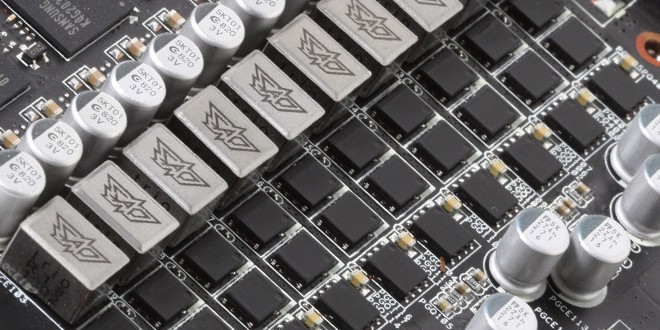
The VRM here you get a close look at the component lineup and you can see the whole monster VRM including the high performance 5K caps ready to push this GPU to the limits.
Click Images to Enlarge
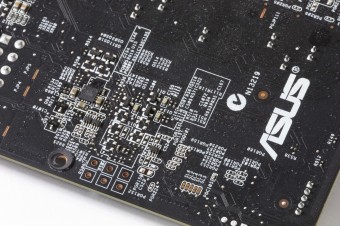
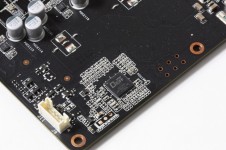
The DIGI+ controller works its magic to allow ultra precise control of the power going into the card to ensure excellent and super tight power regulation while also allowing plenty of power once again at precise control being fed when pushing the clocks to ensure the card will exhibit excellent stability like you would expect from a custom built ASUS card.
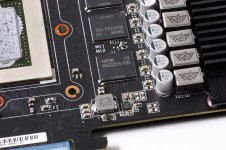
The memory on the ASUS card is Samsung K4G20325FD-FC03 which are rated at 6GHz actual frequency and this card ensures it will do every bit of that and then some.
Here you see the overall card stripped of cooler just to give you an idea of the clean and simple layout even for a advanced custom model like this.
Review Overview
Performance - 9.5
Value - 9.5
Quality - 10
Features - 9.5
Innovation - 9.5
9.6
The ASUS GTX 780 DCII OC is a top end card with plenty of attitude and aggressive style to wake up any gaming rig. For this it earns the Bjorn3D Golden Bear Award
 Bjorn3D.com Bjorn3d.com – Satisfying Your Daily Tech Cravings Since 1996
