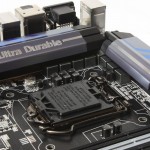
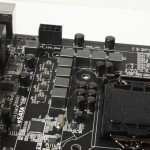
Overview of the Gigabyte Z87X-UD3H
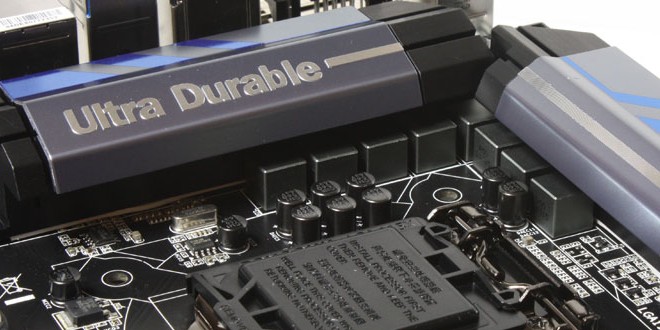
The packaging for the 8 series from Gigabyte carries pretty much the same flavor as the 7 series which is not a bad thing as it usually carries a nice angle shot of the VRM/Heatsink.
Overall the front is a bit more cluttered than some we have seen as it has quite a lot of Ultra durable 5 detail right on the cover which may or may not catch the eyes of consumers. We still think the X79 boards were probably some of the best packaging Gigabyte has done to date and possibly even better than most competitors as it was super clean and simple but got attention.
The rear of the box is full of spec and detail info so that before you ever even make a purchase you have a really good idea of what you are getting.
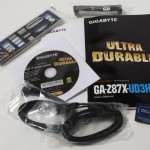
- User Manuals
- Installation Discs
- SATA Cables
- SLI Ribbon
- IO Shield
This bundle is very simple and will easily get you connected, although we would like to have seen more SATA cables, as having 8 SATA ports but only 4 cables means if you have a decent storage system you could be left searching for more cables.
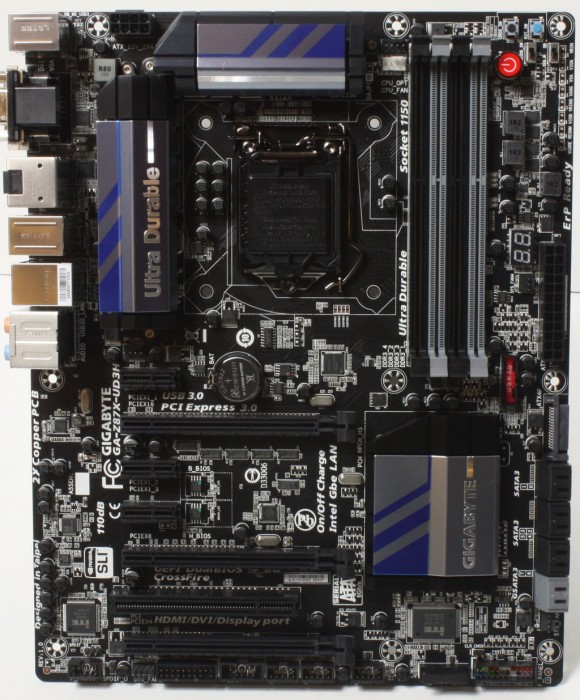
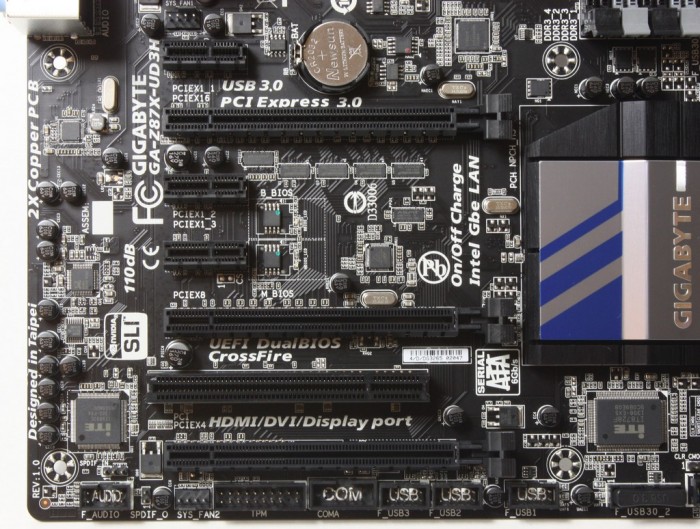
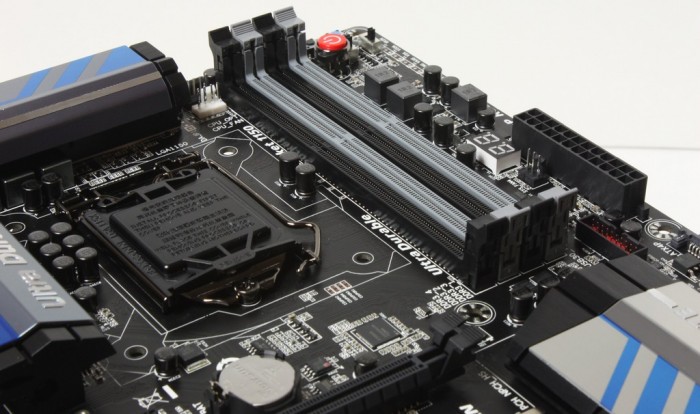
Here you can see the whole board layout, much like the UD4H we saw before the connectors are kept at board edge to allow a tidy build with only a few stray fan headers any further than an inch inboard. The overall appeal is nice with a dark package so that no matter the build you install it into it should not jump out and command attention which in many cases can be bad for a custom build unless the board is exactly the right color. With that said there are subtle blue hints on the heatsinks which we think are nice and not so highly toned that it would be distracting from a build of clashing colors.
Click Image For a Larger One
Click Image For a Larger One
- PS2 combo keyboard/mouse port
- 6x USB 3.0 Ports
- Optical SPDIF connectors
- Gigabit LAN port
- Dsub Port
- DVI Port
- HDMI Port
- Displayport Connector
- eSATA ports (x2) from Marvell controller
- Up to 7.1 Channel HD audio via Realtek ALC898
The connectivity is vast and allows for connection of virtually any display without issue along with many SuperSpeed USB 3.0 ports to ensure no lack of high speed transfer.
Click Image For a Larger One
The CPU fan connection you will notice has a secondary header which is pretty cool. This OPT header is designed for usage with either dual fan air coolers or even AIO units where the pump uses a fan header so that you can have the port run full power for the pump rather than hoping the onboard modulation doesn’t slow the pump down and harm performance.
The “Overclockers corner” on the top right has onboard buttons to allow easy bench top usage and also dual switches for BIOS control from not just which BIOS chip to use but also enabling a “Single BIOS” Mode so that it will not inadvertently reflash the main BIOS via the dual BIOS function as so many users have seen before when overclocking and having a couple bad POST attempts. Unfortunately that happened to us before and reflashed a firmware that was not compatible with the chip we were using, so you could imagine the headache we had with that. We do also like that the BIOS now requests flash of the second ROM when updating the main one so that if a cross-flash ever happens you’re not flashing to an older image which may not support your hardware.
 Bjorn3D.com Bjorn3d.com – Satisfying Your Daily Tech Cravings Since 1996
