A Closer Look at the GTX 760 DirectCU II OC
Click Images to Enlarge
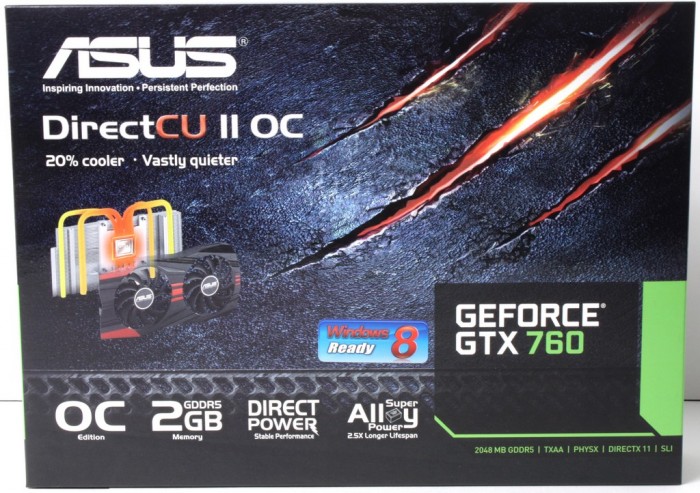
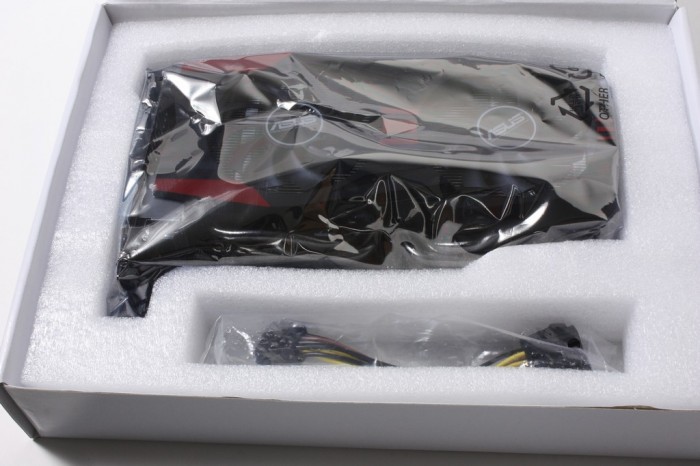
The ASUS box comes like the last few generation of TOP and OC cards with the red claw mark graphic, and a few key spec words . Inside we see the accessory box along with the card beneath it.
Click Images to Enlarge
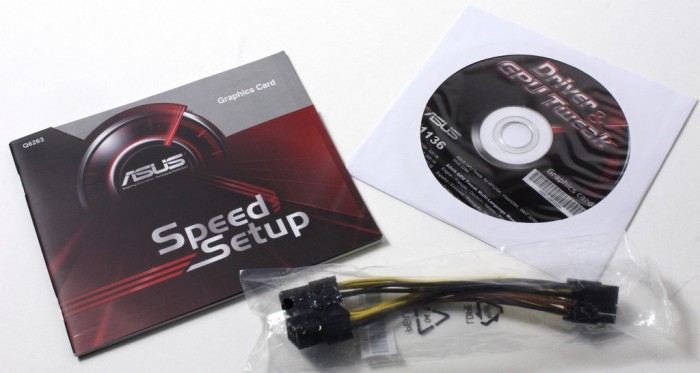
The accessories with the card are simple you get a dual PCIe 6 pin into a PCIe 8 pin adapter since the card employs a single 8 pin only. Also a driver disc and quick guide but a card simply plugs in and goes so we don’t think we have ever looked at the quick guide honestly.
Click Images to Enlarge
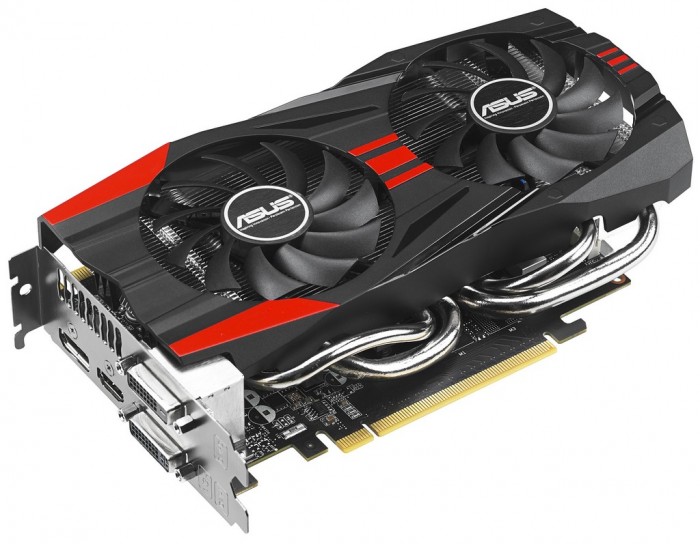
The card overall has the large Black/Red shroud like many other DirectCU II cards we have seen in the past with dual fans ready to blast heat away. You can see some of the huge heatpipes peeking out from the cooler shroud those are used to carry heat away from the GPU and keep the card really cool just remember that a lot of that heat goes into the case so have some airflow to get it knocked out.
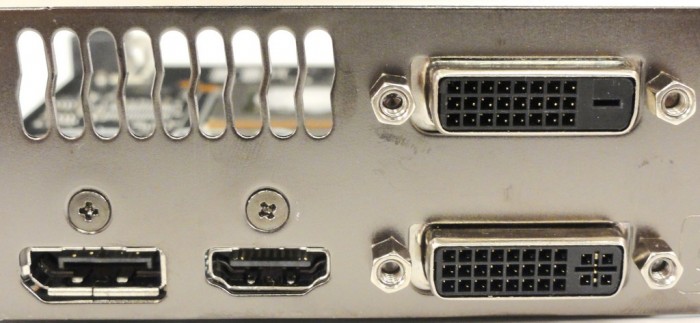
The display connectivity is about standard for what we have seen on the Kepler based lineup:
- 2x DVI
- 1x HDMI
- 1x Displayport
This all-digital connector arrangement allows for maxing out the GPU with up to 4 displays and even a surround plus accessory display array should the need arise.
Click Images to Enlarge
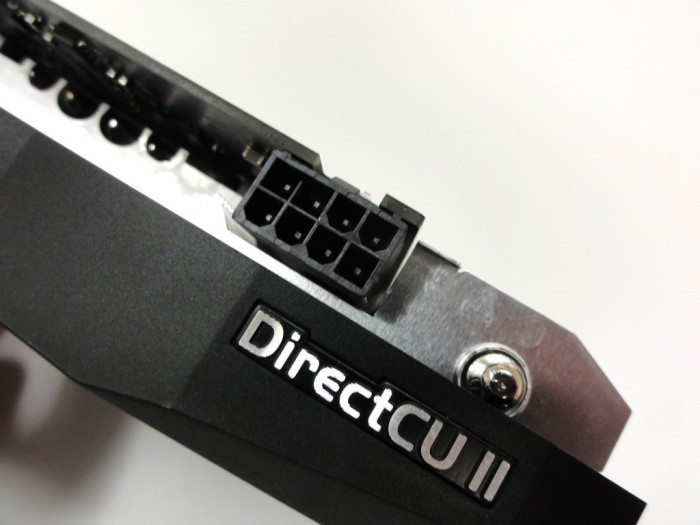
The GTX 760 DCII card employs a single PCIe 8 pin connection which we really like as it allows less cable clutter from a single easy connection. Also do note that the connector is rotated to allow easier releasing of the clip should the PCIe power cable need to be removed you don’t have to try and squeeze your fingers between the card and the cooler.
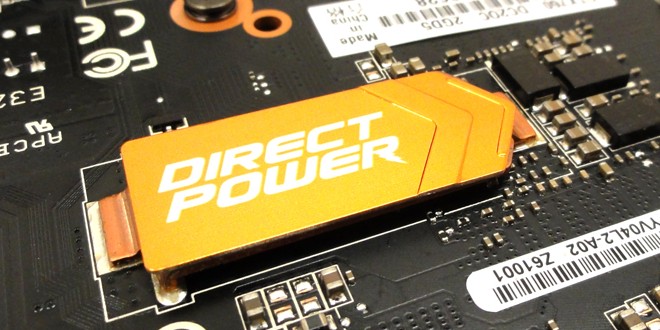
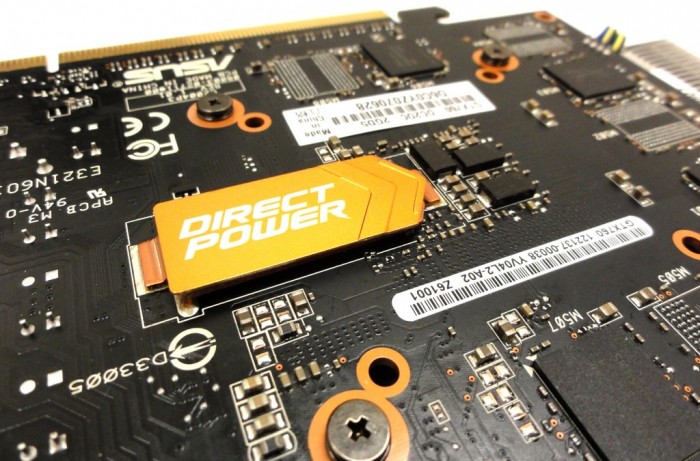
Here also you see the Direct Power device which allows direct power transfer on the PCB versus having to travel from point A to point B with less resistance, lets just think of it as a freeway for GPU power.
Click Images to Enlarge
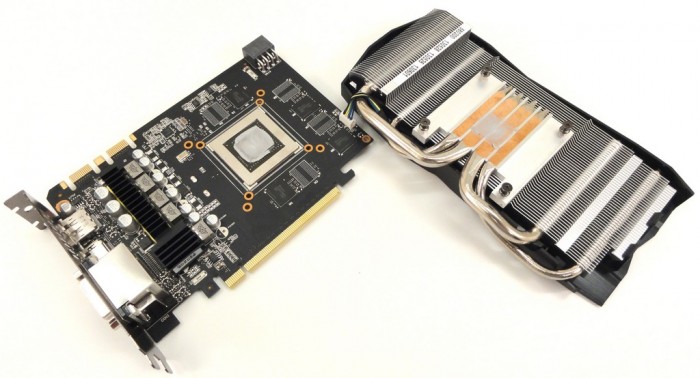
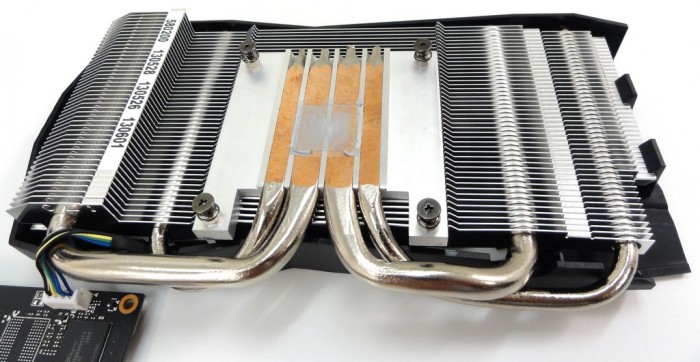
Pulling the cooler you can see that the heatpipe surface as always is super flay and massive, more than can actually touch the GPU honestly, and with that we do kind of wonder if a small copper block layer might help transfer heat more evenly to the outer pipes as well for even better cooling.
Click Images to Enlarge
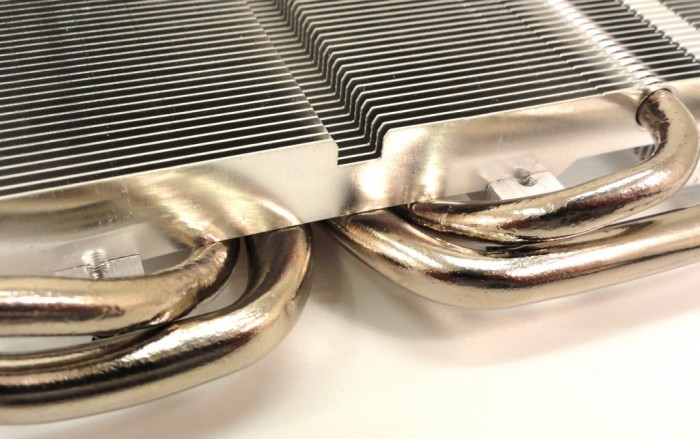
Here you can see the fin array and even the grooving of the fins and the unique design to enhance overall cooling performance for the GPU.
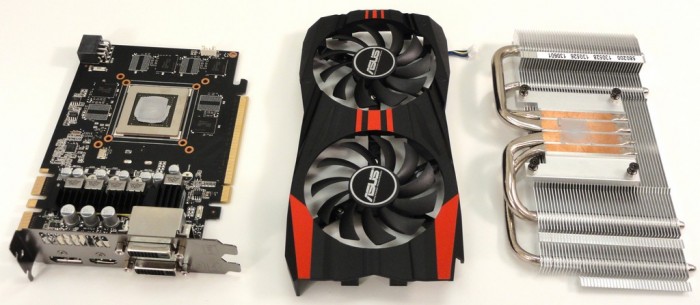
Laying all of the parts side by side you can see the cooling fans/shroud separated from the cooler fin array.
Click Images to Enlarge
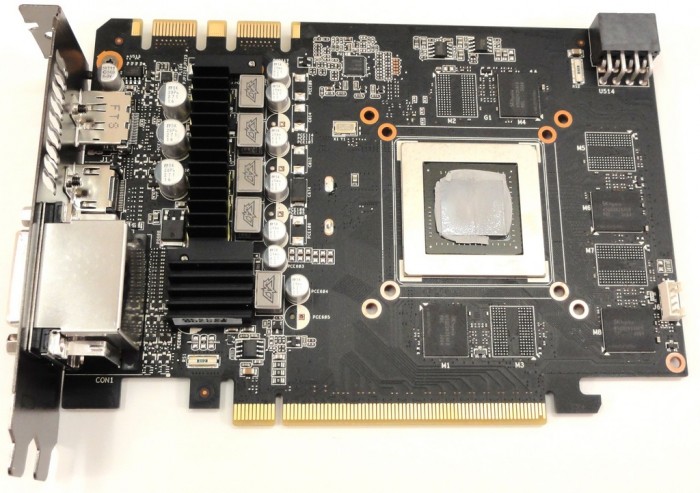
Here you see the complete card along with a nice look at the VRM for the GTX 760 DCII. Here you get a good look at the passive cooler which technically is active since the cooling fans from the DCII cooling solution blows air directly through the fin array and past this cooler to keep the VRM nice and cool even under some of the worst conditions.
Click Images to Enlarge
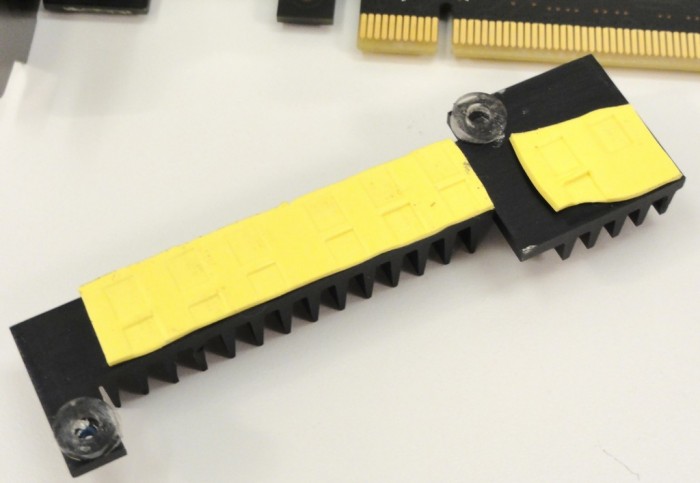
Here is the VRM cooler removed you can see the two different thermal pad units designed to take up the space between the cooler and IC’s. This allows for adequate thermal transfer.
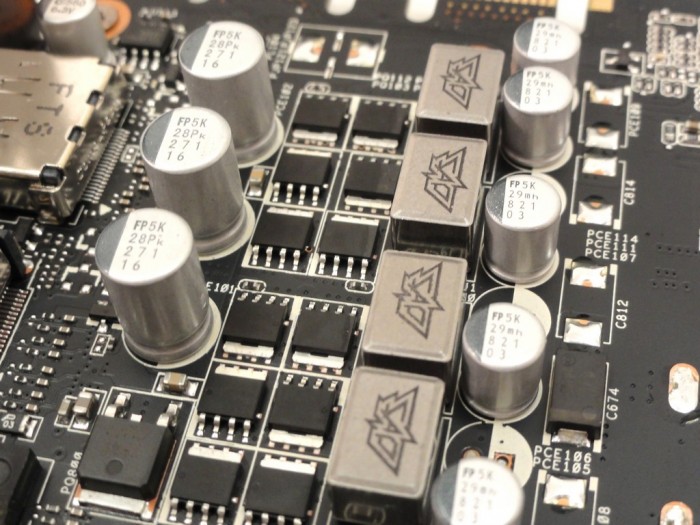
Next up you see the bare mosfet components which once again are all SAP components selected for their superior performance and reliability attributes.
Review Overview
Performance - 9
Value - 9.5
Quality - 10
Features - 9
Innovation - 9.5
9.4
Asus pulls another rabbit out of the hat with the GTX 760 DCII OC and walks away with a decisive innovation credit earning it the Bjorn3D Golden Bear Award.
 Bjorn3D.com Bjorn3d.com – Satisfying Your Daily Tech Cravings Since 1996

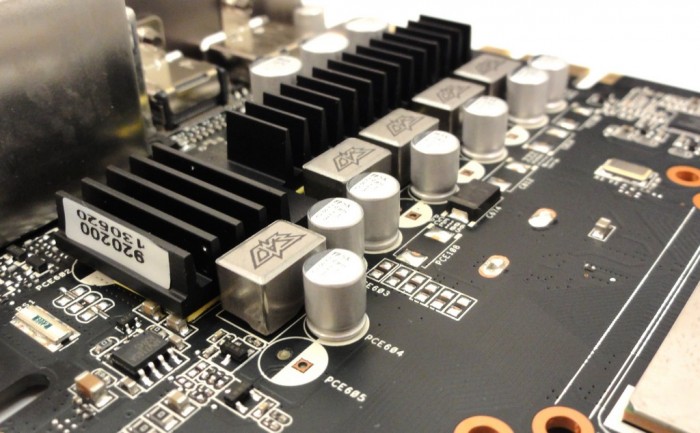


hmmm. so now they put heatsinks in mofsets? my Asus GTX 660 doesn’t have that but I like how asus put extra VRM power in their cards. I get higher overclocks!
Thank you for sharing. Your post worth of reading. Waiting for new posts. buyincoins, where you can buy good products from China directly without any shipping fee.
Рекомендую след. блоки питания…
При одной, видеокарте N660TI PE 2GD5/OC :
Chieftec APS-650SB 650W .
При двух видеокартах, N660TI PE 2GD5/OC :
AeroCool STRIKE-X 800 800W (EN53754) .
При трёх (таких же) видеокартах:
Chieftec BPS-1200C 1200W .
Оптимальные настройки (редактирование) VGA Bios для GPU-GK104-Kepler
(прошивка рекомендуется под видеокарты – MSI GTX670 Power Edition!, или MSI GTX660Ti Power Edition!):
_Базовая частота графического чипа (GK104) = 1110,5 МГц.
_GPU Boost (базовая, средняя тактовая частота) = 1163,0 МГц.
_GPU макс. авто-повышение тактовой частоты, до 1215 МГц (Max.Boost, задаётся в Boost Limit).
_Boost Limit: 1215,0 МГц.
_Boost Table (maximum): 1306,5 МГц.
_Видеопамять (в VGA Bios) = 3104 МГц GDDR5 (эффективная частота: 6 208 МГц, отражено в утилите GPU-Z, как 1552 МГц!). При желании, можно и не менять значения частоты видеопамяти!
_Вентиляторы = от 25% – 90% (но, можно оставить как есть!).
!_ ПИТАНИЕ _!..
_-*POWER Control:
-Мощность (minimum) 57%\‹56%› = 100W \ ‹112W› (‹2-й› столбик!!!).
-Мощность (Default) 100%\‹100%› = 175W \ ‹200W›
-Макс. мощность 114%\‹112%› = 200W \ ‹225W›
*(В значениях “PowerControl”, как пример, пишется 200.000mW, что равно 200W и т.д.!).
!_ НАПРЯЖЕНИЕ _!..
_-Voltage Table (Boost Table):
-Max.Voltage #1 = 1.212 V (макс. 1.200 V – с авто-повышением);
-Max.Voltage #2 = 1.187 V (макс. 1.200 V – с авто-повышением).
_-Voltage Pattern (P00/P02/P05/P08):
-Р00 = 1.187 V (макс. 1.200 V – с авто-повышением, в Windows);
-P02 = 1.187 V (макс. 1.200 V – с авто-повышением, в Windows);
-P05 = 0,987 V (= 987,5mV – режим экстренного авто-сброса частот);
-P08 = 0,850 V (= 850,0mV – режим наименьшей загрузки, работы).
_Другие значения не меняем, но, при условии, что “родная” (редактируемая) версия VGA Bios – за 2012 год!.. В противном случае, при новой (к примеру, за 2013-2014… г.г. …) версии VGA Bios, надо смотреть на (возможно) изменившиеся значения и возможно, корректировать их параллельно так же!?!
Удачи!