Thermaltake by nature has hundreds of products and we’ve stumbled on the Element S Chassis. A sleek looking chassis that provides unparalleled cable management and good airflow.
INTRODUCTION
As you can imagine being in the review business we have lots of machines sitting around. Computers have to have chassis and we have lots of those around as well. More and more we look at the test rack and it struck us that a large portion of the chassis are of Thermaltake manufacture. We can have any chassis made and predominantly our rack is filled with Thermaltake chassis.
After thinking about it for a couple of days we decided there were a few factors in the test rack being predominantly Thermaltake. Solid steel chassis are more durable, TT chassis always seem to have good airflow, lots of Full tower chassis designs, they allow the machines to run quiet, and they look good. That’s a lot of reasons to keep Thermaltake chassis on the test bench. You can imagine having 4 or 5 machines running simultaneously and the chatter it would make. With the Thermaltake lineup we have on the rack it’s so quiet that noise isn’t even a consideration anymore. That kind of snuck up on us because the lack of noise is a little insidious, if it’s there you hate it, if it’s not you don’t notice.
Since we noticed the silence when we started into the Phenom 2 reviews we were short a chassis and turned to Thermaltake for an alternative. We didn’t need another huge chassis sitting around and Thermaltake came up with the perfect chassis for our needs, the ElementS chassis with it’s sleek good looks and solid steel construction fit our bill. We’ve had the Element S for a while now (Our apologies Thermaltake) but we got 4 or 5 CPU;s in quick succession that kept us from our appointed task. Now that we have a little breathing room we’d like to introduce you to the Thermaltake ElementS Chassis.
About Thermaltake
The Company
We live in a world where most things seem to move at the speed of light. At Thermaltake, we feel the same way and that is exactly how Thermaltake conducts itself to deliver innovative, reliable and customer-centric solutions to the worldwide market.
Since the beginning of Thermaltake in 1999, it has been at the forefront of creating new and exciting products at a time where most computer users were provided little to no choices for components that may seem irrelevant, but in reality crucial to the performance of a PC.
Thermaltake Server Series solutions, with years of thermal experience and industry leadership, sets its goal on reforming total thermal management in server segment by formulating the perfect mixture of versatility, efficiency and thermal management with each respective server product category: Rackmount Chassis, Server Fixed & Redundant Power Supply and Server CPU Cooling Management Solutions.
With its comprehensive line of products available, it enables Thermaltake’s core customers to enjoy a one-stop-shop experience, reduce product design-in evaluation period and most important of all, flawless integration process. Each of Thermaltake’s strengths enables its customer to focus on their core business while taking advantage of the skills and efficiency of a single thermal management solution partner.
Values & Principles
– While still a relatively young company, established in 1999, Thermaltake is built on unwavering will and dedication to address issues and innovate at the same time for computer enthusiasts and corporate users worldwide .
– With strong support of Research & Development team standing behind the brand, Thermaltake is committed to never-follow but always-lead.
– In past decades, the industrial and technological advancements in different fields have shaped the world we live in today and have also made a big impact on the environment. Thermaltake takes great measures to ensure the product that we produce relieve these impacts by being first to act on 80 PLUS® specification for computer power supply that greatly reduces the amount of electricity that a computer consumes.
– Always striving to be the best, we continuously benchmark our performance against the very best internally and externally.
– Customers are our greatest asset and Thermaltake does not take that for granted. That is why Thermaltake is the industry leading in customer service and customer support with around-the-clock automated product return service.
FEATURES & SPECIFICATIONS
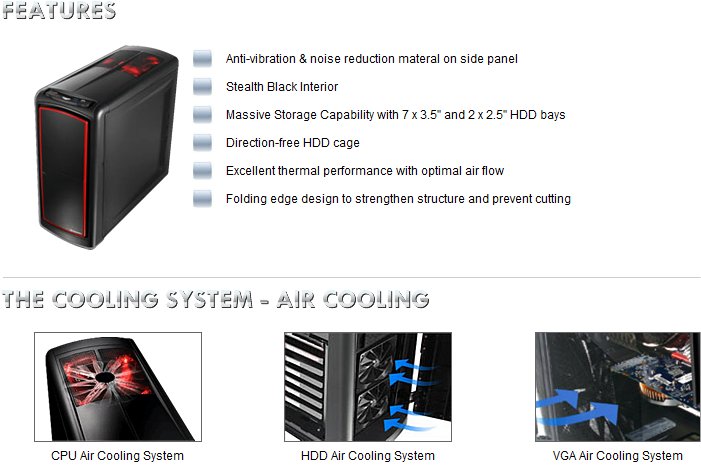
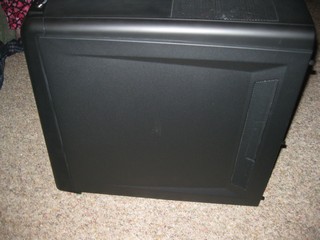
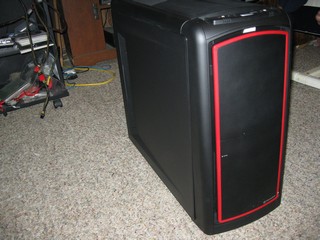
The model of the ElementS we received doesn’t have the windowed side, they have a windowed model available but durability is more an issue on the test rack than Acrylic windows. You can see that the side panels are anti vibration and noise dampening and we can testify to that, with a huge dual fan CPU cooler on the Phenom 2 you can’t hear it operate when the chassis is closed. The inside of the chassis is black which we like a lot, we like the color inside and the fact that most chassis that are painted inside have smooth edges that are easy on the hands when installing. This is a mid tower so you get 7 3.5 inch hard Drive bays and 2 2.5 inch HD bays. We mentioned in earlier reviews that the computer industry is pushing for 2.5 inch form factor hard drives to be standard, this is an early indication of that.
The top of the chassis sports an ultra quiet 800 RPM 230mm fan that moves massive quantities of air, so if you’ve noticed that your chassis runs a little hotter with the same cooling we use that’s probably why, our lineup is filled with massive airflow chassis. The front of the Chassis has two 1300 RPM 120 MM fans providing front to back air circulation so we have large amounts of air coming from the top and front so far and the air by default is being pulled into the chassis.
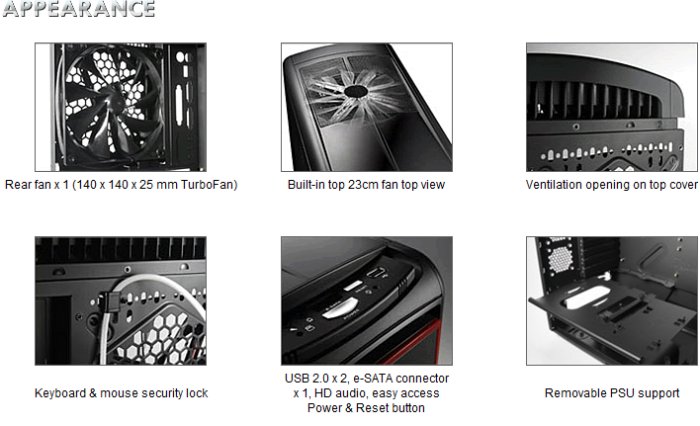
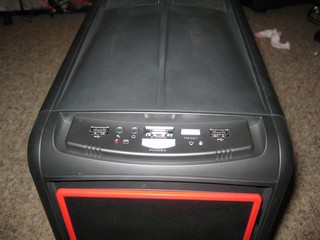
The ElementS also has a 140 mm rear exhaust fan and the capability for 2 60 mm rear fans (not included). If your planning on going to Lan parties you’ll be glad to know that Thermaltake included a keyboard and security locking mechanism so the competition can’t abscond with your mouse and keyboard. The ElementS has a full featured top panel with all the connections and buttons you’ll need for today’s computing. It includes the power and reset buttons, a couple of USB, HD LED, a high definition audio port, and an E-Sata port. The only minor whine we have here is that we would have liked to have seen a pop up lid for the E-Sata connection to protect it against dust. Another interesting feature is the PSU area has a plate that is removable and resides above the PSU, you might think that it interferes with cabling but as you’ll see later we chose to use a wired PSU and the plate worked out well for us.
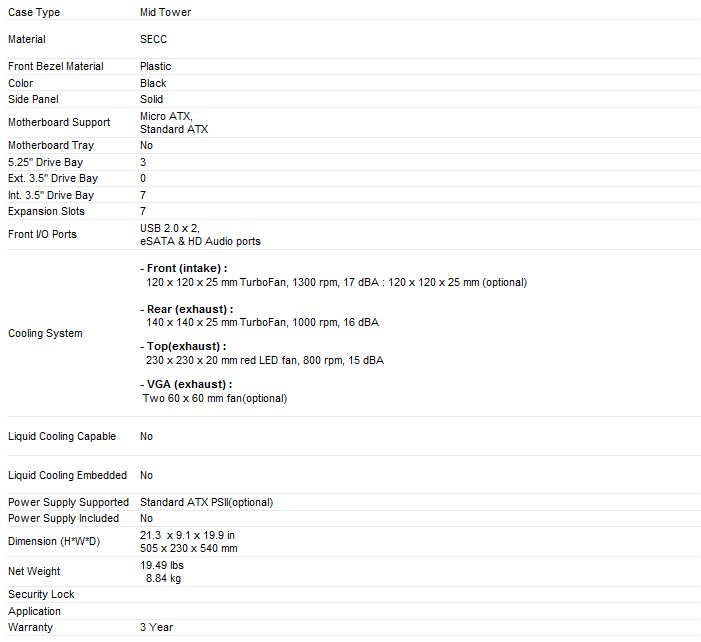
You can see from the Specs that it’s solid steel and Mid tower in design. The front bezel is plastic and it fits Micro ATX and Standard ATX boards, we would have liked a removable motherboard tray but most end users install one maybe two boards across a 4 – 5 year lifespan of a chassis so we’re not going to complain about that. Unlike a lot of chassis we’ve seen of late this one has a reasonable three 5 1/4 inch external drive bays and 7 internal 3 1/2 inch drive bays two of which will accommodate 2.5 inch drives. Pretty flexible design for us considering the number of SSD’s we have available is growing. This is a mid tower chassis and isn’t designed for water cooling but most serious water cooling people prefer a full tower anyway. The one drawback to all that solid steel is weight, the ElementS comes in at a hefty 19.49 lbs but we don’t have a problem with hefty, hefty is durable and operates silently. We have an Aluminum chassis leftover from our Lan Party days, they’ve been relegated to the closet gutted for quieter heftier chassis.
PICTURES & IMPRESSIONS
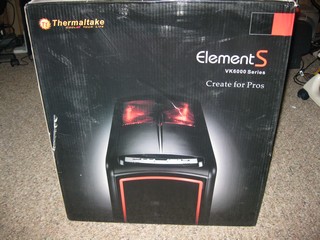
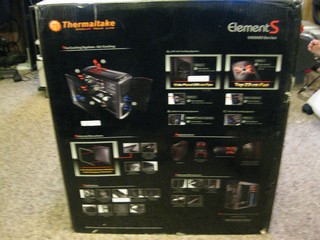
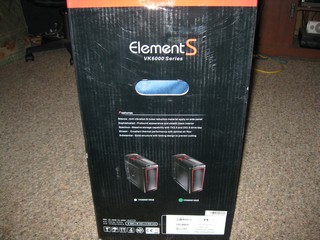
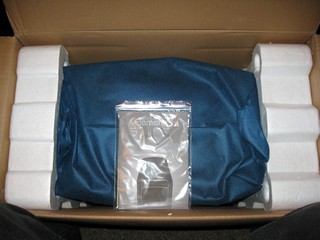
The ElementS comes in a large black box with plenty of information and specification to help inform the consumer about it’s purchase. Notice that it looks like our box went through a battlefield, well it did Battlefield UPS. The ElementS survived that battle unscathed so you know it’s packaged well.
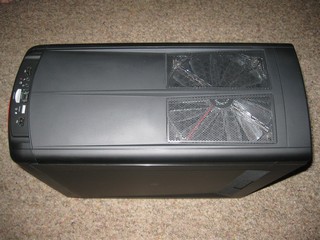
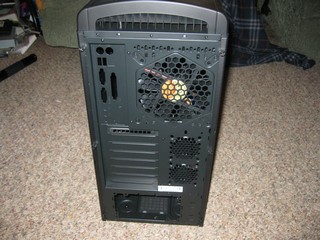
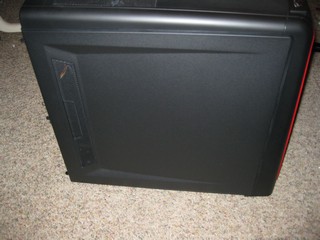
There’s a shot of the top, back and both sides of the ElementS, notice on the shot of the back that even the top rear of the chassis is designed with airflow in mind. With a top 230 mm and two front 120mm all intake fans you have positive airflow into the chassis because you only have one 120 mm rear exhaust fan, the extra space allows for more air to be vented, since hot air rises the top rear vent is a good idea for forcing hot air out of the chassis. The Power Supply is bottom mounted on the ElementS which some people don’t like but we don’t have a problem with it, you’ll see why later.
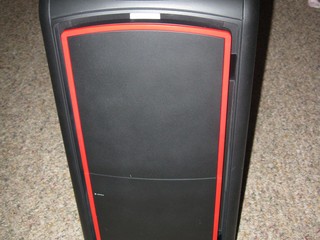
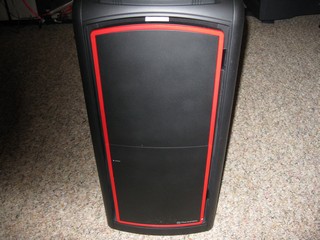
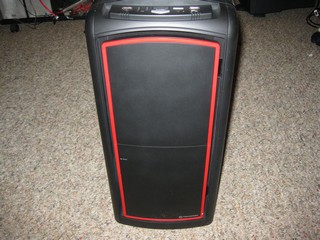
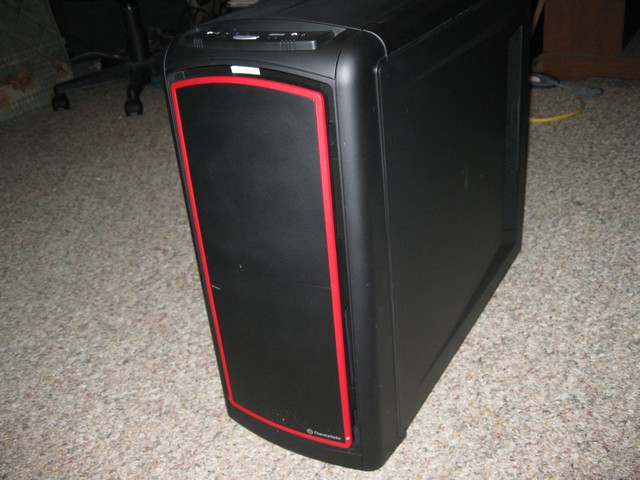
The ElementS has a lighted 230 mm top fan featuring red LED’s and the front bezel has a distinctive red line around the edge of the door that covers the drive bay area. The top panel is located on top the bezel and is easy to access.
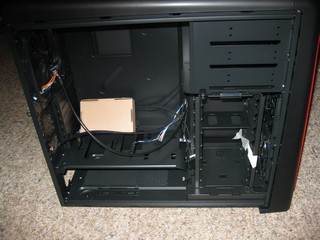
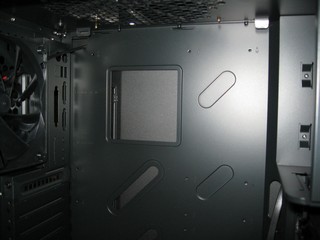
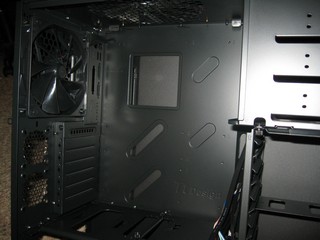
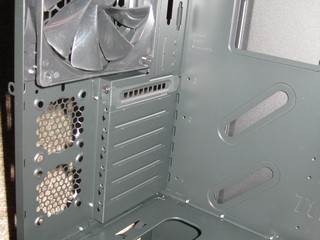
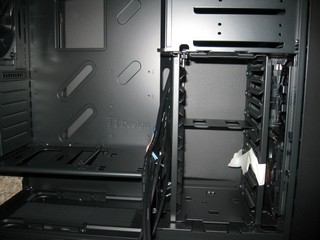
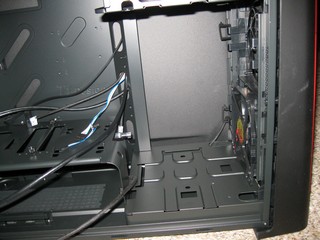
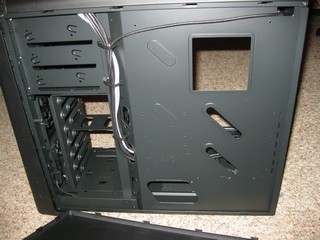
The interior of the chassis is black and they have a hole cut out for the back of the CPU in case you use a back plate, as you’ll see later it’s more for Intel CPU’s than the AMD rig we built into it. They call the PSU compartment cover the PSU support but it is on top the PSU so unless you have the rig upside down the plate isn’t going to support the PSU. The HD bay is side mounted which we’ve come to like for ease of access and there’s plenty of cutouts on the motherboard mounting area for routing wires in a stealth manner.
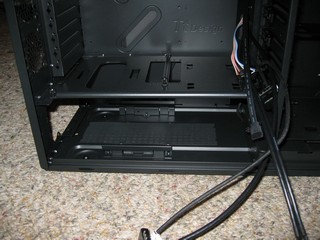
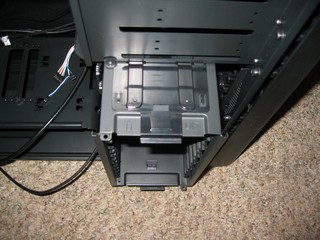
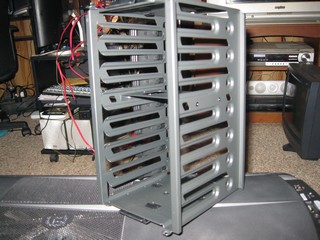
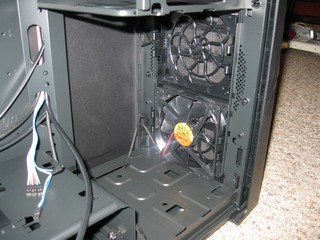
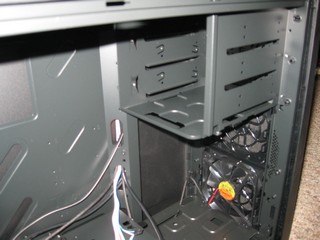
You have 7 expansion ports and two spots for 60 mm fans for rear exhaust, if you go with the optional 60 mm fans you may want to consider a fan controller because for the most part the 60 mm fans we;ve seen tend to be whiney. You get a better look at the removable drive cage that’s side mounted in these shots, the removal is tool and hassle free, you can pull that bugger right out load it up and slide it back in. Optionally for hard core enthusiasts mount a HD in one of the 3 Front bays and use the space for a compact water cooling space.
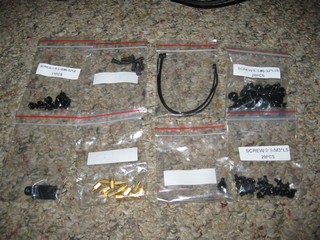
On the bundle you get plenty of color coordinated screws and as you can see the only thing that they provide that isn’t black is the motherboard stand offs. With the drive cage removed you can see the front intake fans and how much space you would have for a compact water cooling system. The Front intake fans are quick mount and require no tools to snap in or take out, we like that feature a lot because we clean our fans on a regular basis.
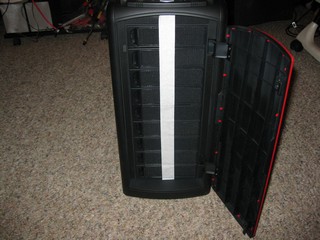
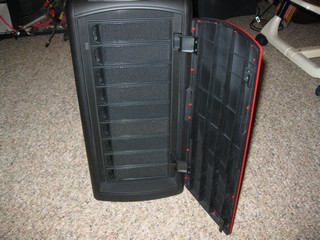
With the door open you can see the quick release drive bays doors we’ve come to love, just put a finger in the indentation of the bay door and pull and the drive bay door falls out into your hand. The bottom right hand picture shows the CPU cutout that is positioned correctly for Intel CPU’s but off center for AMD rigs. Notice the cutouts appropriatly placed for cable management.
TESTING
As far as we are concerned there’s only one way to test a chassis and that’s to install a rig in it. There will be no dry chassis reviews on Bjorn. Chassis reviews will be done with full installs of working rigs and while you might find the occasional review of a chassis with no install in the past, from this point on they will be full install reviews. Dry reviews on chassis are a little like getting to first base with the main squeeze, fun but it’s not like hitting a home run.
We’re not going to go into great detail on the rig we built into the chassis but for general purposes it is an AMD Phenom 2 and we’ve had the X3 720, the X4 940, and X4 955 all Black Edition CPU’s in the chassis. For the most part we’ve had the Asus M4A78T-E AM3 board in the chassis but earlier we had am AM2+ board in it. We chose to go with a wired PSU because the ElementS offers excellent cable management and what better way then to use a nasty wired PSU for the test.
You should know in advance that we are somewhat cable management impaired, more from lack of time to spend on cable management than any lack of aptitude.
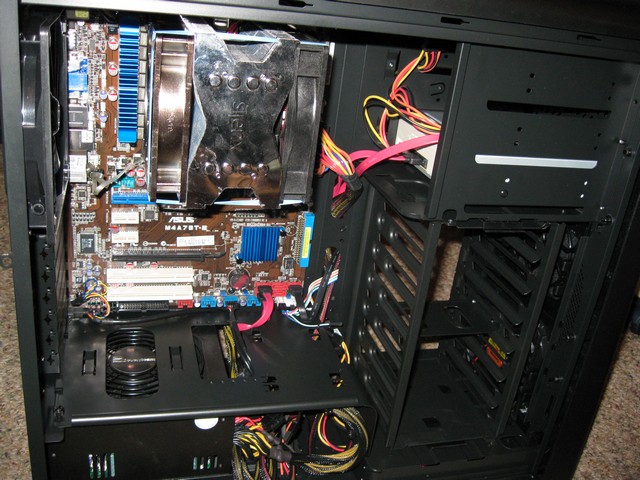
We have an Intel 80 GB SSD mounted on top the Optical drive because it was more conducive to cable management, we left out the GPU to get a better look at the interior of the chassis with the guts installed. Never fear though notice the slight opening in front of the PSU the GPU PCI-E power connectors slip right through there and only show for a short distance to the GPU so it doesn’t mess up cable management at all. Pretty good cable management considering we had less than an hour to accomplish the wiring. Notice all the wired PSU wires fit in the PSU compartment neatly tucked away so if you have a fairly new PSU that;s wired this is a good chassis to consider.
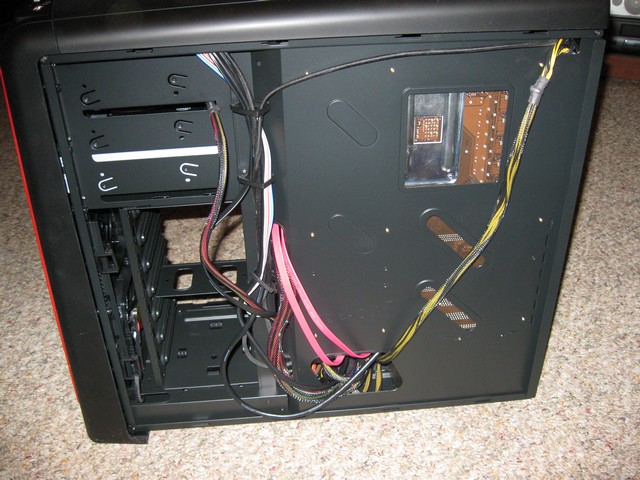
The back side of the chassis shows you where the wires are tucked and there was plenty of room to close the motherboard side of the chassis without any bulging of the door.
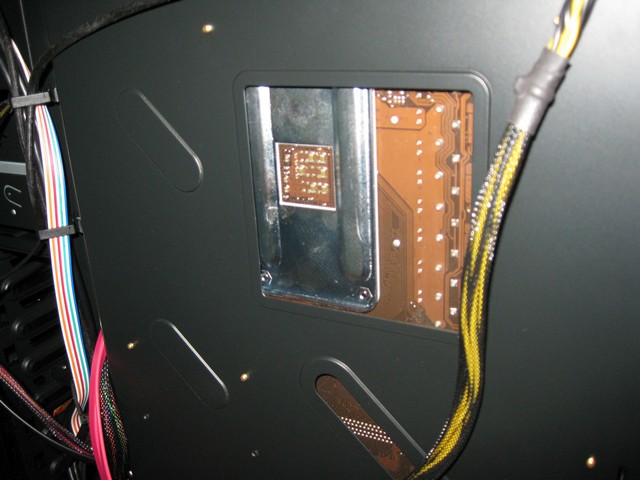
The CPU cutout idea we like a lot but with a little redesign it would accommodate both AMD and Intel CPU’s, there aren’t any mounting screws close to the opening so making that minor redesign would complete an already good idea and make it better for both AMD and Intel. The larger opening wouldn’t affect the tray structurally and being larger would help to remove heat from the back of the CPU area.
CONCLUSION
The Thermaltake ElementS is a sleek looking chassis that works for an office or gaming environment. The smart design and massive airflow make it a good choice for today’s hotter running systems. We use a couple of 73 CFM fans on the CPU when we have the rig up and running and with the sides on the chassis you can’t hear the rig running. Cable management is a snap and while the model we received doesn’t have a windowed side Thermaltake has a model with a window available for those of you that prefer a little more bling. We almost wish we had the windowed model because with cable management like the ElementS has you’ll want to light the inside of the chassis and show off your gaming shrine. Strangely enough though the non-windowed model appeals to us for it’s sound dampening qualities.
We like the Thermaltake ElementS, being cable impaired and getting a result like we got from the ElementS puts it on the top of our very short list of favorite Mid-Tower chassis. Through several rebuilds we’ve consistently had good cable management with a wired PSU and plenty of airflow. The combination of features and solid construction make the Thermaltake ElementS a champion in the Mid-Tower Chassis category.
We are trying out a new addition to our scoring system to provide additional feedback beyond a flat score. Please note that the final score isn’t an aggregate average of the new rating system.
- Performance 9.5
- Value 8
- Quality 9
- Warranty 9
- Features 9
- Innovation 7
Pros:
+ Looks Nice
+ Good Cable Management
+ Easy To Install A Rig In
+ Red LED 230 mm Top Fan
+ Massive Air Flow
+ Easy On The Eyes
Cons:
– CPU Motherboard Cutout Is Not For Both AMD And Intel Rigs
– Heavy (19.49 lbs)
The Thermaltake ElementS is a stylish chassis with massive airflow and great cable management, it doesn’t have every bell and whistle (Tool less drive install and Tool less Expansion ports) but most of the time we opt for screwing the drives in and remove the Tool Less Expansion Port because we find them annoying. The ElementS has the right blend of form and function with the massive airflow enthusiasts demand, we’d have to place it as our favorite Mid Tower of all time so it scores a: 8.5 out of 10 and the Bjorn3D Seal of Approval.
Please note that if the chassis motherboard tray accommodated both Intel and AMD, or had the tool less features set up so that they were removable (so that those that want them could use them and hardcore old schoolers could remove them) we would have scored the ElementS higher and awarded it Gold. As it sits we had a hard time not giving it gold but with those minor things in mind we give it the Seal of Approval and hope for an ElementS SE with those things added and nothing left out of the current feature set.
 Bjorn3D.com Bjorn3d.com – Satisfying Your Daily Tech Cravings Since 1996
