Have you ever experienced sweaty hand syndrome sitting at your PC? Take a look at this mod for your mouse that can keep those slimy paws of yours nice and cool when you’re fragging your buddies, or finishing that late research paper.
Introduction
If you are an avid computer gamer like me, you know that things can heat up both in game and in life pretty quickly. One minute you are sneaking past the flag-guarding noob, and an instant later the uber-1337-fragmaster is on your tail trying to steal back what is sacred to him. All this action can raise not only the temperature of your CPU and graphics card, but your body as well.
There are many different ways the body deals with this extra heat, but one of the more common is sweating. When people think of sweat, many associate it with the underarm, since this has both visual and nasal displays. But many people also suffer from what I like to call sweaty hand syndrome, or SHS. SHS can lead to a slippery mouse, which later leads to decreased performance, and the inevitable excuses as to why a player just didnt do so well that last round.
Solution
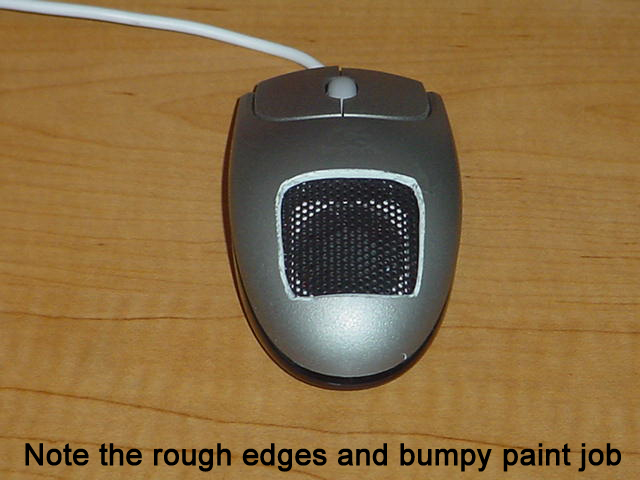
After brainstorming for a while I decided the best way to cool off a hand was to use moving air, as opposed to a heat source that would actually add to the sweating instead of decreasing it. I had seen this type of mod performed in the past, at MetkuMods and Overclockers.com, but I was bound to improve upon it with a few ideas of my own. The version you see here is actually version two. The first attempt was just a so-so solution and was a little uncomfortable. In the first version the upper mouse shell had eight holes drilled in a circular pattern. Although it allowed air to pass through and cool my hand, the edges of the holes were still rough and not perfectly placed on the mouse. The combination of rough edges and the airflow seemed to make my palm go numb which was actually worse than playing with sweaty palms. Another setback to the first version was that I did a very amateur paint job that ended up feeling very similar to sandpaper. You can see some of the initial problems I ran into in the picture below.
Materials Needed:
- 1-USB or PS2 mouse of your choice
- 1-small fan (ex. old graphics card fan)
- 1-sheet of scrap speaker grill
- 1-tube of superglue
- 1-soldering gun
- 1-solder
- 1-circular cutting tool (Dremel, Black & Decker RTX) with heavy duty cutting disks
- 1-various grades of sandpaper (I used 150 and 320 grit)
- 1-can of spray paint
Construction
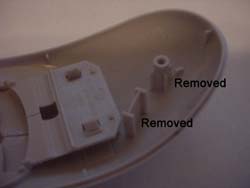
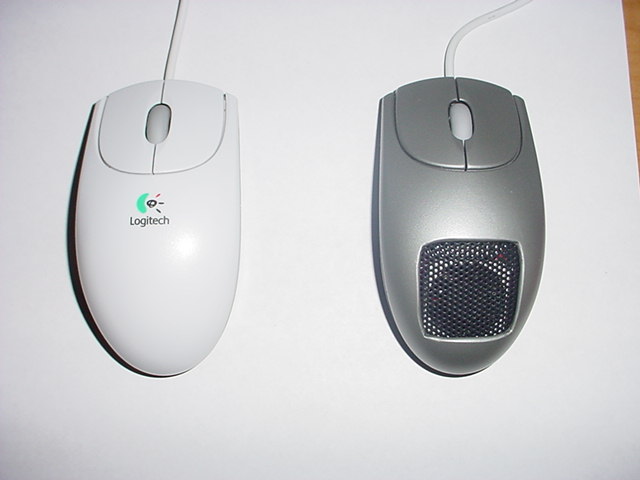
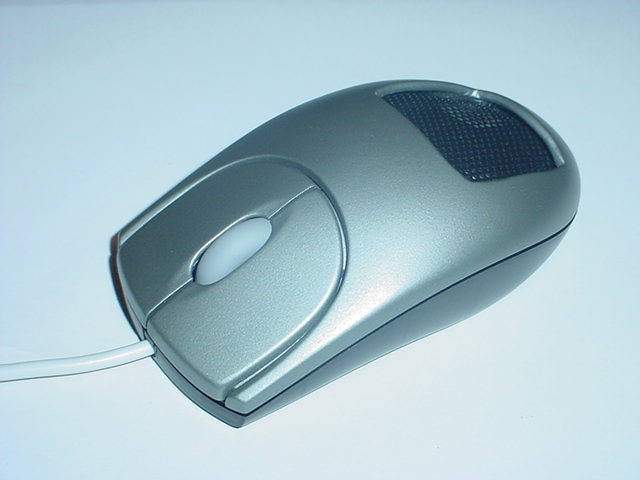
I started out with a plain-jane Logitech Optical Mouse. After tearing it apart, I took note where the wires from the USB cable attached to the circuit board and I also determined what materials would need to be removed from inside the mouses shell. I first removed a support bar (as noted in the picture below) and also the screw tunnel that the screw secures itself to from the upper shell of the mouse. Next I shaved down the screw tunnel on the lower piece of the mouse so that there would be enough clearance for my fan.
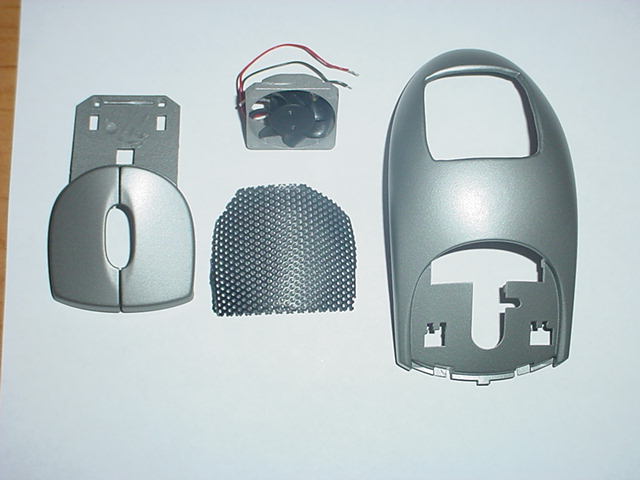
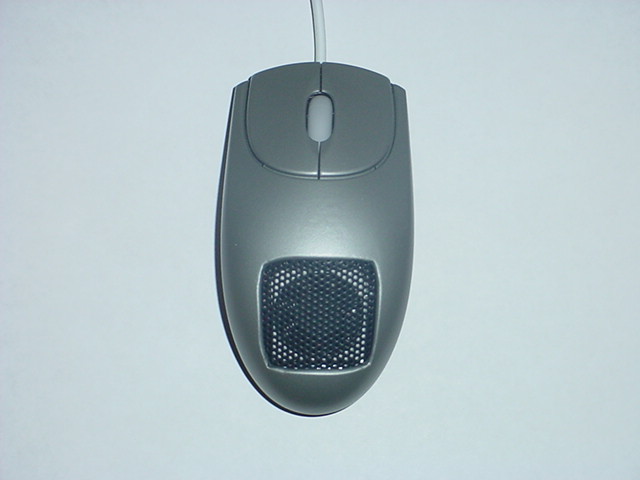
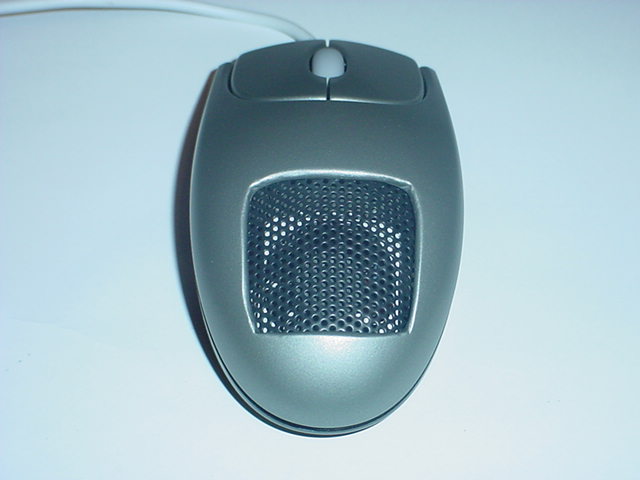
I had some metal speaker grill material around the house, so I cut it down to size, going through quite a few pieces to get the size and shape just right. The grill is just thin enough to shape correctly, but also thick enough so that it does not bend from the weight of a hand applying more-than-normal mouse pressure.
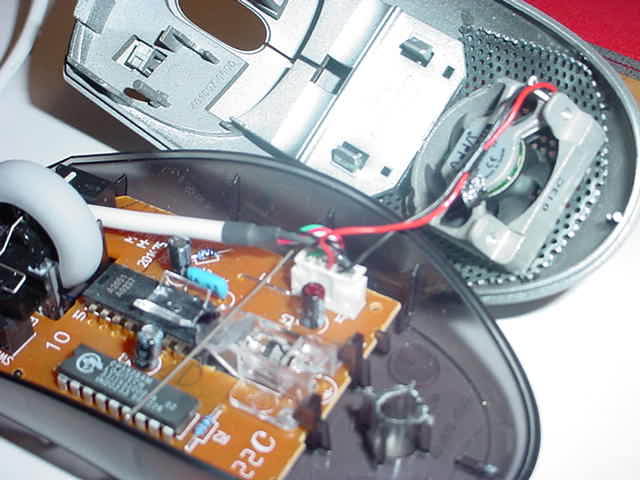
The fan I am using was obtained from a laptop that was being parted out before going into the trash, helping me keep this mod very cheap. This particular fan measures about 1 square inch and about 3/8 inch thick. Using only 5 volts and 0.09 amps, I knew that this fan would work just fine running off of the USB supplied power. Power connections consist of a small red wire for the positive signal, a small white wire for what I assume was either a temperature sensor or fan speed sensor(I am not using this, as the fan is on whenever the mouse is plugged in), and a small black wire for the ground.
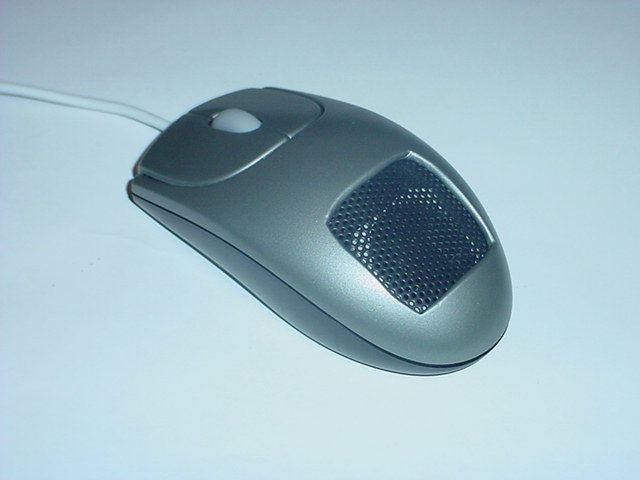
Now that the sanding on the shell was done, I proceeded to give it 4 light coats of SEM Color Coat paint (15253 Titanium Metallic), allowing between five and ten minutes between coats. This paint is usually used in automotive interiors as it is both durable and flexible. The durability was my main concern since a mouse sees a lot of abuse. The paint was totally dry after one night and the shell was now ready for the grill and fan to be installed.

Final Product
All that was left was to attach the top shell to the lower base and I was done with my mouse mod. I placed the front tabs into their slots and then used a small dab of super glue in the rear to secure it, since the screw hole was no longer a valid choice.
I plugged the mouse into my front USB port, and voila!!! I had a mouse that not only has a custom paint job (plain, but still custom) but also keeps my hand nice and cool when gaming.
There it is, the final product of a couple hours of work and a little ingenuity. I wasn’t sure how it would end up after all was said and done, but I am very happy with my results.
 |
 |
 |
 |
 |
 |
Hopefully you have taken this article with a grain of salt, as it is both humorous and serious. The mod really does work and I recommend trying it out yourself if you suffer from the dreaded Sweaty Hand Syndrome.
More pictures are available by request.
Contact Info
- Email: [email protected]
- AIM: blk95civicex
- MSN: [email protected]
I and Bjorn3D take no responsibility for any damage to you or your equipment resulting in following this article. You could damage the mouse, your computer, or injure yourself with the loss of a digit or two. Take your time, be careful, and have fun with it!


